
Update to My Simple and Quick Dresser Drawer Fix
Years ago I fixed my daughter’s dresser drawers with a hot glue gun and declared the task completed. However, recently, I noticed one of the drawers started to sag again. After a quick look I realized I needed to alter my previous plan and thus I ended up upcycling an emptied cereal box. Here’s what I did!
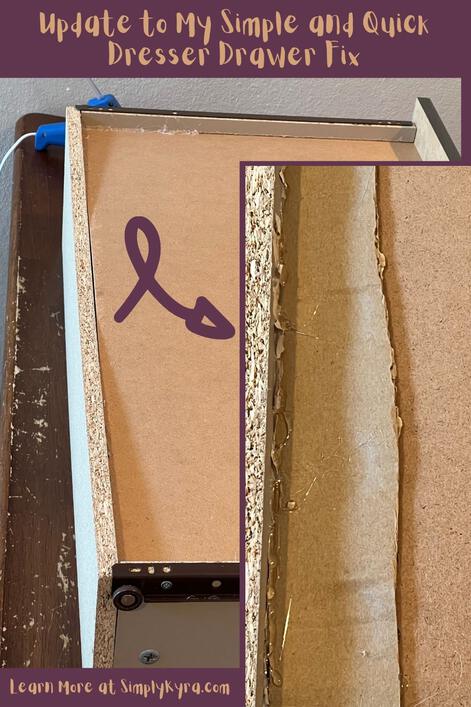
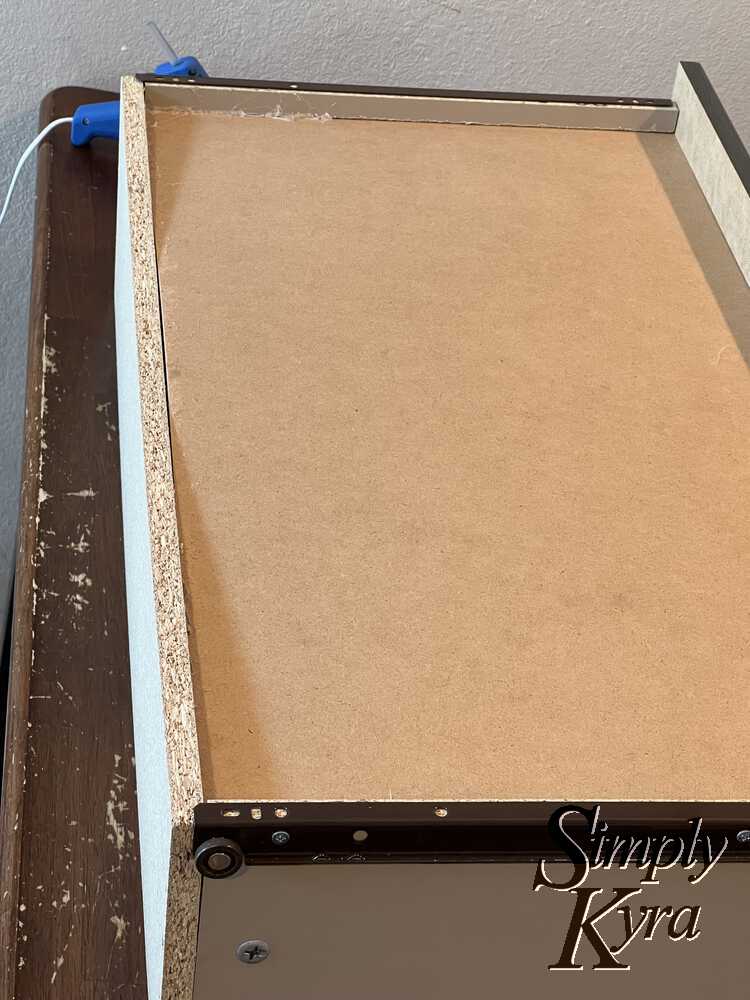
Both my girls have their own dresser in their bedroom to store their clothing but I noticed, years ago, that one of these dressers frequently had its drawers stuck open. On inspection I realized that the bottom of the drawers shifted enough that they weren’t being held up by the frame and had instead sagged down. This meant the drawer was able to be pulled out as the bottom was pressed up as it opened but when we tried to push it back in the sagging edge got caught and stopped the drawer in its tracks. I quickly realized I could get around this by shoving the bottom up as I pushed in but after a while I realized I needed an actual fix. After pulling all the drawers out and emptying them I was able to fix the bottom of each drawer with my hot glue gun. This was a perfect fix and I had no complaint for years… though recently I noticed the top drawer has started sagging again. It wasn’t bad enough to get stuck open but I knew, given enough time, it would and so I needed to fix it again and soon.
I started removing all the drawers and was pleasantly surprised to see that the bottom two were still holding strong from the last time. I only needed to fix the top drawer! I carefully removed the contents, pulled it fully out, and carried it to the kitchen table where I had just plugged in my handy little hot glue gun. Upon closer inspection I was disheartened to realize that when I pushed the bottom into place it no longer reached the groove in the edges and thus couldn’t be held in place. I think this was also the case last time as I had used the glue gun to create a lip of sorts that the bottom could rest on. I knew this time we needed a better solution that would hold up for longer so I paused to think it over.
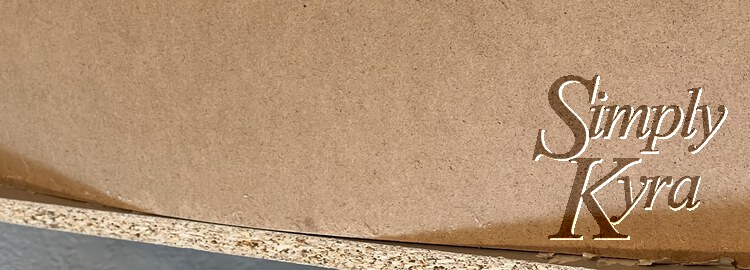
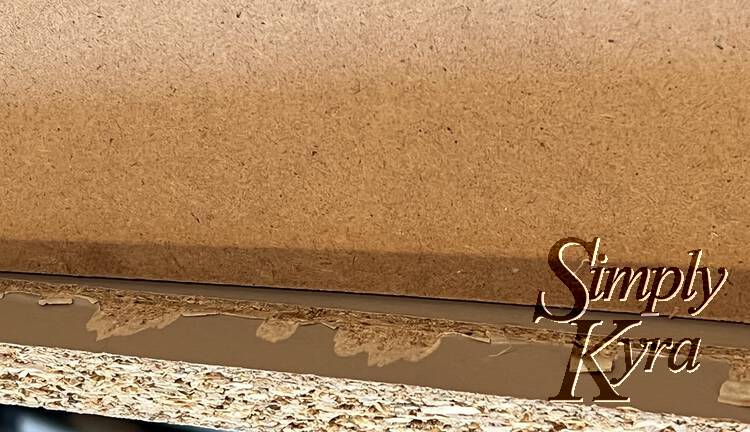
Looking around for inspiration I noticed my bag of recycling and realized I could use some leftover cardboard to create a surface for the bottom to rest on. After inspecting the groove I realized the cardboard boxes might be a bit too thick to fit but an emptied cereal box would be perfect. I grabbed one and lined it up with the groove to see that it fit perfectly!
Since this would be hidden within the dresser it didn’t matter how it looked. I quickly cut off a length of box about an inch or two wide. I then pushed the bottom of the drawer in, eyed how long the cardboard section was, and pushed a continuous bead of hot glue into the groove matching the length of the cardboard. Once the glue was in, without missing a beat, I gently shimmied the cardboard in so the glue would keep it in place. I then let go of the bottom and saw that the cardboard was capable of holding the bottom in place.
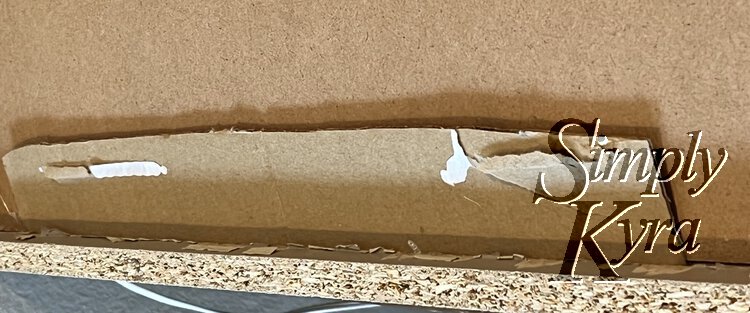
To make sure this fix would last awhile I cut off two more strips of the cereal box and repeated the previous steps on either side of the first strip. This way the cardboard insert stretched from one end of the back of the drawer to the other.

With the cardboard in place within the groove I next lifted the loose side up a bit and pushed some more glue in to hold the entire piece in place. Once the glue was there I pressed firmly against the cardboard to fix it in place. I did this as I wanted to make sure the cardboard would stay in place longterm and not have a chance to hang and/or get snagged on anything. With that done I next added more glue along the groove to help hold the cardboard and the drawer bottom within the groove securely.
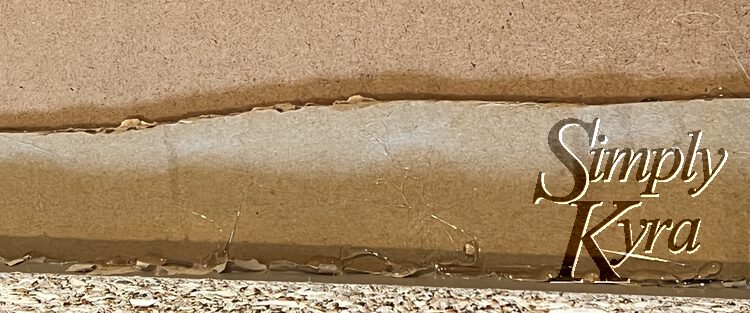
And with that this drawer was officially fixed… again. I still can’t believe that this simple glue gun fix held for so long as the bottom two drawers are still going strong. I have high hopes that the addition of cardboard along with more glue will help keep this top drawer in place for a way longer time.
If you have the same issue I hope this fix helps you. If you don’t have a hot glue gun I bought this mini-gun from Michaels Arts and Crafts years ago along with the mini glue sticks. Looking online now (on July 17th, 2022) I see my older and much loved Craft Smart® gun is only $2.99 while my other one, a Fashion Mini by ArtMinds®, is $3.99. Looking back I bought the ArtMinds® one as it was purple but it doesn’t work as well as the other older one as it’s not slated as a high heat glue gun. That said, the glue gets mighty hot so be careful while using it. Either way, whether you’ve used hot glue guns before or not, I hope this helps you fix your drawer. If so I’d love to hear about it in the comments below. If not I’d love to know if you used something else to fix it. Either way I hope you’re having a great day!
If you’re interested in getting any of my future blog updates I currently come out with a new one every second Wednesday and share them to my Facebook page and Instagram account. You’re also more than welcome to join my email list located right under the search bar or underneath this post.

