
Sink or Float Water Play Sensory Bin
For Zoey’s second birthday we went to the local Dollar Tree as a starting point on determining which sensory bins we were going to include on the deck for her and her friends to play with. While there Zoey loved the fish-shaped water diving toys they had so I decided to help keep them cool and create a “Will it sink or float?” themed water bin for them to play with.
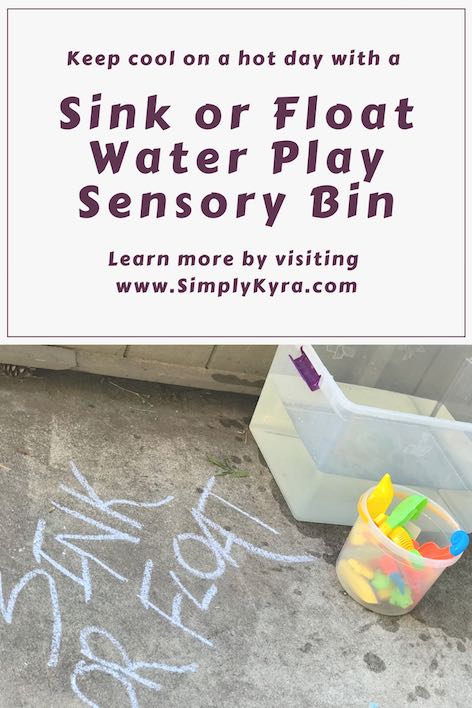
Materials
- Diving toys – I bought two three-packs so I had three seahorses and three fish shaped toys
- Floating toys – We had a couple boats already. I then added a couple of marine animal baby floating toys and the two rubber sharks that Ada snuck into the basket.
- Bin to hold the water
- A garden hose would help to fill it up but I filled it in the kitchen and then moved it outside so a lid for the bin was helpful to stop the water sloshing out with each step.
- (Optional) Extra bin to hold the toys that haven’t been tested yet or if your kids want to pull out the toys as well
- (Optional) Towels in a handy location in case the kids get too wet
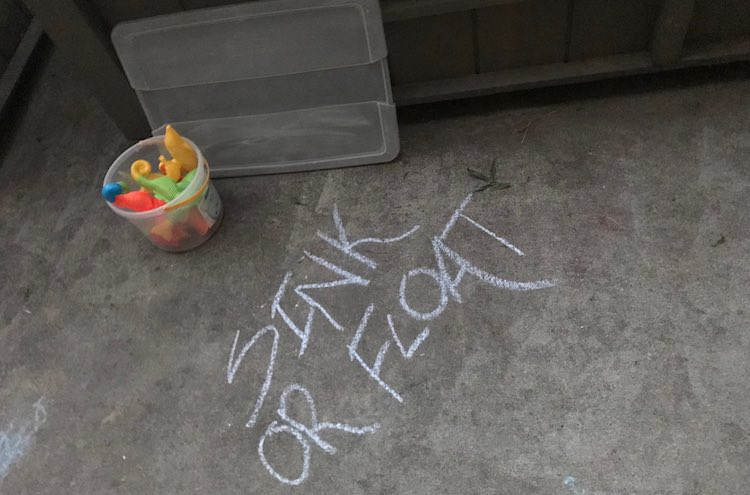
I prepared the station two nights before the party by laying out the bucket of sinking and floating toys, the bin lid, and using sidewalk chalk to label the station. Although the kids are too young to read I figure this way it’s more obvious what’s allowed if people are unsure.
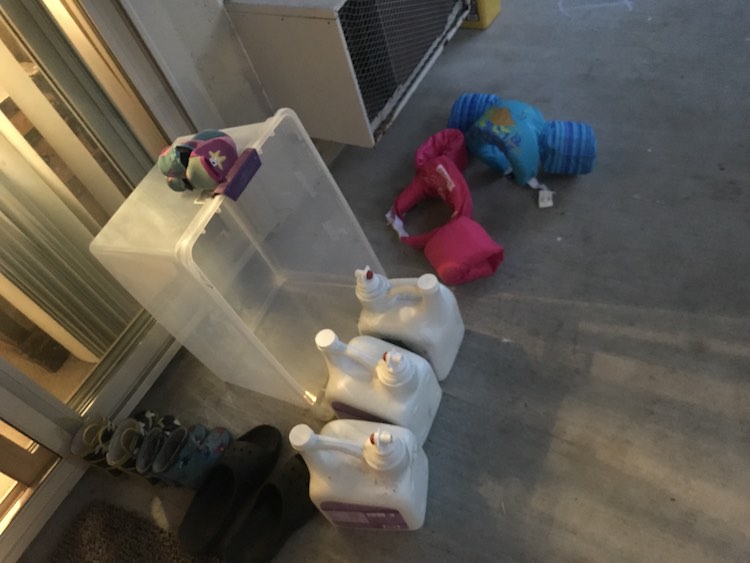
I then laid out the main bin by the doorway for easy access the morning of. I also had three empty laundry detergent jugs that the kids’ use that normally gets filled with water that I also laid out in case they want to pour water too. Ignore the water shoes and swim floaties… I wasn’t sure if I’d need them the next day at that point.
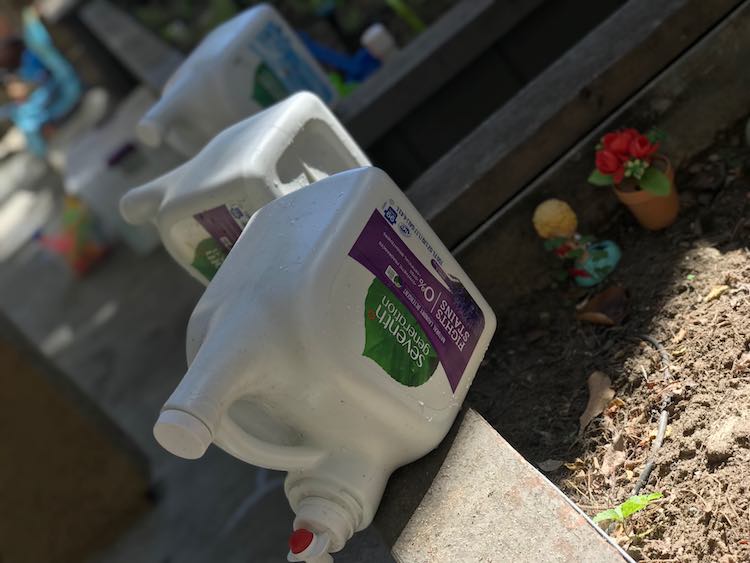
The morning of the birthday party I filled the laundry detergent bottles with plain water and set them on the edge of the plater boxes. If you want to change it up you could always add some dish soap to them to make bubbles.
I also filled the bin with water and then added the lid so no leaves would fall in before the kids went outside. This would be easier to fill with a garden hose, but I instead filled it at the kitchen sink and carried it out. If carrying don’t fill it too full as the water sloshes out easily. The next time I used the lid to help keep the water inside.
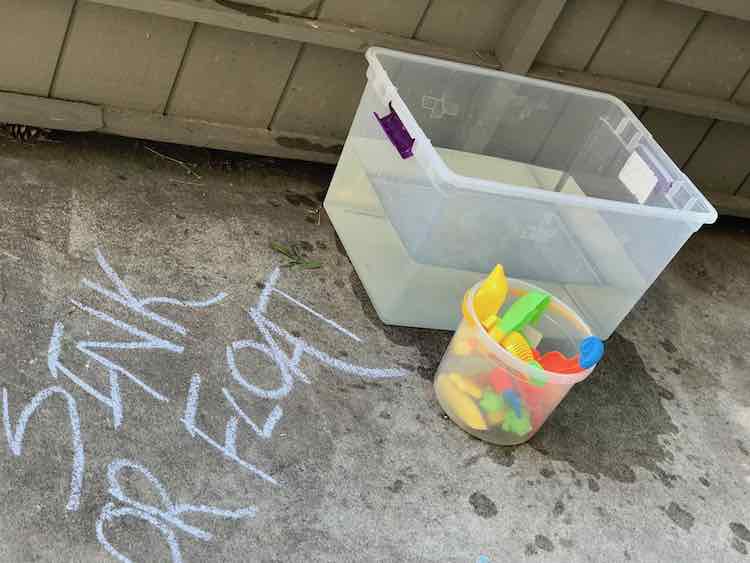
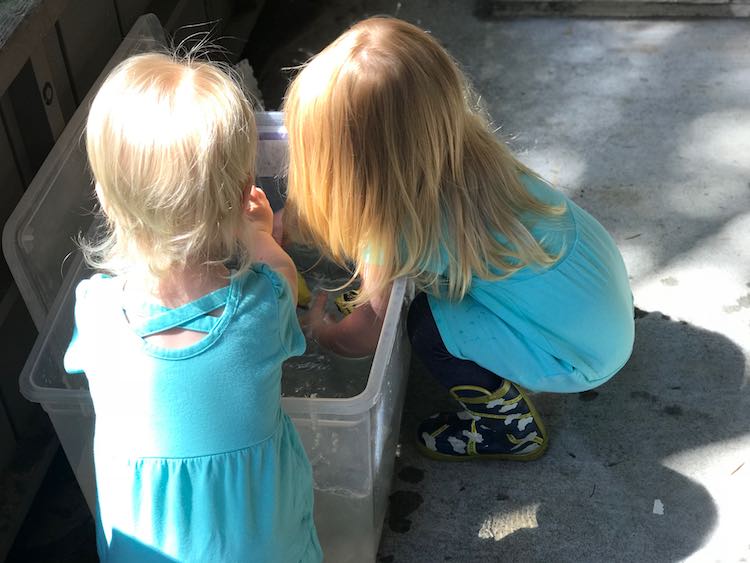
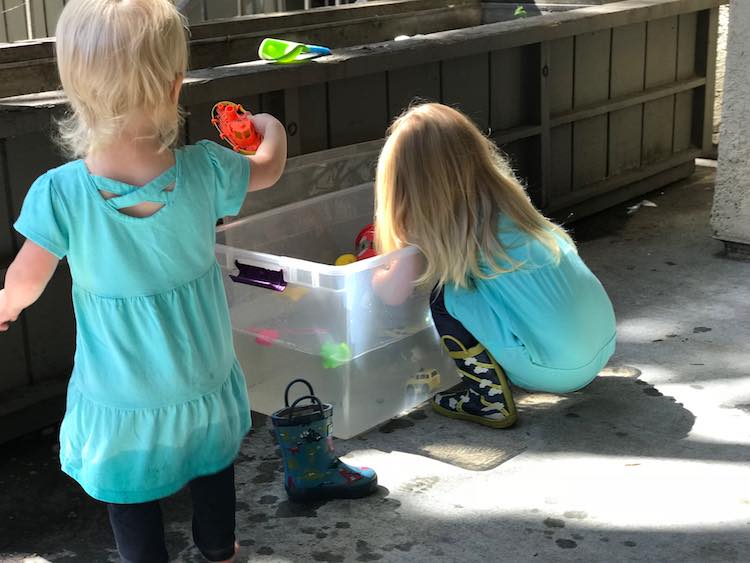
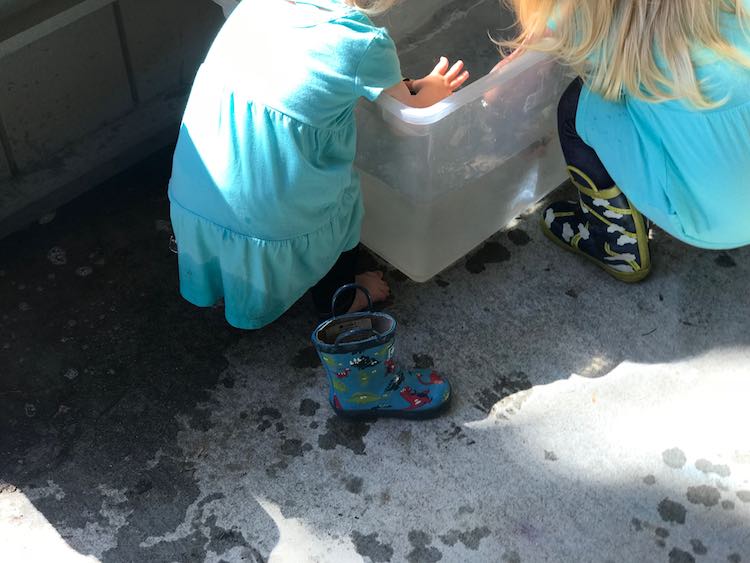
The bin was perfect for keeping the kids at the birthday cool and many of the other toys from other areas were also tested in the waters to see if they’d float or sink. You could also use buckets or empty bubble soap bottles to transport the water to other areas too. The bin was fun enough that I’ve since brought it back several times instead of returning the bin to it’s original purpose of holding the deck toys.
Extending Play
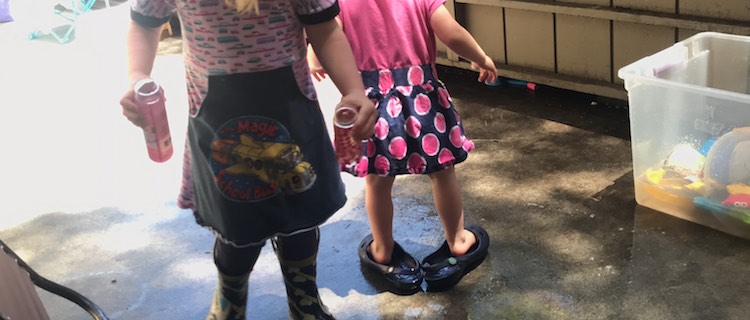
- If the kids get bored and haven’t switched it up on their own already you can easily add pouring and dumping toys. The kids had handheld bottles of bubbles at the birthday party which quickly became water transportation devices.
- Many of the extension ideas I have include pvc pipes… something I may need to look into buying
- You could use a smaller bin and increase it’s height for the kids by creating your own water table. What’s Up Moms has a video to show you how to do it using PVC pipes.
- You could extend the previous idea and create a PVC pipe table and extend the pipes up to create a pouring station. My Life with Littles created a great starting point if you’re interested in making your own.
- Go simpler and create a free-standing PVC pipe to pour water through using funnels and buckets. Frugal Fun for Boys & Girls shows their setup.
- Or you could go really simple and do what Happy Hooligans by using unjoined PVC pipes that the kids can easily use to create their won configuration or simply pour water through using empty bottles and optionally dyed water. Much simpler for you and more open-ended for your kids.
I hope this helps you keep your kids cool on a hot day. I love how it can work with any water-proof toys. Let me know how it goes in the comments below, on my Facebook page, or through Instagram. Have a great and wet day.

