
Recent Kid Patterns for Me-Made-May 2018
With just over a week left to May I wanted to share with you some of my recently sewn clothing for Ada and Zoey to help celebrate Me-Made-May 2018. I’ve been trying my hand at knit garments after discovering Whimsy Baby Customs about three months ago. They offer preorders along with retail so I held off sewing with the fabric for a couple of months as I started with the preorder instead of the retail. I’m not affiliated with Whimsy Baby Customs but if you’re interested they have an active Facebook page, an American site, a Canadian site, and they’re expanded (or expanding) to offer better international shipping as well.
If you prefer woven over knit fabrics check out my previous posts about Candy Castle Patterns woven patterns with my bubblegum wrap and peppermint swirl dress sews. I’ve also extended some jeans using woven fabric extensions at the knee along with patches.
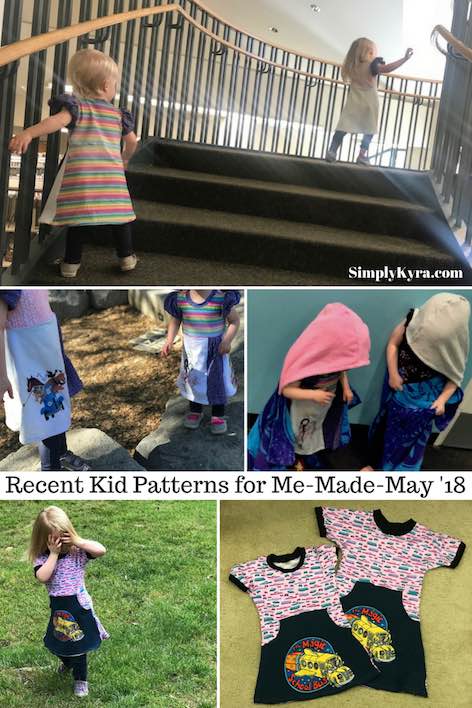
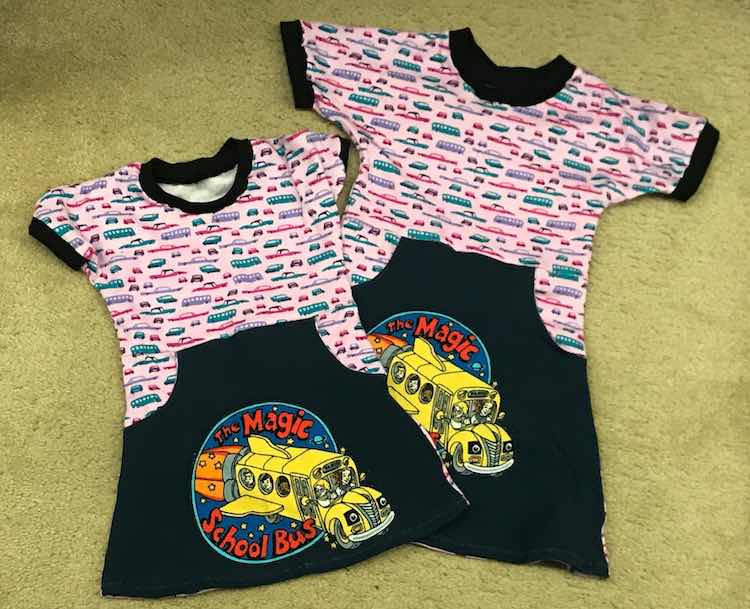
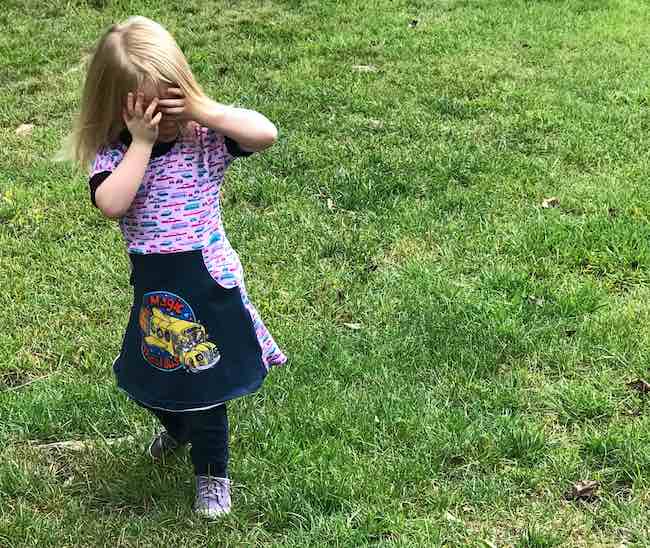
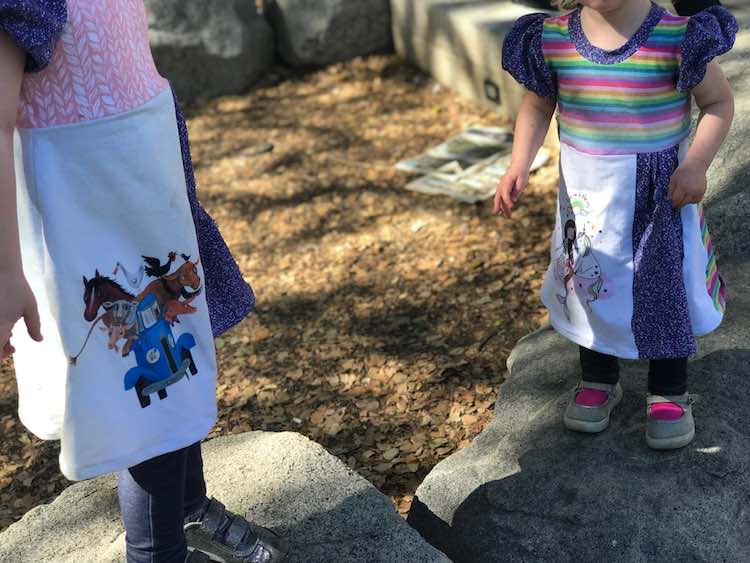
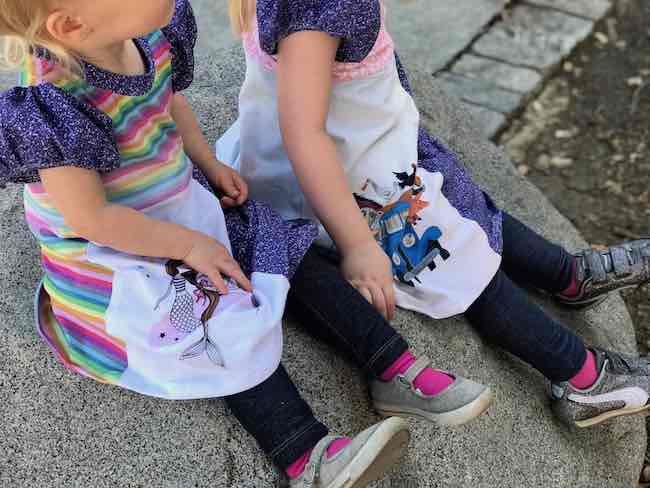
This first dress I actually sewed near the end of April. It’s offered through Stitch Upon a Time and has the option to include a kangaroo style pocket! The Magnolia top and dress (newborn to 12-years-old) was a fun and simple sew. I was drawn to this dress because I kept seeing it again and again on Facebook, mainly through the 52 week sewing challenge, and I loved the included pockets. I had some magic school bus panels that I really wanted to make and was originally going to use them on the bodice but the front bodice pattern piece too small so I instead used the panel for the front of the skirt. Even with the panel on the skirt I was worried the bottom of the bus would get cut off when I hemmed Zoey’s (18 month sized) dress but luckily I it just fit (and I was careful while folding over the hem). The magic school bus panels were bought through Whimsy Baby Customs while the vehicle fabric was chosen by Ada from my stash and was originally in a mystery bundle I bought through Elevated Fashion Fabrics. While cutting it I made the decision to use black ribbing for the collar and armbands, but it ended up being a bit scratchy (as reported by Ada) though they still love the dresses. I absolutely love the vehicles with the magic school bus though originally I was a bit worried how it would go. So glad I sewed the two fabrics together.
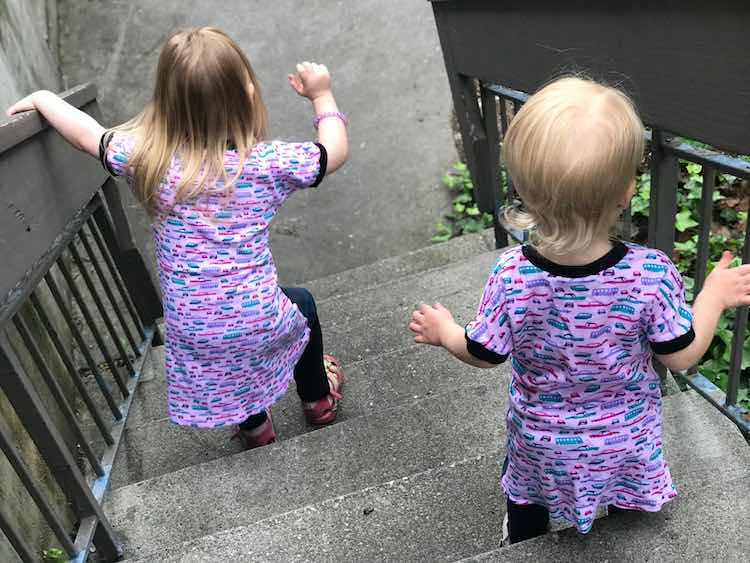
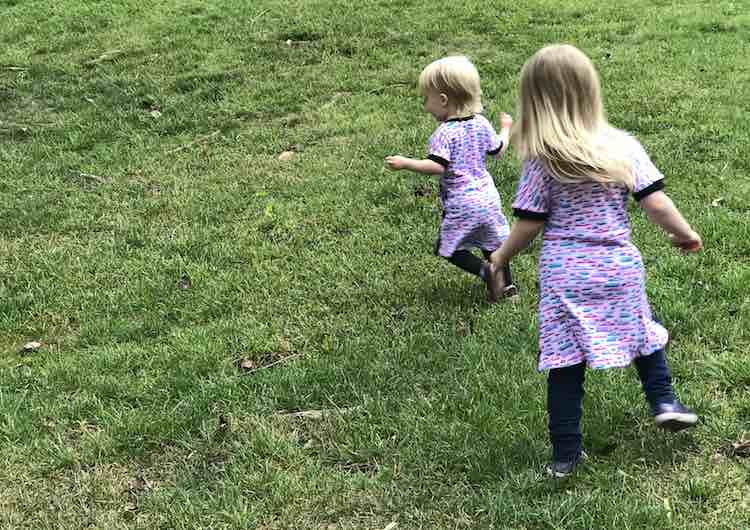
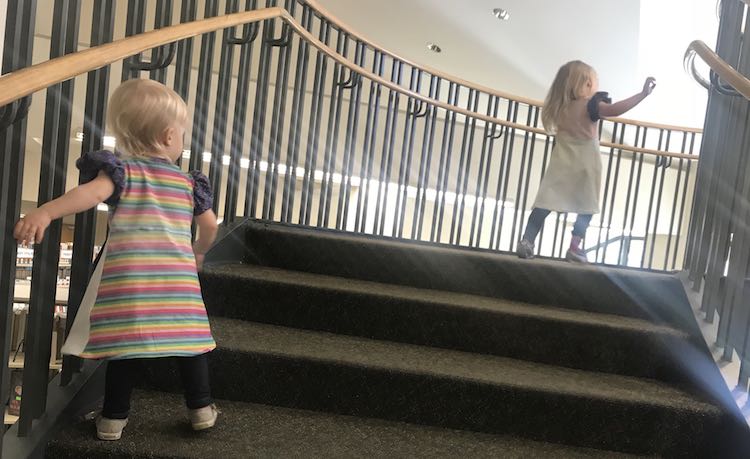
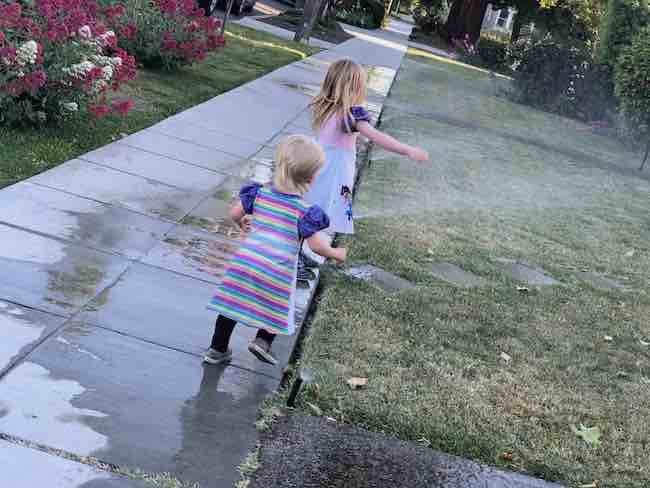
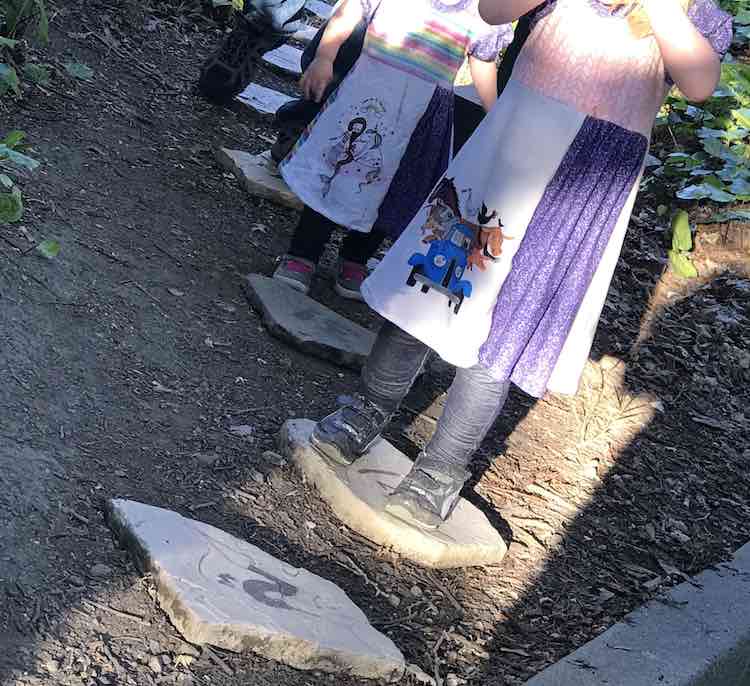
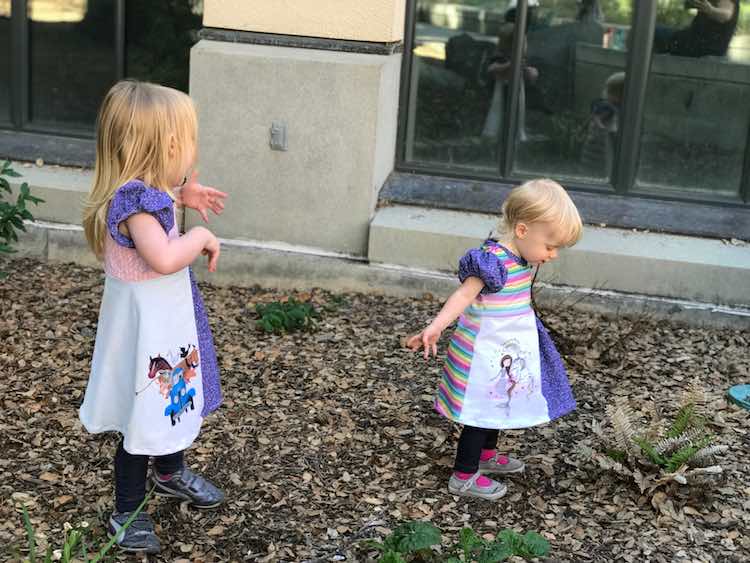
The next dress I wanted to share with you was a paid pattern that was also by Stitch Upon a Time. I wanted to find another dress that might work better with the panels from Whimsy. The Wendybird dress (newborn to 12-years-old) was my solution. I loved how this pattern offered several style choices for the sleeves (bubble, short, 3/4, and long sleeve), cuffs (hemmed or two method of cuffed sleeved), front skirt (plain, gathered, or pleated), and neckline (round or boatneck). I ended up deciding on the round neck, bubble sleeves, and pleated front skirt. I love how the sleeves turned out! The fabric used is all cotton lycra bought through Whimsy Baby Customs with a rapport (a meter of fabric including a panel and coordinating fabric) for each dress and then I cut into some blue glitter fabric to further coordinate and match the dresses. The most time-consuming portions while sewing was the pleating of the front skirt and making the bubble sleeves but with the alternative style choices you can make these simpler if you want.
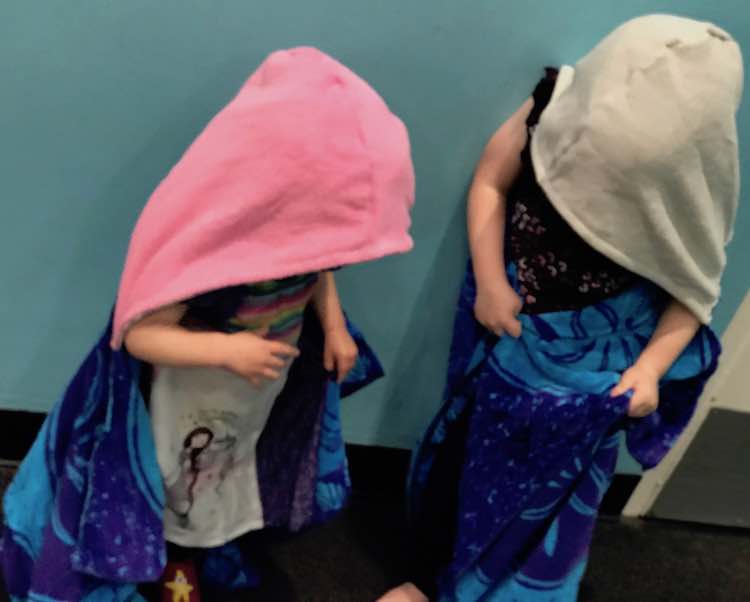
The last major thing I’ve sewn lately for the kids was hacking a towel. I had bought a Costco beach towel about a month or two ago in the hopes of hacking it into a hooded towel. I’ve recently come across a free pattern through Ellie and Mac for a Snuggle Blanket Pattern (three sizes). I was hoping to hack their comfy blanket pattern into a towel by making it with a single layer. The Costco towel was a bit too small for two kids sized towels so I ended up only using the hood part of the pattern (and its accompanying directions) and sewing the hood onto half of the towel. For the hoods I used old baby towels and ended up cutting into two baby towels for each hood so there would be an inner and outer lining. I had been careful to keep the towel edging on what would become the front of the hood but then had to sew through it when sewing the hood together.
I essentially cut the Costco towel in half, make the hood out of two outgrown towels, centered the hood over the cut side of the towel, sewed along the cut edge (so it wouldn’t unravel), and sewed the hood on. As I used a single layer for the main towel the seam for the hood is visible.
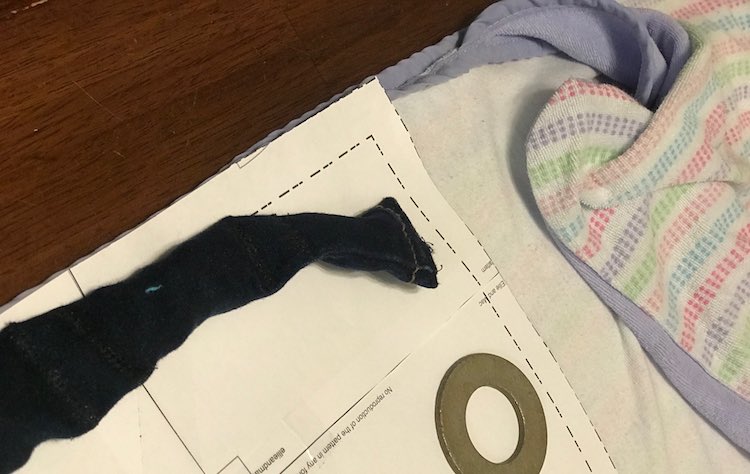
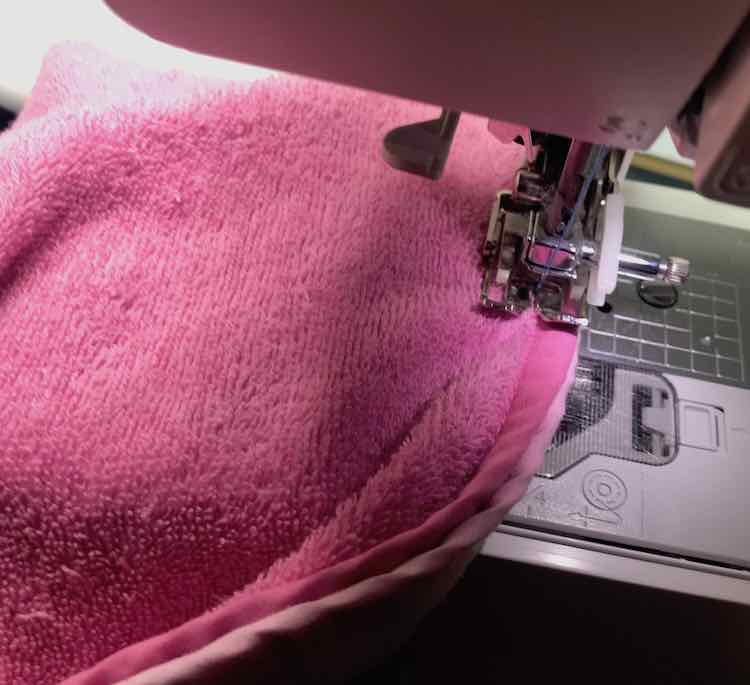
If I were to do this again I would either single layer the hood (and keep the edging on like before so it would be professional finished with no extra effort from me) or keep the double layered hood and make sure to cut the edging off. The Costco beach towel ended up being a bit too skinny for the girls as it doesn’t fully wrap around them so I could see buying two smaller towels for the main portion if I were to do this again. Alternatively I could see buying two beach towels so they each have on, trimming less length off, not rotating the towel 90 degrees so the end result would be wider, and using the cut off piece for the hood. I’m not sure if that would be enough fabric for the hood though.
I hope this post helped you find some new pattern companies and fabric sources. I’m happy that the kids’ love my sews and hope you enjoyed this too. Feel free to share in the comments below, through a post on my Facebook page, or tag me through Instagram. I hope you have an amazing day!

