
New Year, New LEGO® Bonsai Tree
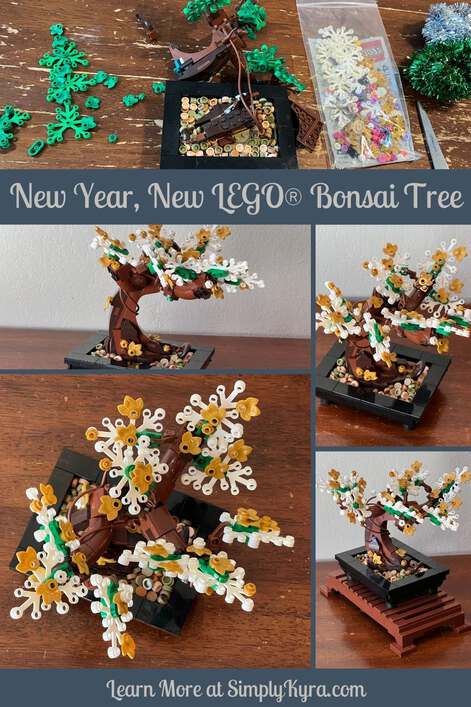
With Christmas over it was again time to change up my LEGO® bonsai tree. I had actually thought about it ahead of time and ordered some white and gold LEGO® bricks for this exact purpose… so without further ado here is the new tree!
LEGO® Bricks Purchased
I had decided to do a white version of the bonsai tree, a nod to Winter, with gold leaf and flower elements attached to celebrate the New Year’s. Like my previous two themed bonsai posts I started out using the LEGO® Bonsai Tree (10281) with the classic green leaves version made. I then removed all the green leaf bricks, leaving the connection points, and replaced them with three other LEGO® brick pieces I had bought special for this before Christmas through the LEGO® Customer Service Buy Bricks website. They are:
Limb Element(6266969) White – bought 10 at $3.20Flower 1x1(6209691) Gold – bought 10 pieces for $0.40Plant, w/ Plate 1x1, No. 1(6219088) Gold – bought 33 pieces for $1.98
As a quick aside… in addition to the Christmas tinseled version I’ve also made an autumnal themed bonsai. Next month I plan to switch out this white version and finally make the other official version of the bonsai (vibrant pink cherry blossom blooms) as a nod to Valentine’s Day. As such I’m not sure when I’ll next be posting one of my bonsai MOCs (my own creations).
The Build
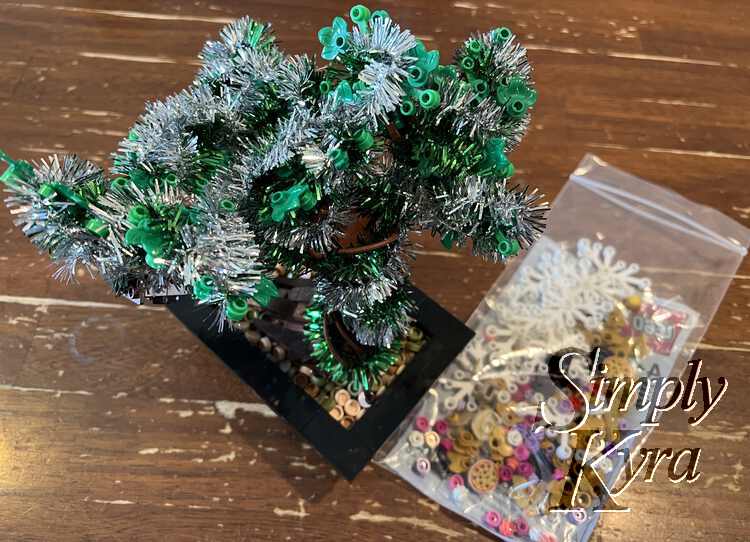
After grabbing my tinseled bonsai tree and the baggie with all the loose parts I had ordered it was time to jump in! Before I could begin building; however, I needed to carefully remove all the wired tinsel. The first color, silver, was simple to remove as I easily found the end, untwisted it, and unwound each section. The green, on the other hand, was much harder. The only end I could find was the one I had started out with when decorating the tree thus I had to constantly unravel the twists and turns as I went. That said I eventually got the bonsai un-tinseled although the tree broke during the process so I can to stop, grab my instruction book, and attempt to rebuild it before continuing with my own take on the tree.
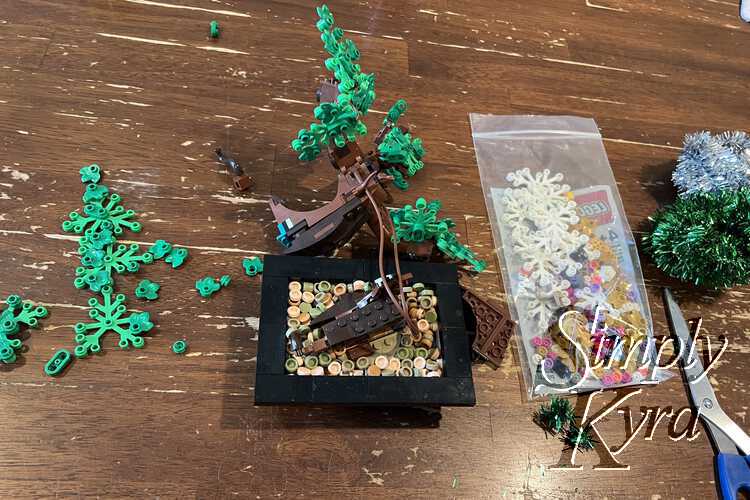
While building the tree back up I paused to carefully dump out all the loose dirt bricks so they wouldn’t fall out and bounce all over the place. Once the tree was rebuilt I then removed each one of the green leaves for later while making sure to keep the required green pieces I hadn’t thought to buy on the tree, or at least, accessible to later connect the white leaves to the branches.
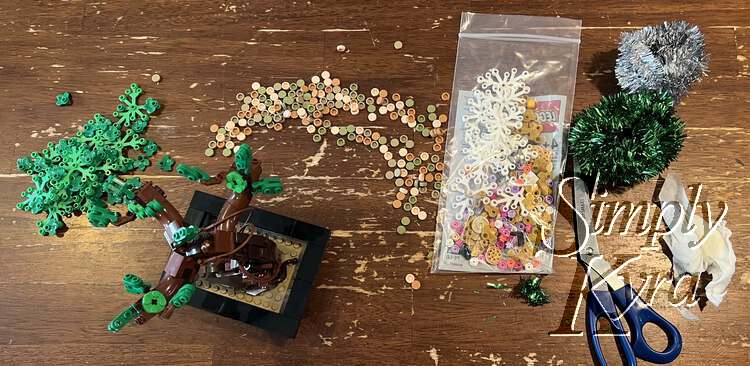
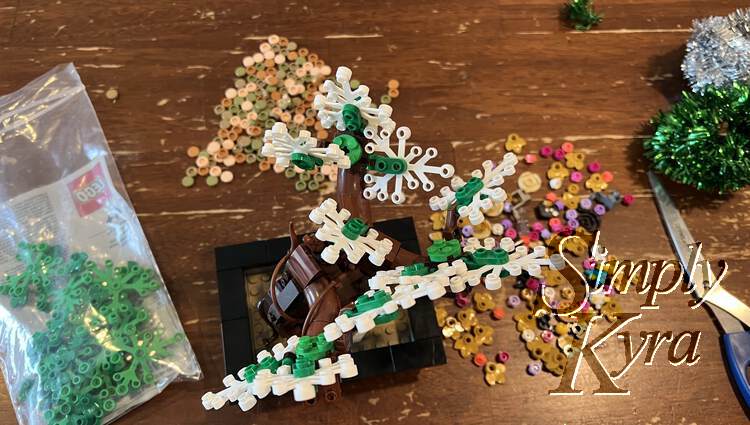
With the green bricks packed away it was time to get started! I carefully pushed all the dirt bricks to one smaller pile so I had room to dump out all of the new bricks. I then moved all the excess green leaves to the emptied baggie, set it aside, and attached each of the large white leaves to each connection point. I didn’t like the green showing so I removed the three green circles that kept the trunks together hoping that wouldn’t make it structurally unsound… so far, a week later, it’s doing fine. I then was able to go through my new bricks making sure to grab every gold brick and placed them onto the white snowy leaves, the top of the branches, and onto any connection point left on the bonsai trunk thus bedazzling it and attempting to hide all the green.
This resulted in an awesome white and gold bonsai tree perfect for January!
As a quick aside I don’t like how the green connection points between the brown branches and white leaves show up so next year, or on my next LEGO® brick order, I plan to maybe buy those pieces in brown or white so my next Wintery bonsai tree seems more snowy and less green. Other than that; however, I’m pretty happy with how it turned out.
In case you choose to do the same I just looked up the building instructions page and see that I’d need to buy 10 of the green hinge bricks (part no. 6253140; design no. 26047) and 20 of the green connection pieces (part no. 6210271; design no. 35480) to convert all the green pieces used above. As I also removed the green circles used above each end branch right before the leaves were put on and had worried momentarily about it’s structural integrity I could also see buying three more of the plate 2×2 round with four connection points (part no. 6138624; design no. 4032) in brown to better match the branch there.
And now for the final photos of the finished themed bonsai:
The Final Bonsai
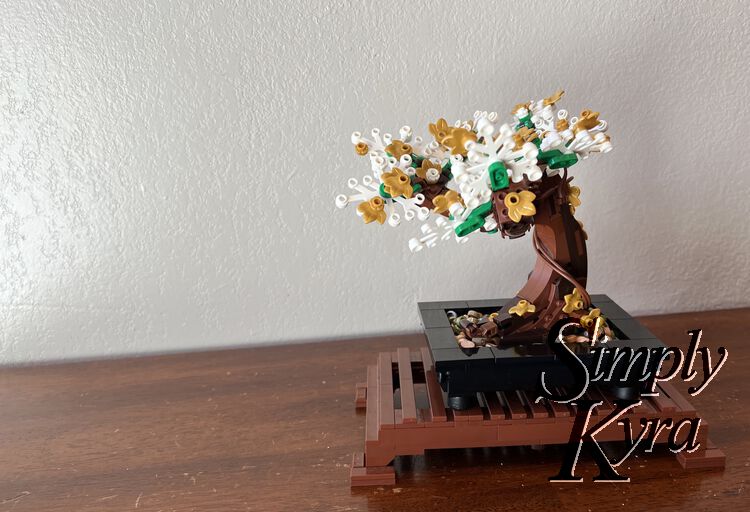
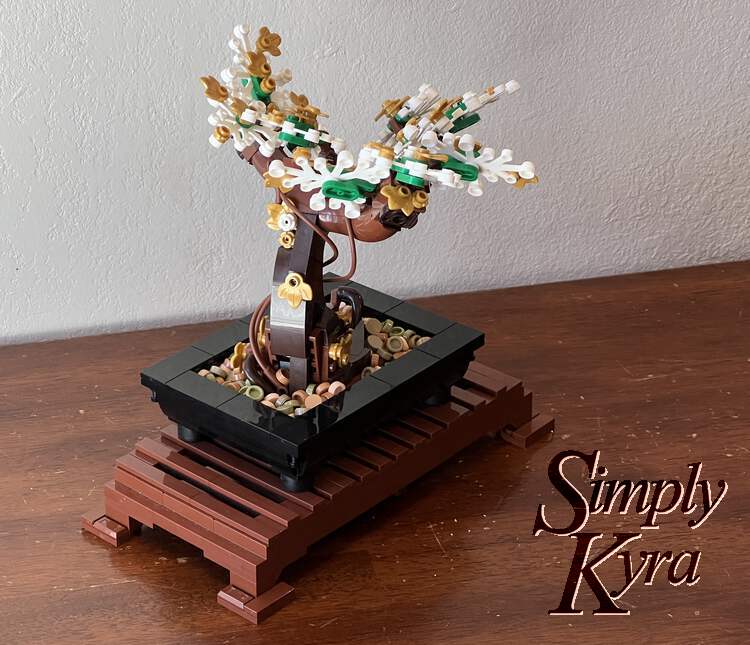
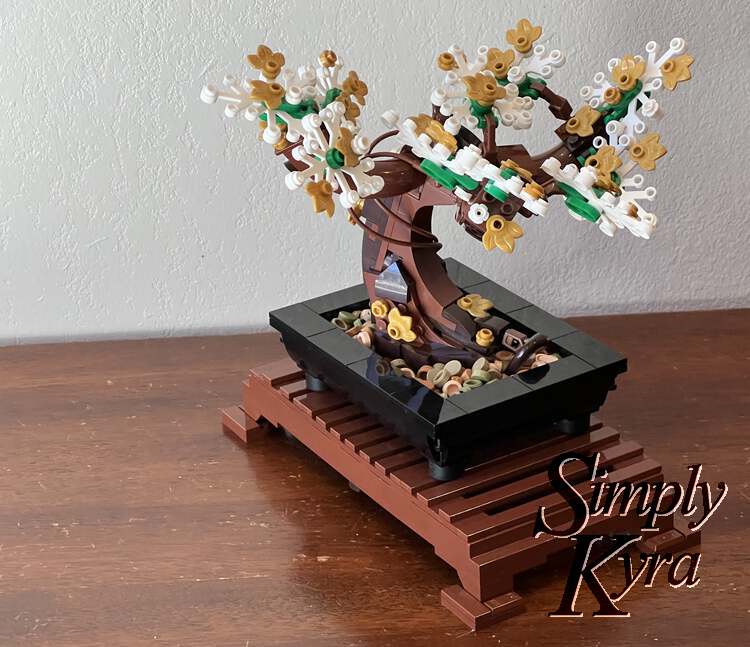
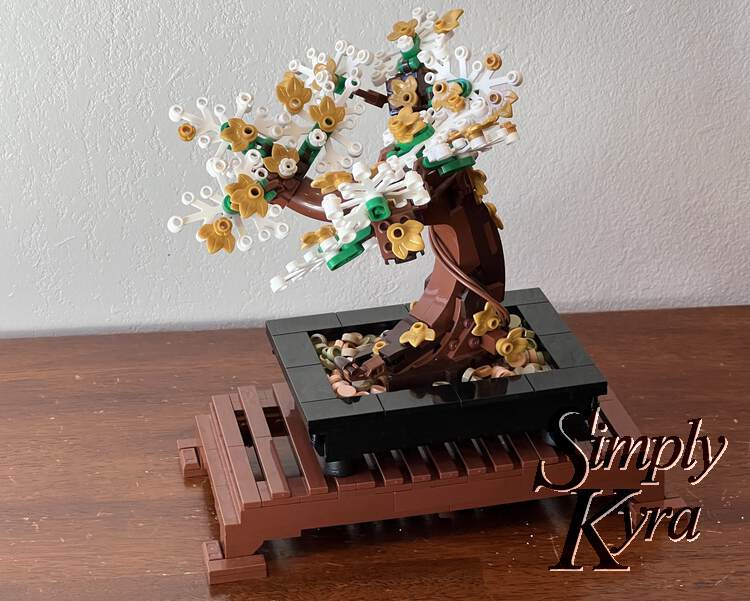
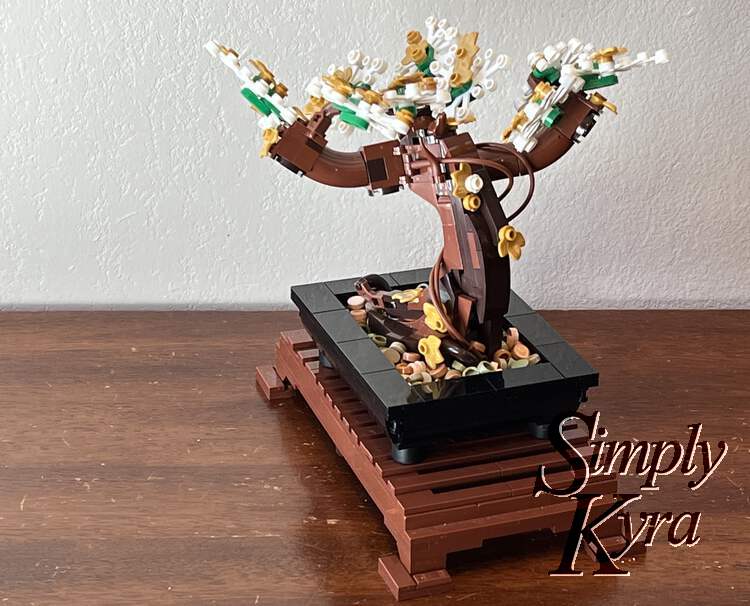
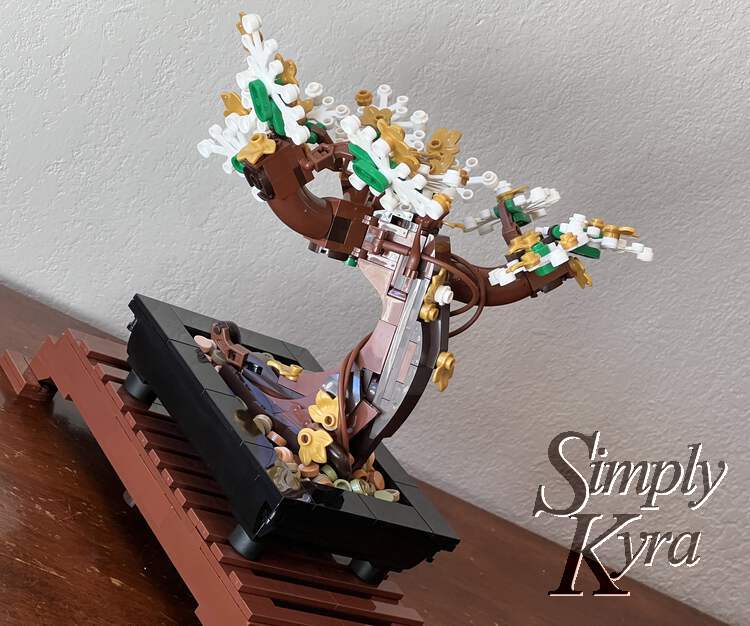
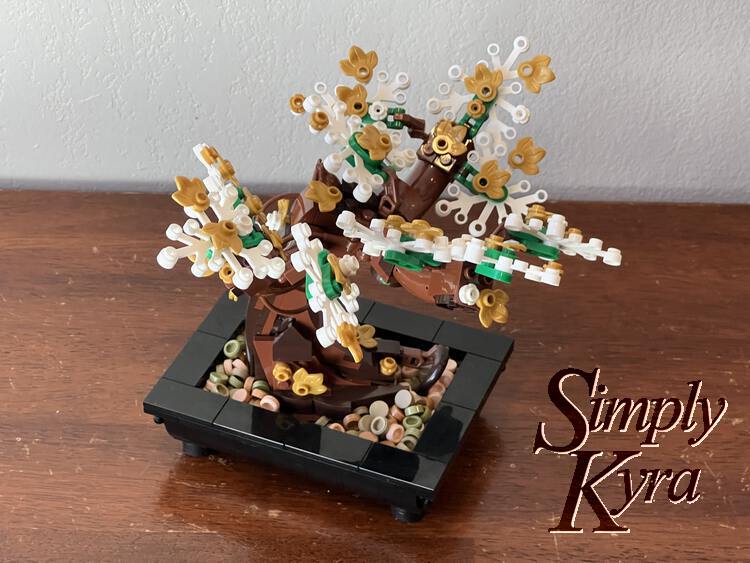
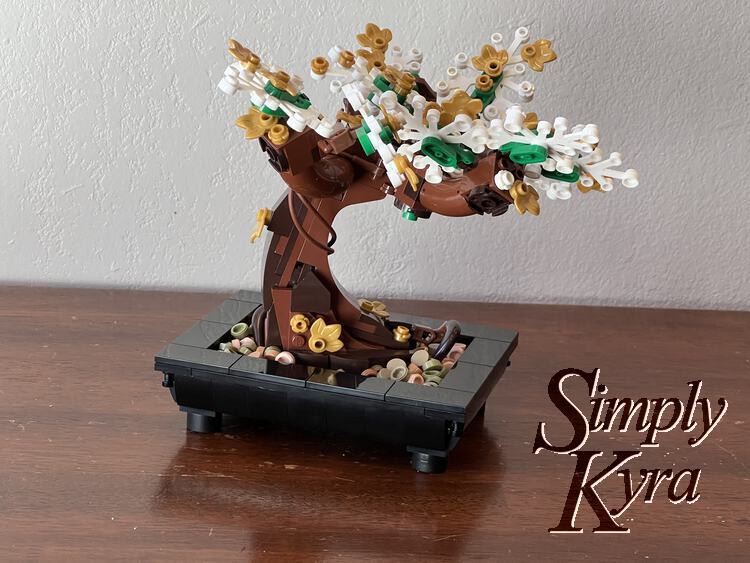
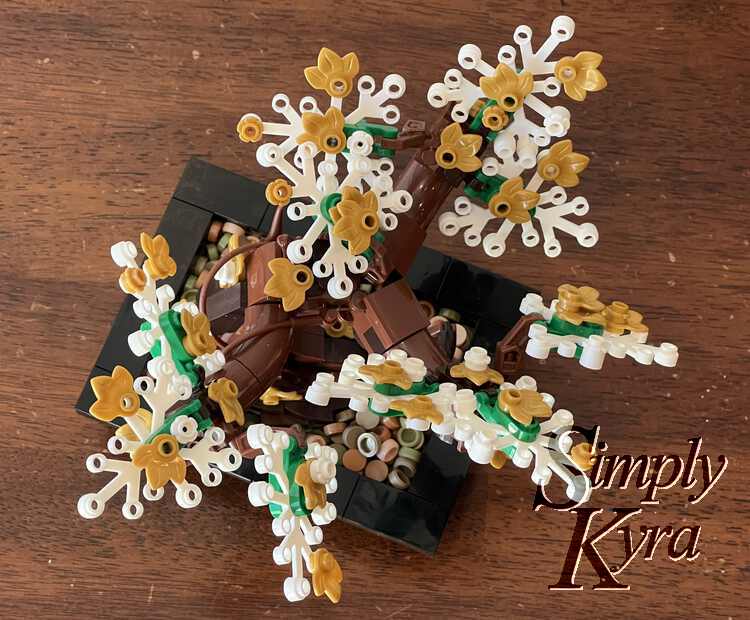
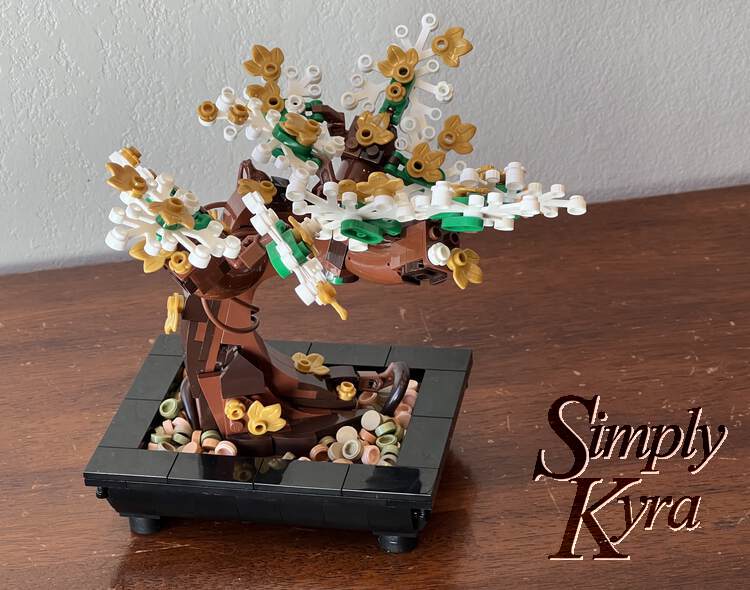
I absolutely love how this tree turned out and could see repeating it next year! That said, have you made your own MOC (my own creation)? If so what was it? I’d love to hear about it in the comments below so feel free to share! I hope you had a great Winter holiday and your New Year is going great. Have an awesome day!
If you’re interested in getting any of my future blog updates I currently come out with a new one every Wednesday and share them to my Facebook page and Instagram account. You’re also more than welcome to join my email list located right under the search bar or underneath this post.

