
'Healthy One Pan Dinners' Cookbook Review
I absolutely loved this cookbook! So much so that even though I decided early on that I had to review it on my blog I kept putting it off as I made more and more recipes from the book. Every single recipe, even ones I substituted ingredients for and thought wouldn’t turn out, ended up being amazing!
I do; however, want to be up front and tell you that I didn’t pay for this book. I received it for free through NetGalley in exchange for an honest review. That said this is the first book I read through NetGalley that I loved enough to actually post a review on my blog and will probably, most definitely, end up buying it for myself. That said I am not an affiliate for the book or publisher and I make no money if you buy it. Also, to note, as I haven’t bought the book yet I don’t know if any reviews I make below may have been updated before the book went to print. You can find the book through DK, a division of Penguin Random House, here: https://www.dk.com/us/book/9781465492661-healthy-one-pan-dinners/.
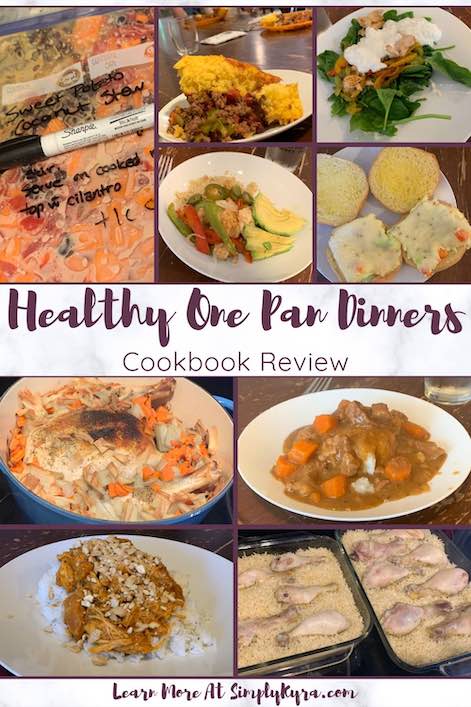
I was going to review these recipes in the order I made them in, but then realized just how many I actually made (fourteen!) and realized I should order it differently to make more sense to you. The cookbook itself is ordered based on which cooking vessel you use to make the recipes so I decided to order these reviews under the same sections and then sort them alphabetically within each one. I don’t have a multi-cooker though so I wasn’t able to review any of those recipes.
One substitution I frequently made throughout the book was using the bottled version of the called for fresh lemon/lime or zest. I normally google it each time I need the conversion rate but the Taste of Home’s article Easy Lemon Zest Alternatives that wrote that one teaspoon of lemon zest is supposedly equal to two tablespoons of lemon juice seems like what I did.
Sheet Pan
The author, Dana, recommends, in the introduction of the book, lining a sheet pan with aluminum foil and parchment paper for the easiest cleanup. I, instead, used my Silpat™ liner. I did notice liquid gathering on and under my liner while baking the recipes but I’m not sure if that’s on me, because of the liner difference, or the recipe itself. I had no other issues and the food tasted great.
Chicken Fajitas
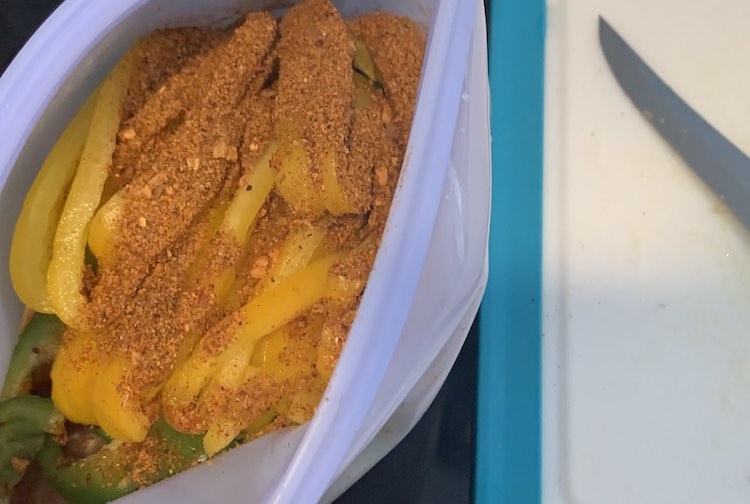
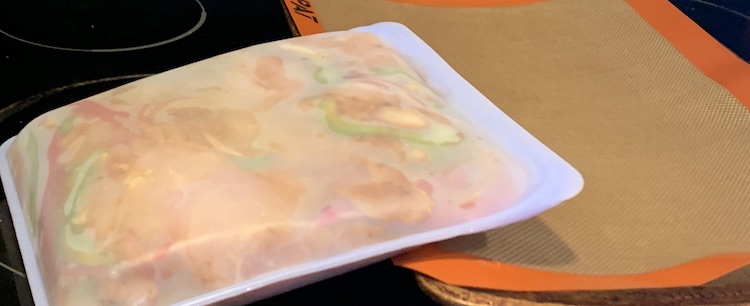
It’s fitting that the Chicken Fajitas are the first recipe listed in my review as I’ve made them several times. I personally don’t care for onions, although I’m trying, so the first time I made the recipe I used half of the called for onion and the next time left it out and increased the bell pepper instead. The photos below are from both of those times. I made this even easier by cutting up the vegetables and chicken whenever I had a time to kill in the morning and tossed them together, with the seasonings, in a Stasher bag to store in the fridge until I was ready to preheat the oven. While the oven came to the proper temperature I grabbed the Stasher bag, tossed the contents onto the lined sheet pan, and used a spatula to spread it out. The next time I made this I had cut the meat a day or two before, when making another recipe with the other half of the packaged chicken, so the morning of I just had to cut up the peppers, add the seasoning, and tossed it together making it even simpler.
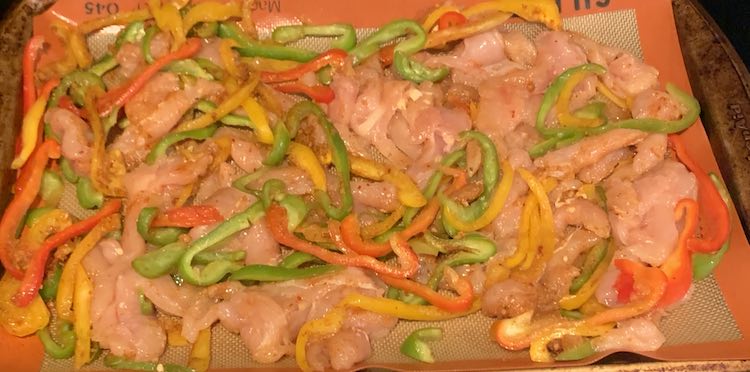
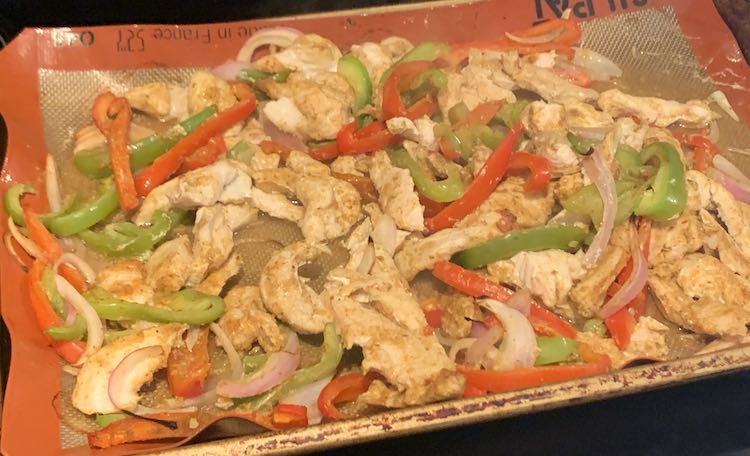
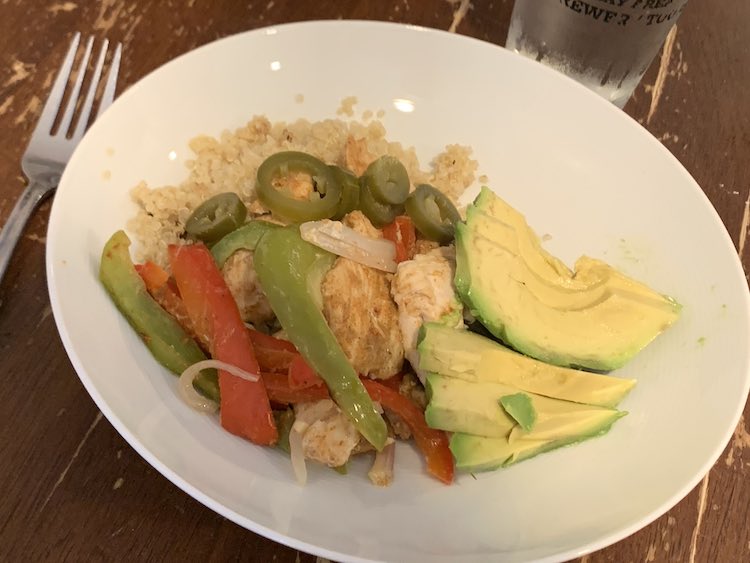
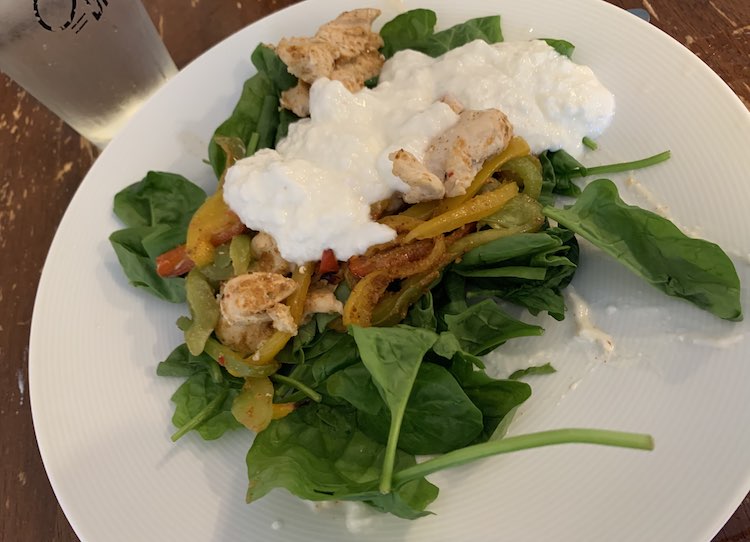
The recipe calls for flour tortillas to make chicken fajita wraps. This is what my husband did while, for my kids, they got a flour tortilla and tried bits of each vegetable and chicken. I deviated from the recipe, as I had leftover quinoa I nuked, and made a fajita bowl and then the next time I, instead, topped mine on spinach and added plain yogurt for a fajita salad-ish. I didn’t get a good photo of the actual fajitas but I took photos of my alterations which were so good.
Egg Sandwiches
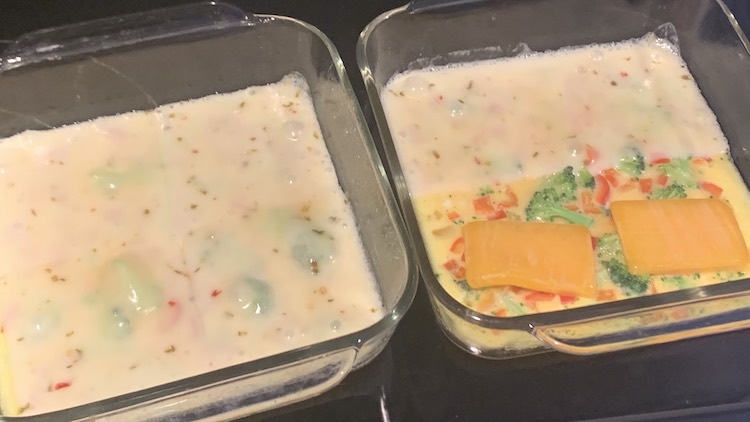
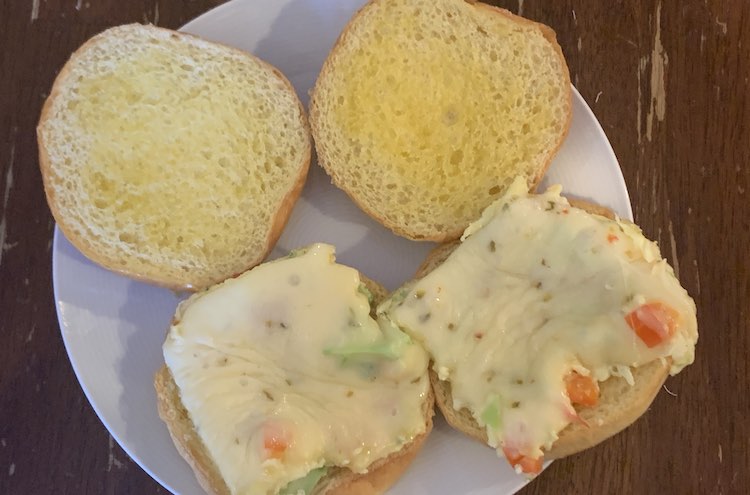
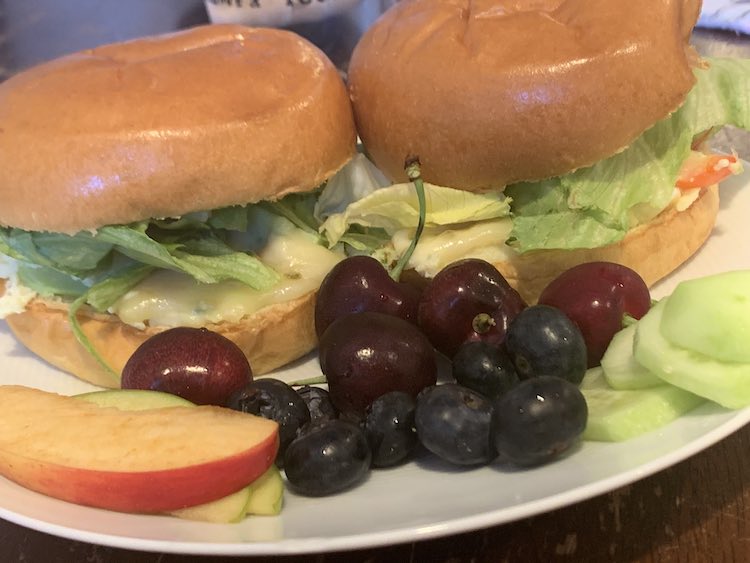
I was super excited to try the egg sandwiches. I’d been buying brioche hamburger buns for whenever we barbecue burgers so I made sure to grab an extra bag of them along with the ingredients I needed. The recipe calls for a quarter sheet pan (9 by 13 inches) which I didn’t have and my casserole dish, of that size, was in the freezer so I ended up mixing the ingredients up and tried to pour equal amounts of the mixed eggs into two nine by nine inch glass casserole dishes instead. The dishes made it so easy to split the recipe into eight, rather than the six servings it called for, so I upped the cheese amount and we each had ‘two servings’ so a quarter of the recipe. My one daughter doesn’t like pepper jack cheese so you can easily see which sections were hers in the photo below. My kids started off saying they loved the egg sandwiches but didn’t end up eating a crazy amount so I’m not sure how much they truly liked it. Matt and I loved this recipe and I especially love how the contents of the eggs can be customized based on what excess vegetables are in the fridge. I wonder if I should next make it in silicone lined muffin trays, instead of a sheet pan, so the kids can customize their own egg sandwiches using their own mix-ins.
Sheet Pan Barbecue
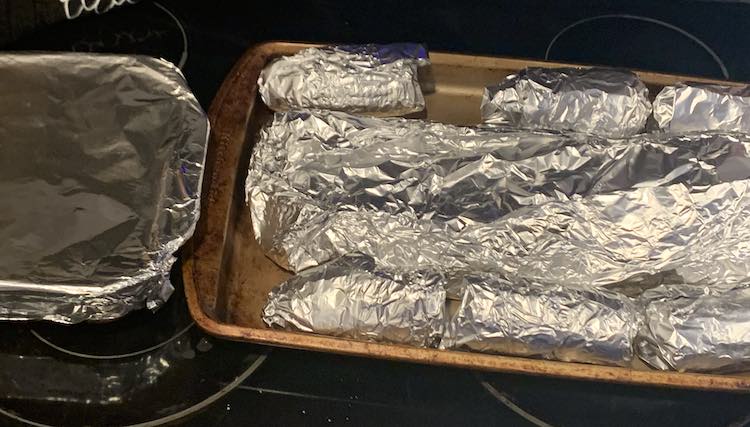
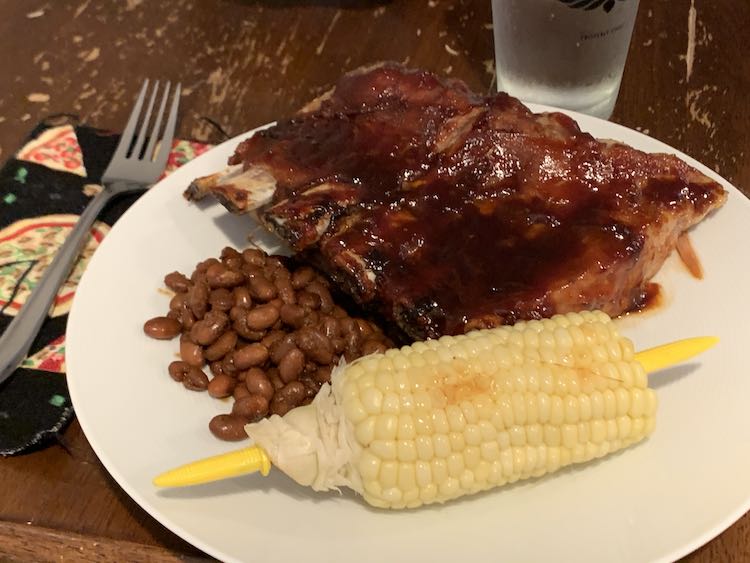
Considering we’re a family that mostly only uses tinfoil while freezing casseroles with the odd ‘veggie boat’ for the barbecue thrown in this recipe seemed like an awful lot of aluminum foil. That said, I followed the recipe as written and it turned out amazingly. My husband loves both barbecued ribs and baked beans so this was an awesome surprise for him and even the kids, surprisingly, loved the ribs and corn. I can definitely see doing this again as a special occasion treat.
Sheet Pan Pancakes
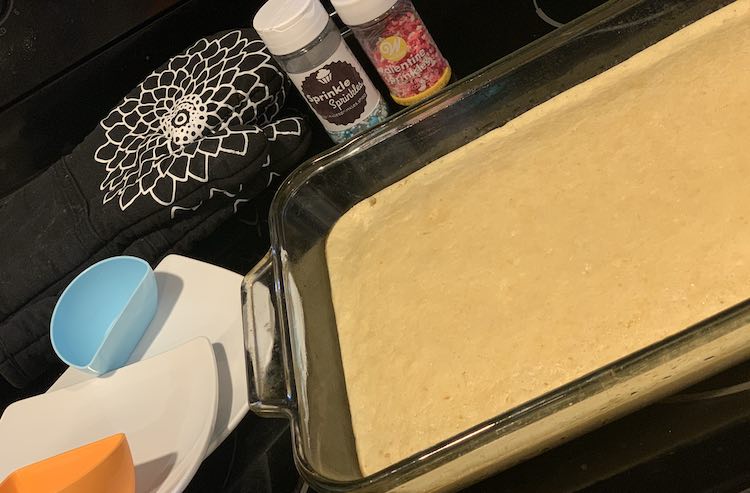
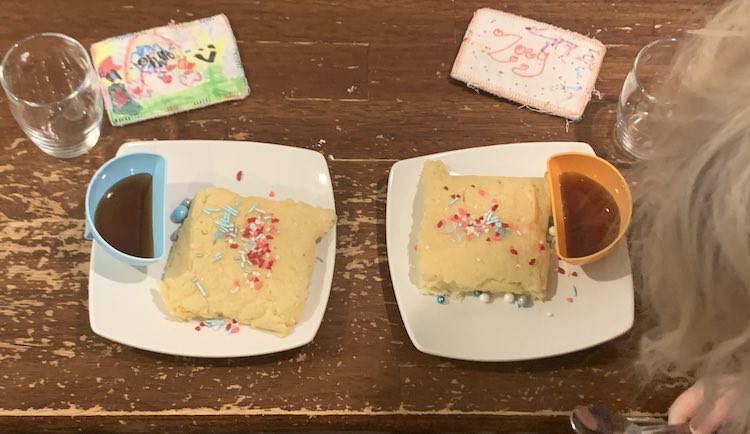
This recipe was on my list to try but I almost didn’t attempt it as I have two bags of flour in the house and whole wheat pastry flour isn’t one of them. I had also made something similar before for the girls, with added sprinkles in the dough, otherwise I would’ve jumped on it quicker this time around. That said, last week the girls woke up and told me they didn’t want cereal or porridge (our defaults) and instead wanted sprinkle oven pancakes. I remembered I’d been meaning to make these and decided to attempt them using all-purpose flour, a one-to-one substitution with the flour I didn’t have, and they turned out great. The batter looked a bit runny so instead of adding sprinkles to the dough, before baking, I added them on top of the finished pancakes instead. It was a hit and the next morning I microwaved the little bit of pancakes that were leftover for their breakfast. Pancakes in the oven are perfect for me as normal stovetop ones always set off the smoke detector when I make them.
Dutch Oven
I’ve had a dutch oven for years, since our wedding, and occasionally pulled it out for a recipe or two here or there. Between this cookbook and attempting yogurt during our shelter-in-place quarantine I’ve pulled out the dutch oven more times in 2020 than before this year and, with these recipes, I can see using it way more often in the future. The dutch oven is perfect for starting something on the stove and finishing it in the oven, like these recipes, and is great at retaining heat, perfect for yogurt.
Chili with Cornbread Topping
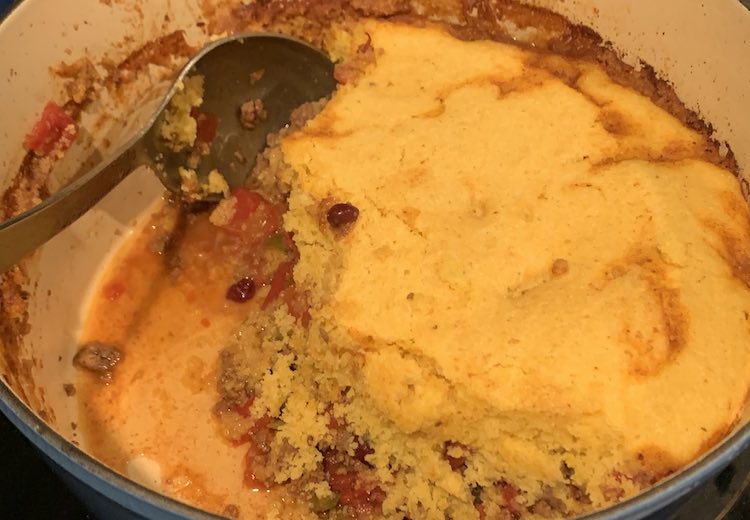
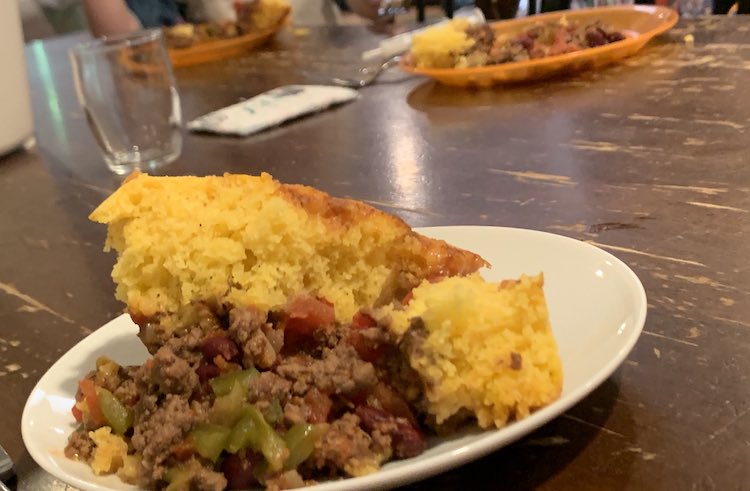
I love cornbread and as soon as I saw this recipe I knew I had to make it and I realized just how long it had been since I did last make cornbread. Unfortunately, I wasn’t able to find cornmeal so I had to be patient and wait a month or so until our main grocery store magically had it in stock again. This was simple to cook and tasted amazing. Since it’s finished off in the oven, for twenty-five minutes, you have time to get together any sides, set the table, play with your kids, or just get a break while it bakes.
Shepard’s Pie
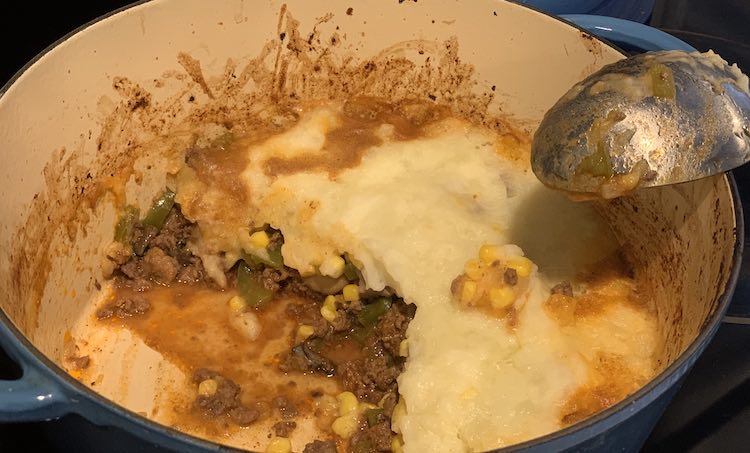
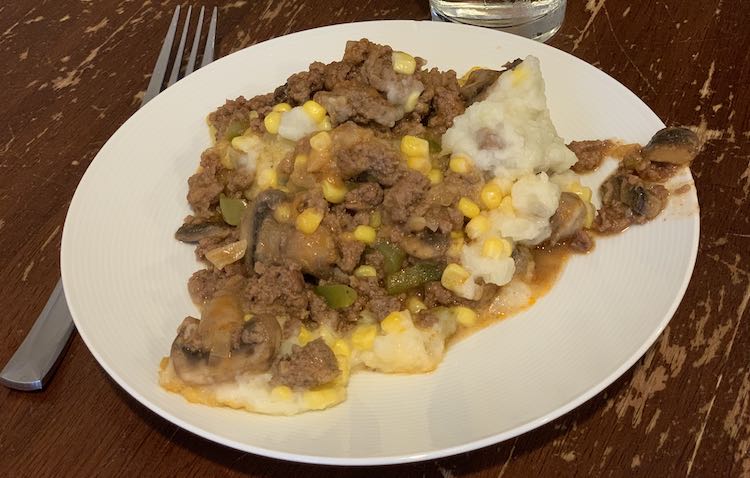
The other dutch oven recipe I tried was the shepherd’s pie so another ground beef dish topped with something. I used my kitchen scale to measure the one pound of potatoes it called for and when I next make it I’ll probably double the amount to make a larger layer on the top. Otherwise it tasted great.
Cast-iron Skillet
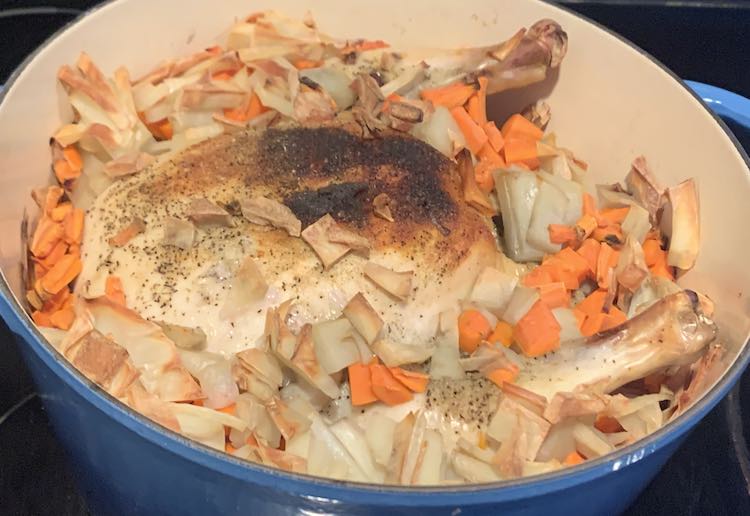
I don’t have a cast-iron skillet but really wanted to try the roasted chicken so I decided to use my dutch oven, without a lid on, and it turned out great in the end.
Roasted Chicken With Root Vegetables
So… full confession. I really screwed up following the recipe and made several ingredient changes and it still turned out fantastic. I could definitely see making it again, but I don’t know for sure how it would taste if I used the ingredients listed. The changes to the recipe I made are:
- Used my, lid-less, dutch oven rather than a cast-iron skillet.
- I was out of fresh herbs so I left some out (rosemary) and replaced others (ground thyme and garlic powder).
- Used lemon juice rather than using a lemon.
- Since my seasonings consisted of powders and juice I didn’t place anything inside the cavity of the chicken and instead sprinkled it over the top.
- Changed the root veggie ratio to two thirds diced potatoes and one third carrots.
- Forgot to add olive oil overtop of it all.
It turned out awesome and I’m definitely keeping this recipe in mind the next time I purchase a whole chicken.
Baking Dish
Chicken + Rice Casserole
This recipe called for eight chicken drumsticks and I bought a package of ten so I was concerned there would be too much chicken compared to the rice. Since I figured it was a fair assumption to make more rice for the kids rather than chicken I decided to multiply the rest of the ingredients by one and a half. This meant I needed a bigger casserole dish, which I didn’t have, so instead I mixed the rice mixture in a large bowl and tried to pour it into two different casserole dishes. One dish was eight by eleven inches while the other one was eight by eight inches. The one dish ended up getting a larger amount of the liquid compared to the rice while the other dish had more rice. This became fully apparent when I checked on it two thirds of the way through the cook-time, to remove the foil, and one casserole was still sitting in liquid and the other was bone dry. I considered mixing it up but instead left it as is. I was concerned about the dry one while it finished baking but they both turned out great. The dry one was still edible and offered the perfect amount of crunch while the other one was as I expected. We all loved it. I could see this becoming a staple… note add chicken drumsticks to my grocery list… although I could see it needing a bit less salt but I wouldn’t want to leave it out completely.
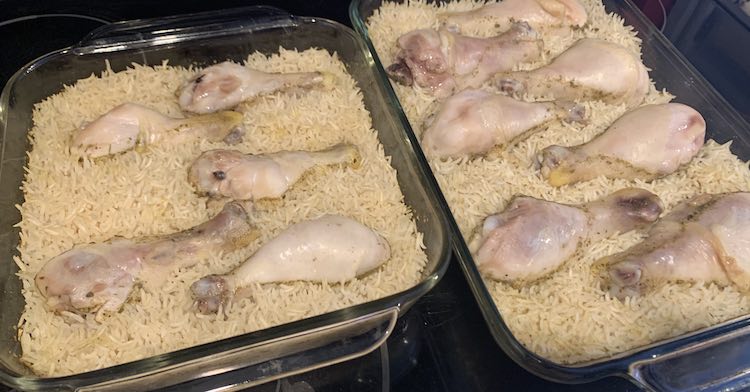
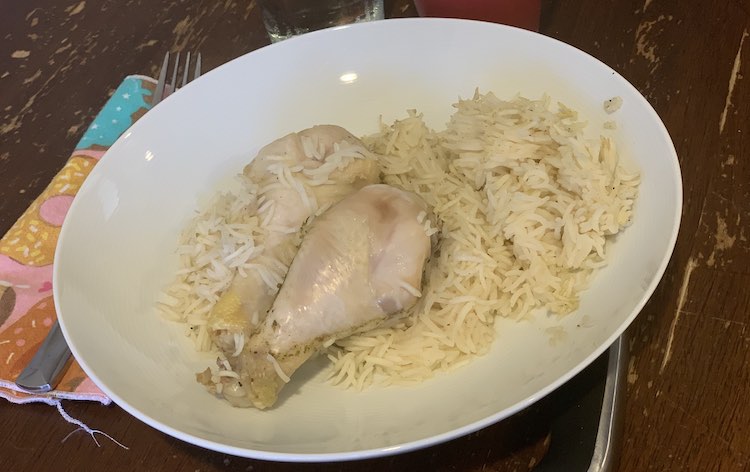
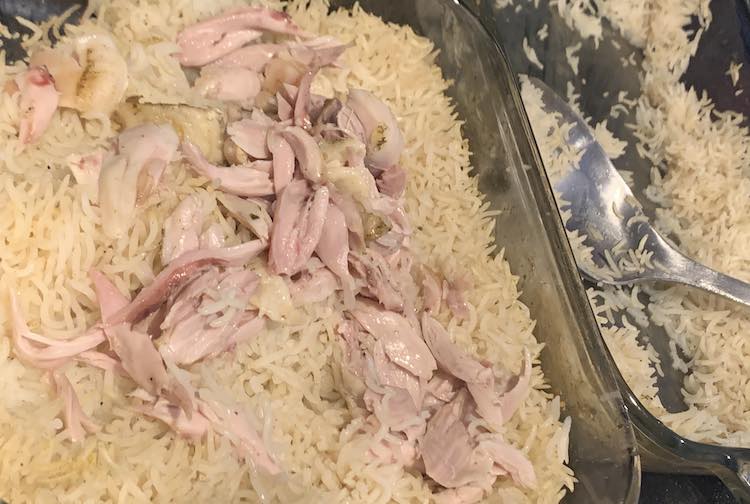
Once we were done eating I took the leftover drumsticks and removed the meat from the bone so I could mix the leftover rice and chicken together inside a Stasher bag for an easy microwavable meal. I debated freezing the leftovers just to see if it worked but the kids and I ended up eating it for lunch the next day instead.
Chicken Enchiladas
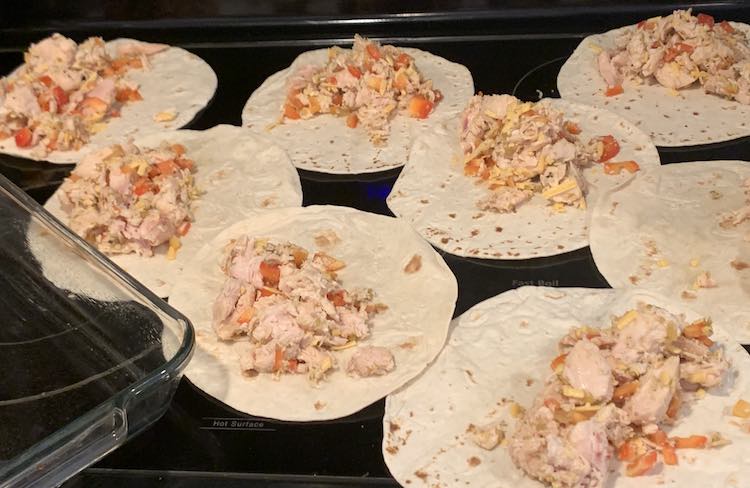
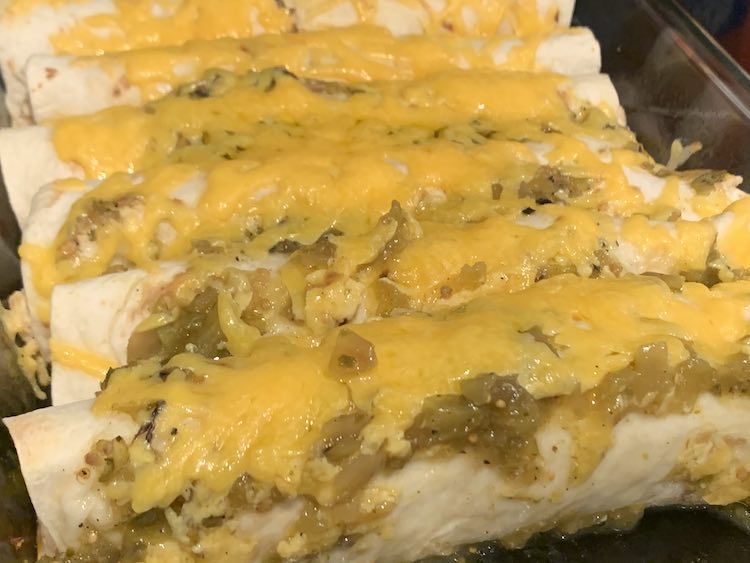
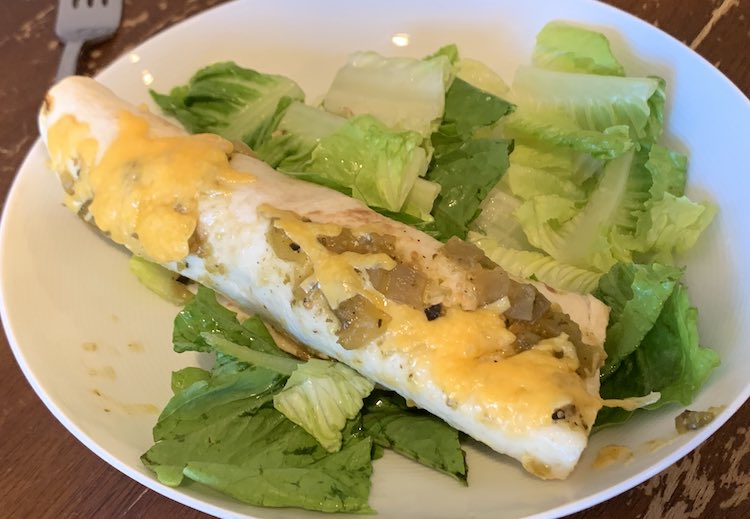
I absolutely loved these and will definitely make these the next time I buy rotisserie chicken. With COVID-19 I wasn’t sure how safe buying the whole rotisserie chicken at Costco was so I decided, instead, to buy the prepacked rotisserie chicken, in the deli area, and used my scale to weight the amount the recipe needed. This made it easier as I didn’t have to take time removing the meat from the chicken bones. To make the wrap part I found room to spread out the flour tortillas, all at once, so it was easier to split up the chicken enchilada mix. I then rolled them up one at a time and put them into my casserole dish to bake in the oven. These were so simple to make.
I loved Zoey’s reaction to these. We almost never bake our tortilla wraps as they’re normally used for banana wraps so when Zoey noticed they were hard she asked us if they were frozen. I next got complimented, repeatedly, on making the wraps hard as she ate the outer layer of the enchiladas. She then went on to tell me not to make it again (with a positive voice so I thought I misunderstood at first) as she “only likes Annie’s mac and cheese and pasta”. Overall it went okay, the kids picked and chose sections to eat, but Matt and I love them so I’m counting it as a hit.
Mexican Quinoa Casserole with Guacamole
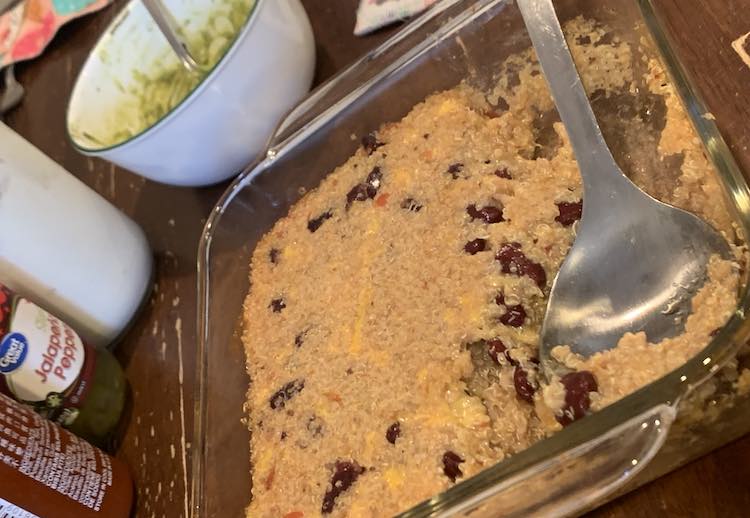
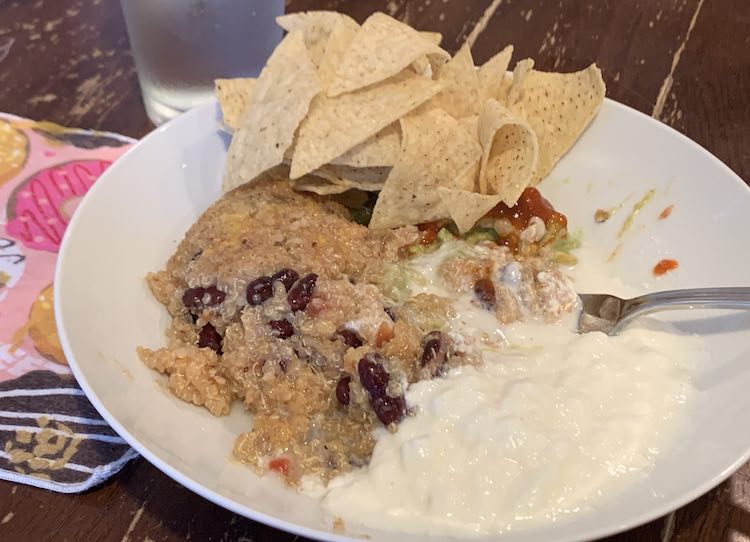
So this recipe definitely didn’t go as planned. I cooked up way too much quinoa the day before specifically so I’d have leftovers to make this dish. After I scooped the cooked quinoa into a bowl I came to the grim realization that I didn’t have any black beans. After deciding to replace the black beans with red kidney beans, and increasing the amount to a whole can as there wasn’t much left after measuring it, I next had to replace the vegetable broth with chicken broth. I finally got the mixture into the oven just to discover that my avocados, that I needed to make the guacamole with, where older and more bruised than I had thought. By then I had basically given up on this dish and figured worst case I could grab something last minute to go with it but figured I’d try to cut off the bruises and recovered enough avocados to charge ahead. I next used bottled lime juice instead of fresh and then finally, by the time I saw the salt, I decided to sprinkle it in instead of measure which ended up causing extremely salty guacamole. Since the kids normally don’t like spicy I didn’t assemble the toppings onto the casserole, as the recipe called for, and instead had us assemble the parts on our plates with the additional option of plain yogurt. Funnily enough, this recipe still turned out amazing; which I feel is testament to this book. And once combined together the guacamole didn’t seem too salty anymore.
Slow Cooker
I love my slow cooker but go through spurts of using it and than ignoring it again. I especially love when I can prep food in the morning, when the kids are the happiest, and have a simple supper ready to go later on when life might be a bit more complicated. I loved using it when the kids were younger and now that Ada was (is going to do) distance learning I can see the slow cooker being a big part of our life again as I can set it up when she’s focused on school work while I stay nearby and ready to pause if she has questions or needs help. The only issue I had with this section was that the multi-cooker recipes were mixed in with the slow cooker ones instead of in a separate chapter. As an aside I just looked up multi-cooker on Wikipedia and found that “some multicookers can also function as slow cookers” which explains why this sections may be mixed while the others aren’t. I guess I can see this only bugging you if you have a slow cooker and not a multi-cooker rather than an appliance that can handle both cases. That said she does mark which is which at the top of each recipe so you definitely aren’t guessing.
Beef Stew
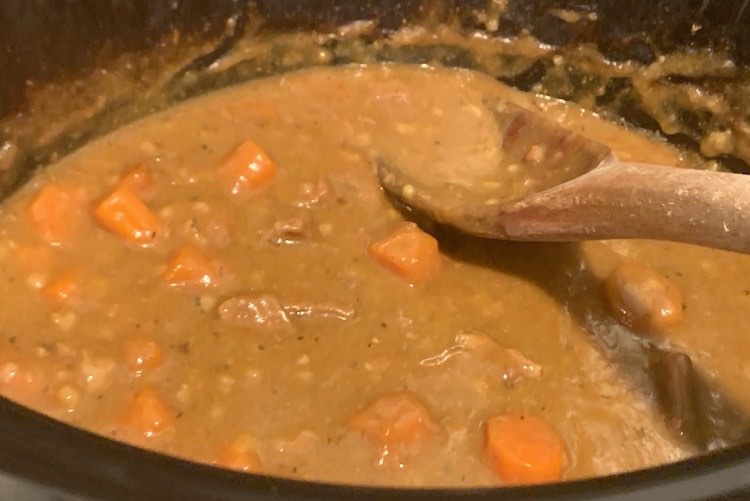
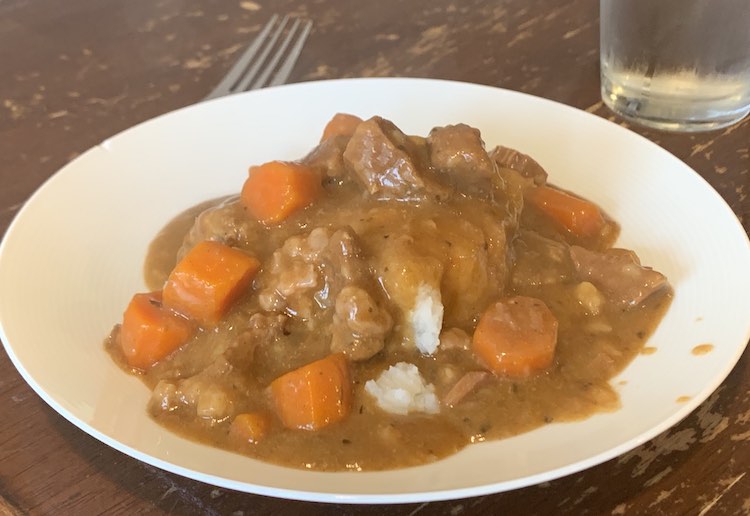
This was a recipe that I ended up having to make a bunch of replacements with. I replaced the fresh herbs with dried while also decreasing the amount of beef, onion, and thyme. I was out of bay leaves so after looking up The Spruce Eats bay leaves substitutions I settled for sprinkling oregano in the dish instead. Overall it was simple to throw together and even though I normally don’t like stew it tasted decent over mashed potatoes.
Chicken Noodle Soup
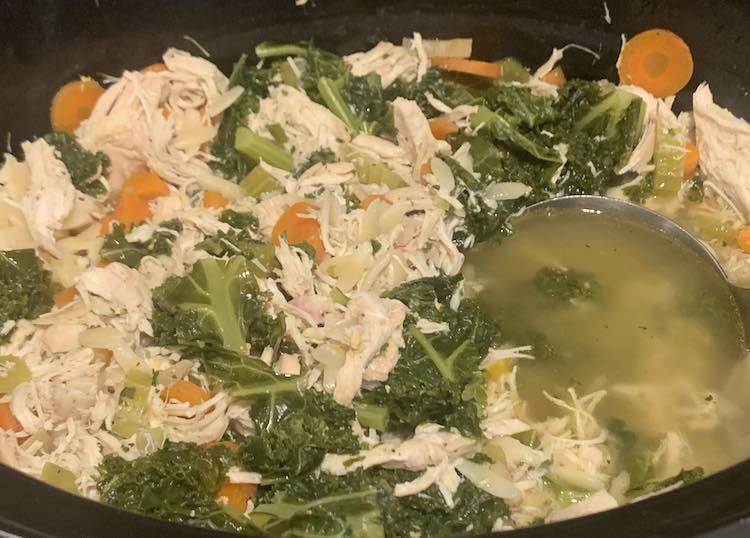
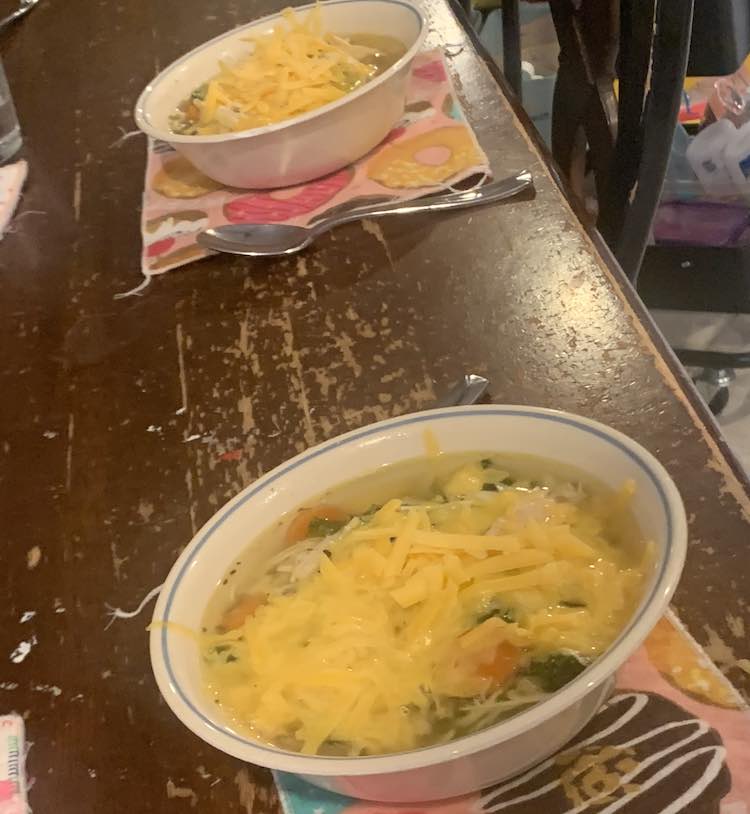
I was excited to try this simple chicken soup and it didn’t disappoint. After leaving it in the slow cooker the chicken breast were so simple to break up using two forks. I didn’t have a lot of orzo pasta left in in my opened bag so I ended up combining two different brands, eyeballing the amount as I poured it in, and may have ended up with a bit too much… though with the kids maybe that was a good thing. I added grated sharp cheddar cheese, not called for in the recipe, to the bowls of soup.
Coconut Chicken
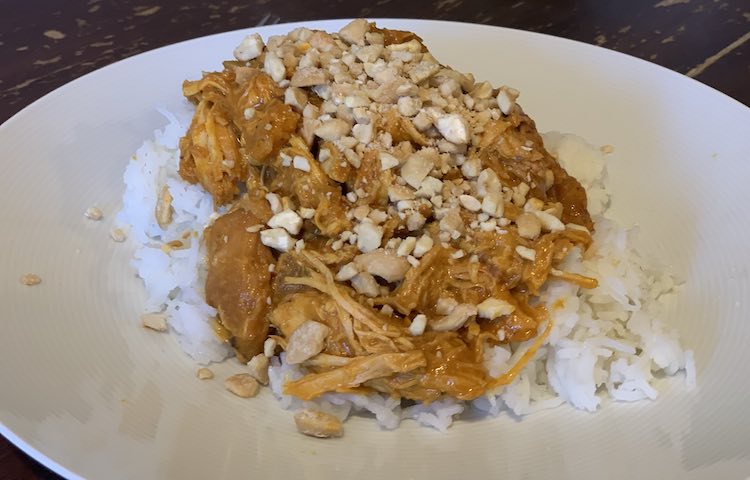
This was the first recipe we tried from the cookbook and although it didn’t look appetizing it tasted so good. I started with packaged Costco rotisserie chicken rather than the called for chicken thighs so I skipped the first couple steps making the recipe even simpler. I ended up making a couple other replacements substituting powder for fresh herbs, downsizing the onion, using bottled lime juice (two tablespoons) instead of a fresh lime, and using a bit of salt instead of celery salt. I paired the curry with white rice and it was amazing. It made our house smell good all afternoon. The recipe mentioned this was a spin on butter chicken and Matt thought it smelled familiar all afternoon until I finally put him out of his misery and told him why and what.
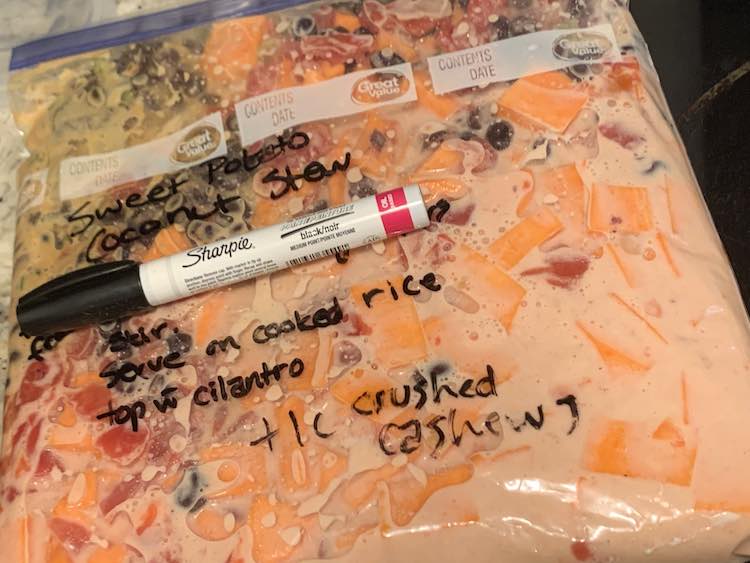
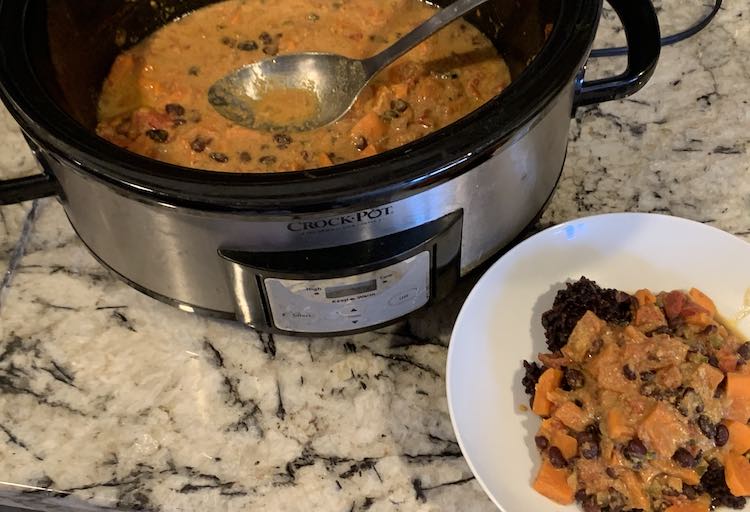
Sweet Potato Coconut Stew
This was, officially, the first recipe I technically put together from the book but I ended up not cooking or eating it until, almost, the end as it was a freeze and cook when you need it type recipe. It was so simple to put together. I prepped it the same morning as I made the slow cooker Coconut Chicken as they had similar ingredients so it wasn’t any major effort. I actually went to make it last week and realized my advanced copy of the cookbook had expired so I’m really glad I wrote the instructions on the freezer bag. I took the expired cookbook as a sign that it was time to get a move on writing this review hence finally sharing this book with you now.
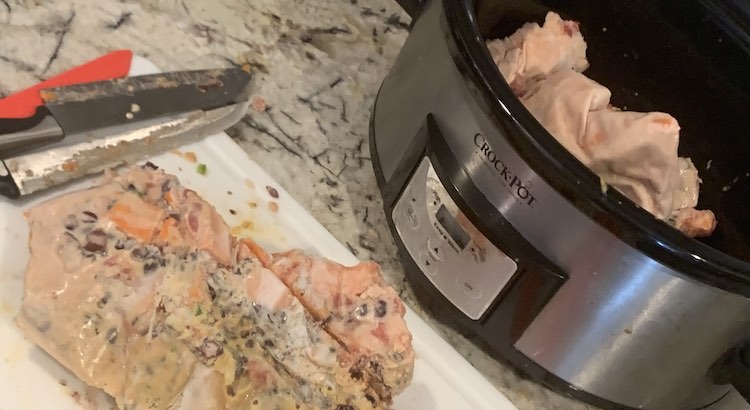
A quick note to the wise if you make this. Definitely freeze the stew in a freezer bag that you can easily remove it from (check for me) and that would fit in your slow cooker (I didn’t this). This recipe is made so you can dump it frozen in your slow cooker and forget about it until dinner (I made rice to go with it). My freezer bag made the stew thin and large so my lid wouldn’t fit on the slow cooker with it inside. After turning it on and hoping for the bottom to thaw enough to firmly close the lid, for five minutes or so, I switched gears and used my knives and the pressure of pushing on the edges to break it into pieces so it would fit properly. So not as easy as it made it seem but still worth the effort as it tasted great.
At one point, while Ada was eating it, she noticed that there might be beans in it, she doesn’t like beans, and then told us that “it’s so good I can’t even taste the ingredients I don’t like”. High praise.
Recipes On Your Phone
I read the advanced copy of this cookbook through Adobe Digital Editions on my phone. I’ve since seen that you can buy the Kindle version on Amazon, which I haven’t yet, as I first need to figure out if I want it as a paper copy or an ebook. Since it was on Adobe each “page” was a two page spread and if I wanted to see a recipe better I had to either turn my phone vertically and/or magnify in. After returning to the app to find the cookbook reset and needing to quickly find the recipe while cooking I ended up taking screenshots of the recipe (by holding down the power and volume up button on my iPhone) so I’d have it handy and then later went a step further by “favorite-ing” it so I wouldn’t have to scroll through all my photos to find it later on. This made it so much simpler to create my grocery list, figure out what I was making, and cook it by finding the recipe quickly.
Even though all of the above recipes turned out great and I’m planning on purchasing the cookbook myself I did notice a couple things that weren’t the best that I couldn’t keep from sharing with you.
The book was marketed as Healthy One Pan Dinners and I noticed, sometimes, it seemed to need to reach to satisfy the one pan aspect of these meals. For instance the Sheet Pan Barbecue recipe had you put the beans in an oven safe dish that you then placed on the same sheet pan as the ribs, wrapped in tinfoil, and then had to remove halfway through the cook time so you could fit the corn on the pan to bake while the ribs finished. I was then worried the beans would get too cold, as she recommends microwaving if needed, although they were luckily still warm enough after sitting in the small covered glass casserole dish.
Looking over other reviews on GoodReads, for this book, I found other people thought the recipes were too diverse and seemingly jumbled. Our family, luckily, doesn’t suffer from serious food allergies or stay to a strict diet so I didn’t pay too much attention to the recipe’s label and didn’t realize that the vegan labeling might’ve been misleading until I read Becky’s review that pointed out that “Out of the 100 recipes, I believe around 30 are labeled as vegan. In actuality, only 6 are and that’s if you allow recipes with parmesan topping (which vegans don’t, but easy enough to omit).” In other reviews there were issues with the healthy labeling itself. For me I saw a diverse set of recipes that offered something for whatever I was feeling that day. I felt like most of the recipes offered a balanced meal and I enjoyed the variety offered. If you are calorie counting each recipe lists the yield and, at the bottom of the page, the nutrition per serving. I liked how the nutritional information was easy to see if you wanted to but easy to forget if you didn’t care. In fact for my first review, back in June when the book came out, I thought the book didn’t include nutritional information… oops.
The other issue I had was that the instructions sometimes seemed to be lacking. When I look through the beginning of the book there’s a list of must-have ingredients and detailed information about the cooking vessels used which seemed to cater more towards a beginner. That said, later on, I noticed the two dutch oven recipes I made didn’t mention whether you should bake it with or without a lid on. The first recipe I kept the lid on, since it was a dutch oven recipe and not a skillet one, and found it too wet when I checked on it so I removed the lid for the last bit of baking. The next dutch oven recipe I made also made no mention of the lid so that time I left it off and had no issues. There were other times where I wasn’t sure how small, or large, to chop a specific ingredient. I noticed KES’s review, again on Goodreads, mention the same concern about “poor instructions. For example, cutting a chicken breast into 8 pieces. I have purchased some mighty large chicken breasts that 8 pieces is NO WHERE near popcorn sized[…] One recipe called for a head of cabbage but didn’t instruct in the ingredients to have it chopped, shredded, julienned???” She also felt the “prep & cook times were WAY off. Especially, for beginners.” I can’t remember, for myself, if I had trouble with the prep times or not because I sometimes cut the prep into two sections so I could do a part when I had a chance in the morning and do the rest closer to suppertime. Plus since they were all one pan meals if it had run late it wasn’t as noticeable as there wasn’t another time-critical part done and waiting. There was added rice, a couple times, but I try to make that early and then just leave the pot aside with a lid on until everything is ready so I don’t have to stress.
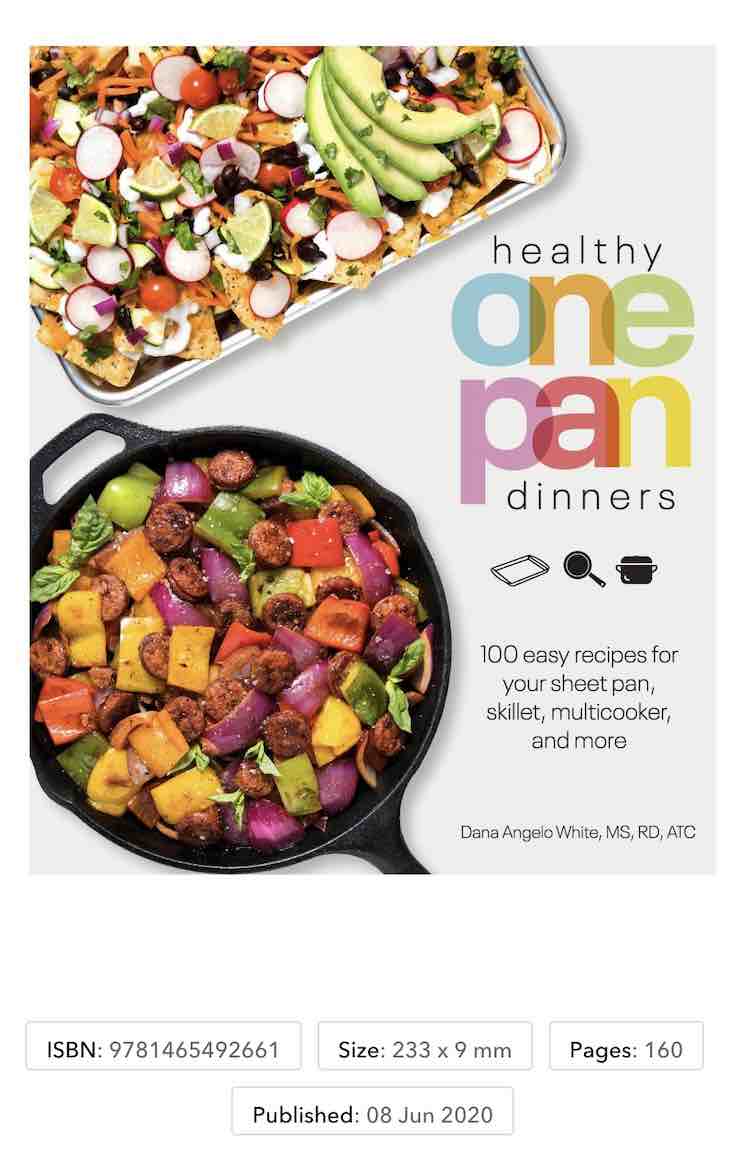
Overall I loved cooking these simple recipes. My husband and I thought each meal was a hit and the kids sometimes even agreed with us. I’m so glad I requested and received the early release of this book as I truly loved cooking through these recipes. It was such a hit that I knew I had to share it with you guys in case you were looking for your own cookbook to change up your meals.
I’d love to hear from you in the comments below. Have you tried this book? How did you like it? If not what cookbooks do you recommend? I hope this post finds you well and you’re having a good day!
If you’re interested in getting any of my future blog updates I currently come out with a new one every Wednesday and share them to my Facebook page and Instagram account. You’re also more than welcome to join my email list located right under the search bar or underneath this post.

