
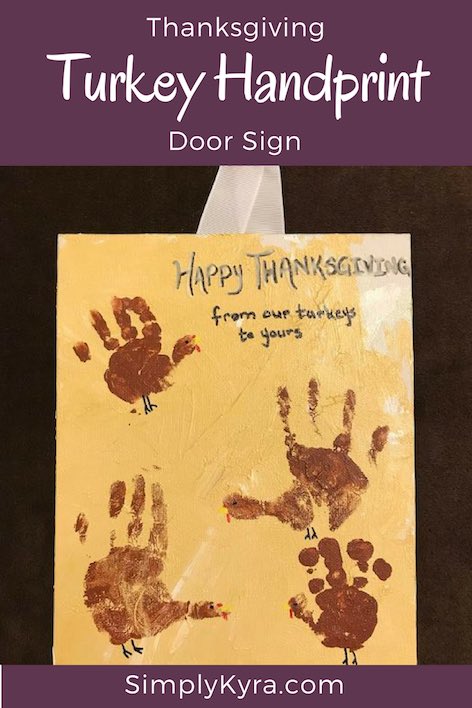
Thanksgiving Turkey Handprint Door Sign
This craft was done last year, but the pictures were taken this year.
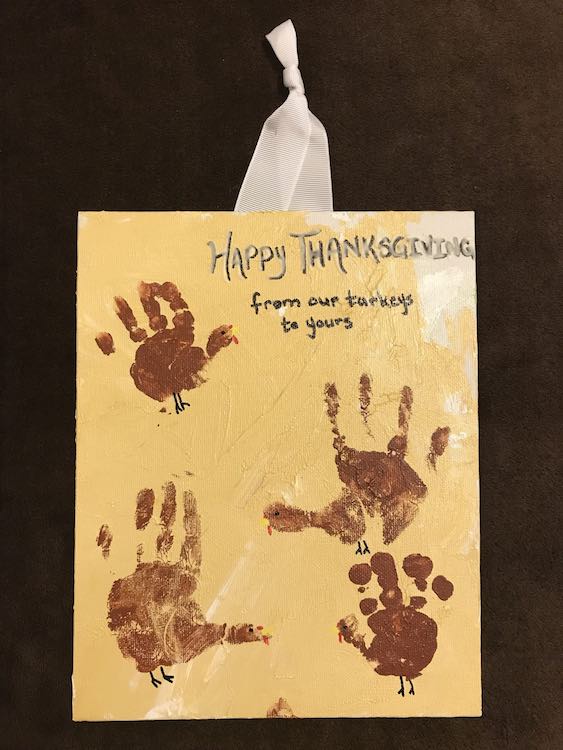
Now that Halloween is over I wanted to share our Thanksgiving door hanger we made last year for all our American readers. For our Canadian readers you can always get a jump-start while your little ones’ feet and hands are still small, pack it away, and then have the absolute pleasure of pulling out a finished piece with no effort next year and enjoy their little hands. I’m really enjoying pulling them out this year; one minute adorable hanging decoration with no effort.
Our Halloween door hanger was all about upside down ghost feet. Our Thanksgiving canvas lets you save their cute little hands; though the hands makes this trickier. Let’s turn your kid’s hands into the little turkeys that they are.
Materials
Overall you need
- Canvas, light wood board, or anything that’s light enough to be hangable
- Acrylic paint:
- background
- brown (turkey)
- red (snood – dangly bit)
- yellow (beak)
- Oil-based paint pen: feet and text
- (optional) Glow paint
- (optional) Mod Podge
- Ribbon or string to hang the canvas with
- Hot glue gun
- Hot glue sticks
- Command Hook: to hang it if you haven’t set anything up
The first step is to plan out your colors. I decided to go for simple and make the turkey handprint only one color: brown. I then planned for the details on the turkey to be yellow for the beak, red for the snoods (dangly bit around the beak), and black for the feet and eyes. I then went on to choose my background. Since I was going to let my toddler paint the canvas for the background I decided to limit her color choice to lighter colors as I wanted the turkeys to show up easily. I chose from the acrylic paints on hand and based on the image, since this was a year ago, limited her to white, yellow oxide, beige, and gold. With all the yellow oxide the yellow beaks blended into the background so maybe if you’re buying colors to go with this project restrict the background from going too yellowy.
After the background is painted and dried your next step is to make the handprints. For tips on how to get your kids handprints you can go to my previous post on how to make a Halloween Ghosts Footprint Door Sign, but having diaper wipes readily available to wipe their hands and bribe snacks on hand may help. It also helps getting your older children on board with the project. I can’t remember if I did Ada or Zoey’s hands first but I was upfront with Ada that I was going to do both their left and right hands and kept it fun.
Once the hands have dried, maybe after the kids go to bed, it’s time for you to add the finishing touches. For the turkey faces I used a black oil-based paint pen to dot an eye then used yellow paint to add a little triangle for their beak. You may want to wait for the yellow paint to dry before adding the snoods with red paint; add a dot above the beak half overlapping the head (thumb) and then a little dangle below the based of the beak. You’ll also want to use your paint pen to add little feet pointing forward below each handprint.
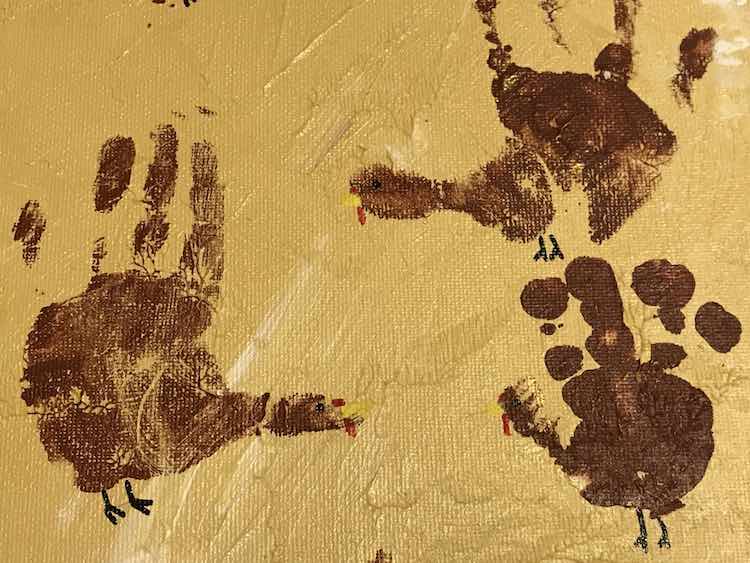
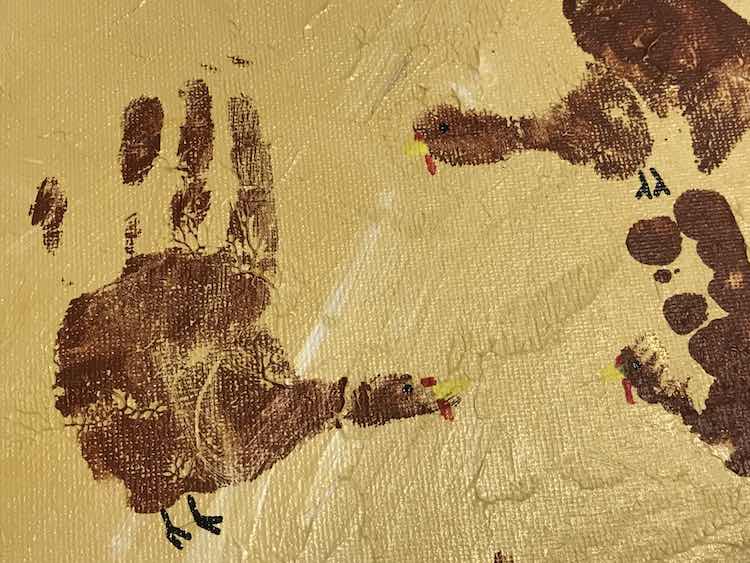
Next choose an empty spot on the canvas to write your Thanksgiving message. If you have a lot of turkeys on your canvas you could always have the text overlap some of them. Additionally you could split your text up to fill up several smaller spaces. I ended up going with an upper case “Happy Thanksgiving” with a subtitle of “from our turkeys to yours”. I then wrote over the Happy Thanksgiving with a small tip bottle of glow paint.
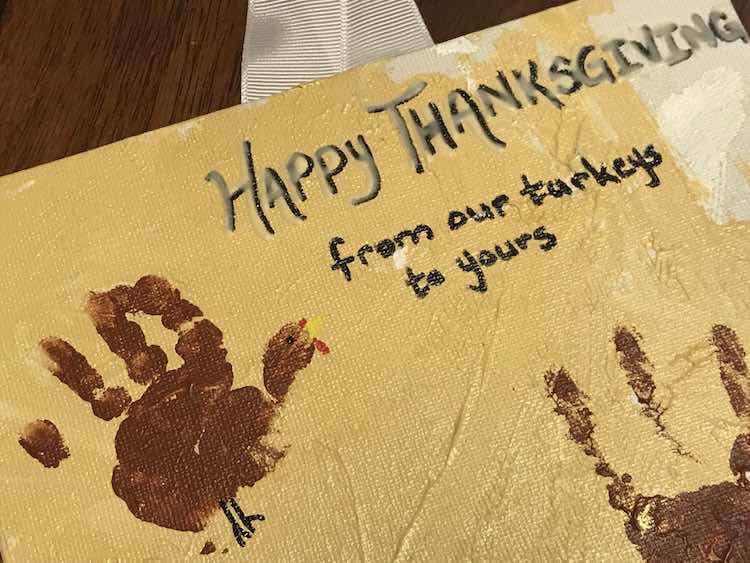
If you want you could always protect the surface with a layer of mod podge. I didn’t protect mine yet but my door is protected from the rain and direct sunlight so I haven’t had an issue yet. If I were to protect it I would probably use outdoor mod podge but you could always use one of their many indoor versions with a matte, satin, or gloss finish too.
After this dries all you need to do is make it hangable. To do this I took a white ribbon, cut it to the length I wanted, folded it over, tied a knot close to the fold, centered it above the flipped over canvas, and then used my hot glue gun to attach it to the back. I made sure to overlap the ribbon with the canvas by at least an inch so there would be more surface area to glue the ribbon down with. I kept a loop above the knot so it could hang off of a large command hook attached to the outside of our front door. For more information on attaching the command hook you can refer back to my Halloween post on making a ghost footprint door sign.
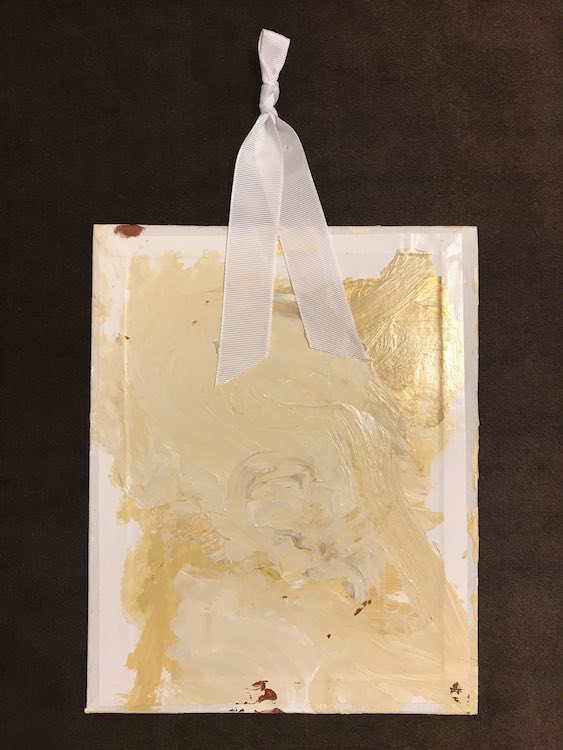
This craft should work with kids of differing ages. We were able to fit four turkeys on our canvas. Both of Ada’s hands (2 years old) and both of Zoey’s hands (about 4 months old). If we put the turkeys closer together or overlapped them (maybe with different shades or colors of turkeys) we would’ve fit more. A variety of hand sizes may make this canvas look better and older children would be more helpful and understanding of the process when making their handprint. You could always purchase a larger canvas, make sure it’s still light enough to hang, or split the image over multiple canvases for a display.
Please leave a comment below to let me know what fun Thanksgiving crafts you love to do with your kids.
Did this save you time?

