
Slime Station at Our Birthday Party

Zoey's one request, other than no pizza, for her birthday party this last year was to make slime. After some thoughts I made it happen and figured I'd share my results with you in case you're also planning on doing the same.
I'll start by going over how I made the slime before sharing how it was used at the party, what I paired with it for food, and what happened after.
Slime
We've made slime in the past many times over but we've never made it during a party. We also somehow hadn't made slime at all within the last year so I was surprised when Zoey asked me to make slime at her party.
Planning
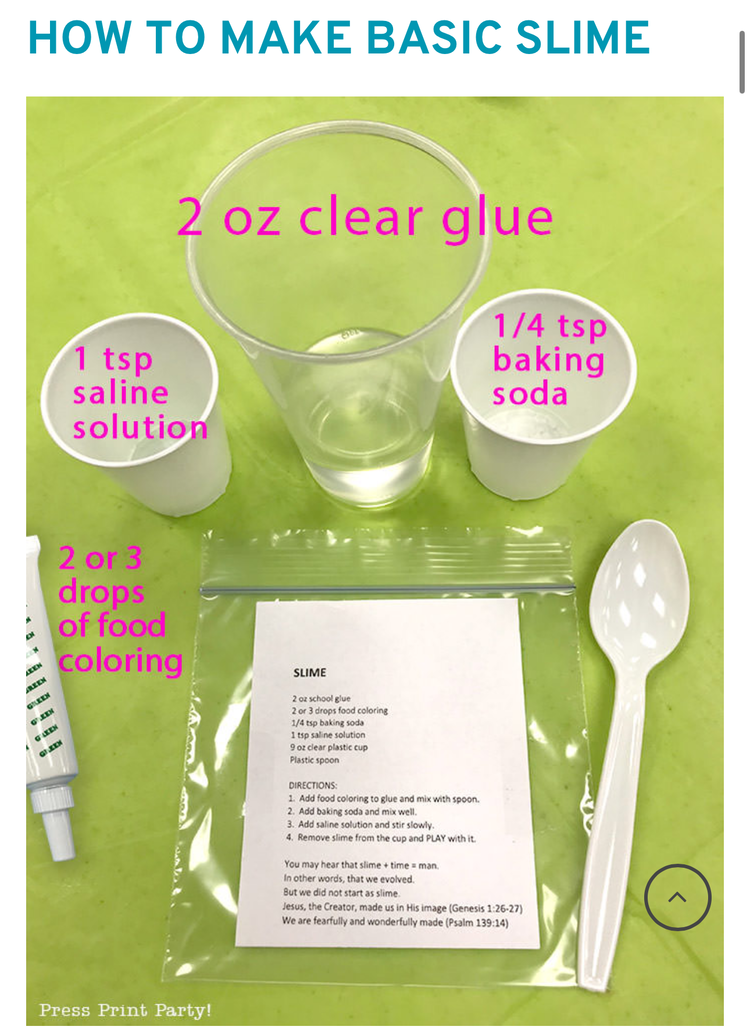
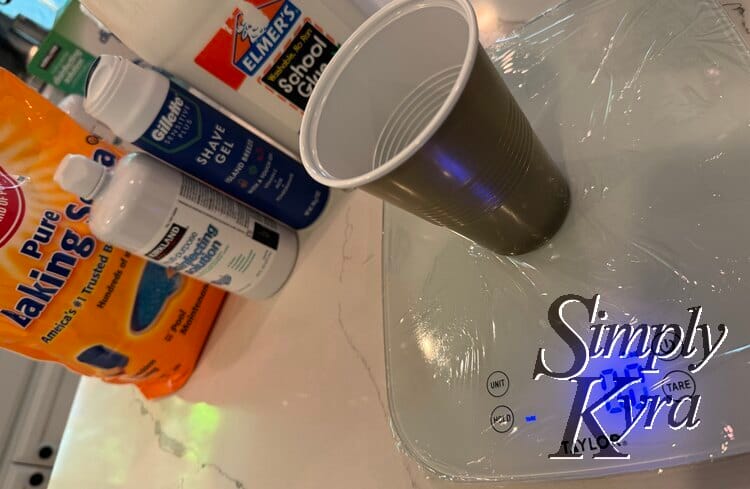
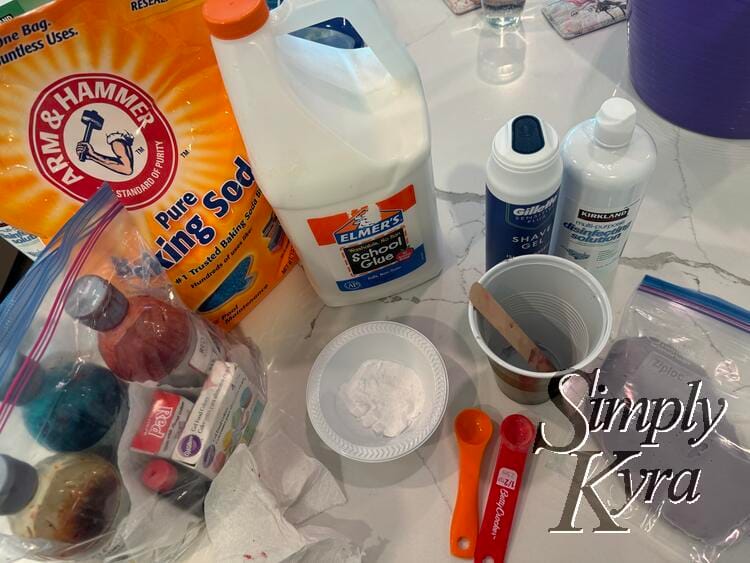
We already had on hand giant bottles of both white and transparent Elmer's glue along with a large bag of baking soda so I knew going in that I just needed to buy contact lens solution on our next trip to Costco... and figure out how to make Zoey's party slime special. That said, I vaguely remember hearing that some contact lens solutions didn't work so I quickly looked up recipes and found, through WikiHow's How to Make Slime: 5 Simple & Fun Recipes, that I needed to be sure the solution included boric acid:
Double check that your contact solution contains boric acid (most brands do). Otherwise, the slime may not form the correct "slimy" consistency.
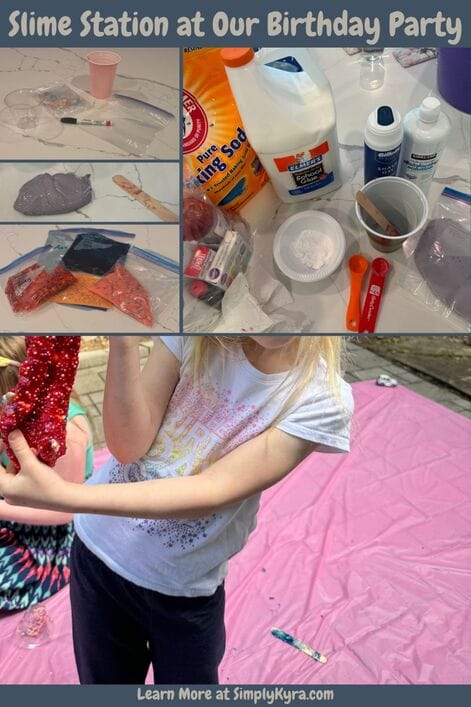
We normally make large batches of slime at a time, like last years goodie bag slime party favors, where either I make all the slime myself or I help a small group of kids that already know me and our process so I was concerned how I'd make the slime with such a large group of kids that haven't made it with me before. As such, I was happy to come across this Foolproof Slime Recipe from Press Print Party who has had flawless results using it with all 150 kids that went through their science-themed VBS class. Here's a screenshot from her website showing what she used and how she laid it out:
And a link to our large batches for birthday party favors the year before. This I made myself when the kids were in school.
Preparations
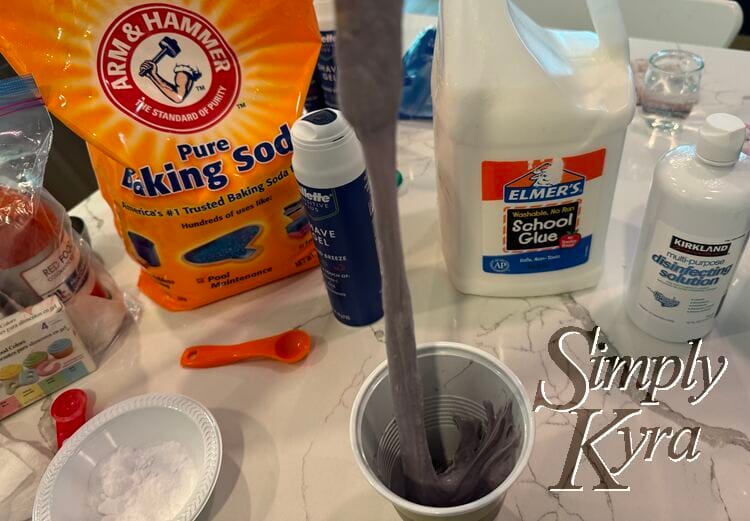
With the boric acid ingredient realized and a plan in place I went shopping and picked up a three pack of Kirkland contact lens solution (the title multi-purpose disinfecting solution threw me off but it was next to the other contact lens solutions, had boric acid, and was cheaper for a larger amount) and decided to add shaving cream to potentially make fluffy slime (after the test batch I didn't use it until months later when Ada made her own slime).

Trial Run
With the ingredients bought I decided to trial run the recipe to both make sure it worked and to help picture how we'd do it at the birthday party so I could streamline the entire process and hopefully remove many potential issues before they could occur.
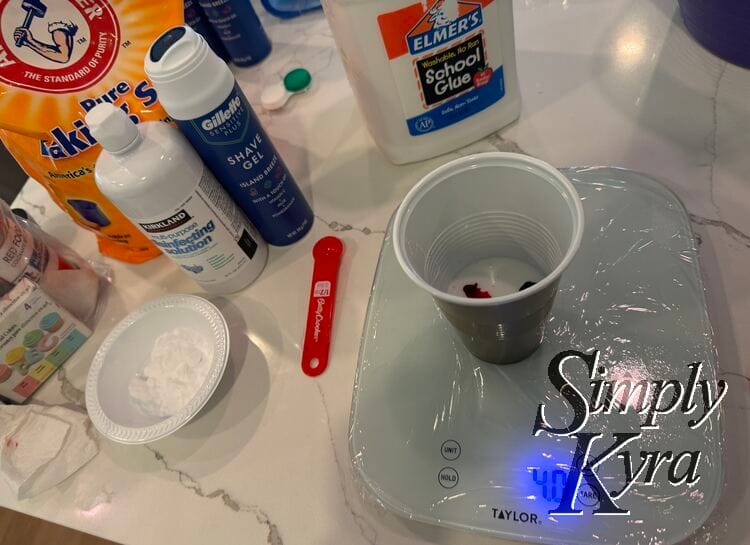
To make it I gathered up the ingredients and decided to weigh the glue needed by zeroing out my kitchen scale and pouring the glue directly in. This way I didn't dirty a measuring cup. Further planning ahead I covered the entire top of the scale with plastic wrap to make it easier to clean after the party and confirmed the scale still worked as expected with this configuration.
I then walked through each step while seeing what I could streamline and what I needed to let the kids do. For instance for the food dye I wanted the kids to be able to pick the color of their slime themselves but didn't want them to handle the dye for both my home's and their sake so I knew I needed to do it myself, after pouring the glue, before giving the mixture to them to stir all together. I also didn't want them to get frustrated with any slowdowns (while waiting for each kid to stir the color in) or have to enforce a second or third line so I decided to give the remaining steps to them all at once by finding a 1 and a 1/4 tsp in our play measuring spoons, allocating a shared baking soda bowl, and letting them have full access to the contact lens solution. As such I laid out all of the birthday party required tools and pictured me doing the first steps with the kids and them doing the rest themselves.
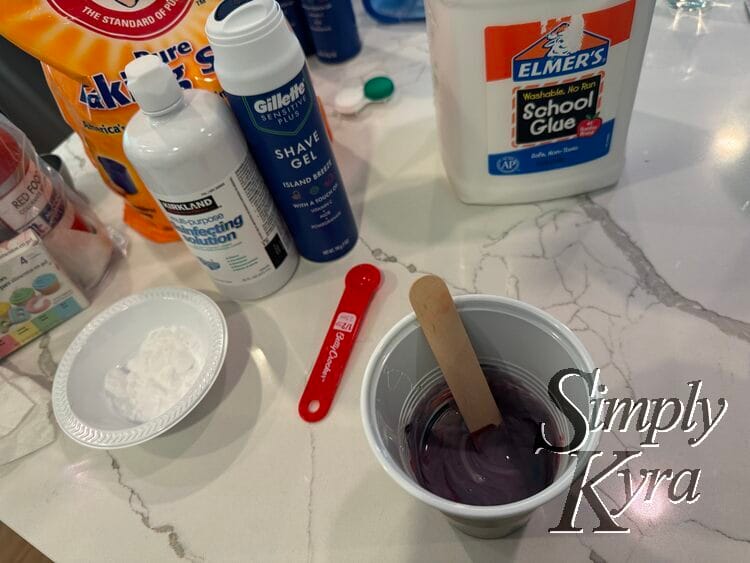
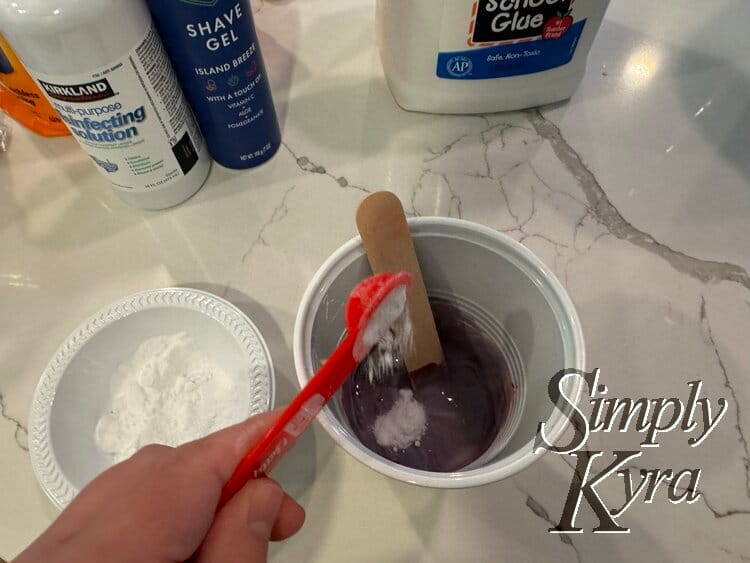
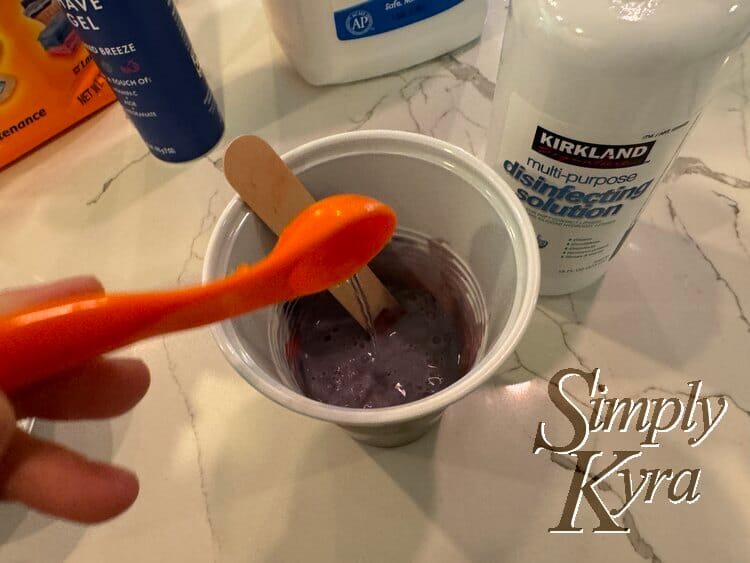
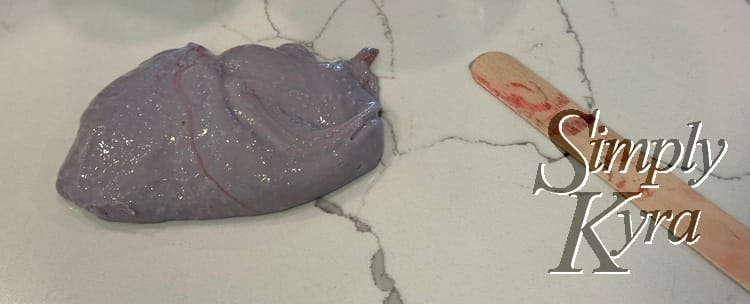
With that the slime was made! At this point I was going to have the kids personalize it more with optional add-ins although, at this time, I only tested fluffy slime before removing the shaving gel as an option because of its strong smell.
Thus the base slime was decided on and could be made with just these items.
Add-Ins
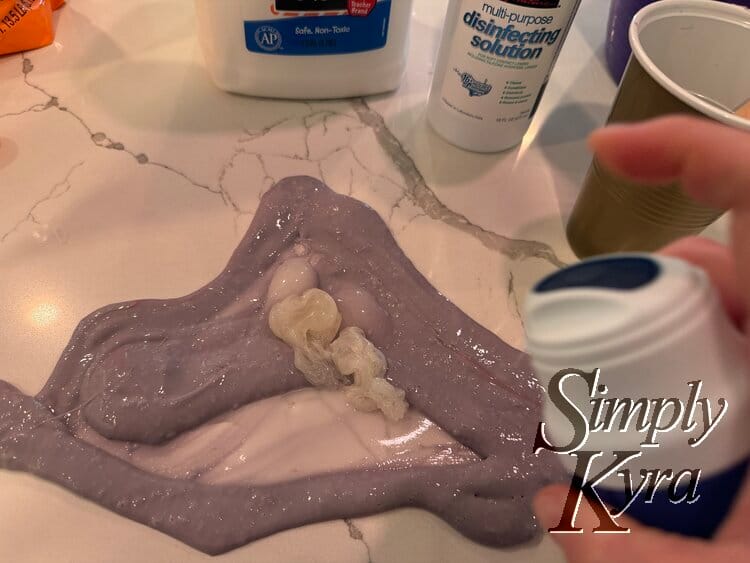
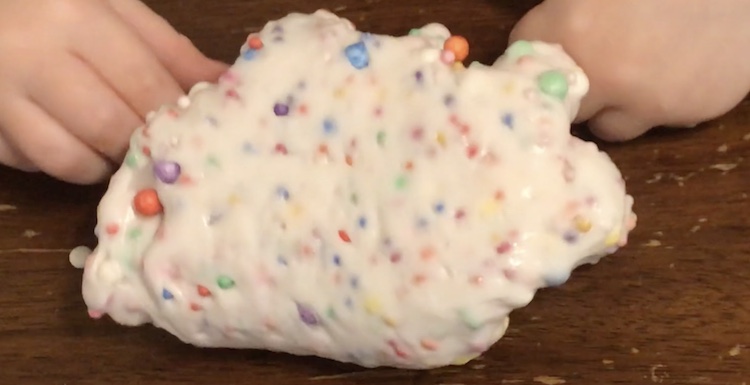
When we first got started making slime I bought a kit that included foam balls, crystalline plastic fishbowl beads, pom poms, and glitter flakes. Over time I added other things like glitter and even Instant Snow. I've learned that glitter is annoying as it coats everything you use the slime on and that larger items like plastic gems fall out easily. That said the girls have spent ours removing foam beads and other items from slime, using it in their pretend play, and adding it back so I knew larger items may be better than miniscule. Thus after deciding to forgo the shaving cream I talked with Zoey about slime add-ins and we decided to order star and heart shaped beads to add to the slime.
If you're debating what add-ins to use I've previously posted about adding foam beads or Instant Snow to slime. Also, just last year, I made slime party favors and in doing so played around with different add-ins combined with different colors of slime.
Location and Personalization Plan
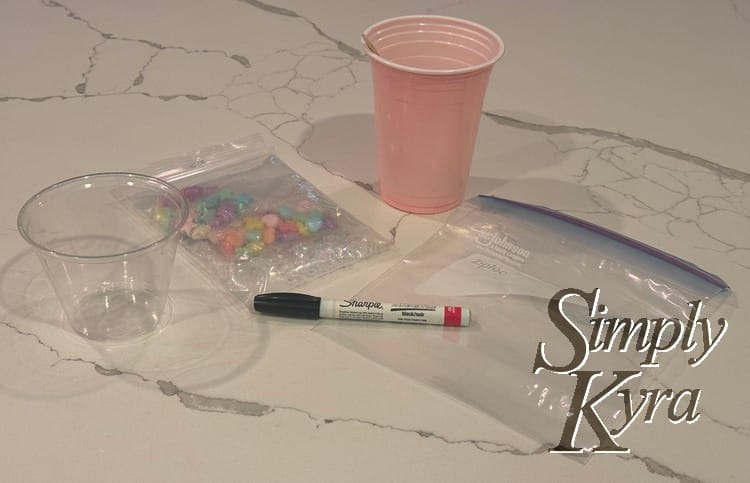
I love how Nathalie at Press Print Party seemed to allow each kid to do it themselves but this was made at our home so I decided to have everyone, after getting the items in the kitchen, go outside to our backyard and create the slime on tablecloths laid out to hopefully help protect the pavers. To that plan, when I went to the Dollar Tree, I bought pink tablecloths and matching pink cups to mix the slime in while also grabbing some smaller clear cups later on at the grocery store to hold the optional beads to mix in. We already had popsicles sticks but I also grabbed some sandwich Ziplock bags to hold the finished slimes. I then labelled each cup and bag with the kids' name to better tell them apart.
Party
Itinerary
The kids played both inside and out while waiting for everyone to arrive. We then did slime, food, and dessert before playing with some little toys (monkeys on parachutes) and favor bags.
Slime Activity
On the day of, when it was time to make slime, I quickly tried to explain the project to all the kids while demoing it quickly using an extra cup and popsicle stick highlighting the steps as I went. I then laid the tablecloths out along with adding the baking soda bowl, contact lens bottle, and two measuring spoons. With everything ready the kids now lined up while I got them started with their labelled cup, glue, dye choices, and popsicle stick where they were then sent out and I went on to help the next kid.
I'm not sure how the slime would've been made solo as some awesome parents stayed and ended up creating their own baking soda and contact lens solution stations outside for me. Thank you if you're reading this! After I got the kids set up I went outside with another contact lens solution bottle and helped everyone out by squirting anyone that needed it while also manning the slime setup inside whenever anyone needed more glue, another plastic bag, their slime put away, or their slime taken out again.

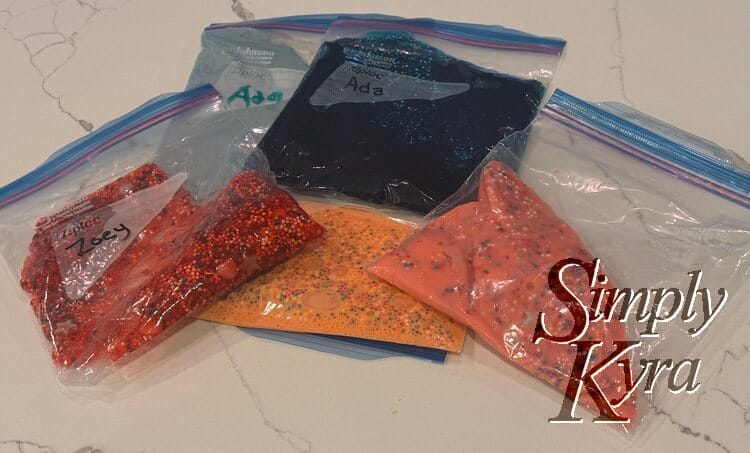
Table Decorations
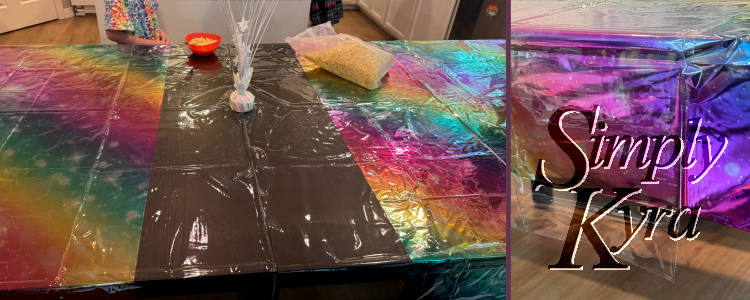
In the last year we bought a table with additional leaves in it so I was able to extend it for the party. That said our newly purchased plastic tablecloth and the rainbow one we bought for the party were both too short so I cut the rainbow one in half to cover the ends of the table and used the plastic one in the center. That combined with the rainbow-hued white centerpiece we already had and the rainbow plates we just bought were perfect for the kids while the adults that stayed stood around the island to eat.
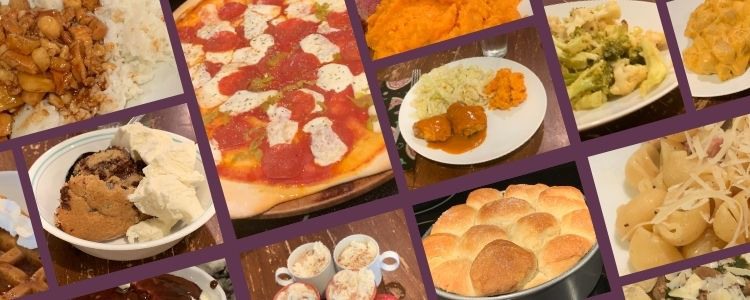
Food
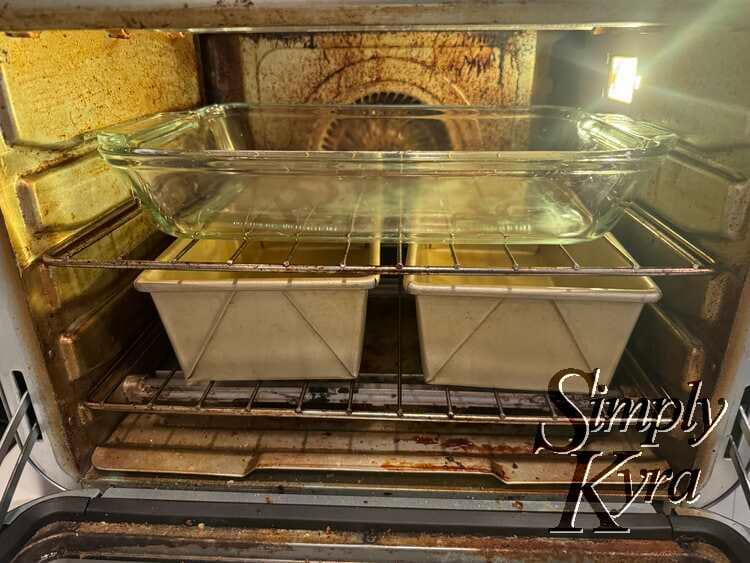
Going in Zoey had asked me why every birthday party served pizza and although I had planned to do the same I decided to forgo it when she asked for pasta. At first I baulked at pasta since I'd be busy with slime but then I remembered one of my friends who had pasta warming in the oven when I came over for playdates and I decided to do the same. As such I confirmed ahead of time which pans fit in our countertop toaster oven and right before the party I whipped up a double batch of pasta and cheese (half with tomato sauce added) before putting it into pans covered in tinfoil and added it to the oven to keep warm.
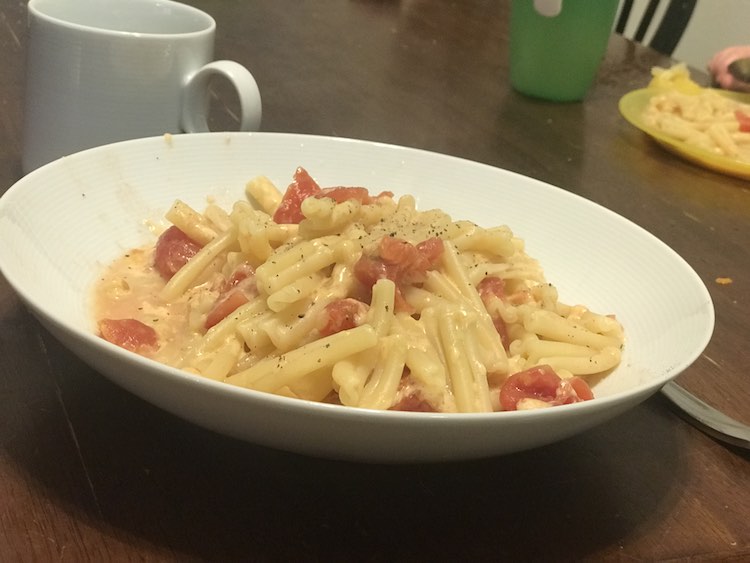
This recipe is what I used with 2 pounds of pasta, grated cheddar cheese, and, after removing half, tomato sauce by request instead of the often used diced tomatoes.
Sides
I didn't take any good photos but to go with the pasta I made a fruit salad, veggie tray, and two dips: dill pickle dip and tzatziki. I then bought a French onion dip and an array of chips and pretzels as a less healthy option to go with all the dips.
I didn't manage to make the fruit salad before reviewing this cookbook but I did end up buying the book myself and the fruit salad has become my most repeated recipe.
:max_bytes(150000):strip_icc()/dill-pickle-dip-recipe-6825819-hero-01-bec0652595b945c288943c9188c1a45f.jpg)
I used to buy Dill Pickle Philadelphia Dip in Canada and I found this recipe when I was really missing it. I only buy plain chips when I'm making this.
 Suzie the Foodie
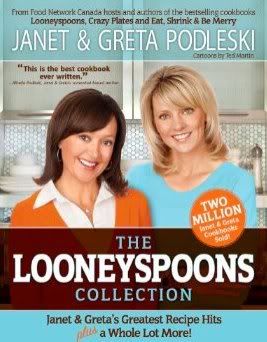
The tzatziki recipe I used is from The Looneyspoons Collection by Janet & Greta Podleski but years ago I discovered, when I was away from my house and cookbook, that this recipe was also posted on Suzie the Foodie back in 2012.
Dessert
This year Zoey requested ice cream cake for her birthday party and as I always serve cupcakes I ended up turning our go-to recipe, taken from Princess Pinky Girl and their Copycat Dairy Queen Ice Cream Cake, into cupcakes! Since it needs the whip cream frozen ahead of time I got to take my time decorating them and appreciated hosting the party at our home so I didn't need to worry about repackaging or transporting them. It was a simple dish though they did stick a bit so using silicon or parchment paper under them or letting it thaw a bit ahead of time may have been more streamlined.
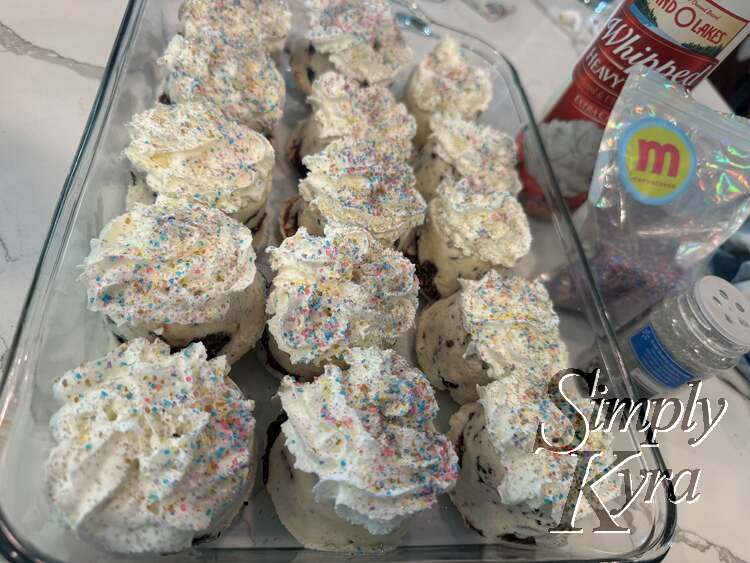
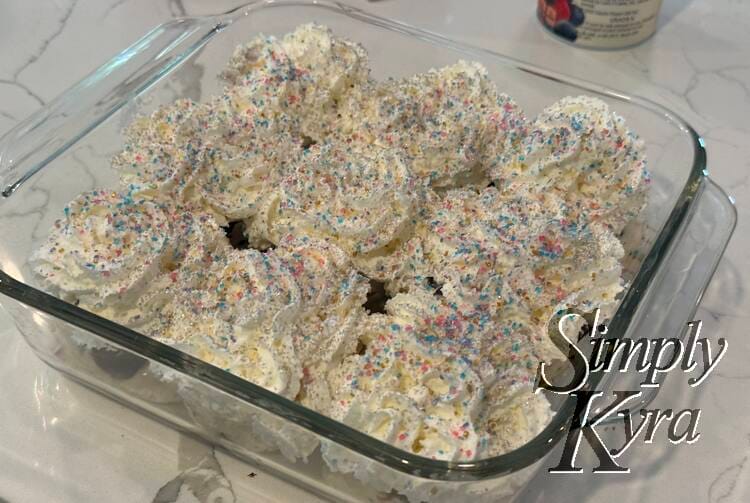
I posted the how to here!
After Party
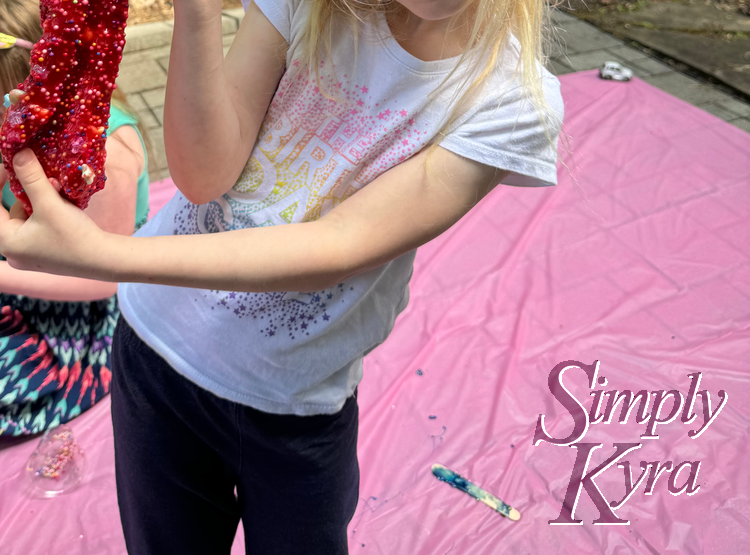
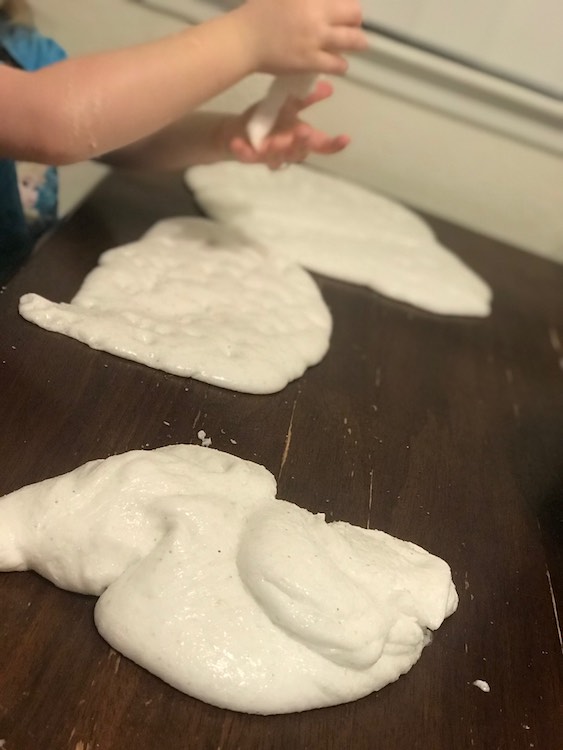
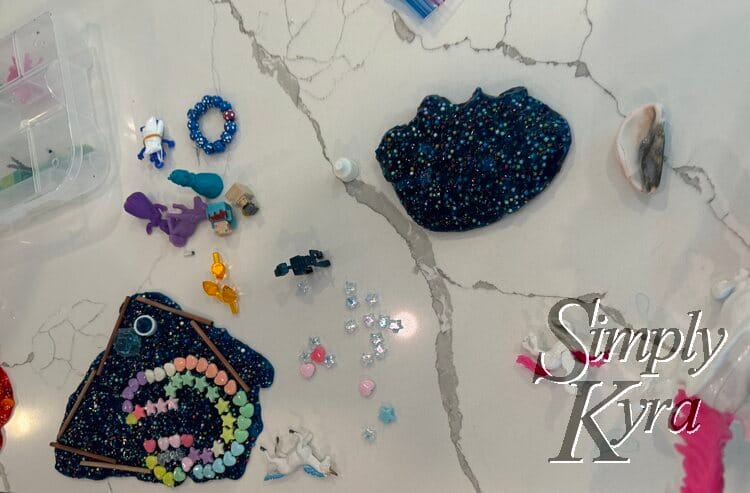
My girls loved the slime and played with it for hours... when they remembered it was there. We have some old play dough kits they pull out whenever there's sensory play and it was fun watching and hearing them play with it again. Here is what it looked like mid-play:

And that was Zoey's birthday! Feel free to share in the comments below if this helps you plan your own event. And I hope you're having an incredible day!
If you’re interested in getting any of my future blog updates I normally share them to my Facebook page and Instagram account. You’re also more than welcome to join my email list located right under the search bar or underneath this post.
Did this save you time?