
Simple Sewing Trick for Neckbands and Cuffs - It’s All in the Fold!
A while back when I was browsing on Facebook I came across this really cool trick that makes sewing bands so much easier. I can’t remember exactly where I came across this trick although it must have been through one, or several, of my sewing or fabric groups. Since I tried this trick out I’ve had been meaning to share it with you but I hadn’t gotten a chance… yet. This last Christmas, when sewing up a Magnolia dress for either girl, I knew now was the time to take photos of the process since together with the neckband and sleeve cuffs I was making and sewing on six different bands!
Most sewing instructions I’ve followed have me making my bands in a slightly longer way that’s just a bit more troublesome. For this default way I start out with a long rectangle of my fabric and fold it in half lengthwise so the short ends meet up and the right side of the fabric is facing each other. I then clip it into place and sew along that short end using the proper seam allowance width. Once I’m done I press the seam over to one side, or if using a sewing machine I can press it open, before folding the band in half the other way so I’m left with a loop of fabric. This loop shows the proper fabric on either side as the wrong sides are facing, is folded along the top, and has two layers of fabric at the bottom. I then find the quarter points, clip them, find the quarter points for the main garment, match up those quarter points, stretch the layers so they match, clip a lot, and then sew them together.
This trick doesn’t replace the whole process described above but it does simplify folding the band in half. As this is just one part within several different steps of sewing a band onto a garment I figured I’d go over all the steps. Also, in case you’re wondering, you can do this with both knit and woven fabrics. I used this trick on the girls’ knit Magnolia dresses along with their woven nightgowns and took photos of all the cuff-related steps as I progressed. As such some steps might have two different cuff-related photos to explain it.
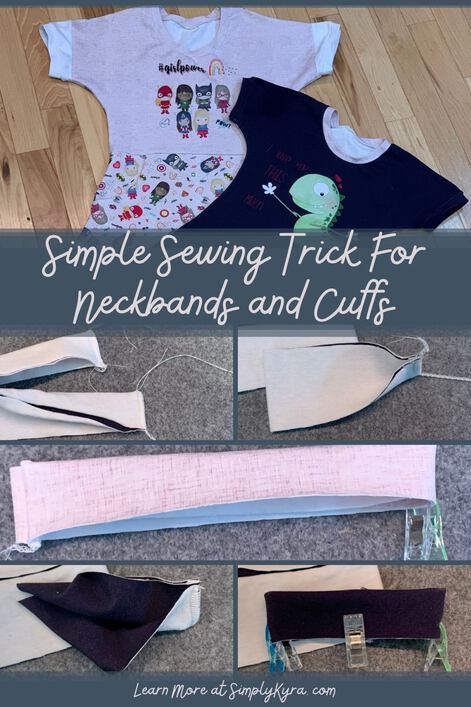
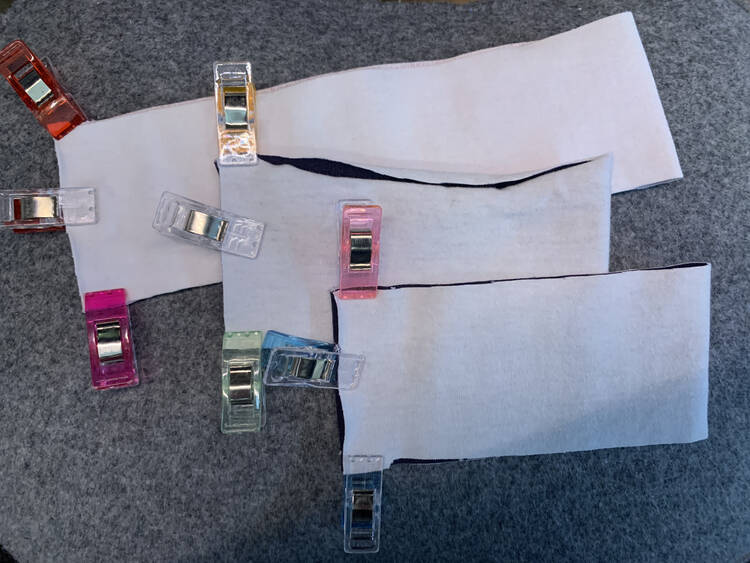
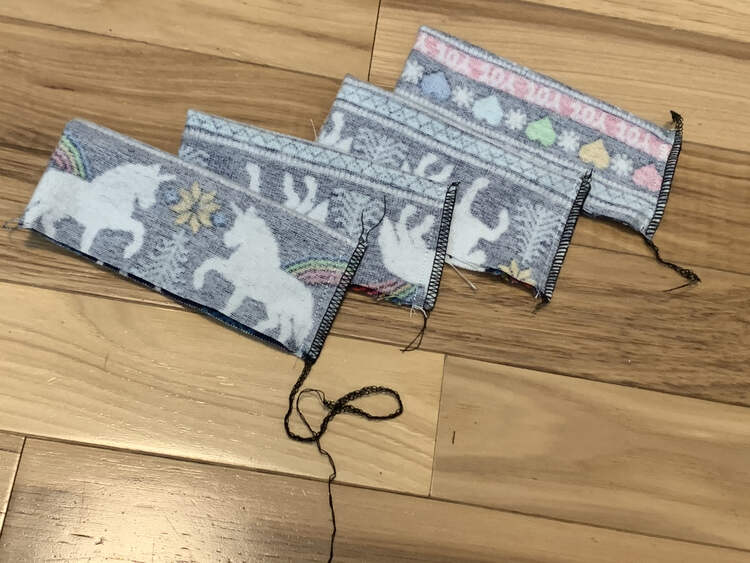
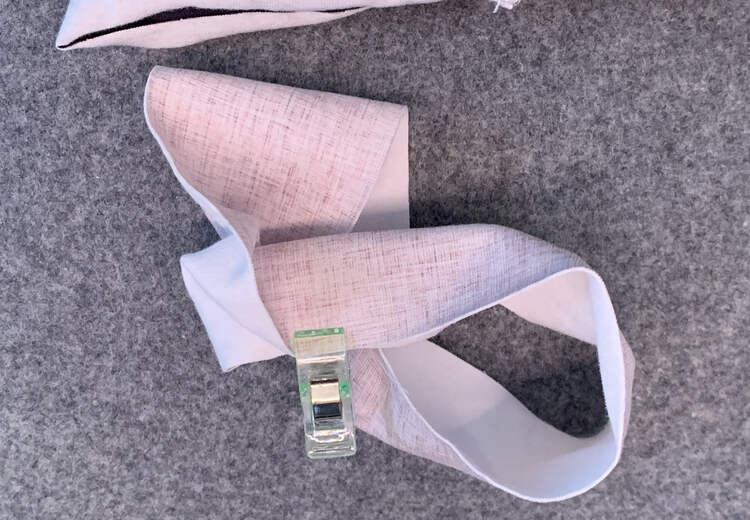
To use this trick I start out by folding the long rectangle of fabric in half twice rather than the one time above. The first fold is set lengthwise, same as before, so the short ends match up and the wrong sides are facing each other. I then fold it in half the other way so the new fold goes along the length of the fabric on the top or bottom side. The short ends that met up, with the first fold, are now halved by that second fold. I clip that end in place so the four layers don’t shift and bring it to my machine to sew it closed with the proper seam allowance for that garment.
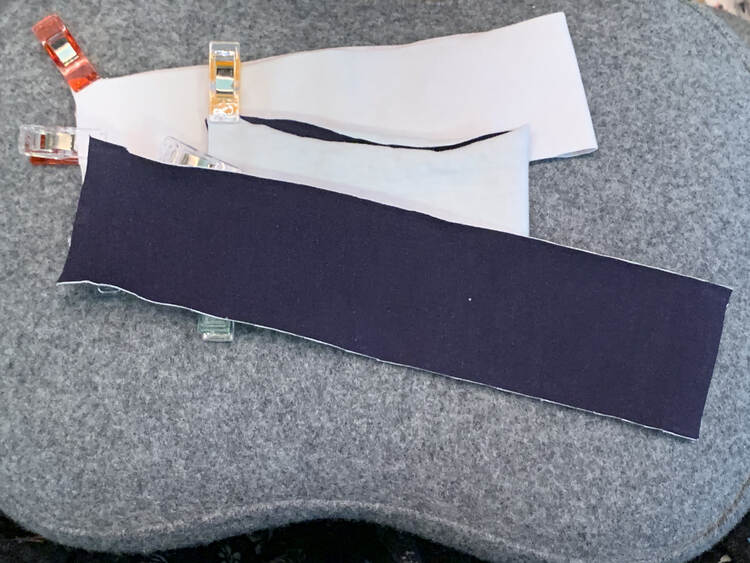
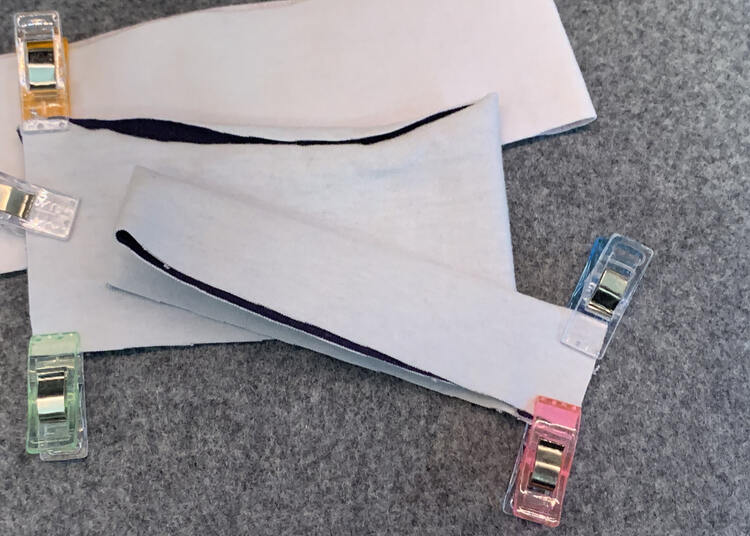
With the edge clipped in place I now take it to my machine and sew along that edge using the pattern’s required seam allowance. With the old way I’d leave my serger tails alone as they’d be later trimmed and serged over when sewing the band to the garment. With this trick one of those tails is now along the folded edge so it won’t be sewn over. To make sure the stitches are secured in place I next unravel that tail using a lint brush, I received with my machines, to help ease the stitches apart so I can then tie a knot to secure that seam end. If you’re using a sewing machine you wouldn’t need to secure the end as you can easily backstitch to lock in place; although, if you used a larger seam allowance you may want to trim the excess fabric at this point.
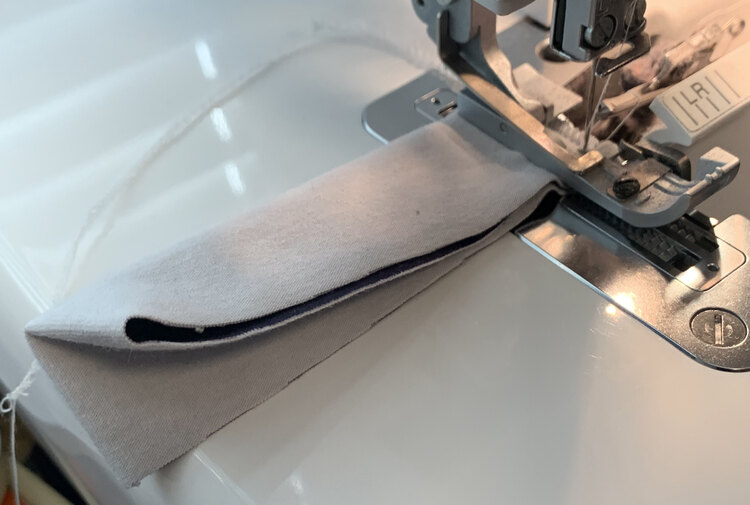
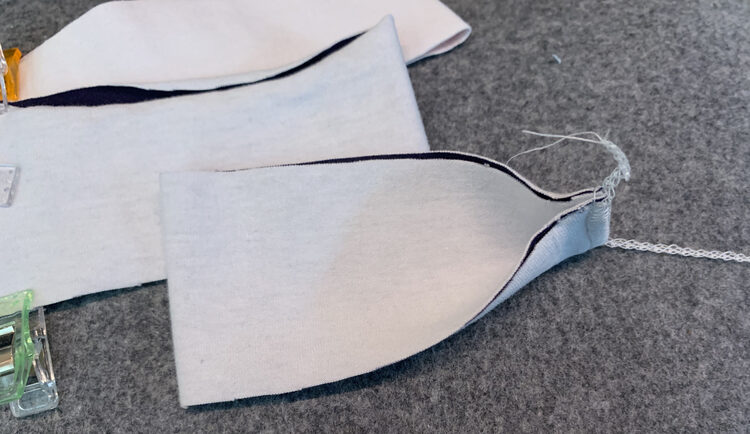
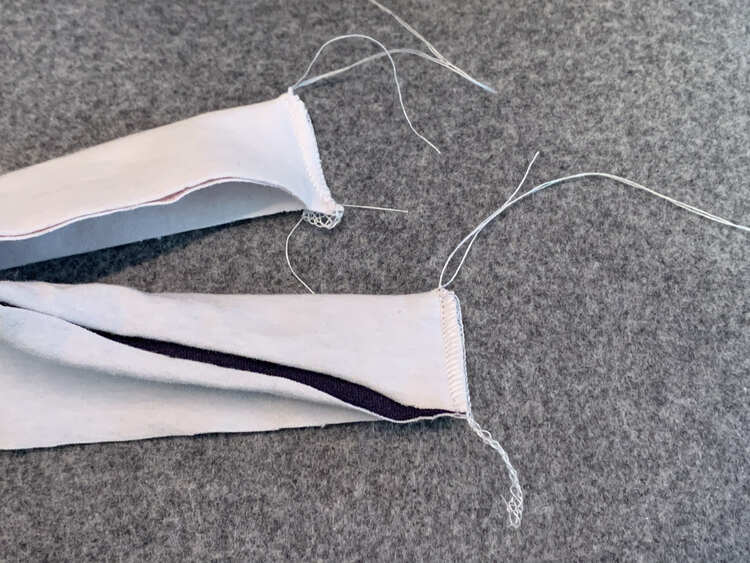
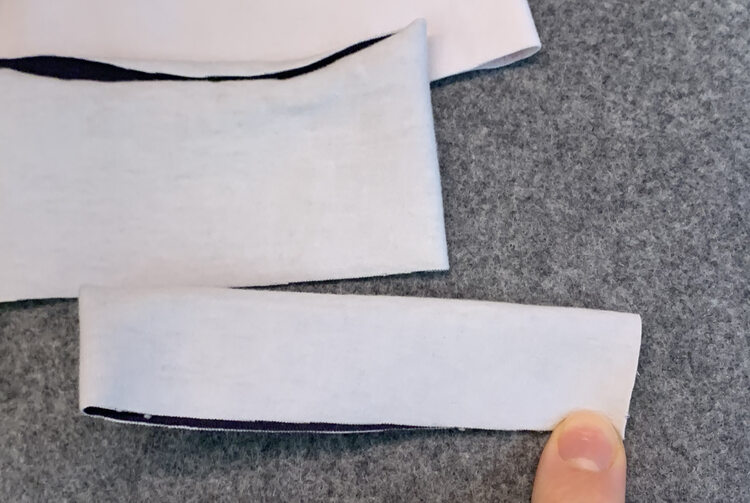
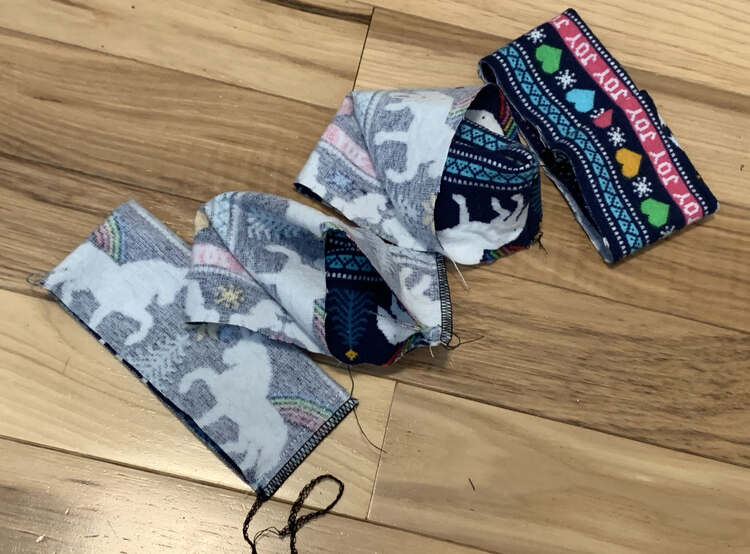
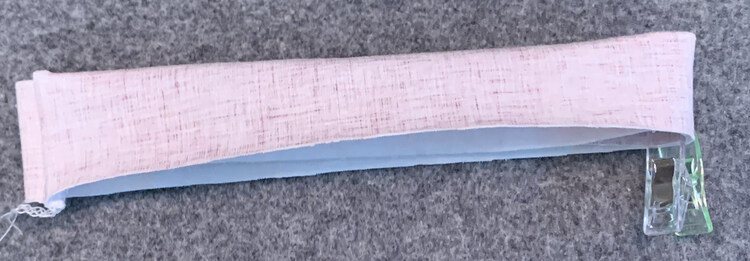
And now it’s time for this trick’s magic! To do it I take one of the outer layers of fabric and flip it around the fold so I’m essentially unfolding it. This unfolding will travel around the band to the other side of my seam and suddenly I’m left with a properly folded band without having to line up the seam or worry about either layer shifting. If there’s any bulging or overlapping around the seam I can gently grasp the fabric on either side of that seam and lightly tug it so the seam flattens out and the band looks perfectly folded without even needing to press it. Although you can still press it at this step if you want to.
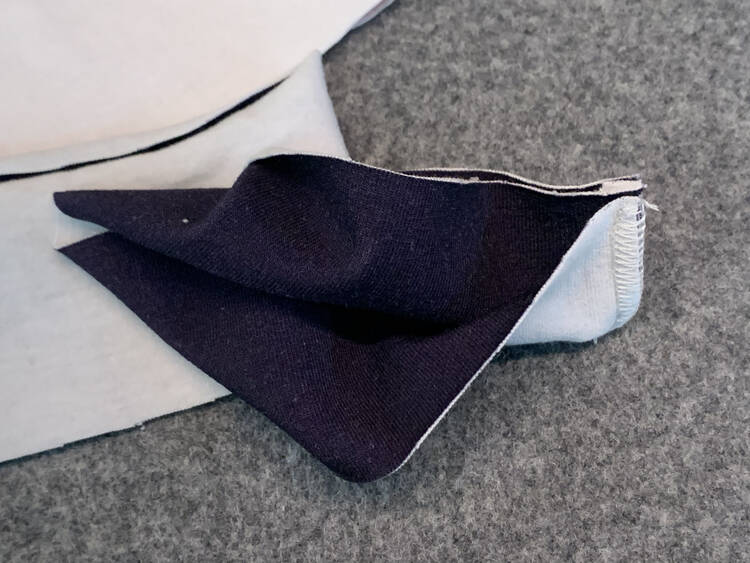
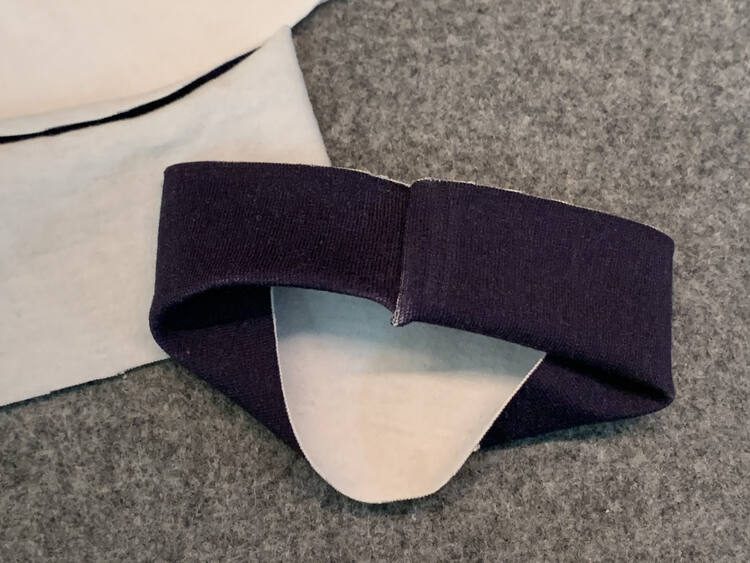
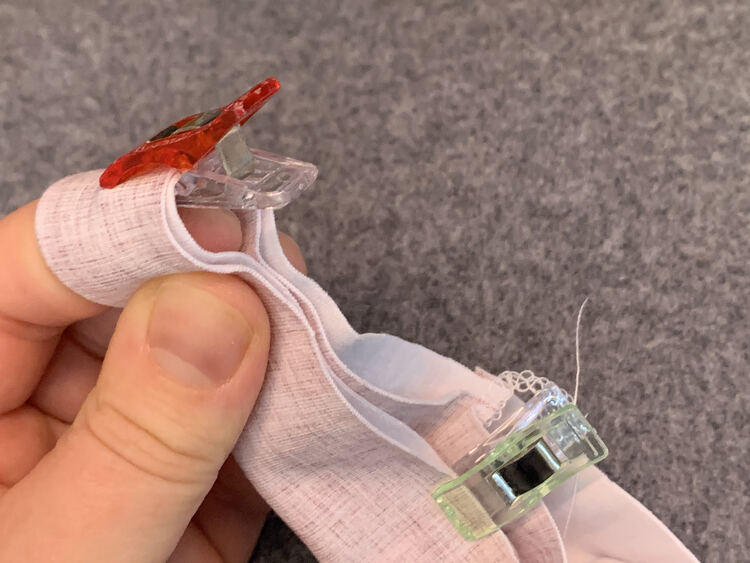
Now I follow the rest of the instructions, like before, to sew my band onto the garment. This trick; however, does slightly speed up quartering my band as I automatically know the first point, the seam, and I didn’t have to trim it, line it up, or clip it into place first. From there I need to find the second point. I’ve found, especially when using the cotton Lycra from Whimsy Baby Customs, that there may still be a crease in the fabric from when it was folded in half and, if so, I can easily clip the second point together. If not, or if I want to confirm it, I then put my finger inside the band’s loop and, while holding onto the seam, stretch out the band so my finger automatically slides into the halfway point. During this I make sure the band is properly folded in half and then I can easily and immediately clip that second point when that halfway point is found. Next I adjust where the band is folded so the two clips, or clip and seam, meet up and the last two points are naturally found by where the band folds. I clip those points making my band finally quartered.
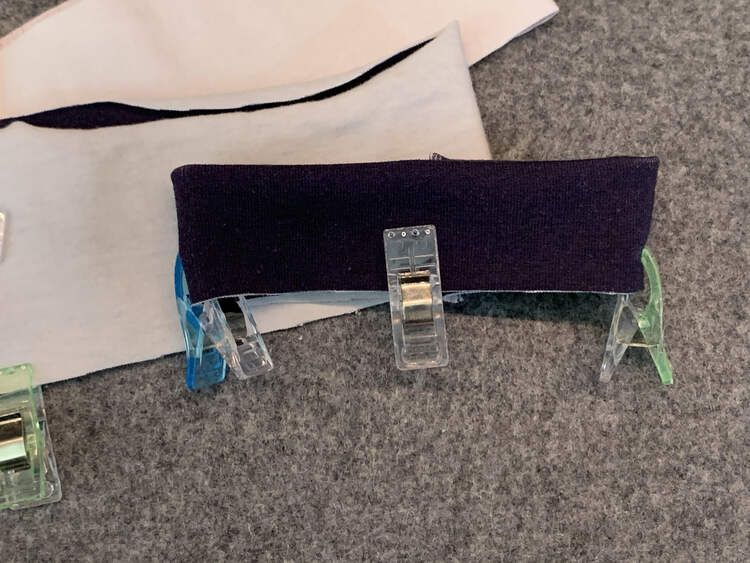
After quartering my band I next quarter the garment. You need to do this so you can easily match the two together, hence the quartering, as a band is typically smaller than the garment and needs to be stretched to fit. In this example, below, I’m showing the neckline being quartered which is a bit more complicated than a sleeve. If you were quartering a sleeve, normally, there is only one seam on the opening, the side seam, so, like the band above, you would use that seam to find the halfway point and use both to find the last two points. If there are two seams you should confirm they’re equidistant away from each other before assuming they’re the first two points. In the case of the neckline you can’t assume that the front and back of the neck are the same length. For instance, you can change the neckline style by adjusting the front so, while the back stays the same, you can have a variety of different lengths for the front between a crew, a square, and a scoop neckline. In the case of this garment the neckline is symmetrical so I can line up the shoulder seams to find the center of both the front and back. I’m assuming you can do the same for an asymmetrical neckline but as I’ve never had to add a band to one before I’m not quite sure. Once you find the center of both the back and front you still need to find the last two points. As the front and back are, probably, different lengths you can’t assume the shoulder seam is the center point. To find these last two points I line up the front clip with the back clip and, like before, use my finger to find the point between the two. In this case I can confirm I did the quartering right by having the clips match up when I lay the garment flat.
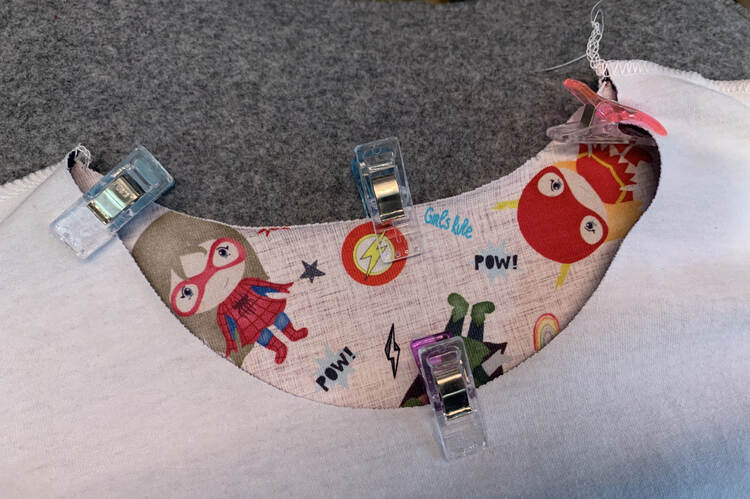
I then lay the band against the right side of the garment and, starting with the band’s seam, match up the points and clip them together. I start with the seam as I traditionally, for neckbands and waistbands, put the seam at the center-back of the garment. For sleeves I make them match each other but, from garment to garment, may change where the seam lays. Once each of the band’s quartered points are clipped to the matching point on the garment it’s time add more clips, depending on the length of the band, to make it truly secure. To do this I take each of the sections, one at a time, and stretch them so the fabric on either side is the same length and I can clip them together. Once I add enough clips I release the garment and it automatically shrinks to it’s natural state allowing one side to be equally gathered between the clips without me needing to use a gathering stitch. I continue working section by section until the entire band is securely clipped in place.
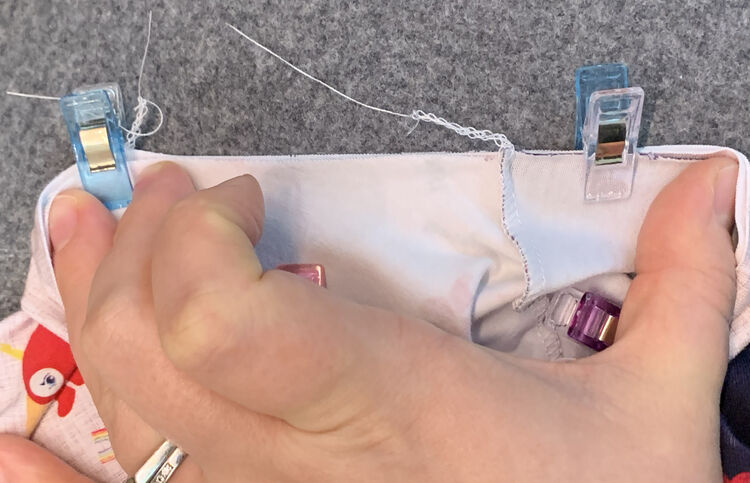
Once all the bands are clipped in place I bring the garment to my machine and, using the proper seam allowance, sew them together. If it’s handy, or I’m feeling proper, I then grab my iron to press the seam down. And with that you’re done with the bands!
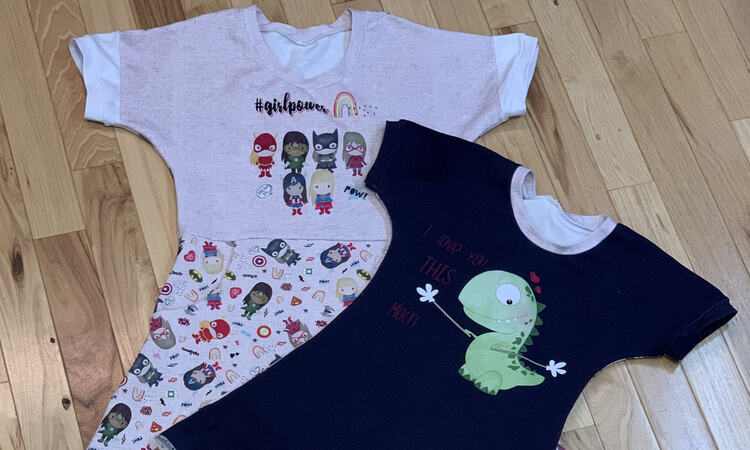
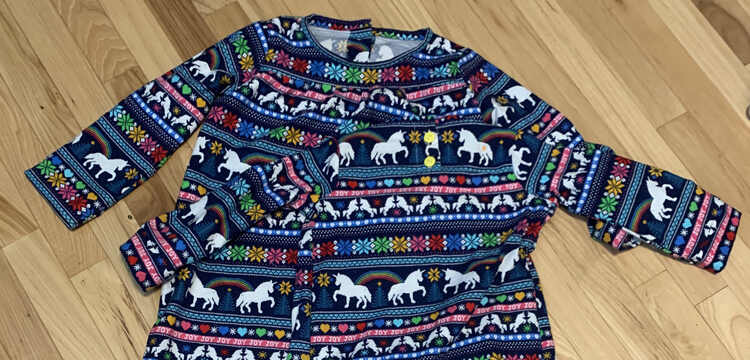
Have you tried this trick before or is it the first time you’ve come across it? Do you have any other tricks to sewing bands to garments? I’d love to hear all about it so feel free to share any related thoughts in the comments below. I hope your week is going well.
If you’re interested in getting any of my future blog updates I currently come out with a new one every Wednesday and share them to my Facebook page and Instagram account. You’re also more than welcome to join my email list located right under the search bar or underneath this post.
Did this save you time?

