
Sew a Coaster - Perfect for a Last Minute Gift
Over this last year I finally got around to making fabric napkins for my family. This started back in February with some complicated cotton woven napkins which became drastically simplified later in April and June. They were so quick and simple to make using the rolled hem option on my serger that I ended up making a lot of them. I’m telling you about these napkins now because they ended up being the perfect coaster. Before making these I had attempted to use a more complicated origami coaster that I loved the look of but ended up not really using. Back in April when I attempted these napkins, along with a slightly more involved coaster, I realized that these worked amazingly when I grabbed a napkin while sitting at the kitchen table to protect my sewing projects from any of the puddles made by my water glass’ condensation. I loved it and started grabbing a napkin to use as a coaster at my desk, while sitting in the living room, and on my nightstand in the bedroom. This actually worked much better than a traditional coaster as I didn’t have to worry about it breaking if it fell, it easily washable, and sucks up any condensation so I didn’t worry about my glass dripping on my keyboard whenever I pick it up. They were amazing and solved a problem I hadn’t gotten around to tackling yet. After that first official coaster for my desk back in April and then grabbing napkins whenever I needed a coaster anywhere else all summer long I ended up making a coaster specifically for Ada in September, upcycled two shirts in September and October, and, more recently, made one for my husband’s desk. I wanted to show you my coasters and their process, ranging from incredibly simple to slightly more involved, in case you’re looking for a great coaster for yourself, a quick sew, or a simple last minute Christmas (or any other occasion) gift.
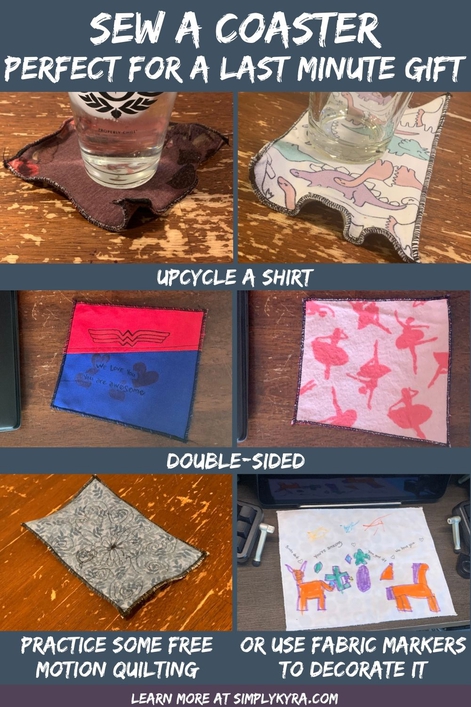
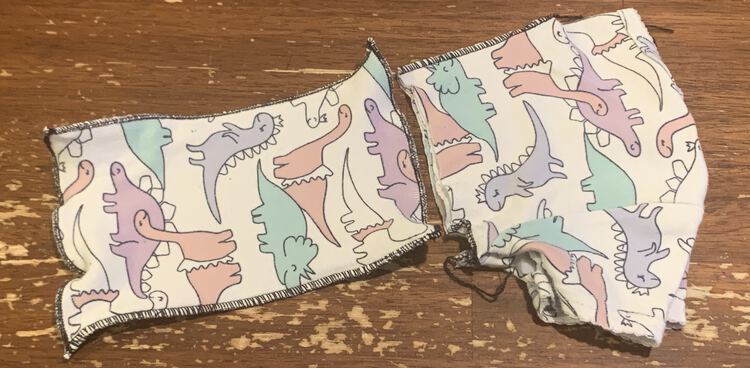
I was debating which order I should use while sharing my coasters with you but then decided to order them based on, mostly, how descriptive the images I took were. Thus I’m first going to show you the two most random coasters I made by upcycling two unused shirts and then go over exactly how I go about sewing the coasters together. I’ll follow that by the first coaster I made specifically so I could attempt to free motion quilt again and then finally how I pieced together and customized my daughter’s Wonder Woman coaster.
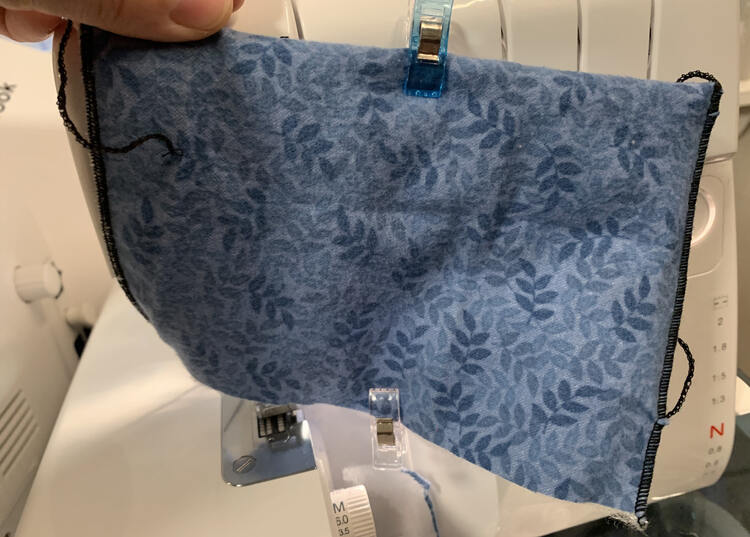
Both times I upcycled a shirt into a coaster I rushed and ended up with wrinkled edges as the fabric stretched out while I was serging it. Other than these two times I’ve only used woven fabric when making the coasters so I haven’t had to worry about them stretching out. If you want to make your coaster out of stretchy fabric and are worried about it stretching I could see applying interfacing to the back of your knit fabric to stabilize it. If you don’t have any I could see using a woven fabric basted to the knit fabric and/or sandwiched between the layers for that needed stability. In my case I didn’t add any interfacing or use any woven fabric; instead, I folded the fabric up until it was the perfect thickness for my coaster and then went straight to the serger to cut and finish the edges. It was so simple.
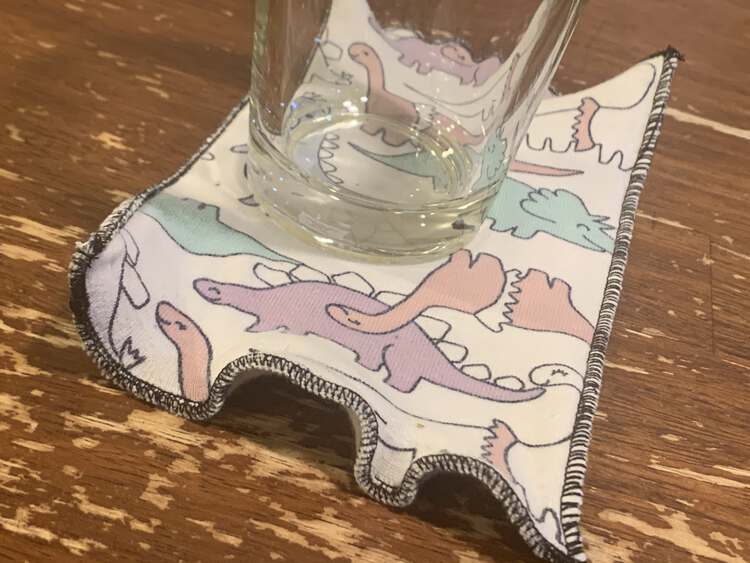
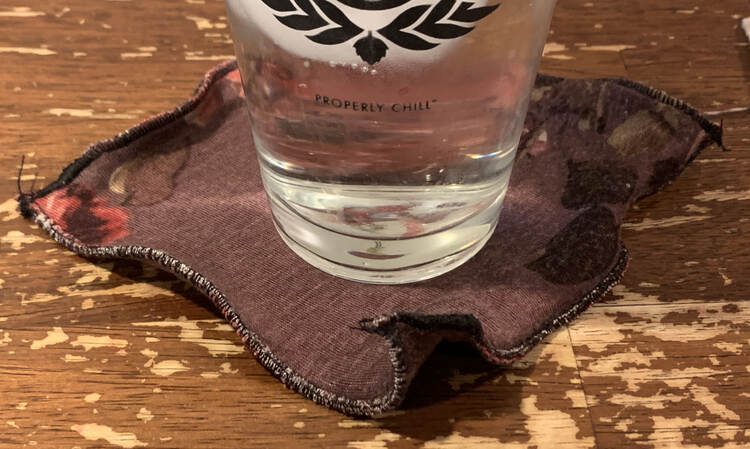
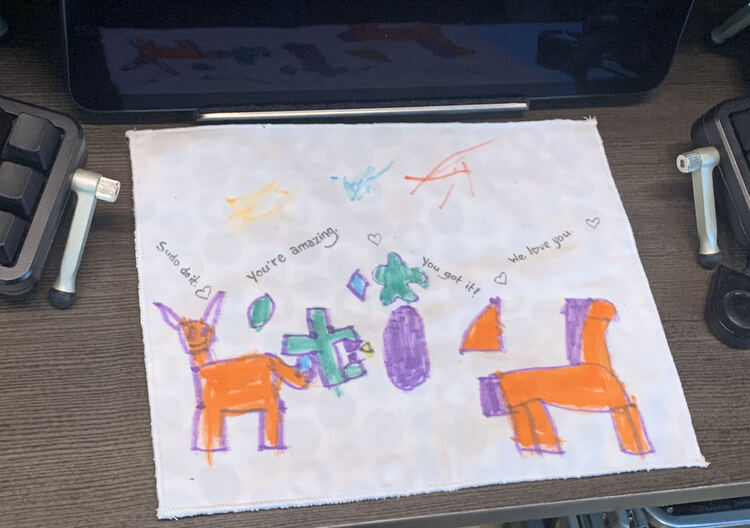
Both coasters were fully functional although not as pretty as the other ones I’ve made over this last year. To go fully into how I made all of my coasters I wanted to show you Matt’s birthday present this year: a custom-sized kid-personalized coaster to use while working from home.
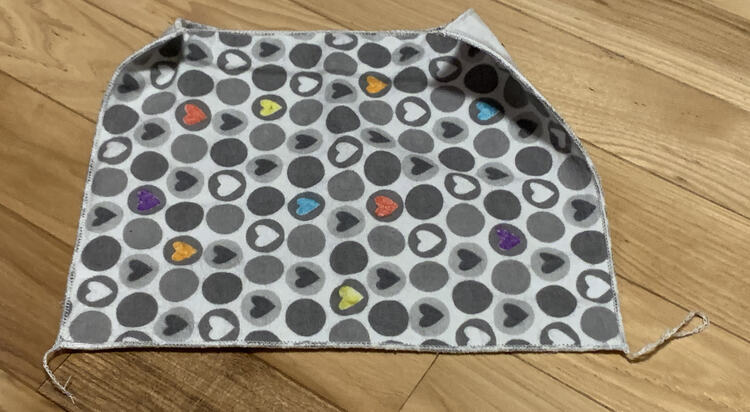
To start out you’re going to want to figure out how small or large you want the coaster to be. To determine this you could go by how you want to use your coaster or determine what size you’re limited to based on where the coaster will go. For example do you want it to fit a single glass, a large mug, or be able to sit both side by side? In Matt’s case it was being made specifically for his desk where he had been using a napkin as a coaster. Since I knew his preferred location was between his split keyboard I was able to use my measuring tape to determine the exact size I wanted the coaster to be. I then used those dimensions to cut out the white woven fabric for the top of the coaster. Since the coaster uses a rolled hem to finish the edges I didn’t need to add any seam allowance and instead rounded down to the nearest inch to fit within the space he uses. I next grabbed some fuzzy snuggle flannel fabric to back the coaster and cut it slightly larger than twice the size of the white fabric so I could fold it in half to create an inner and outer layer and thus make the coaster thicker than my napkins were. Since I was using white fabric that was vaguely see through for the top I cared that the heart fabric on the inside was facing up so the hearts could be faintly visible through the fabric. Before putting the coaster together we first used fabric markers to personalize the fabric and then used my iron to set the ink.
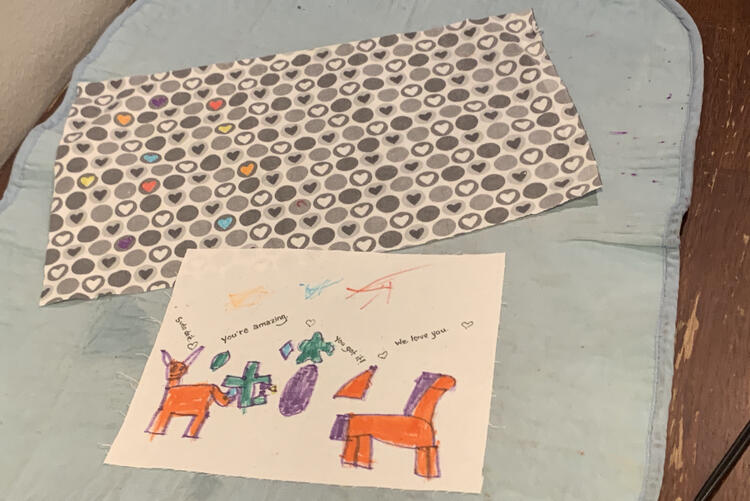
Once the fabric was chosen and cut it was time to assemble and sew. I had rounded the dimensions up a bit when cutting the heart fabric as it was better to be too large than too small which meant once I folded it in half, taking care to leave the selvage sticking out, it was a bit bigger than the white rectangle. I laid the heart fabric out so the colored hearts were facing down and the plain ones were facing up. I then laid the white rectangle of fabric over top so the decorated side was facing up. I used my sewing clips to keep it all in place so it wouldn’t shift when being moved over to the serger.
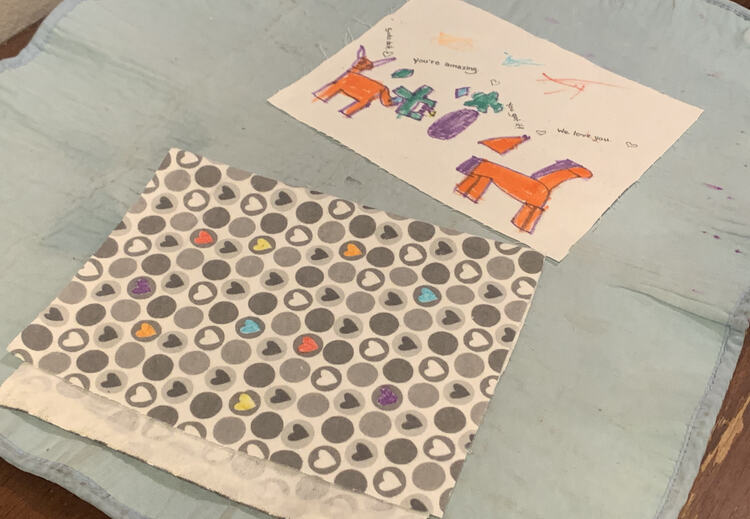
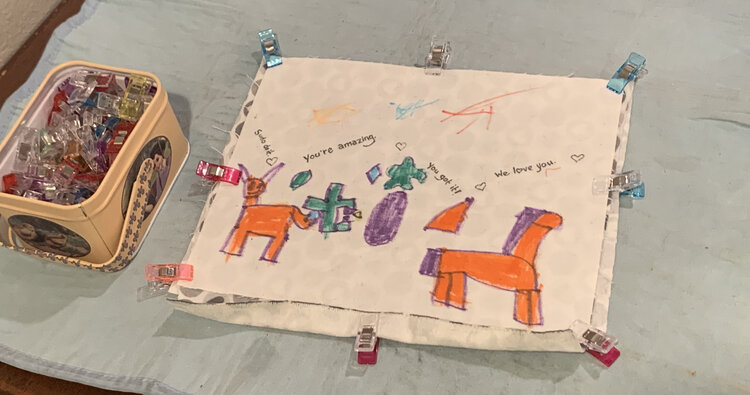
Before serging the coaster’s edges I had to first switch my serger into the 3-Threaded Rolled Edge setting. Since I’ve been serging with the three thread narrow lately (Sew Here has a post about it) I didn’t have to remove a sewing needle and only had to switch three settings to get it ready. To confirm it worked I stitched a bit to see that the thread tail changed and then used a scrap of the heart fabric to confirm it looked right. Then I was ready to go.
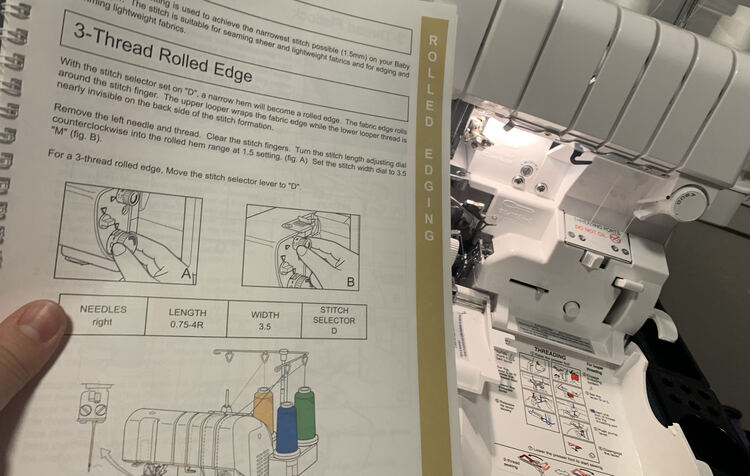
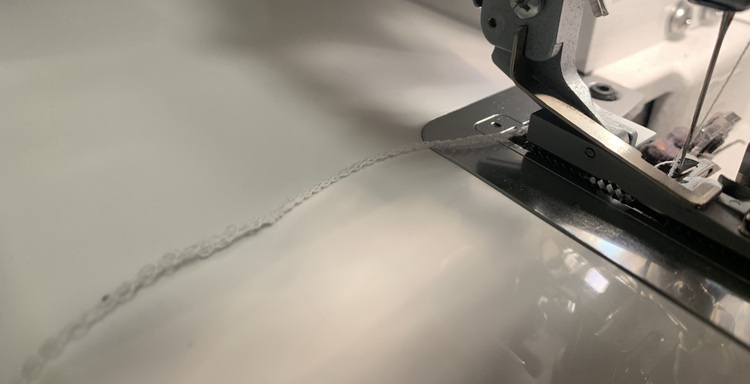
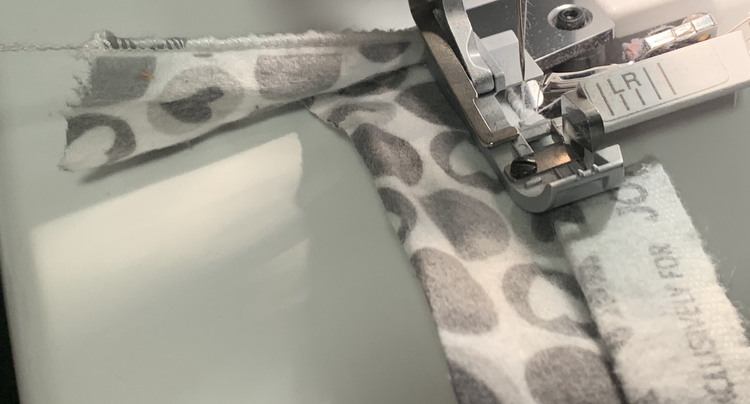
And now that the serger is ready it’s time to serge the coaster together. This is the simplest part of the process. Since this is a rolled hem you don’t have to turn it right side out afterwards so you don’t even need to remember to leave an opening. I start out by serging along the edge of the white fabric on one side. I then rotate it 180 degrees and serged down the opposite side. Next I turn it 90 degrees and serge down one of the last two ends cutting off the serger tails from the previous sides as I go. Finally I serge along the fourth side thus completing the coaster. Since this is on the serger rather than the sewing machine the excess heart fabric was trimmed off along with the first four thread tails.
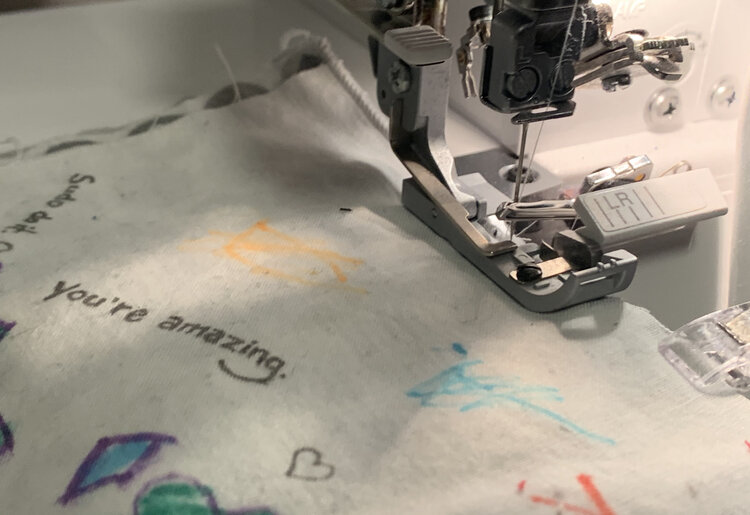
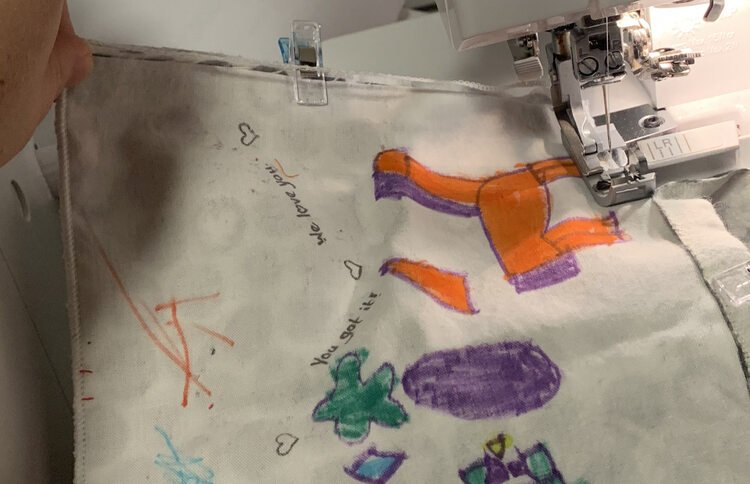
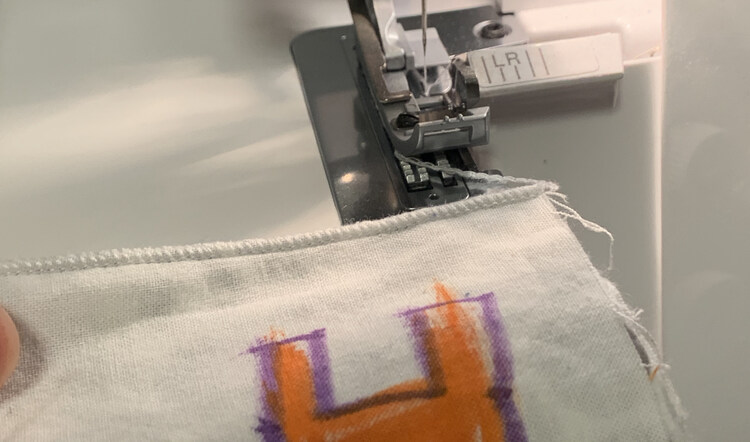
When doing the wider default three or four thread stitches on my serger I normally finish off my project by unraveling any thread tails remaining, knot them, and then trim the excess thread away. This way I don’t fear the seam unraveling at a later point. In the rolled hems’ case the thread is too tangled together to unravel, I have tried to no avail in the past, so I’ve taken to simply trimming off the ends. I haven’t noticed any hem unraveling so far but I’d love to hear from you in the comments if you have a better way to finish off a rolled hem. Anyway after trimming you’re all done with your coaster!
The really cool part about using a serger’s rolled hem to make these coasters means that you don’t have to turn them right side out when you’re done and, most importantly, you don’t need to perfectly cut out each piece before assembling it. This means whenever I make a coaster I don’t need to trim each piece, as above when I folded, or even cut it vaguely to size. When I upcycled the knit shirts to make my coasters I just folded it up until it was as thick as I wanted the coaster to be. I didn’t worry about cutting the folds or trimming it smaller. Instead I grabbed some sewing clips, or pins depending on the space, to hold the fabric together enough for me to serge where I want the coaster’s edges to be. The serger does all the work of cutting off the excess fabric and the rolled hem finishes the edge in a way that I can display without feeling like I need to hide the edges by turning it inside out.
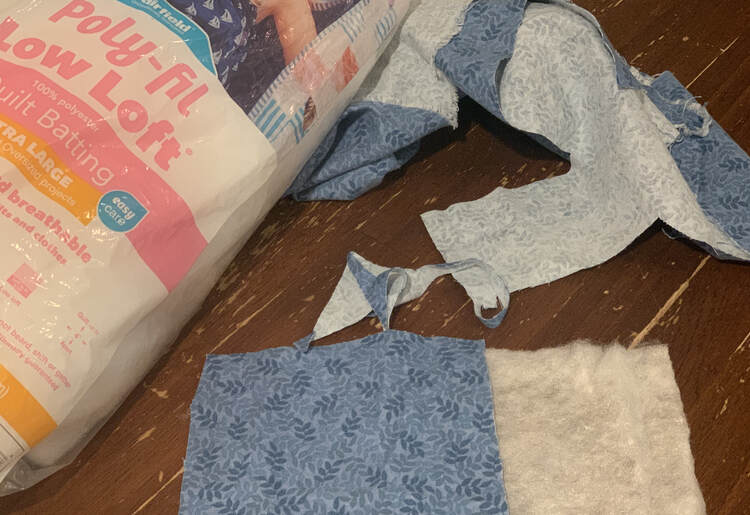
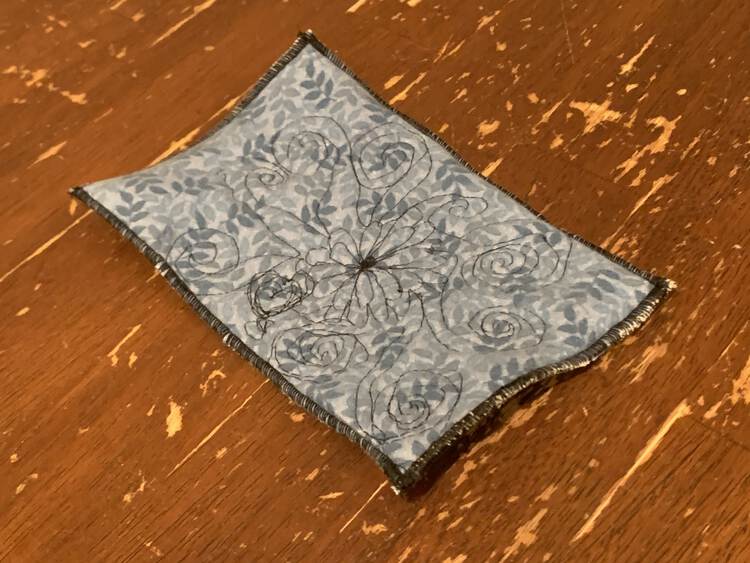
The first of all these coasters was made back in April when the sewing challenge had me sew with a challenging notion. At first I was going to make my first batch of napkins, made the same way I went over above but larger and batched to make more at once, and then realized that a rolled hem on the serger was just a settings issue and I didn’t need a different pressure foot like when I used my sewing machine. I still started out by making a few mini-napkins to test out my process but I still had to come up with something for the challenge. For some reason I remembered free motion quilting which I had attempted years ago when making the burners on my kids’ kitchen set cover but I hadn’t picked up since. As I had my rolled hem set up on the serger I decided to use a similar process as the napkins to make myself a new coaster. I remembered loving seeing the puffiness around my stitches so I knew I wanted this coaster to be thicker than the napkins. To accomplish this I grabbed some quilt batting I had on hand, cut it to size for a rectangular coaster, grabbed some snuggle flannel I liked, and cut it twice as wide as the batting. I then folded the fabric around the batting and serged a rolled hem around all four sides. I had the perfect puffy coaster that I was able to use to play around with on the sewing machine with my free motion quilting foot.
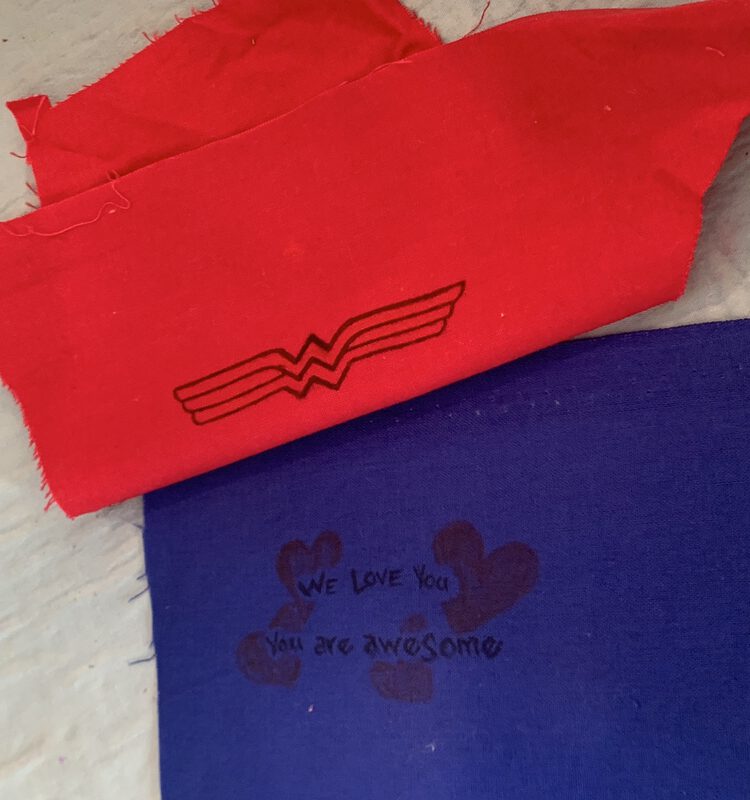
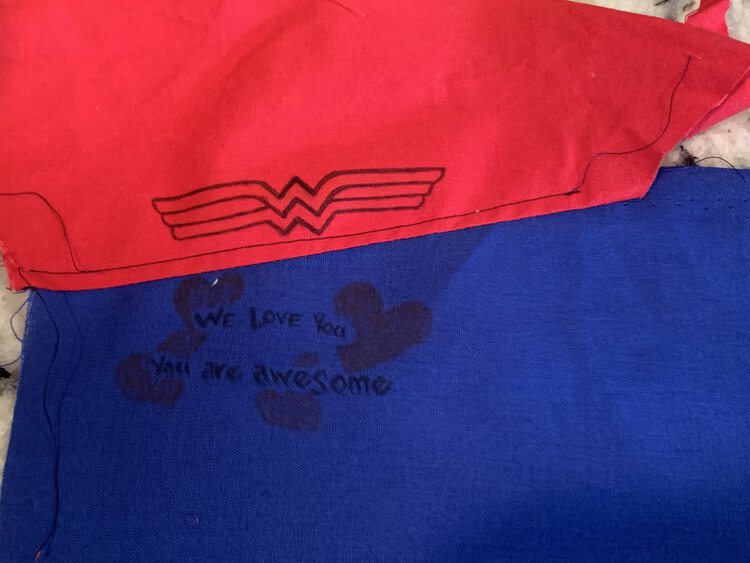
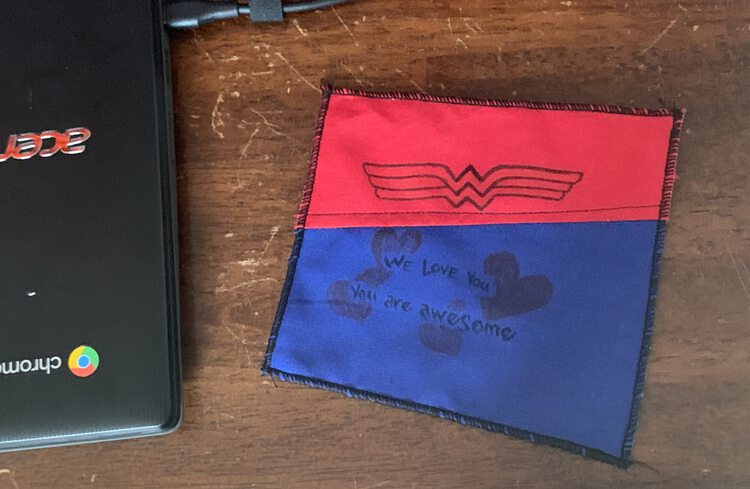
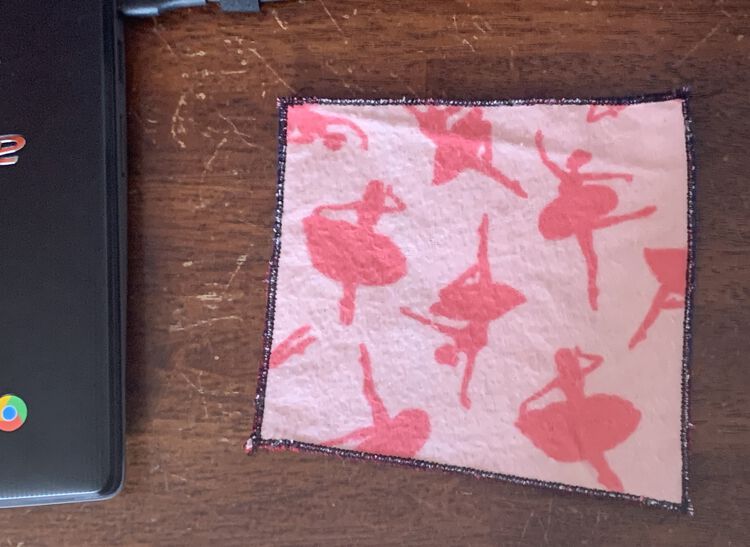
I absolutely love the softness of the snuggle flannel I’ve been using for my napkins and coasters and love how it can more easily absorb condensation than the plain woven fabric ones so when I went to make Ada’s Wonder Woman-themed coaster I hit a snag. I wanted to use both red and blue woven fabric as they are both Wonder Woman colors along with the yellow I didn’t have. I didn’t want to make one side red and one side blue as that would mean no snuggle flannel. Instead I decided to piece the top together to include both red and blue and thus still use the snuggle flannel on the underside. This was not pre-measured at all so although it turned out I wish I had pieced it together before adding the fabric marker design. I started by clipping the two fabrics right sides together at an angle while checking multiple times that the design I had pre-drawn wouldn’t be hidden. Once I was happy with it I clipped it in place, sewed them together, finger-pressed the seam open, and topstitched it down. I then grabbed some snuggle flannel scraps that I hoped Ada would like, found two pieces wider than the front would be, stacked them all with the one scrap facing down and the Wonder Woman inspired one facing up, I then clipped it in place, and serged along all four edges. And with that Ada’s Wonder Woman coaster was done! Perfect for catching any water bottle condensation while doing school from home.
If you don’t have a serger that allows you to make a rolled hem you could always try to do this a different way. I know my sewing machine can also make a rolled hem using a special foot although you’d have to be more careful cutting the fabric to size then. I’ve always used my sewing machine to hem my Peppermint Swirl dresses using the rolled hem option. If yoursewing machine isn’t capable of doing a rolled hem I could see playing with the stitching until you find a stitch you like. Off the top of my head I could see doing a zigzag stitch with a much shortened length so it could cover more of the edges with thread.
I hope this helps you out if you’re looking for a super simple sewing project, expanding the techniques you’ve tried on your machine, or simply looking for a coaster to help protect your surfaces. I absolutely love how quick this was to come together and how easy it is to customize through adding thickness with extra layers of fabric or batting, starting out by piecing the fabric together, playing around with thread colors, adding free motion quilting, or by decorating it with fabric markers. I’ve previously bought paper piecing patterns thinking to make a coaster with them and realizing that eight to ten inches squared might be a bit too large for a coaster as a gift. Those patterns turned into something else instead.
I’d love to hear if you’re planning on sewing your own simple coaster now. What fabrics are you planning on using? How are you going to customize it? Feel free to share in the comments below. I hope your week is going as splendidly as it can in this time.
If you’re interested in getting any of my future blog updates I currently come out with a new one every Wednesday and share them to my Facebook page and Instagram account. You’re also more than welcome to join my email list located right under the search bar or underneath this post.

