
Ragamuffin's Firecracker Kids Dress and Top
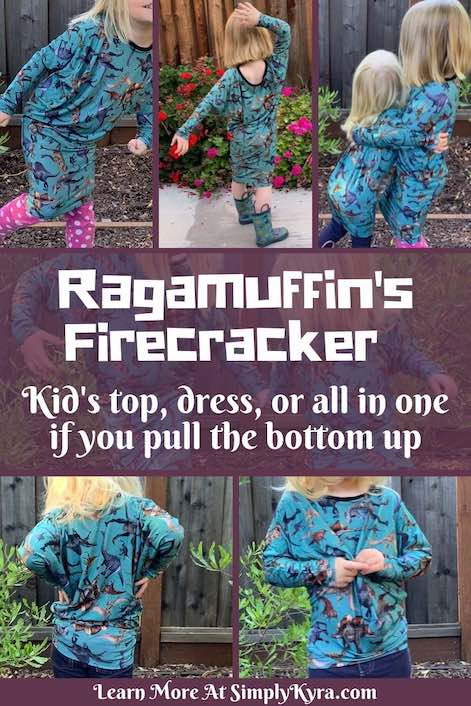
Two weeks ago I posted multiple versions of Ragamuffin Pattern’s new Dynamite top I sewed up. My absolute favorite was the shirt with no batwing and capped sleeves; although it does come in many styles. When I heard they were designing a kids’ version of the Dynamite I jumped on board for my kids. This pattern, Firecracker, has the exact same options for the kids including the bodice length (ranging from crop top to knee length dress), sleeve lengths (from short sleeves all the way to an extra long sleeve), neckline options, and a batwing option (including no batwing, medium batwing, and a full batwing). There’s also optional back straps if you’re using a lower neckline. For the girls I sewed up a knee length, long sleeved, large batwing dress. I love how the dresses look on the girls and they are absolutely loving their new outfit. I love all the options this pattern has and you can’t go wrong with whatever you choose to create.
… And can we take a moment for the adorable naming schema used. I love how the Firecracker is the smaller (child’s) version of the Dynamite (adult’s). The Firecracker and Dynamite would make for an adorable matching mommy and me outfit too.
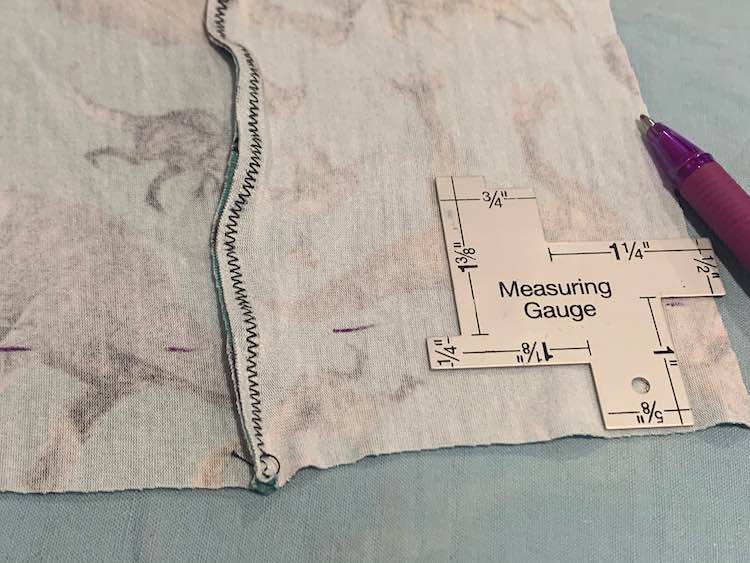
First a quick tip for those little sleeves. I found it easiest to hem the bodice and sleeves if I first measured and pressed the hem up before sewing the side seams. This is especially helpful for the long sleeved tops where the end of the sleeve is smaller than the other lengths. Zoey measured into the smallest Firecracker size (12 months) so that combined with the longest sleeved option meant having the hem folded and pressed ahead of time made it so much simpler to sew.
To do this I waited until right before the side seam is sewn and then measured my hem (folded 1/2″ up so I marked the sleeve 1″ up) and marked it with a disappearing ink pen. After marking it across I folded the hem up to meet the mark and pressed it to keep it in place. I then used my sewing clip near the center of the hem so it wouldn’t unfold or get in the way when sewing the side seam. After sewing I then matched the fold on either side of the new seam, folded the seam down, and clip in place as well. The hem is now fully folded and clipped in place making it so easy to sew.
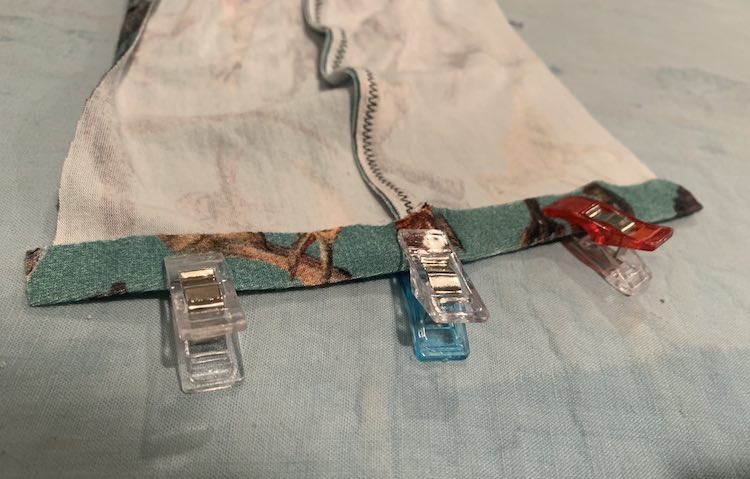
This method is similar to when you sew your neck binding or band onto your top when only one of the shoulder seams are sewn or when you sew a leg band onto a pair of underwear while the side seam is unsewn. Sewing (as well as folding and pressing) is so much easier when the garment is flat rather than doing it in the round. I’ve posted about sewing a band on flat before if you’re interested in seeing more.
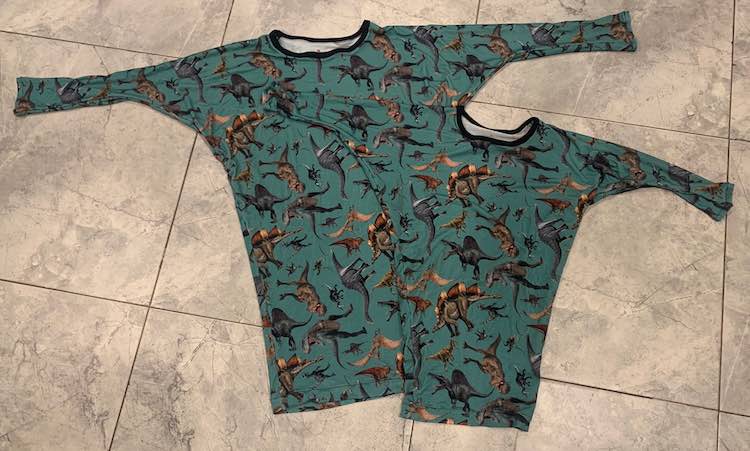
Back in July I splurged on some gorgeous dinosaur bamboo lycra through a preorder on KNITorious that I knew Ada and Zoey would love. It arrived last month and felt so luxurious. After making a wearable muslin for the girls to confirm their fit (will share later) I decided to go ahead. The girls loved the idea of a dress and I knew long sleeves would be best for both sun coverage and warmth. I grabbed a black fabric I had on hand for the neck binding and got to work. Ada and Zoey absolutely love the finished dresses and they’re so soft and comfy. So comfortable in fact that so far they haven’t worn them out of the house and even kept them on as pajamas one night.
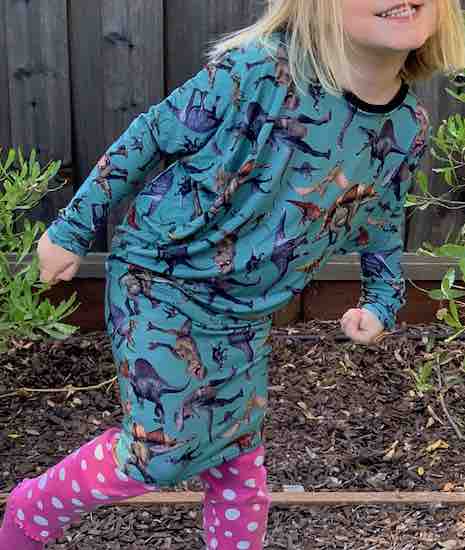
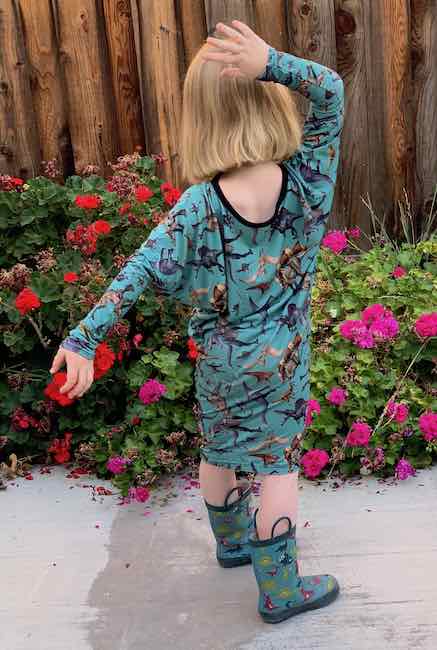
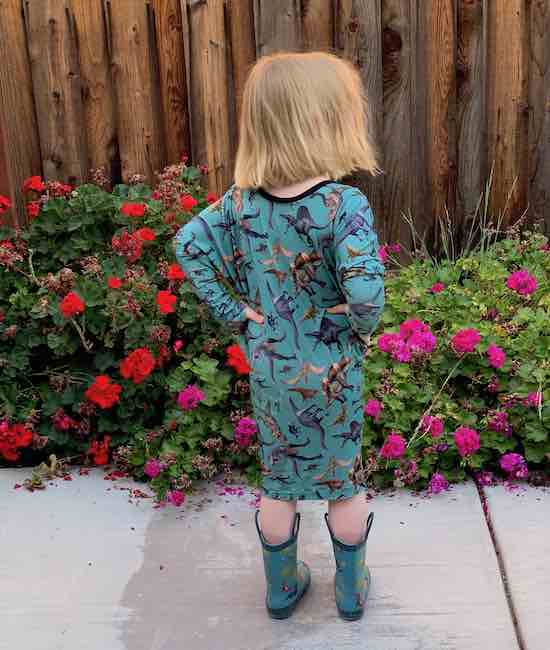
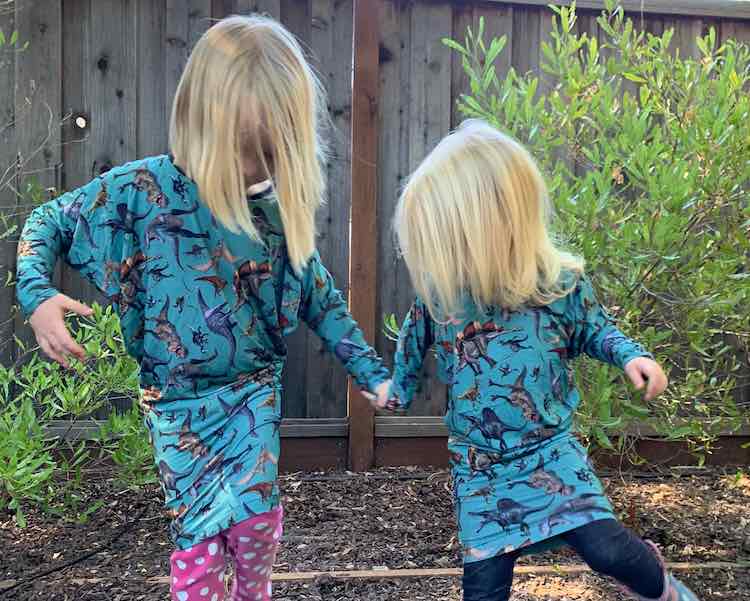
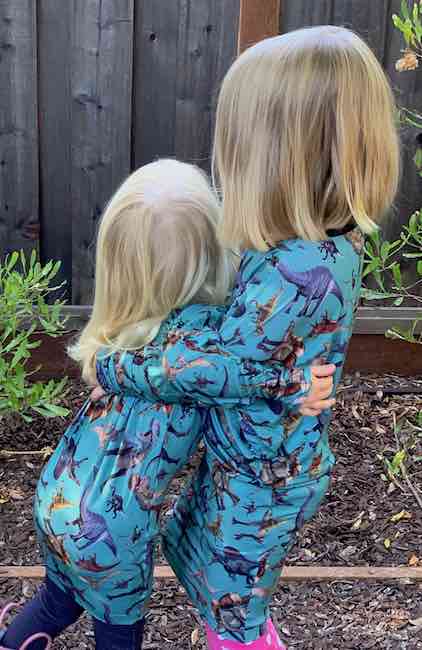
The best part of sewing up the knee length dress? The fact that if you pull the dress’s hemline up it’s tight enough to stay up without falling and you have a slouchy top. One garment can be both a dress and a shirt depending what you do.
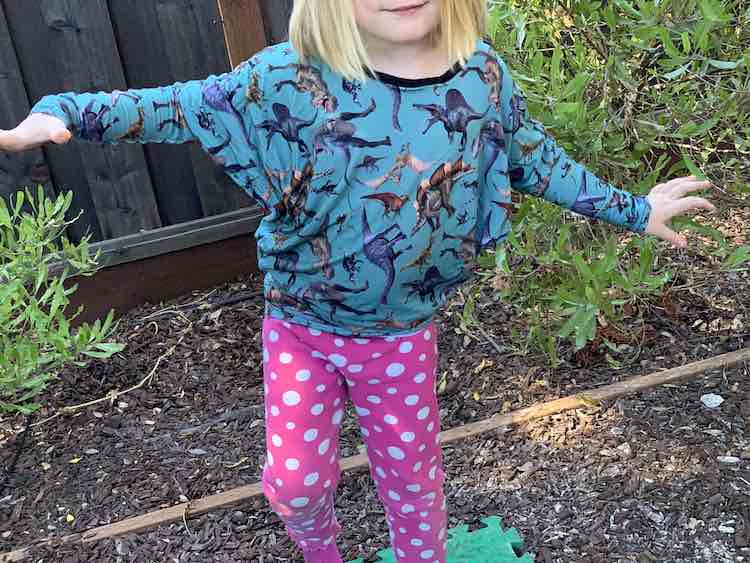
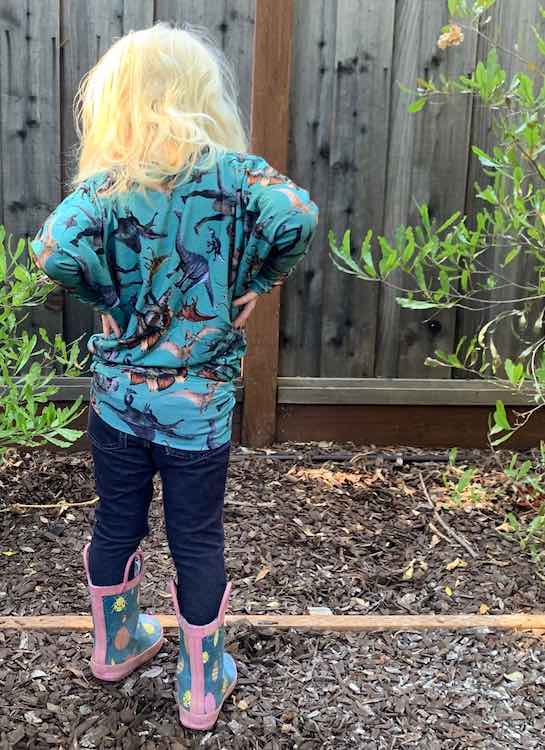
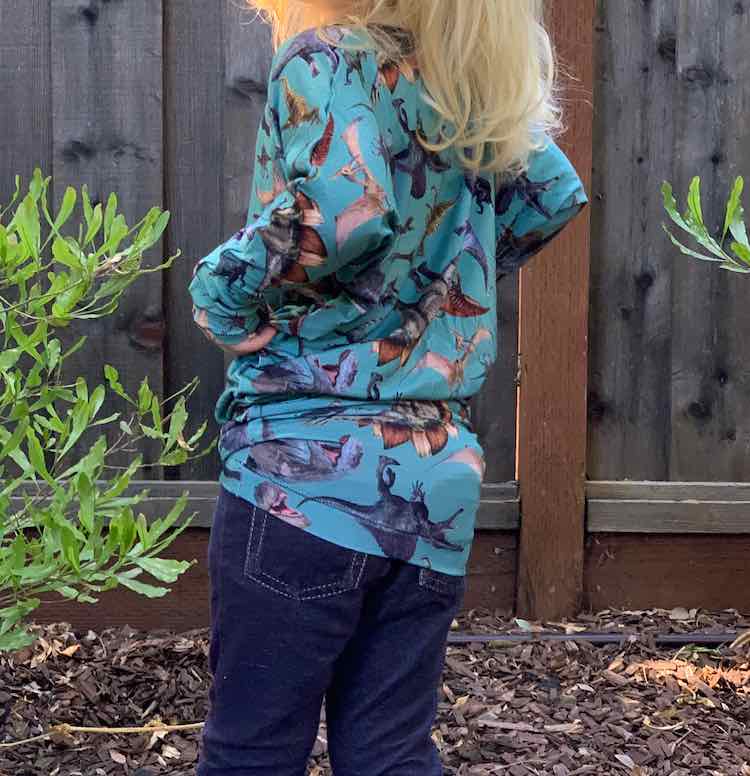
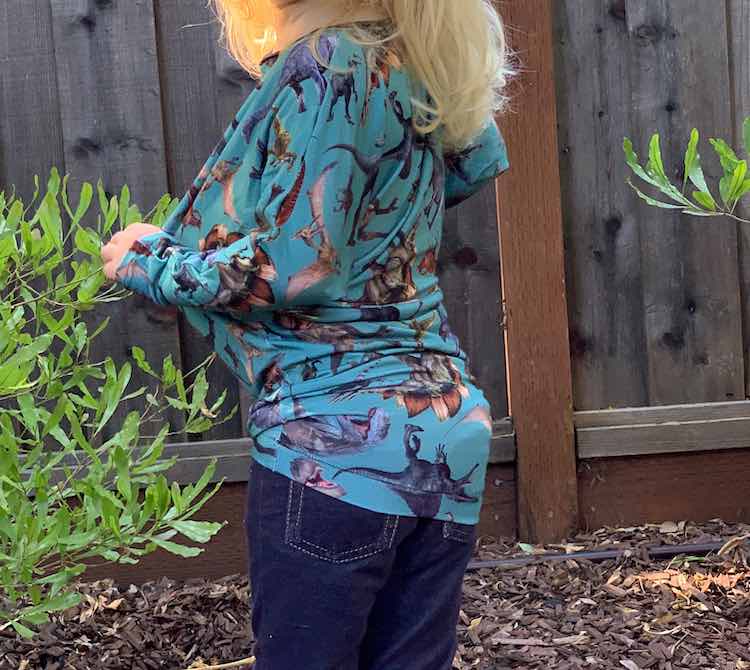
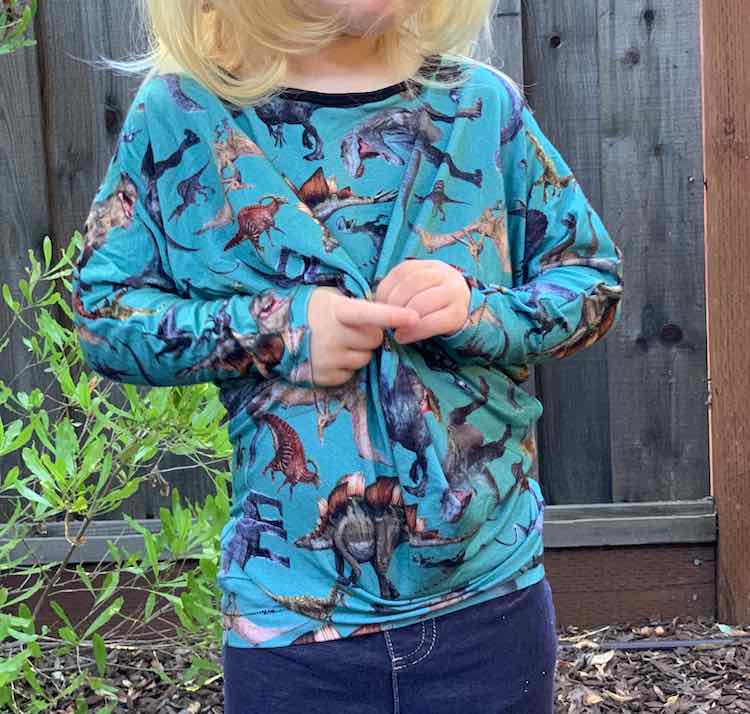
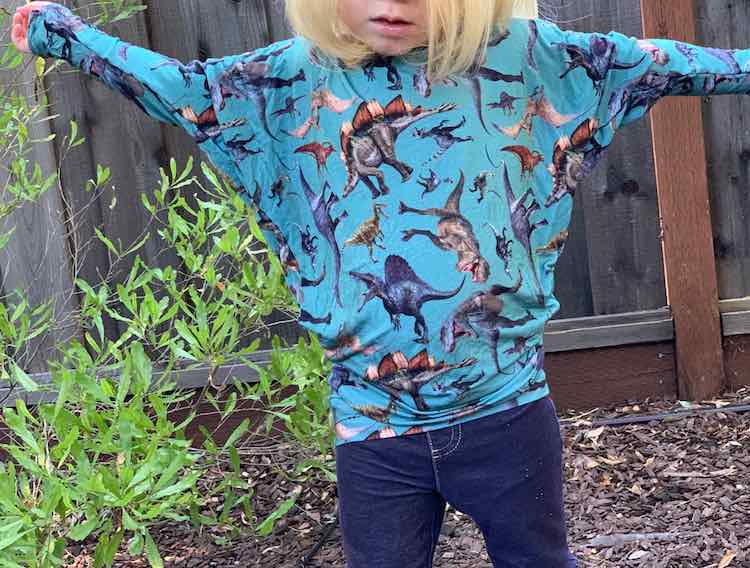
The girls love their Firecracker dresses and I can see making many more of these. This top (and the adult’s version Dynamite top) are available through Ragamuffin Patterns if you want to create your own version. If you want both patterns there’s a bundled version too. If you do sew it up I’d love to see how it turns out. Feel free to share your creation in the comments below, on my Facebook page, or through Instagram. Happy sewing!

