
Quiet Book Page - Threading with a Bumblebee through Flowers
While trying to come up with ideas for Ada’s quiet book I kept coming across a bumblebee lacing page where you bring the bumblebee through D rings or split key rings associated with flowers. An additional aspect I saw had the flowers labeled with numbers so the child threads the flowers in order. I decided to recreate the idea I saw through multiple images I found online, but leave the flowers unnumbered so it didn’t matter which order she threaded the bee through.
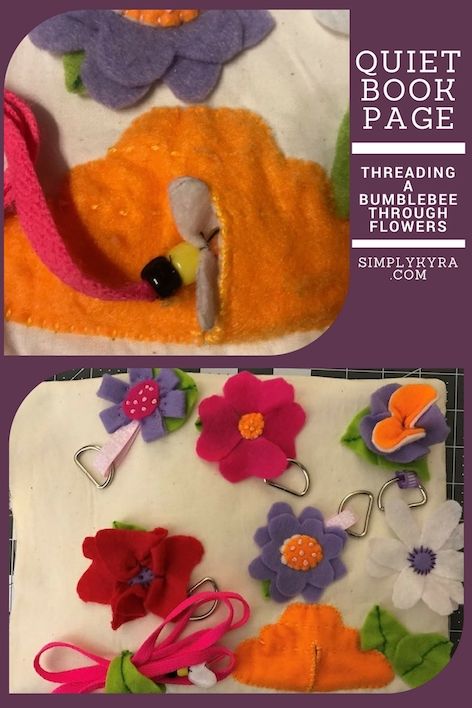
Materials
Items I had from before
- Fabric Ribbons
- Beads for the bumblebee
- Felt
Specific items I bought off of Amazon
- 108″ Unbleached Muslin Natural Fabric by the Yard
- Pellon Fusible Thermolam Plus White Fabric by the Yard
- 1 Inch D Rings
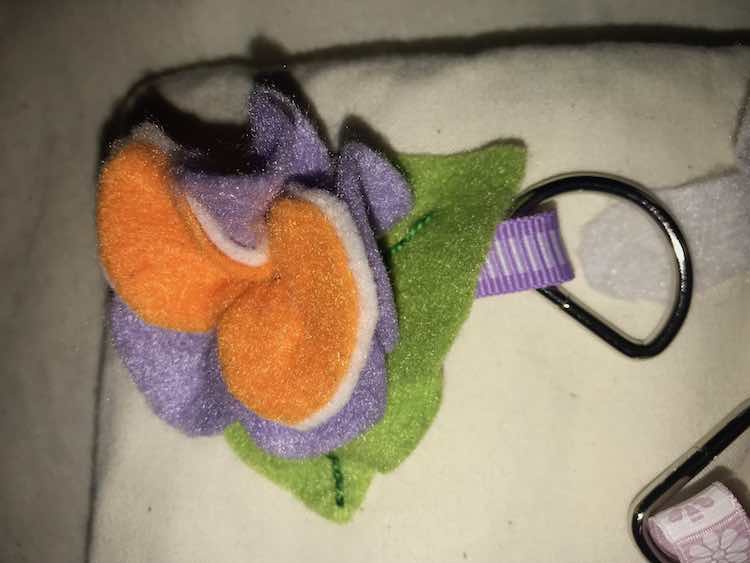
I started off with a blank quiet book page; muslin ironed onto fusible interfacing and then cut to size. If you want to know more about the quiet book page bases or how to sew your finished quiet book pages together you can check out my blog post: In Depth Guide to Joining Quiet Book Pages. I then started by planning and designing some of my felt flowers. I wanted a variety of flower types to offer a variety of colors, textures, and looks. After I attached a couple of flowers I realized I should start by attaching the D rings first so I went on to attach the D rings near the currently attached flowers and then added more in other spaces for future flowers. To attach the D ring I used two different fabric ribbons I had on hand (a purple striped one that matched my felt and a pink and white-flowered ribbon), cut them, looped them through the D ring, folded them in half, and then hand sewed them to the page using thread. I tried to add both colors to the page equally and spread them out.
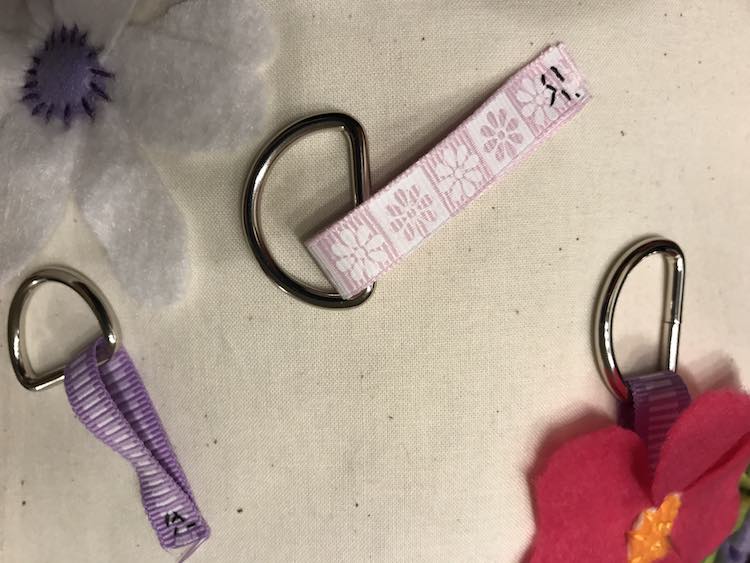
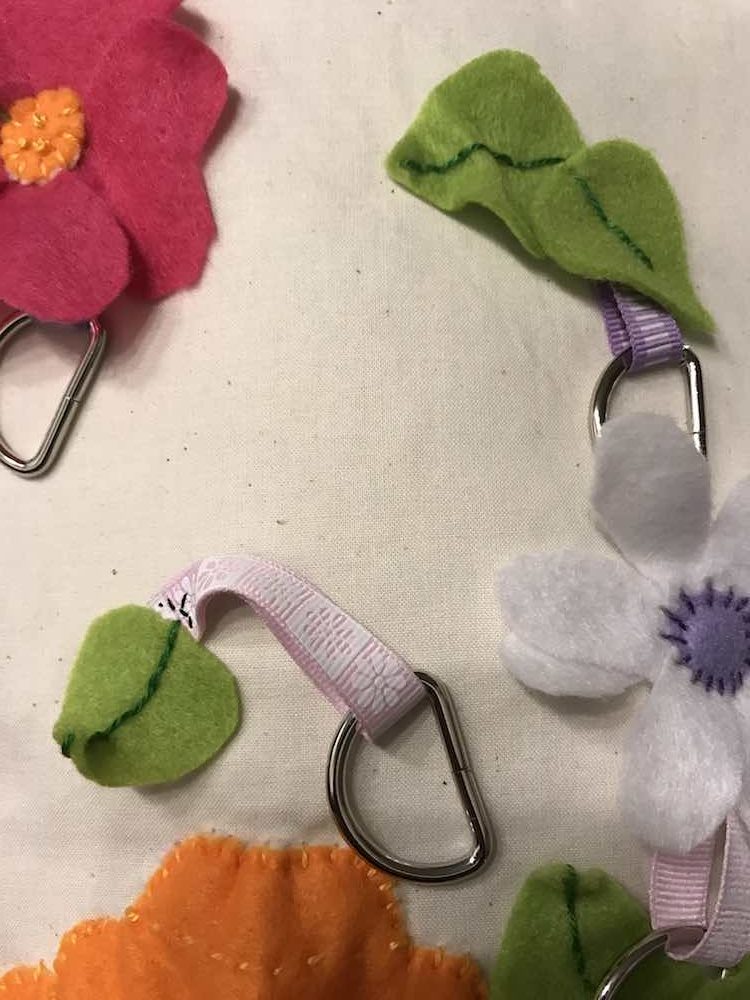
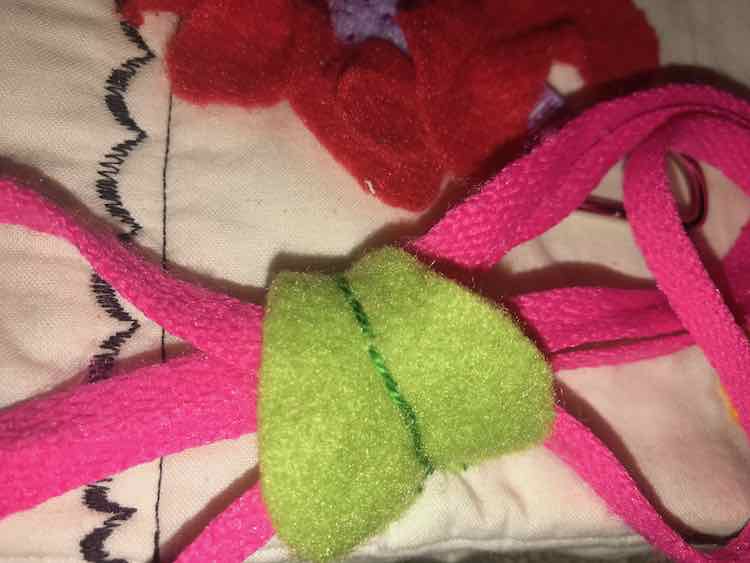
I then went on to add felt leaves, the rest of the flowers, and a beehive. The ribbons were attached with sewing thread, but all the other items were attached using embroidery floss and I chose colors that would match or complement the item I was sewing. I decided to attach the light green leaves with a dark green embroidery floss and sewed down the center of them adding ripples to the leaves as I went to make them look more lifelike. When I wanted the leaf to not be connected to the page (the ends of the leaves or the center for the shoelace holder) I sewed through only the felt leaf and then connected it to the page when I got further down so the embroidery floss would be a continuous stem-like line. I made sure to cover up where the ribbons were attached to the page as I went so the black thread wouldn’t show and the D rings would stick out and be accessible. (F.Y.I. I looked it up and that part of the leaf is called a midrib… it was bugging me but figured I’d stick with calling it a stem.)
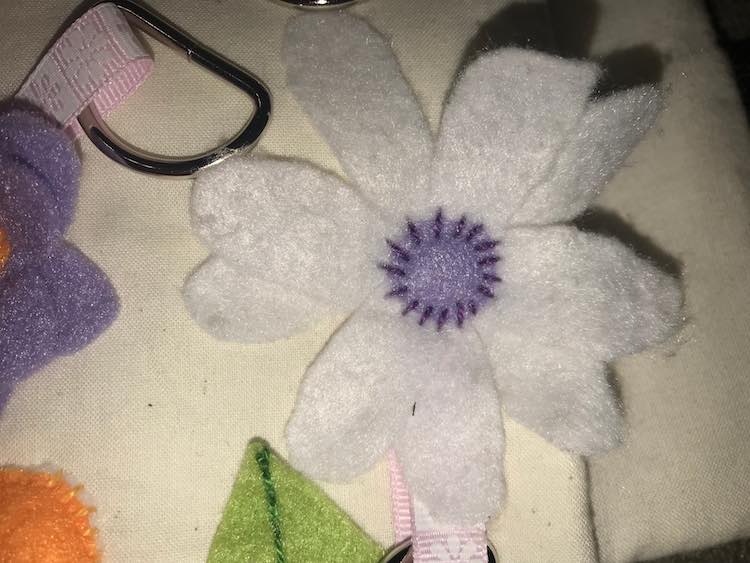
For the flowers I laid out all my components and then sewed the flower layers at the same time as I sewed them to the page. I mainly just used a straight stitch (of different lengths) and french knots. I looked online for different types of felt flowers and made the ones the looked the coolest… and were easy enough to attempt to tackle.
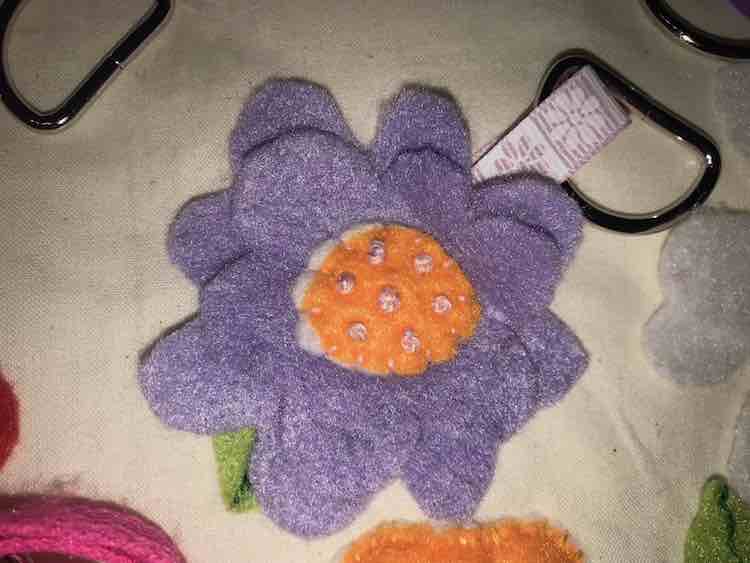
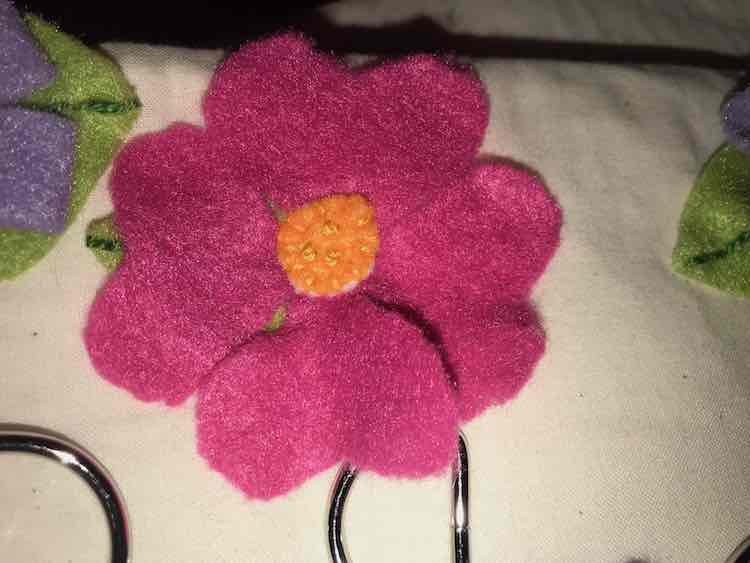
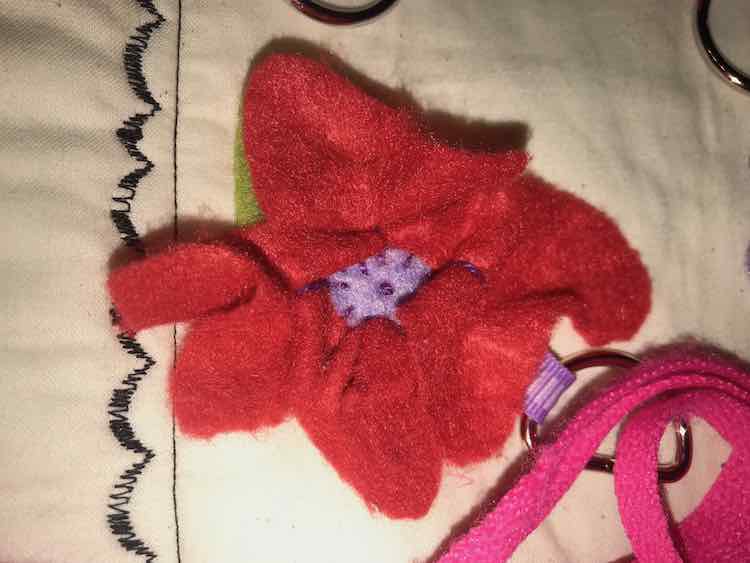
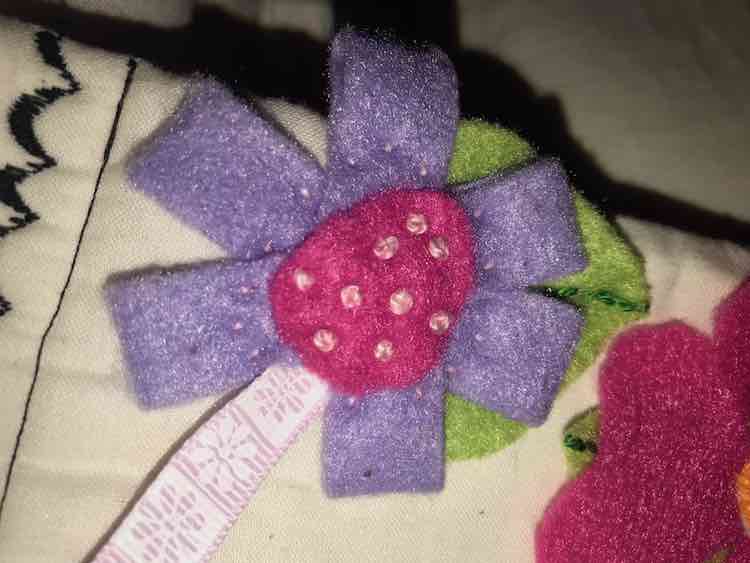
For the bee hive I started by cutting it out of the felt, sewed the horizontal lines to separate the layers, sewed it to the page along the sides, and when I got to the vertical opening at the bottom I sewed along the edge of the felt (not connecting it to the page) so the edge of the opening would look the similar to the rest of edges.
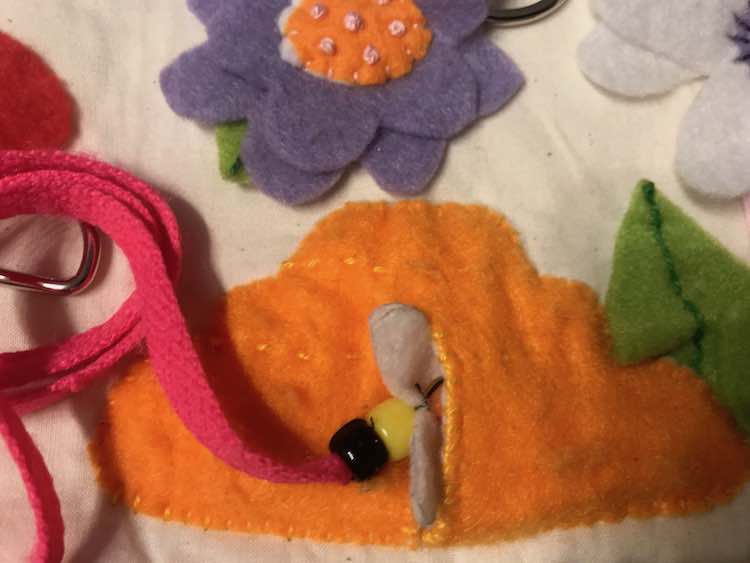
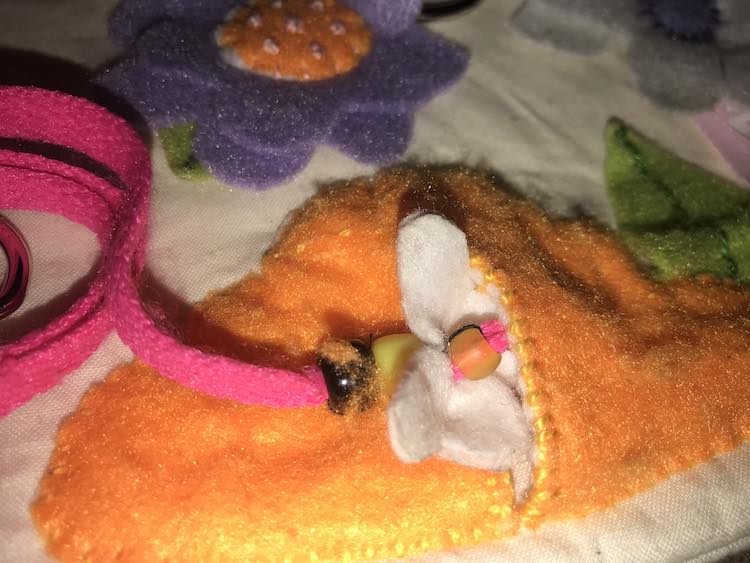
For the bumblebee I took a shoelace I had on hand (from buying a bunch of neon laces for crafts), sewed the one end done under the looped leaf, and then attempted to add a bumblebee to the other end using beads, thread, white felt, and felt glue.
And then I was done the page design.
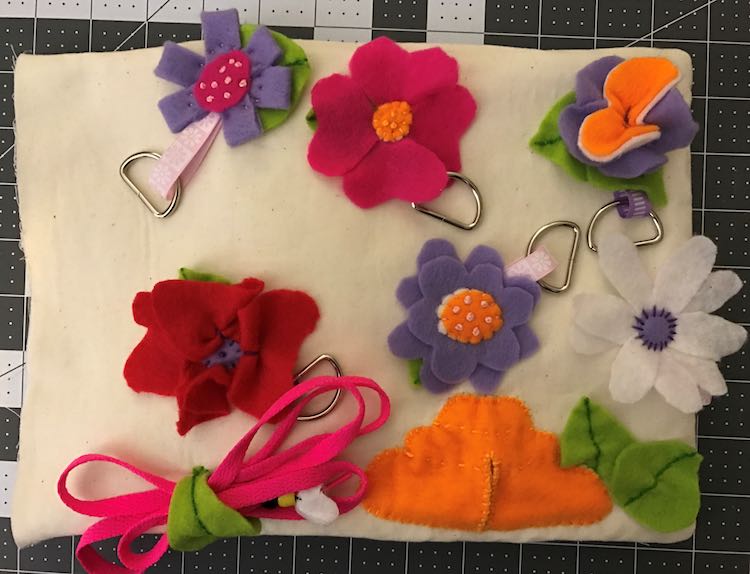
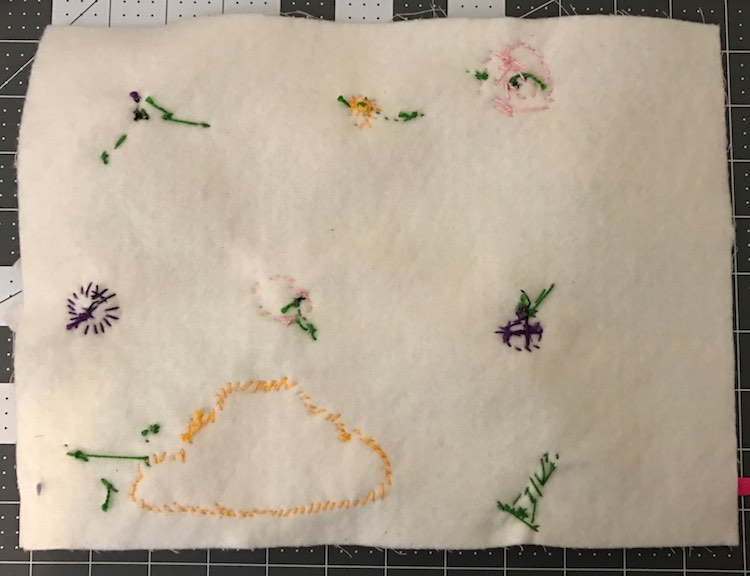
All you have to do next is sew it to its reverse page. I have in depth directions on how I did that in a previous post. This page has a lot of overhanging parts so before you sew it to the other side you first need to pin back any portions of the flowers that are overlapping the edges and might get caught in the seam allowance.
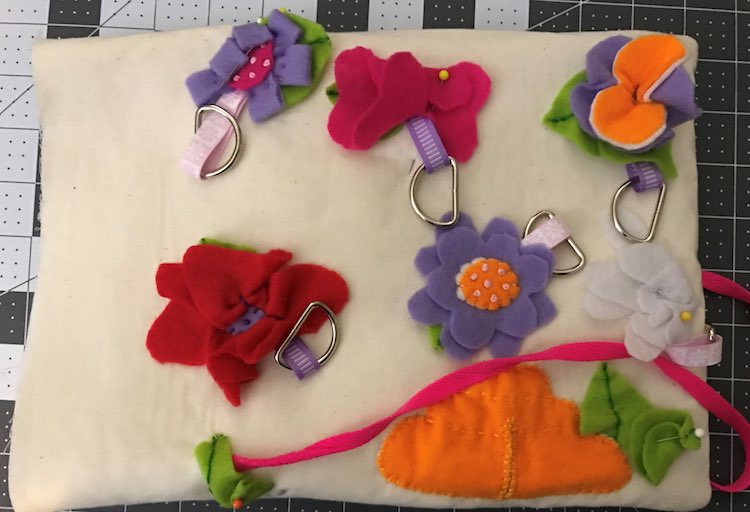
Also make sure to gather any unpinned loose pieces like the shoe lace and put them near the center.
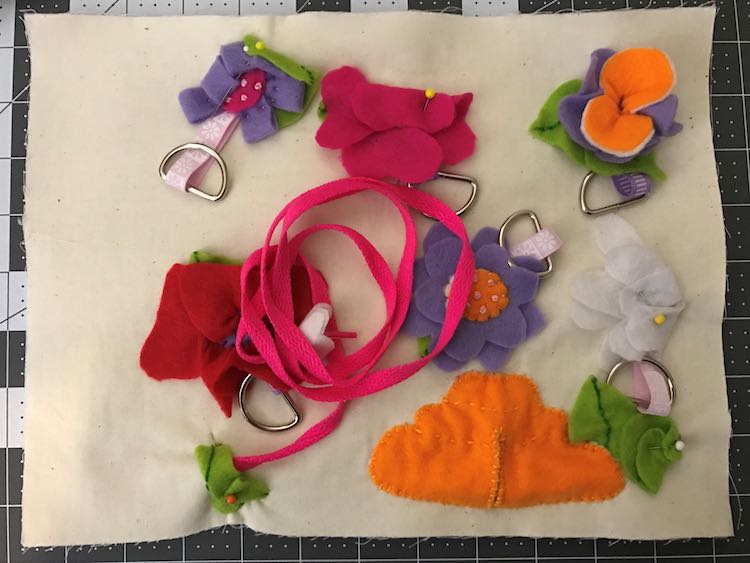
Even pinning the parts back I didn’t think of the stitch I was going to add for the grommet space and I lost the tip of a flower. I didn’t see the flower as I sewed the stitch with this side of the page down and wish I pinned the flower back before sewing it. I tried to fix it by cutting it as close to the stitch as possible, trimming the edge of the petal so it looks similar to the other three petals, and then tried to get as much of the felt as I could out of the stitch.
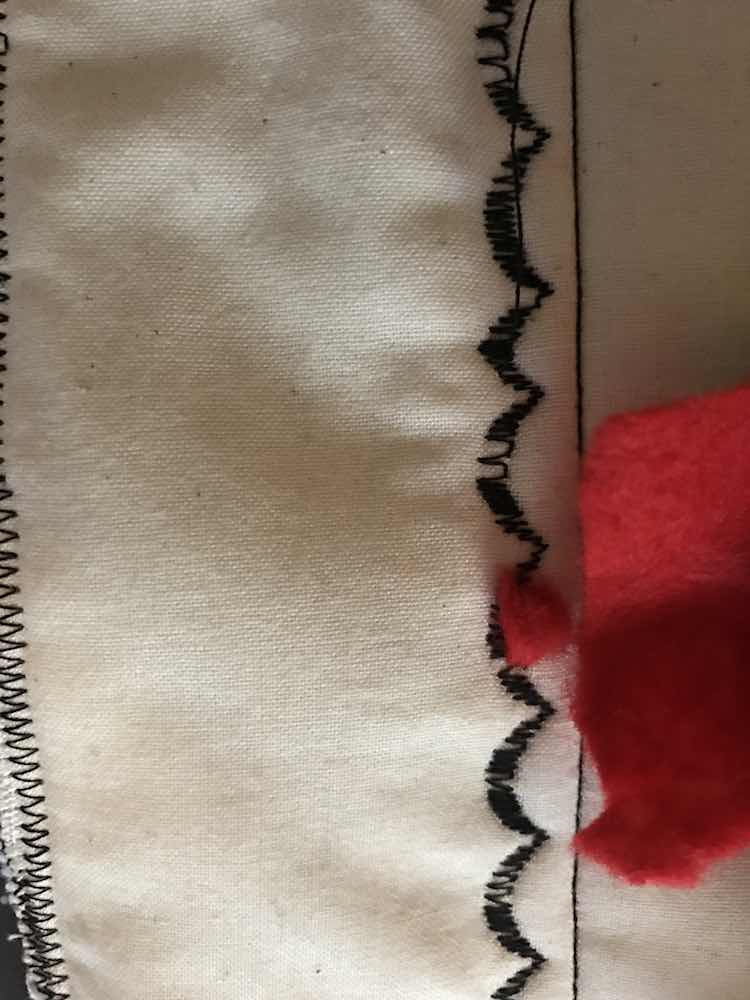
If I were to do this again I would…
- Be much more careful pinning back the flowers and give the reverse of the page a once over before sewing the grommet page.
- I could also see making some smaller and more numerous flowers on the page so there would be more threading, but at the same time it can get really tangled once you come to the end of the shoelace so it might be the right amount.
- I would have maybe attempted a different and better form for the bumblebee. I ended up using felt glue on the wings as they were falling off and I wish I had better colored beads. I could see changing it out for a button next time and using a thinner cord instead of a shoelace.
You can check out my previous posts if you want more information on how I created my quiet book covers, joined my quiet book pages together, or to see all my quiet book pages. I can’t wait to see what you come up with and would love to hear from you in the comments below, on my Facebook page, or through Instagram.

