
Quiet Book Page - Buckled Peek-a-Boo Upcycled Butterfly
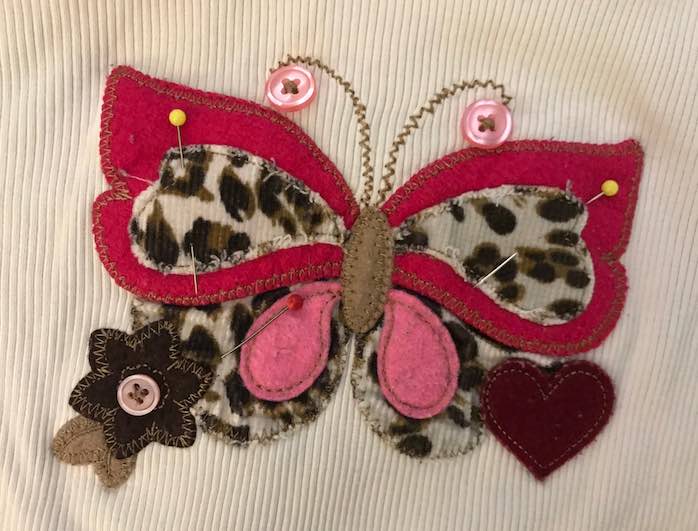
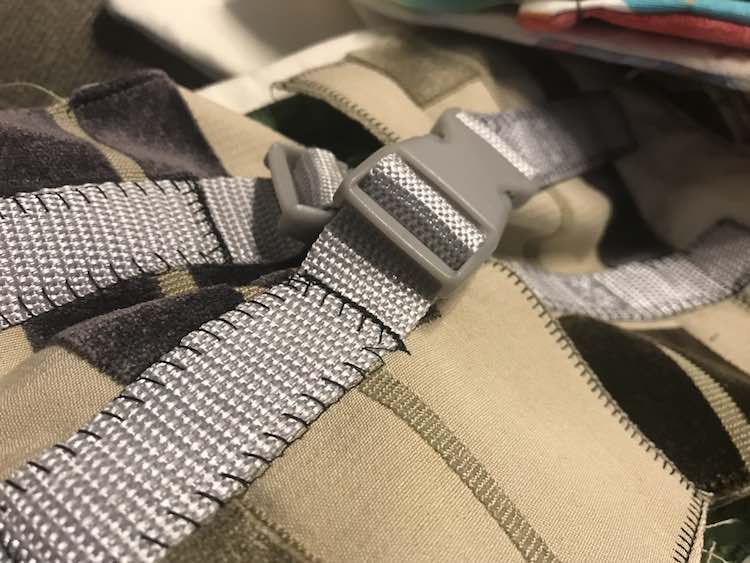
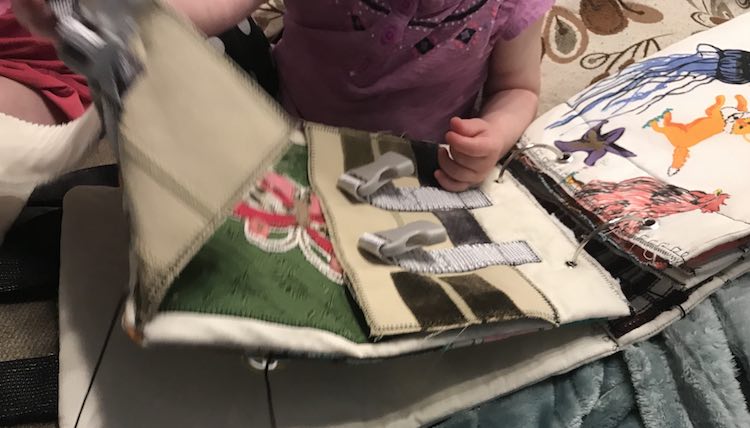
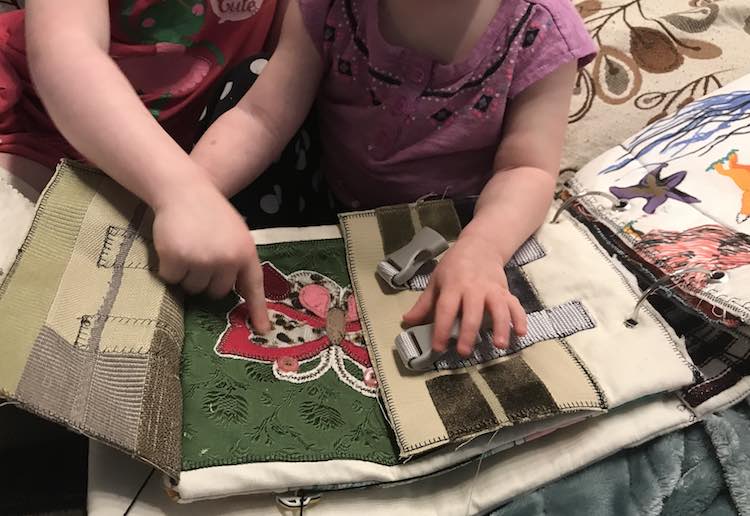
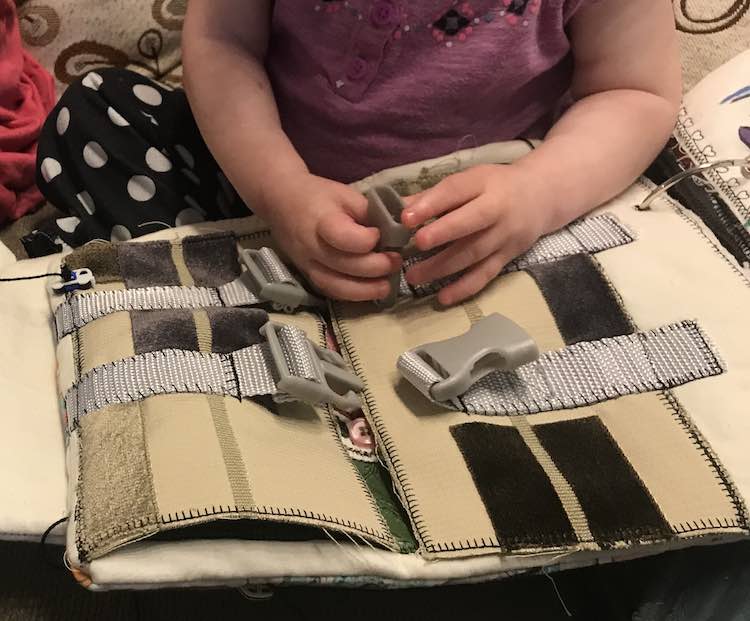
When I came up with this idea Zoey was at the age where she loved to buckle up her highchair. Ada had also gone through the same stage. Our current highchair came with a booster seat that didn’t work well with our chair so I kept the straps when we got rid of the booster chair. Since the buckles were so loved I wanted to plan out Zoey’s new quiet book page centering on those extra straps and buckles. I decided to create fabric doors so I could attach the buckles to them and have a peek-a-boo aspect added to the book. While in my planning stage I went through Ada’s old clothing and found a long sleeved shirt she never wore with an embroidered butterfly on it. I decided to combine the peek-a-boo buckled doors with a hidden colorful and textured butterfly.
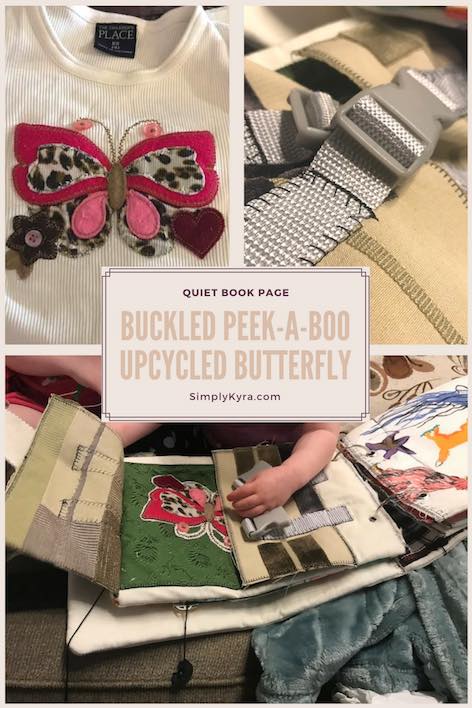
Materials Used
- 108″ Unbleached Muslin Natural Fabric by the Yard
- Pellon Fusible Thermolam Plus White Fabric by the Yard
- 1/4″ grommets or eyelets
- Two buckles on straps from a plastic booster seat
- Two fabric swatches from a Fabmo sale used to create the background behind the butterfly and create the door
- Old shirt with an embroidered butterfly on it to make a hidden surprise
I started with the embroidered shirt I wanted to use for the peek-a-boo surprise. I cut into the shirt by cutting along the sides and arm seams so I’d only have the front layer of the shirt to work with. I made sure to cut further away from the butterfly than I’d need so I’d have excess fabric along the edges.
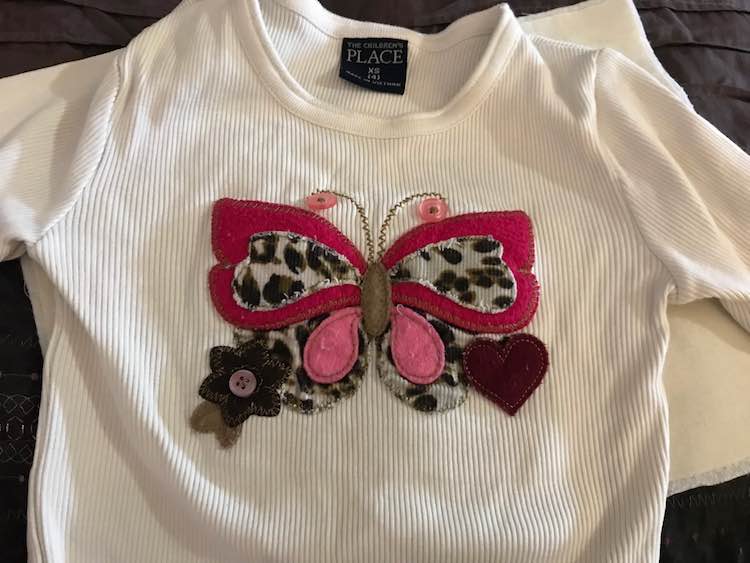
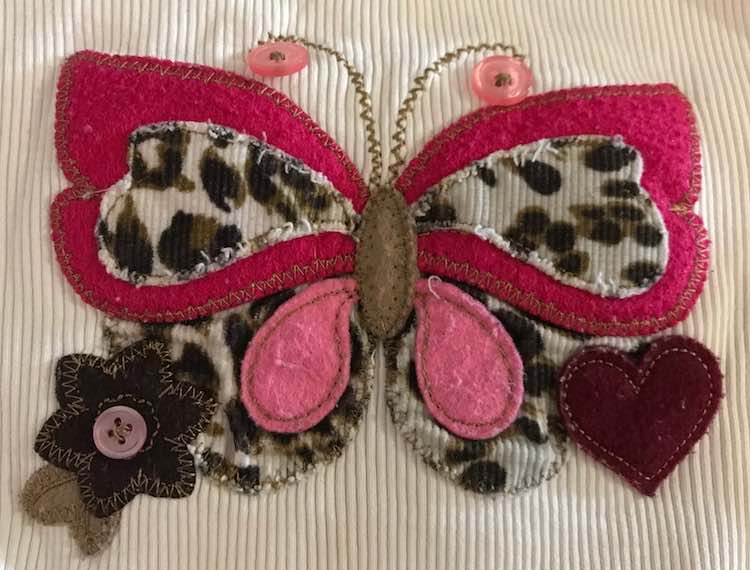
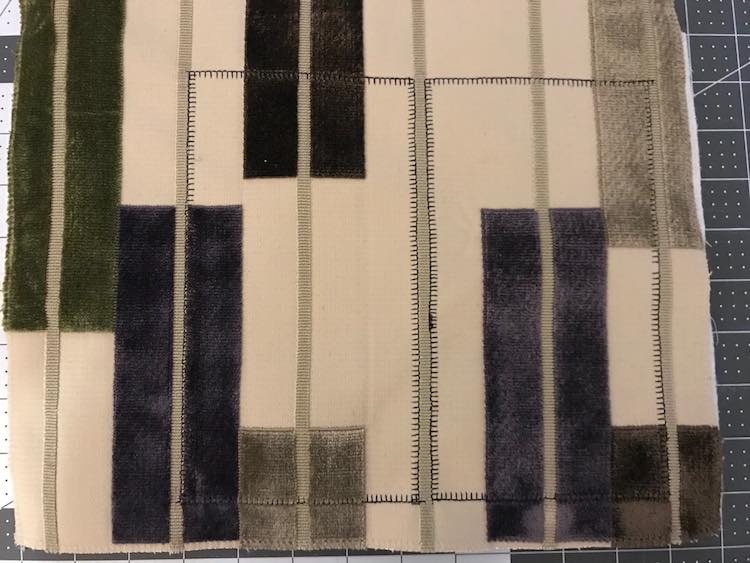
I used the butterfly’s width and height as the minimum size since I wanted the butterfly fully hidden behind the doors. I then made sure that the door size I came up with was larger than the butterfly yet would still fit on the page. I marked this final size on my fabric sample and then sewed along the outside of these rectangles (or future doors) so the edges of the fabric wouldn’t unravel too much once cut.
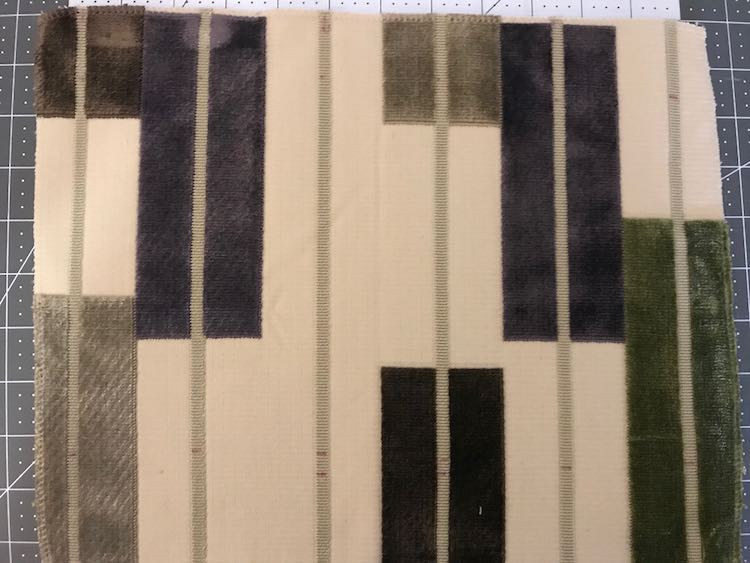
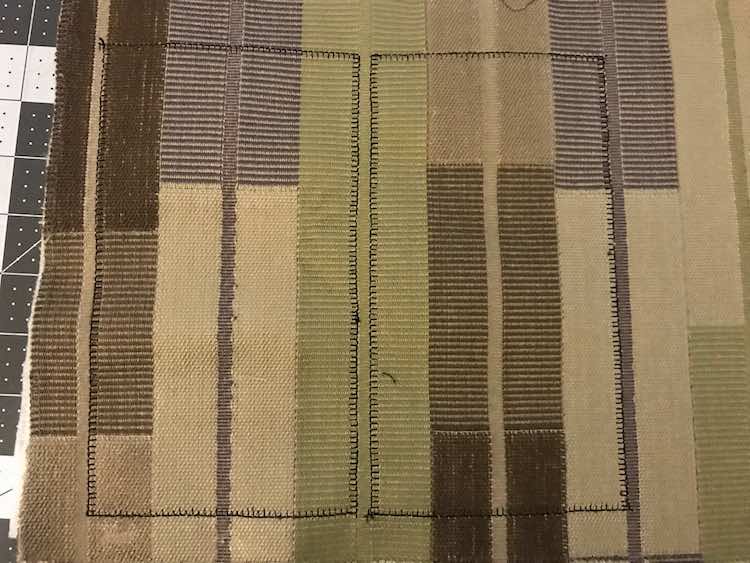
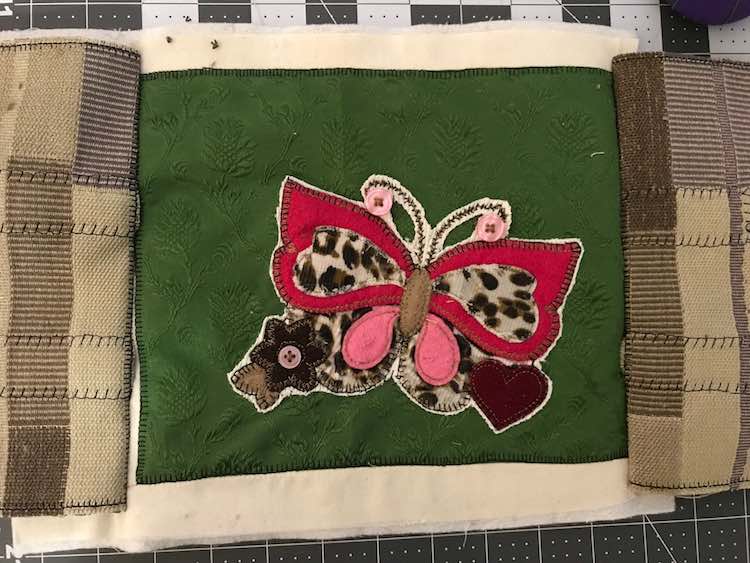
I had a green fabric swatch that would be perfect for the background behind the butterfly. I ended up flipping the excess fabric over so it would be hidden behind the doors and pressed it in place so it wouldn’t unravel.
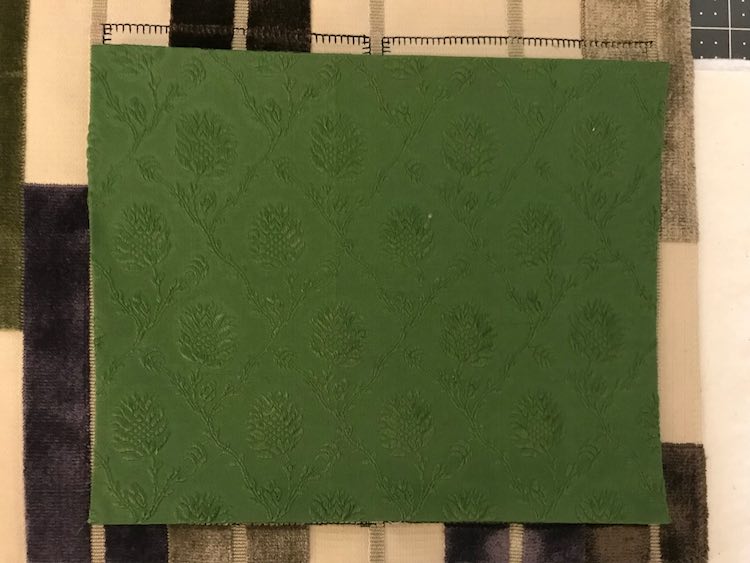
Next I pinned the butterfly in place on the fabric swatch and sewed along the edges with a blanket stitch. When I got to the butterfly antennas I decided to follow along the antennae but leave the buttons alone so the stitching wouldn’t take away from them.
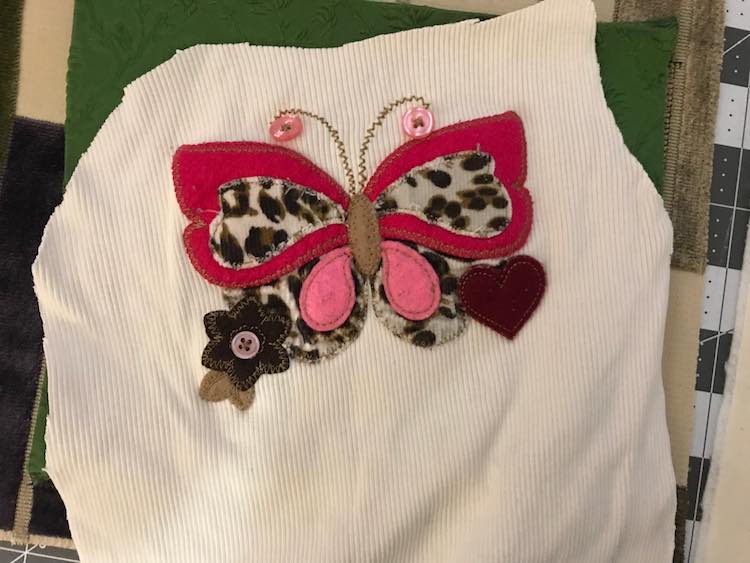
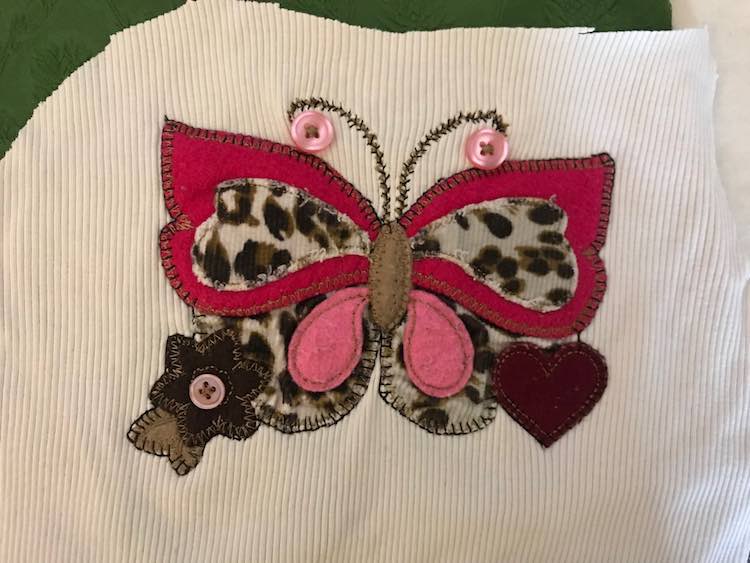
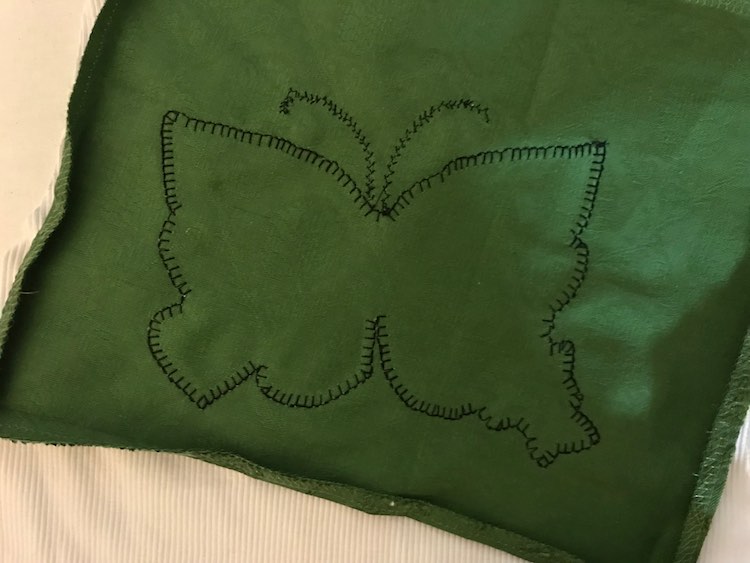
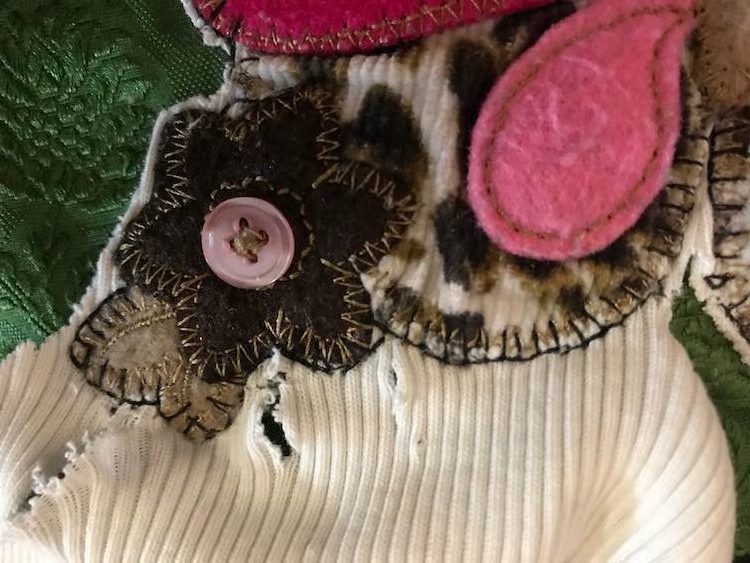
To make trimming away the excess fabric easier I decided to go around the butterfly and every tight spot was pierced and opened up with my seam ripper. After I ripped large enough holes in each spot I took my fabric scissors and cut along the seam’s edge while being careful to leave enough fabric around the buttons so they’d have enough fabric support.
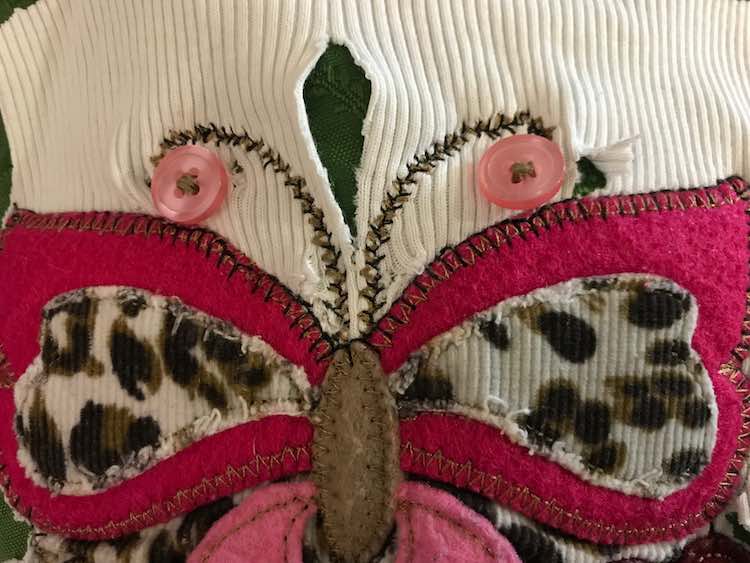
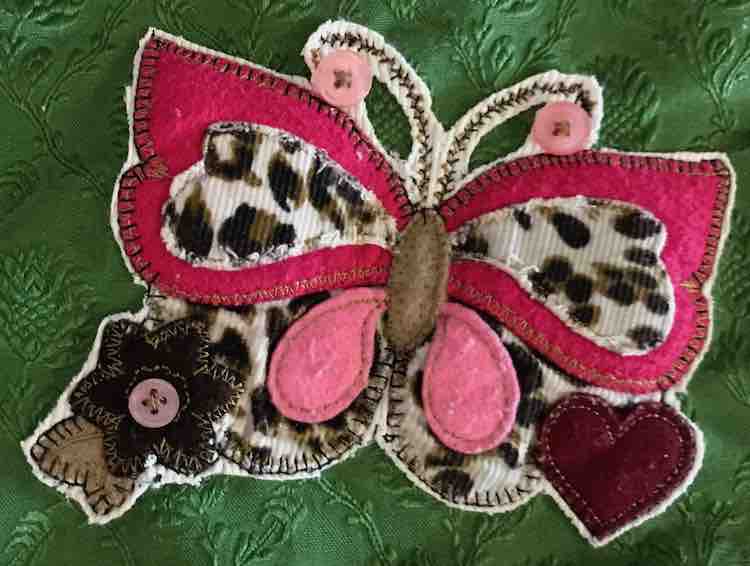
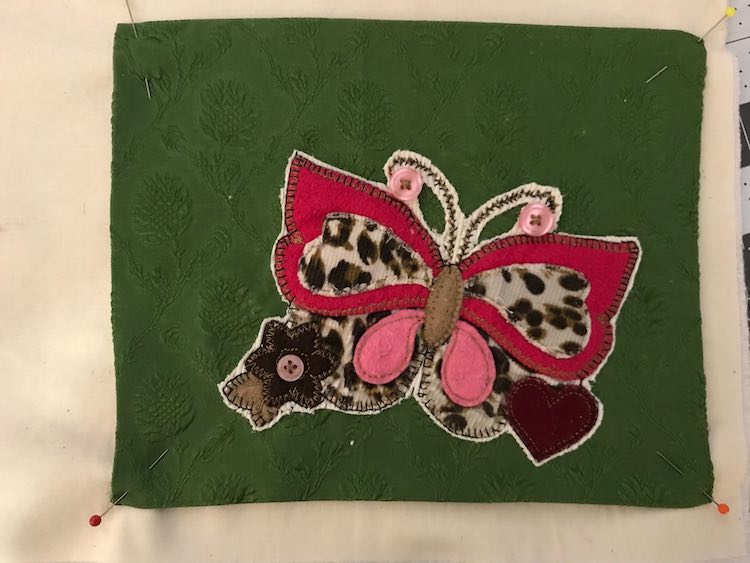
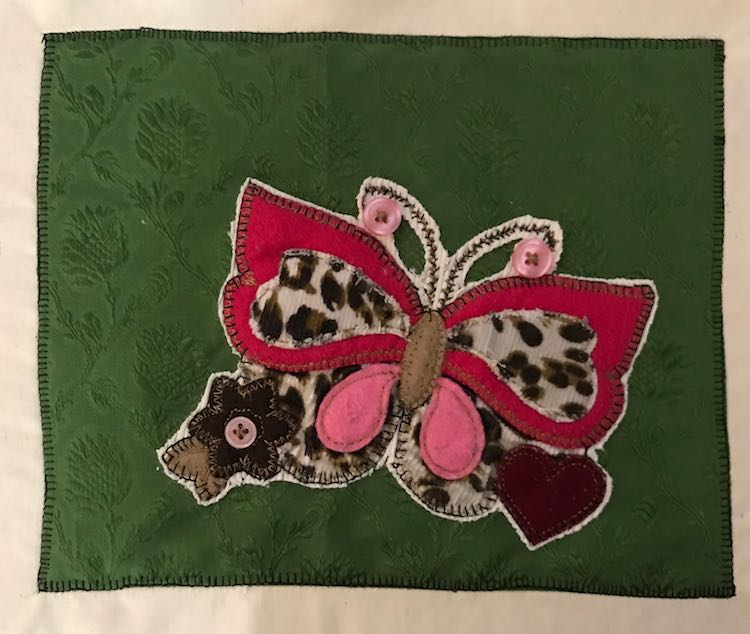
I then pinned the green fabric with the butterfly to my quiet book page base and sewed it down along all four sides. If you want more information about my page base you can check out part one of my In Depth Guide to Joining Quiet Book Pages.
With the hidden peek-a-boo element of the page finished I then placed the cut out doors overtop of the butterfly making sure it would be hidden. I then placed the buckles overtop of the doors centering them over the opening. Once I was sure I liked the placement of the buckles and straps I then pinned the buckle straps to the doors, unbuckled the buckles, lifted each door off the page, and sewed along all three sides of the buckle straps leaving the edge of the door unsewn. Once done I returned the doors so they’d be over the butterfly and once I was happy with their placement I pinned them in place.
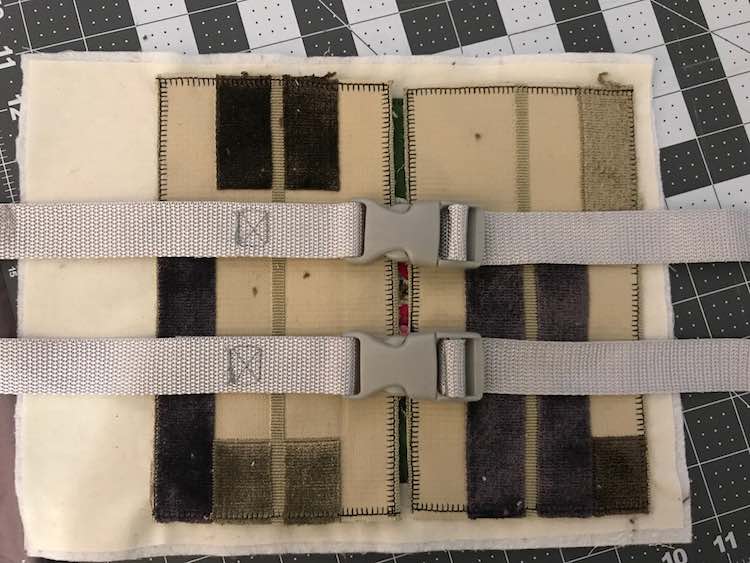
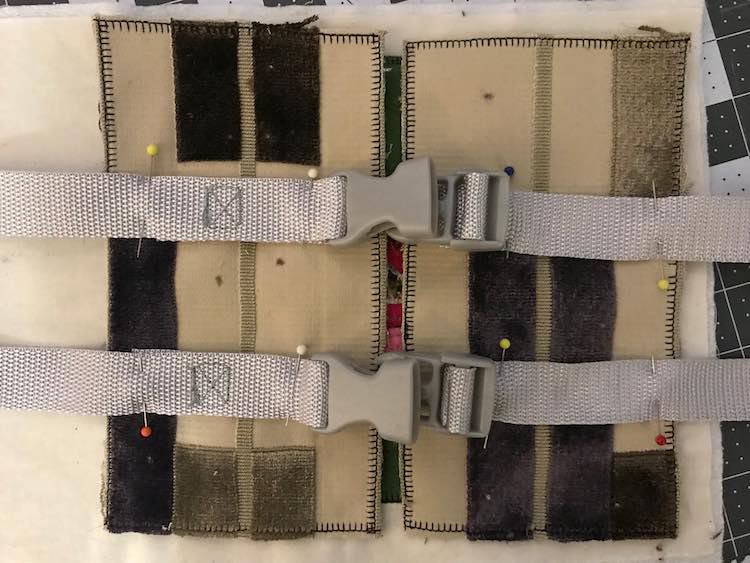
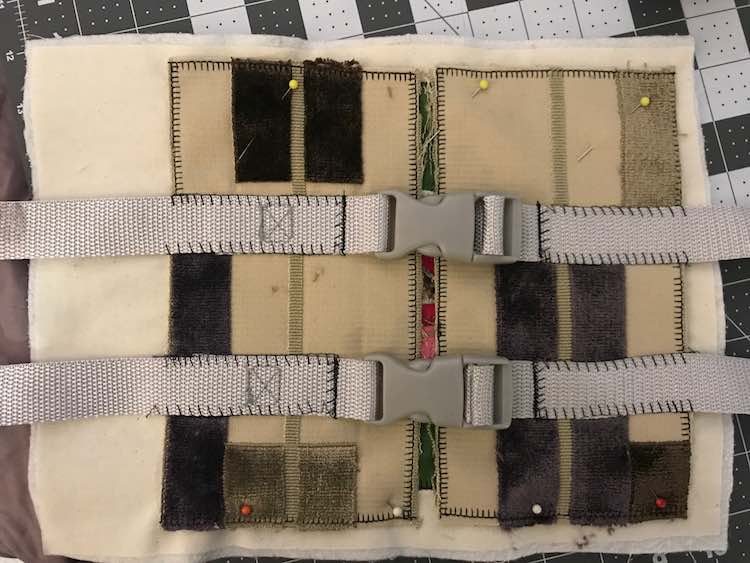
I then sewed along the edge of the door where the hinges would’ve been making sure to follow the buckle straps once I got to them. For the straps on the outer end of the page I left the edge unsewn as they’d be sewn down once I joined the two sides of the page together later. The straps closer to the inside of the page where the grommets would be added were only sewn about a centimeter over as I wanted to be sure I’d have enough room to place the grommets once done. I then trimmed the excess straps.
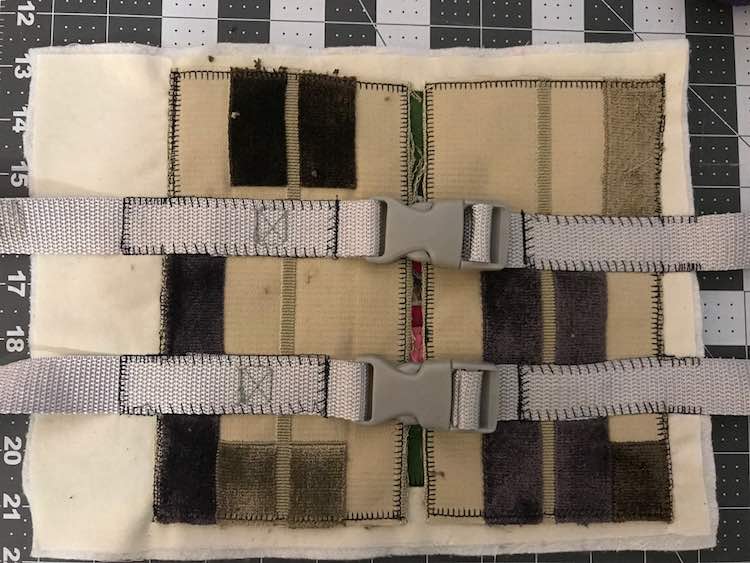
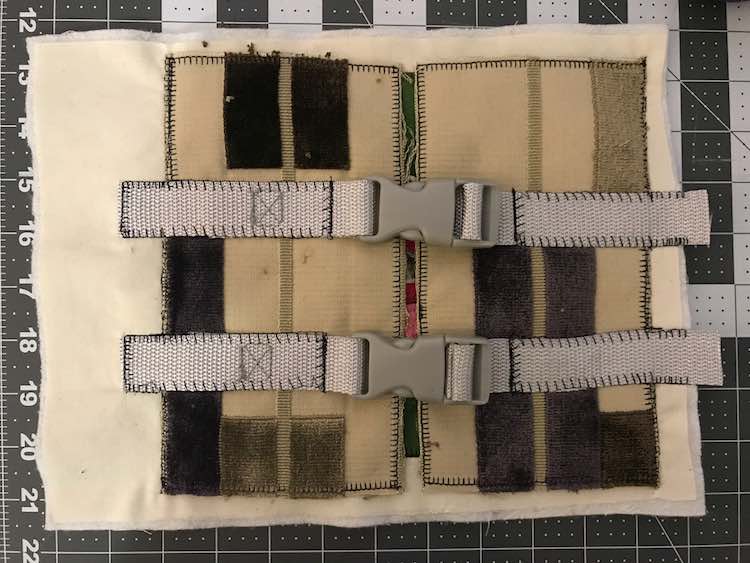
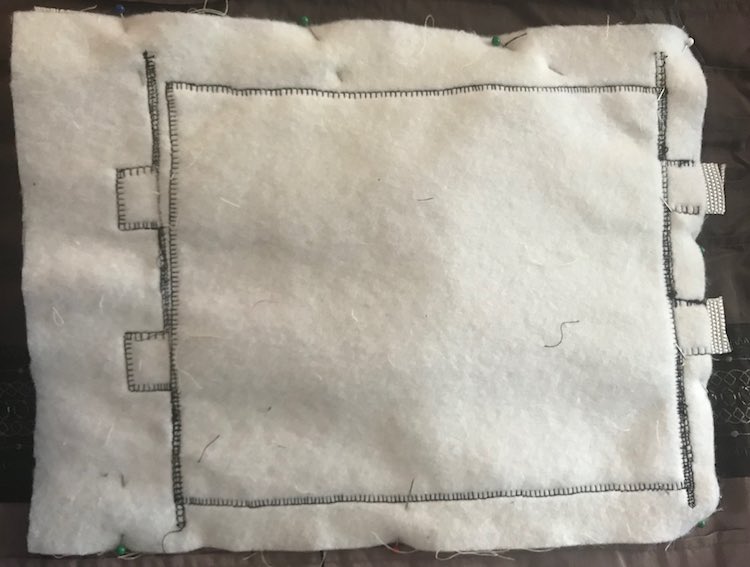
The doors were tested to make sure they could easily open and close in case there were any changes required before sewing the page to it’s reverse.
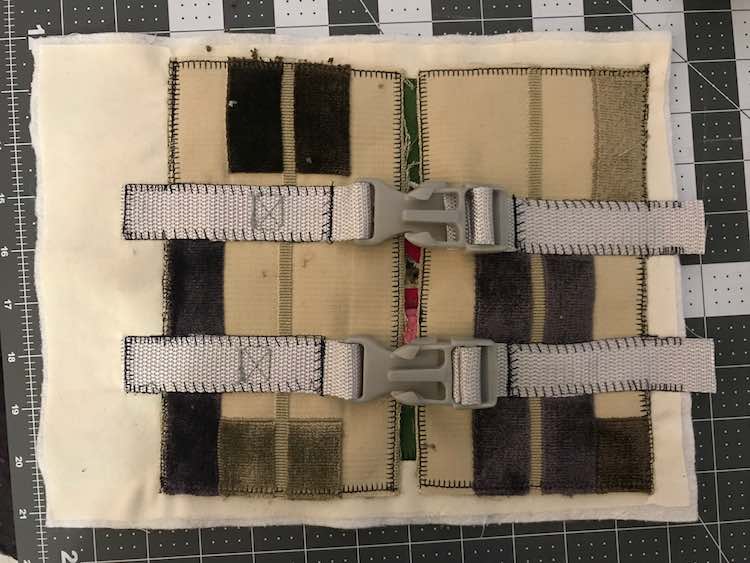
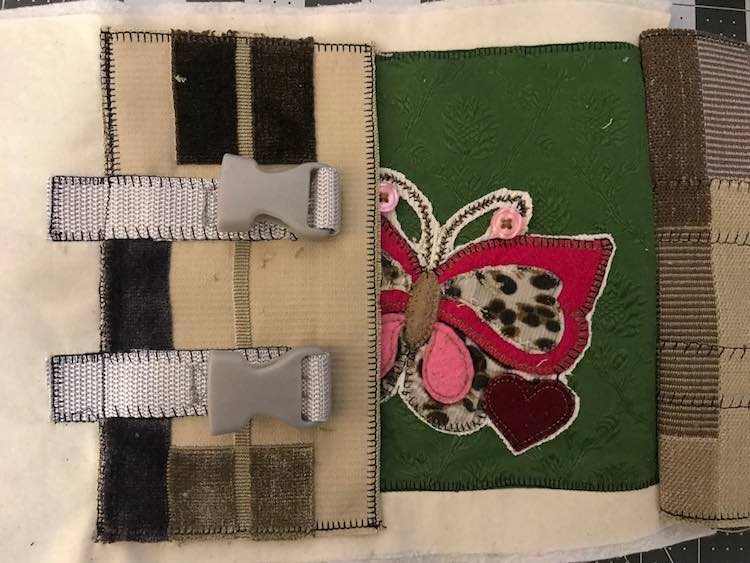
And then once the other side of the page is ready you can sew them together. Once the page is sewn closed you can add grommets or buttonholes if you want it removable so it could be placed in a quiet book cover or binder. If you want more detailed directions you can check out my In Depth Guide to Joining Quiet Book Pages Guide.
And then all that’s left to do is play with your new book page!
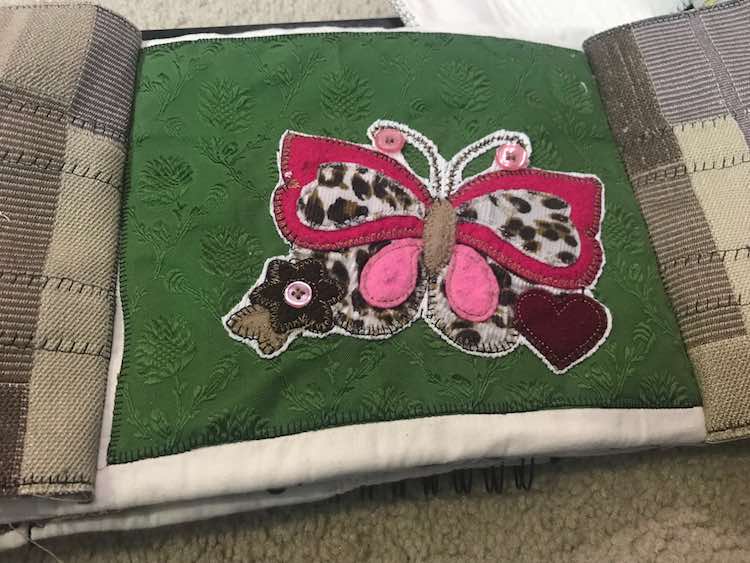
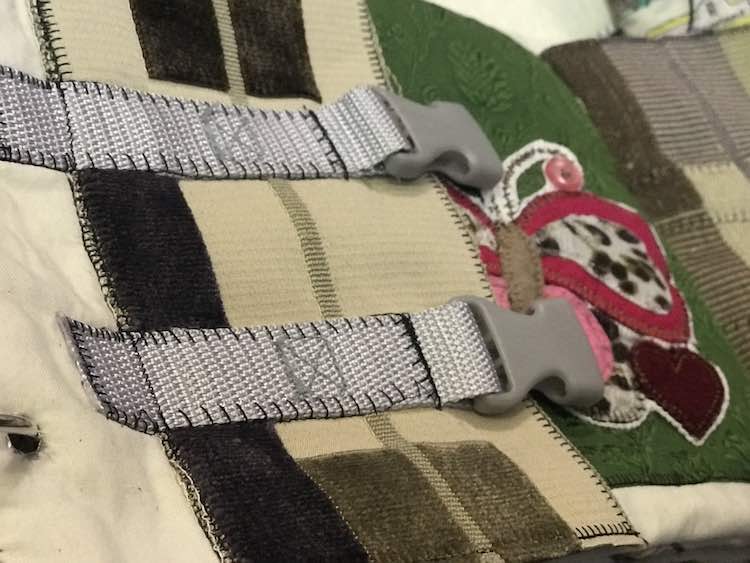
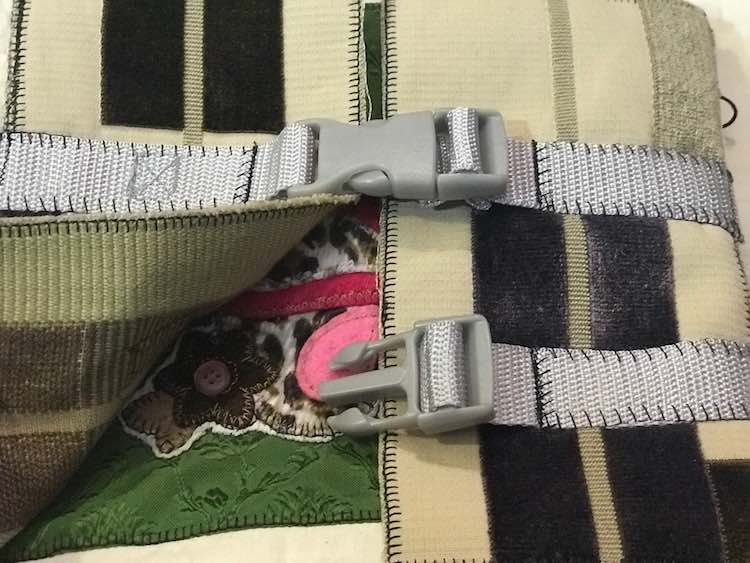
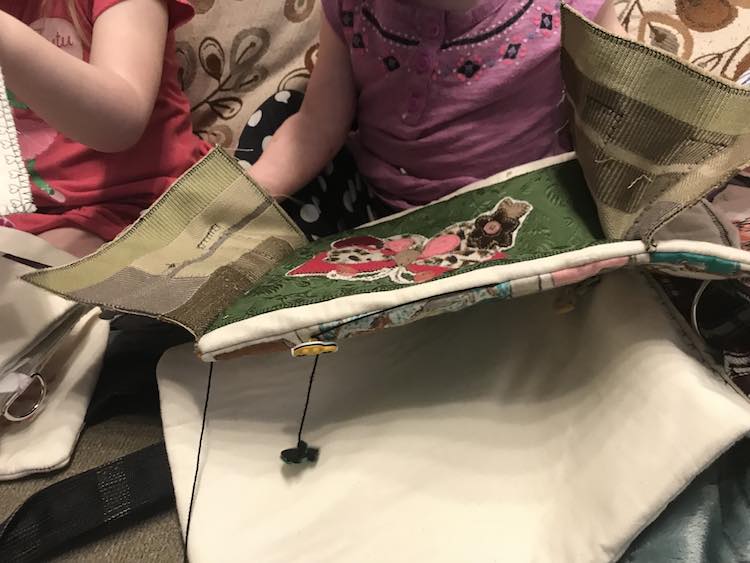
If I were to do it again I would change my fabric choices. I like how thick the doors are but the edge of the doors unravels a bit. I’m hoping over time the loose threads will come off and when it reaches my stitching it will stop unraveling. The quality of the edge of the door is the only regret I have with this quiet book page.
You can check out my previous posts if you want more information on how I created my quiet book covers, joined my quiet book pages together, or to see all my completed quiet book page designs. I can’t wait to see what you come up with and would love to hear from you in the comments below, on my Facebook page, or through Instagram.

