
Quick and Simple Storage Containers
I find when I finally get up the nerve to organize an area of my home I don’t feel like running to stores looking for the perfect size bin or basket to store my stuff in. It might be hard to even know which size basket you need until after you start and then if I leave to find the perfect solution I come back to a mess because I left it mid-organization and it can be hard to finish up. I find it easier when reorganizing to grab a box, basket, or bin I already have to check the fit and see what layout I want. I’ve bought several baskets from the Dollar Tree because they’re cheap enough I don’t mind not using them yet work great in my home. Overall the simplest way I’ve found, when organizing a space, is to create storage boxes from cardboard boxes. It works great for hidden spaces or when your space is in flux since you can just reorganize it if you don’t need it later. It’s a cheap and simple solution.
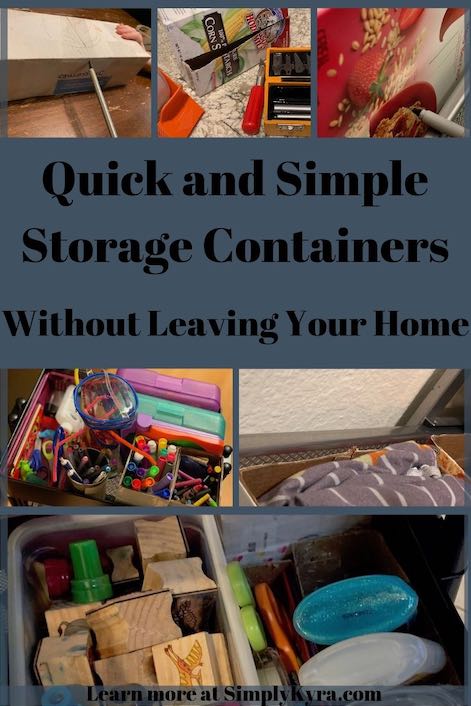
The best solution I’ve come across is using a box you may already have sitting around the house and cutting it to the perfect size. I’ve mentioned using more heavy-duty cardboard boxes before when creating a stand-alone kitchen stove and oven set or adding boxes to an unused end table to make a larger kitchen set, but in this case I love use the thinner and smaller boxes from cereal or other pantry items.
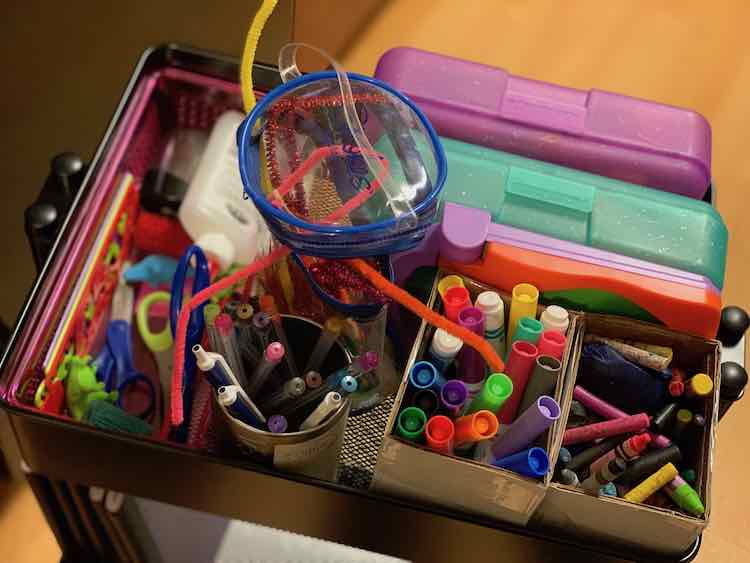
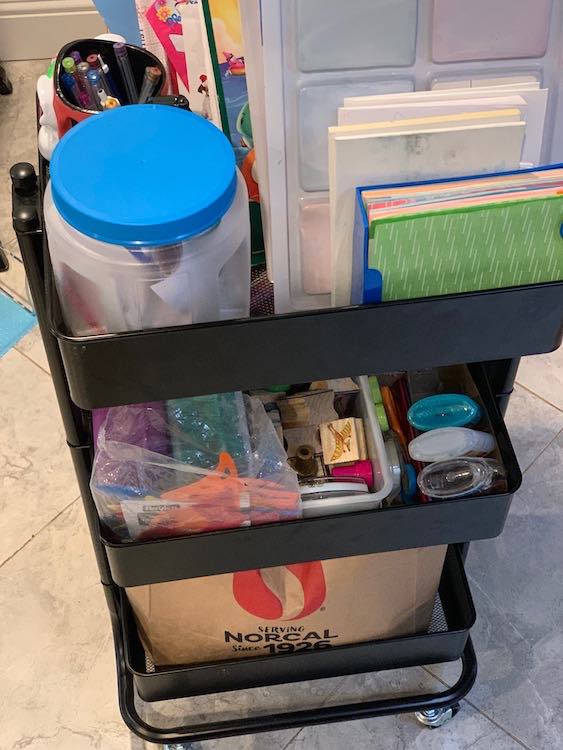
The most frequent place I’ve recycled boxes with is in the kids art supply area. Here I want to keep the kids’ supplies separated in such a way that it’s easy to see and grab what you want. I don’t want the system too complicated though as, ideally, I would love for them to put it back where everything belongs so next time it’s still easy to see what they have. We used to keep the art in a kitchen cupboard the kids could access when they needed but it was too deep so items got pushed back and were easily forgotten. Back in January I realized we needed a change and I bought us an ‘art trolley’ (3-tiered rolling cart) from Michael’s Arts and Crafts though I’ve since seen them in many other places including Ikea. When moving the art over I used pencil boxes for the prolific pencil crayons and crayons; but we needed a solution for the felt pens so I grabbed an old box we had been using to store the excess crayons and turned it into two ‘cups’ to hold both the extra crayons and the felt pens. I loved that it took up much less room in the cart than using anything else we had while being open at the top so the kids could see the felt pens and were easy to grab a couple or the whole ‘cup’ and bring to the table.
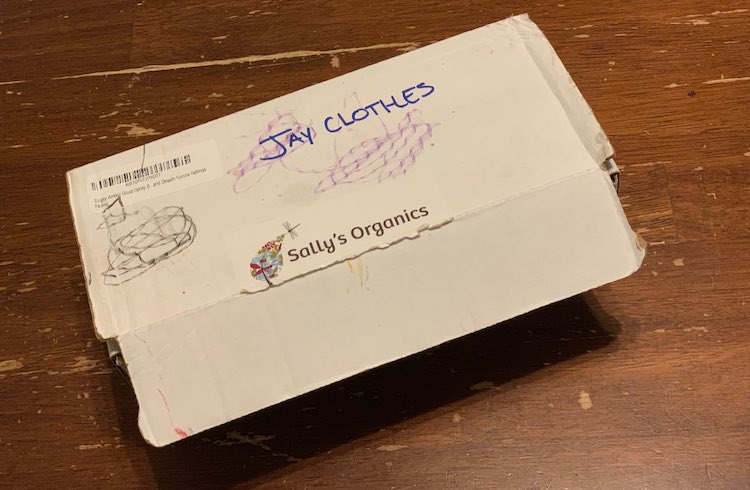
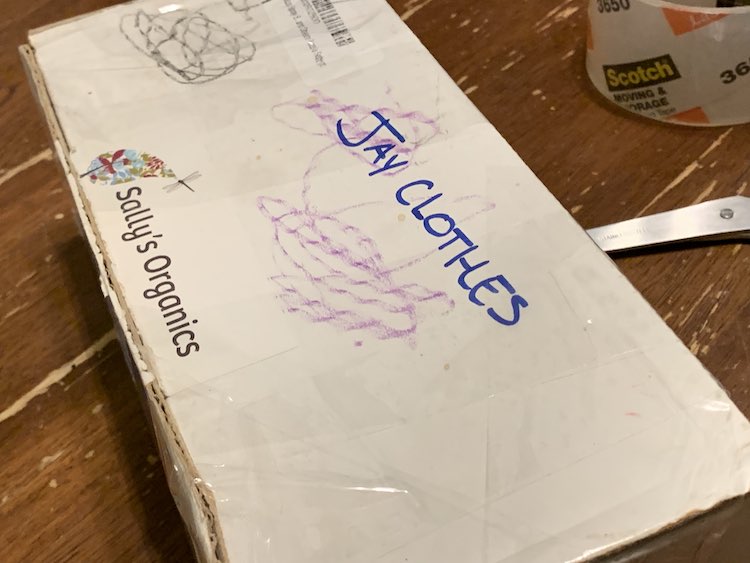
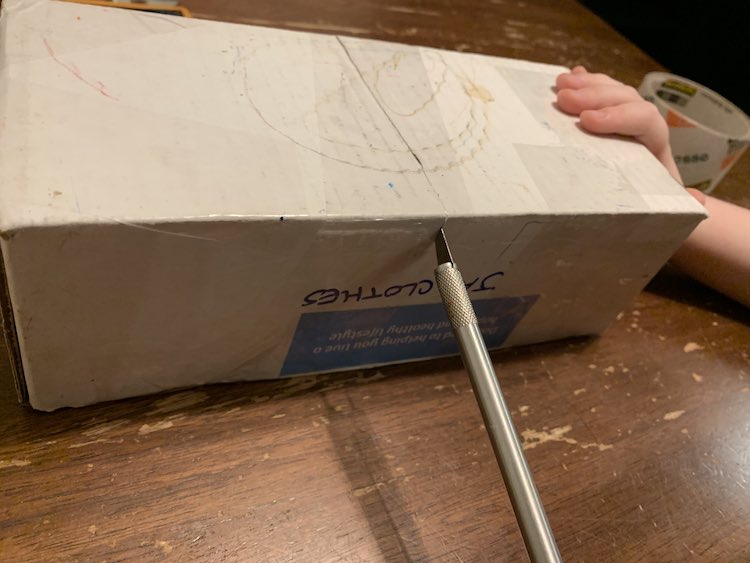
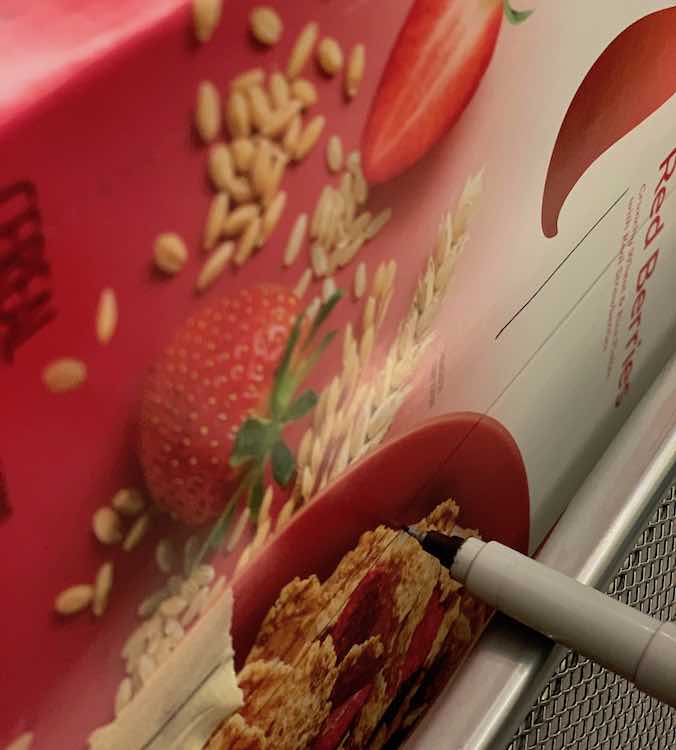
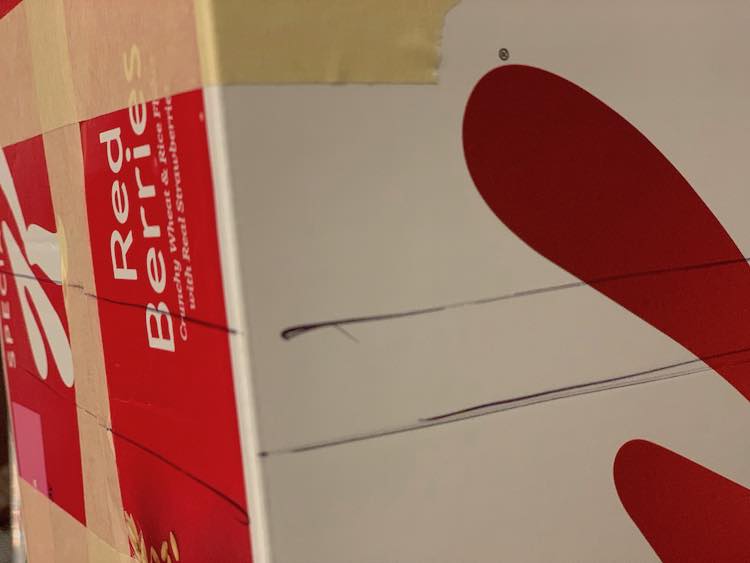
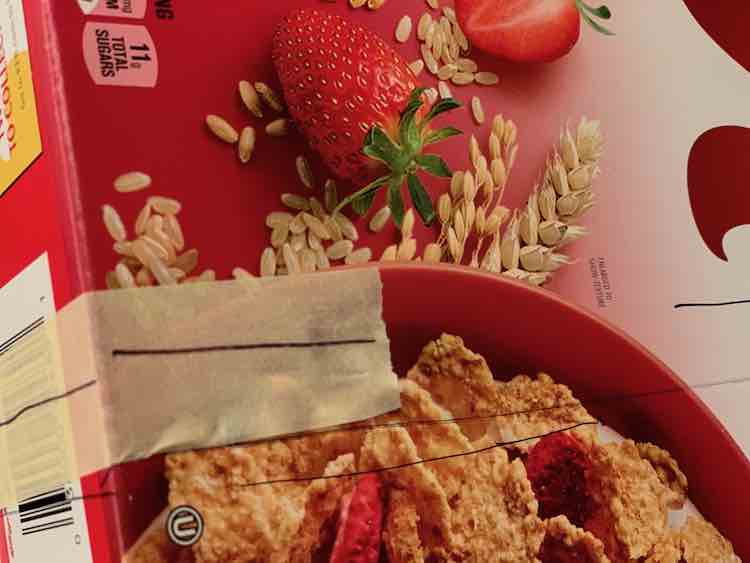
To make the two ‘cups’ I started by taking the long box, closing it, and taping it closed with packing tape. I then grabbed an X-acto knife and cut around the middle essentially splitting it into two. At this point you could also grab more packing tape or masking tape to smooth out the top and keep any shown overlapping layers together.
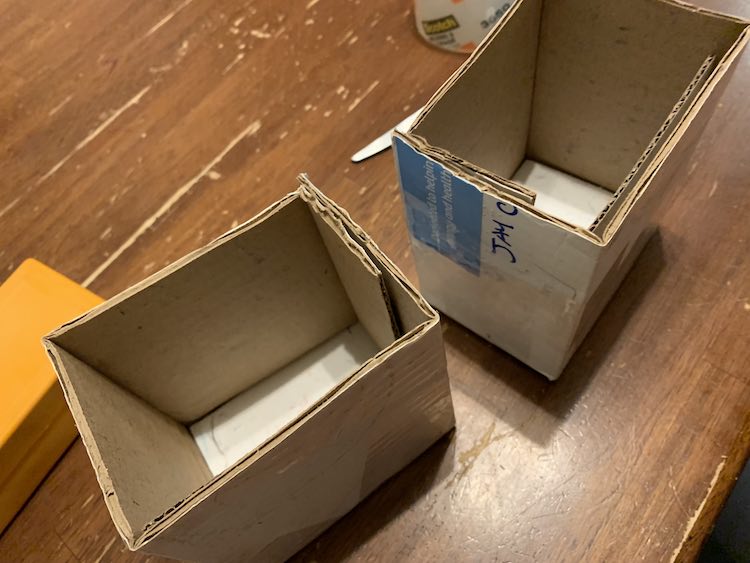
I then took the two resulting ‘cups’, filled one with felt pens and the other with the excess crayons (that didn’t fit in the pencil box), and found a place for it on the art trolley. I absolutely love how simple this was to make and I didn’t have to go out and buy anything. The kids have been able to grab whichever cup they want, bring it to the table, and color. When they’re done they can easily bring it back to the art trolley for the next time. It hasn’t happened, yet, but while organizing I had the idea of rolling the trolley right up to the table and grabbing whichever felt pen you needed as you needed it.
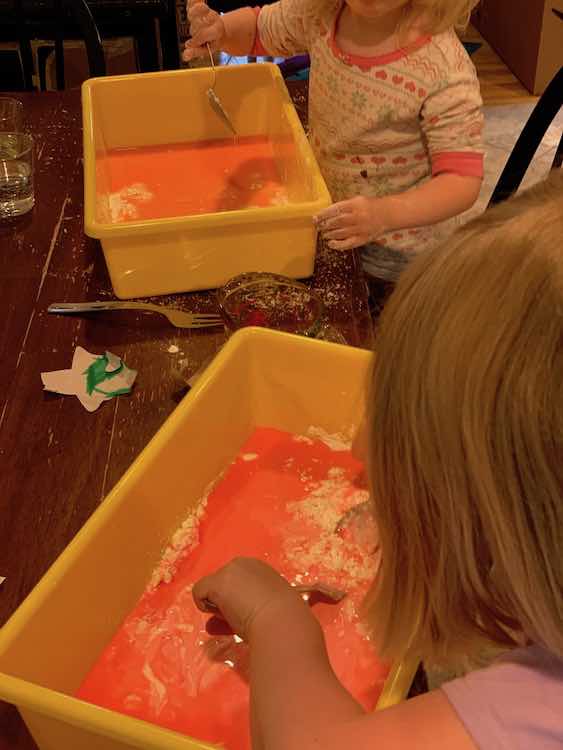
Since the previous organization we’ve moved and the art trolley has gotten really disorganized. Any space made by removing a basket of art supplies is quickly engulfed in falling papers so it’s impossible to put anything back once you take it off. In the course of the move we had temporarily used the top of the art trolley to store playdough and I loved how easy it was to grab for the kids so I wanted to clear enough space to return the playdough toys to the trolley while also coming up with a way to store the paper better. After separating all the lost and forgotten art with the kids along with recycling and trashing any finished art and filled coloring books I was left with some tools that didn’t have a home anymore. I knew I needed to cut another box to help contain the items so they continue to remain visible and accessible. I couldn’t find any empty boxes and then saw a box of cornstarch in our pantry. I split the box of cornstarch between the girls (impromptu and much to close to lunch oobleck session that was later continued after lunch) and I had an empty box I could use.
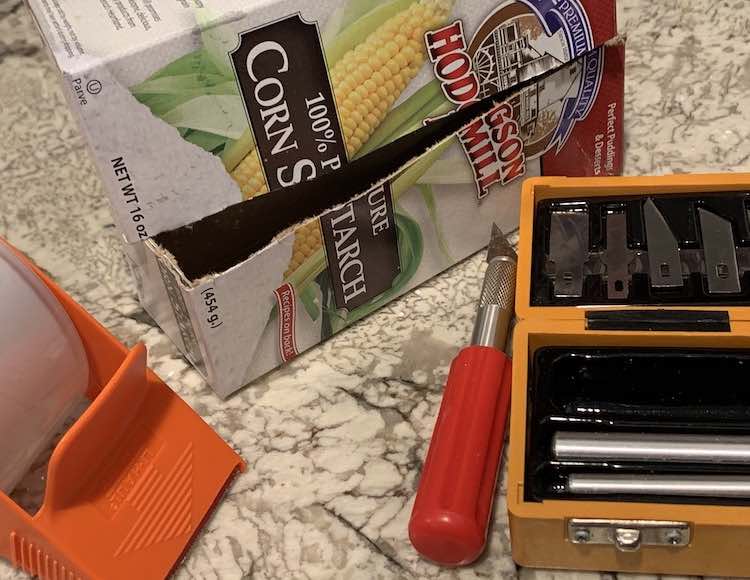
After shaking as much cornstarch as I could from the box and taping it closed I grabbed my X-acto knife and cut the box in half lengthwise. This gave me two short long boxes that I shook the last bit of the cornstarch from and then corralled all the loose items in. It was perfect!
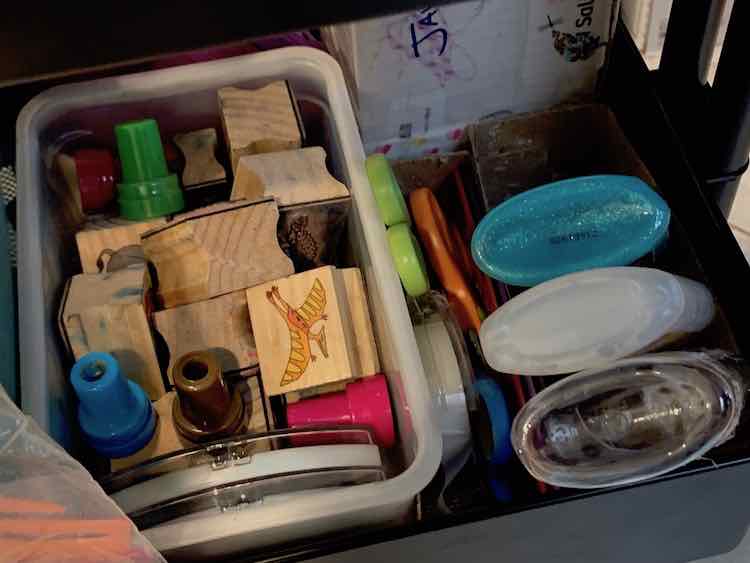
The best part of cutting my own boxes is I can test it out to see how the kids like it and if it doesn’t work I can come up with something else. I love that it didn’t cost me anything and was no trouble at all to create.
If you don’t have any available boxes you can also look around your home for something else you can use. I also needed a tall ‘cup’ for the gel pens we have and I found the solution in a souvenir monster truck cup Ada has and never uses. This way I have a place to store the pens and the girls get to enjoy seeing the cup every time they go to grab something from the trolley. (Don’t worry I asked Ada if we can use it for the pens first). Another storage container we use for the stamps is a reusable wipes container without the lid. It’s tall enough to hold all the stamps while also fitting the height of the tier. I love that it’s wide enough to see most of the stamps, rectangular to not lose much space with curves, and accessible enough to pull the container out and put back in easily.
Through organizing and getting rid of the unneeded excess I was able to empty the bottom tier of the trolley and have the playdough toys stored in a paper bag waiting for me to find the next perfect storage solution for them.
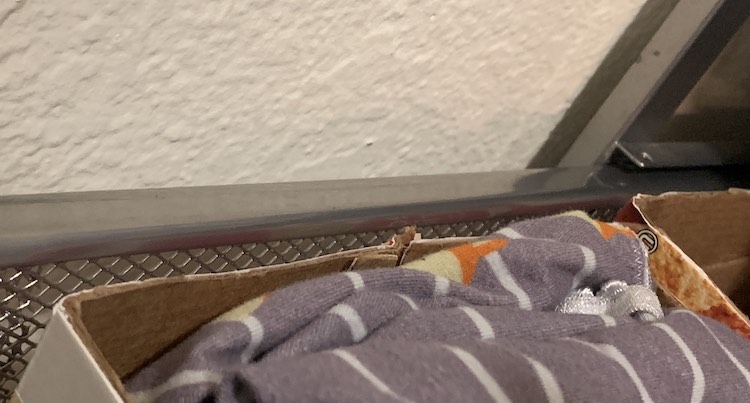
This doesn’t have to be just for the kids stuff. A while back we bought an ELFA drawer frame from the Container store and I used the drawers to store my makeup and a lot of my clothing. I wanted to separate my jewelry and makeup in one drawer and separate my underwear and socks in the next drawer so I ended up cutting a couple emptied cereal boxes to keep all the items separated. I love how the boxes created dividers so even the spaces between the boxes felt almost box-like. While moving I was able to keep all my items from getting mixed together in the moving box as I kept the items within their own created storage box stacked and placed next to each other. It made everything so much simpler.
I hope this helps you out. I love how when an area of my home bugs me I can reuse a box to figure out how I want that area organized and if it doesn’t work out that’s fine. If it works yet you want it to be prettier you now know what size storage container you need before you go out to look for it and there’s no rush because you have an area that’s organized and working in the meantime. I hope this helps you and if so I’d love to hear how. Feel free to share in the comments below, on my Facebook page, or through Instagram. I hope you’re having a good week.

