
Outfits For LEGOLAND®
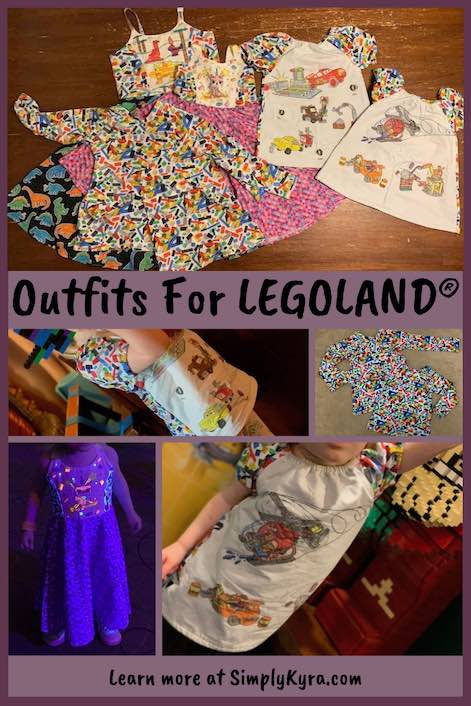
Earlier, when I posted about my woven panels created with fabric markers, we decided to take the kids to LEGOLAND® and of course I had to create some LEGO® themed clothing for the girls. We decided to start our trip by staying near the ocean for two night before going to LEGOLAND® so we were able to surprise our kids by not telling them about the LEGOLAND® part until we actually arrived there. This meant all the LEGO® clothing I decided to make could only be worked on after the kids went to bed at night and had to be quickly hidden if they left their bedroom. And it worked! They were so surprised.
I wasn’t able to find any main panels or ready made clothing when I was planning these garments but I did find brick fabric from Peek a Boo Pattern Shop if you’re interested (no affiliate). If I found a shirt in the stores, my plan was to add a skirt to turn it into a dress. I wasn’t sure if that would stretch out a shirt too much and since I didn’t find anything my planning hadn’t gone further than that. If you find the perfect image on a shirt that’s too small or large you could always use it in another pattern by cutting it down in size or color blocking it to be larger.
Creating The Outfits
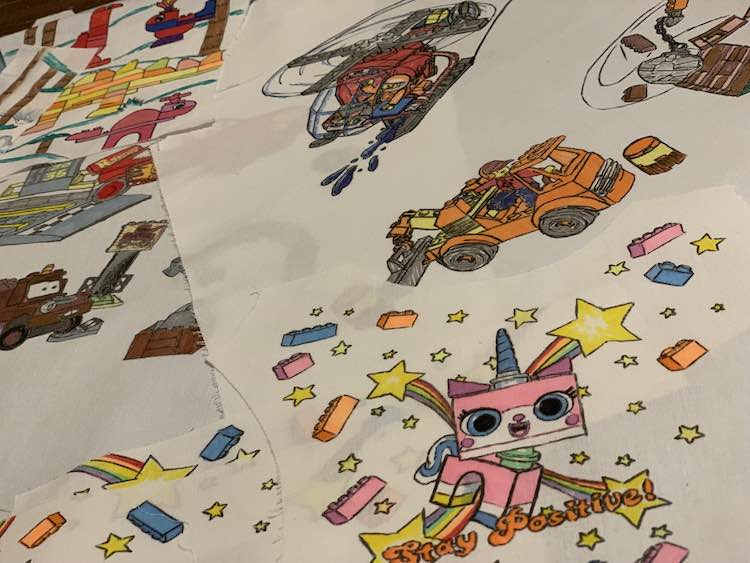
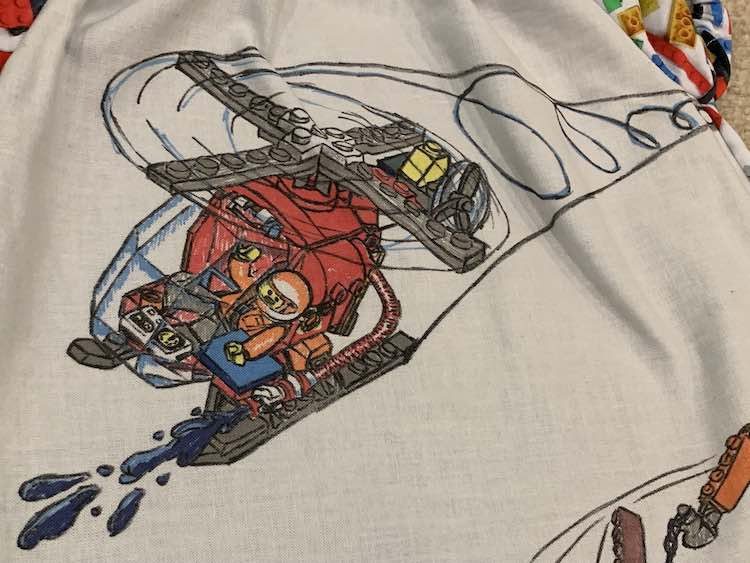
As mentioned in my previous post, after deciding what outfits I wanted to make, I cut out my fabric pattern pieces and made custom fronts using fabric markers. These designed pattern pieces are used in outfit one and two below.
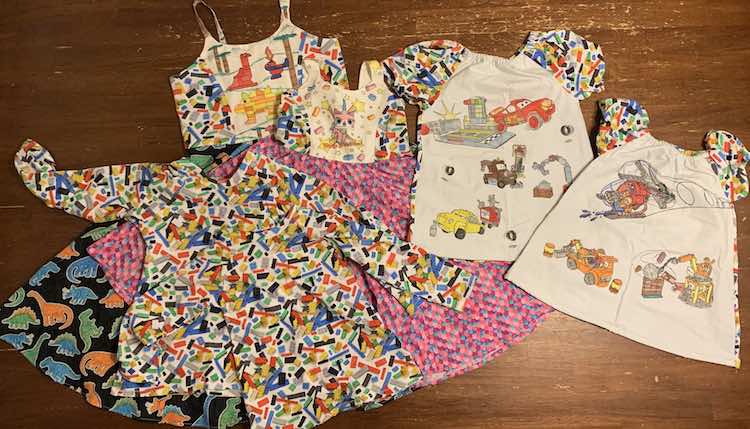
Outfit 1 – Patsy Party Dress
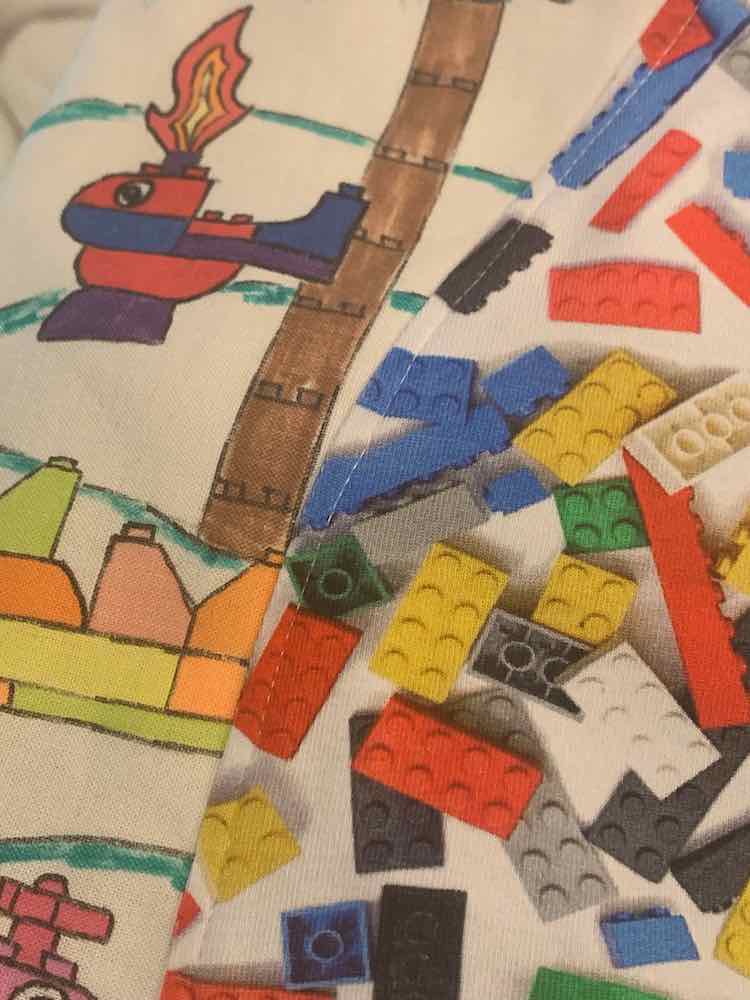
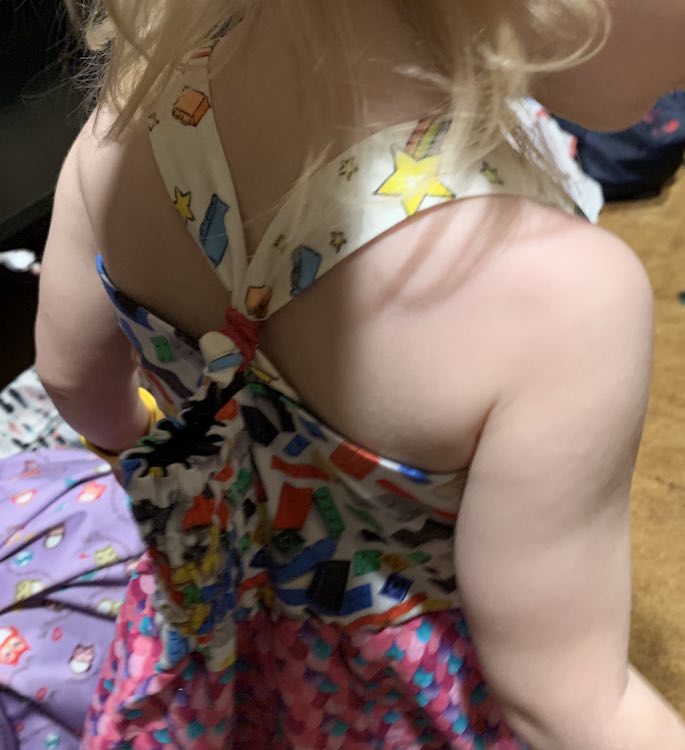
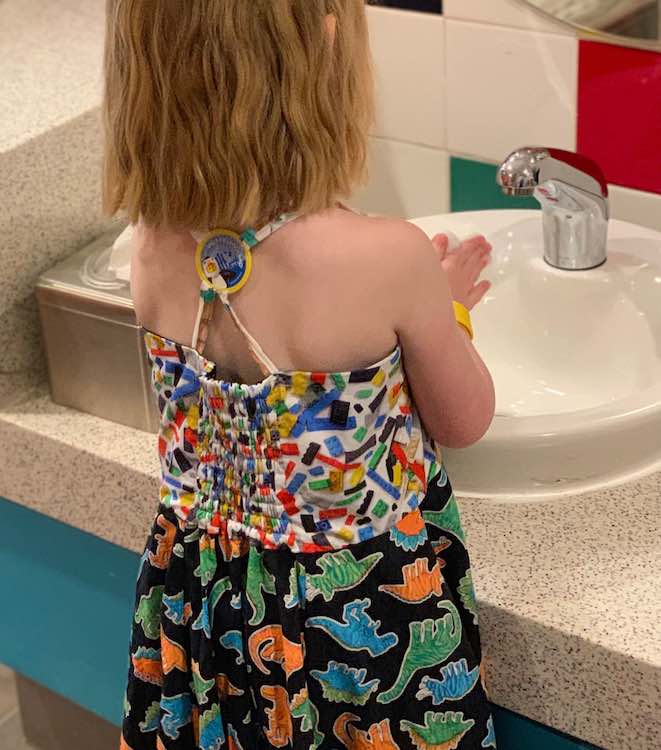
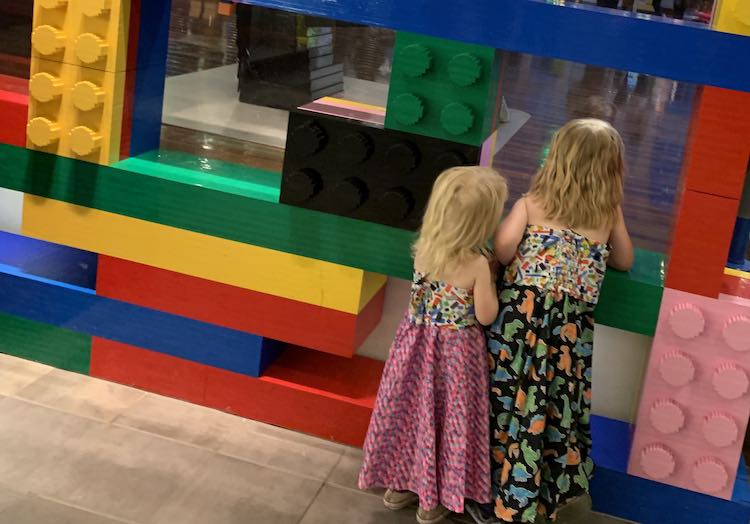
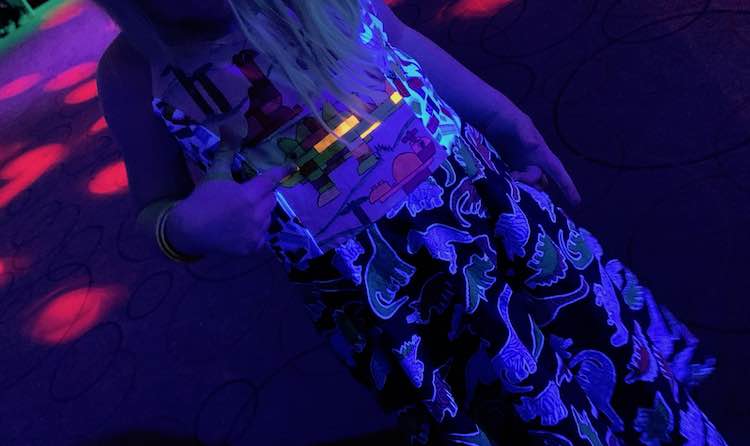
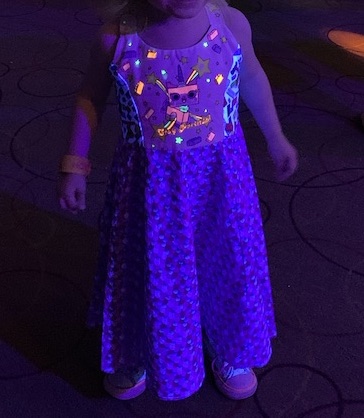
Back when I made the girls their Patsy Party Dress, for their Christmas presents, I cut one too many front and back skirt panels for either kid. I didn’t want to waste the cut panels so I decided to have the same skirt and change out the bodice to make it more LEGO® themed. The Patsy dress called for only woven fabric, but I wanted to use the knit brick fabric I bought. I consulted the Rebecca Page Facebook sewing group to see if anyone else switched out parts of their dress for knit fabric and decided to use the brick fabric for both the back and side panels on the bodice since the woven liner would, hopefully, stop the knit from stretching too much. I now needed to tie the brick fabric design with the skirt fabric (sparkly scales for Zoey and dinosaurs for Ada). This was solved by giving Zoey the Unikitty™design (sparkly scales seemed to match the design’s rainbows and stars) and making Ada’s have the DUPLO® dinosaurs since the skirt is already dinosaurs. And off I went.
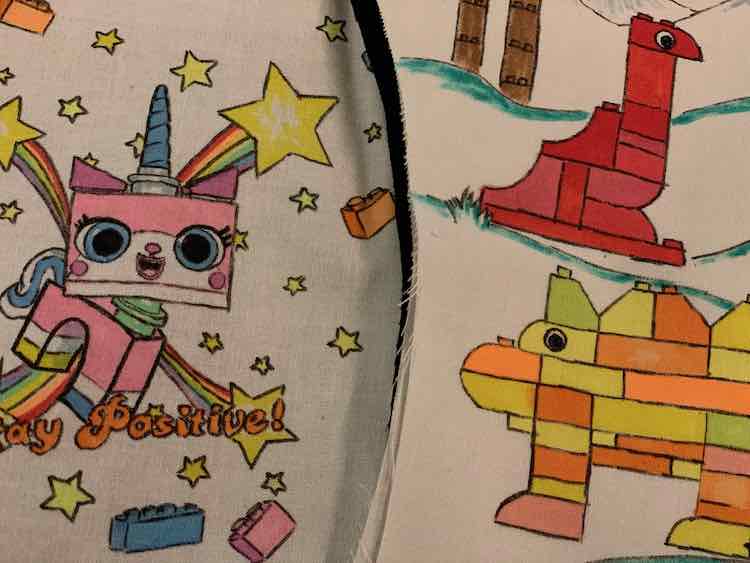
For the outer bodice I deviated from the instructions by pressing the seam allowance on the front to one side and topstitching it down. The first time I sewed the dresses I had wanted to topstitch and figured this would be a great way to frame the drawing.
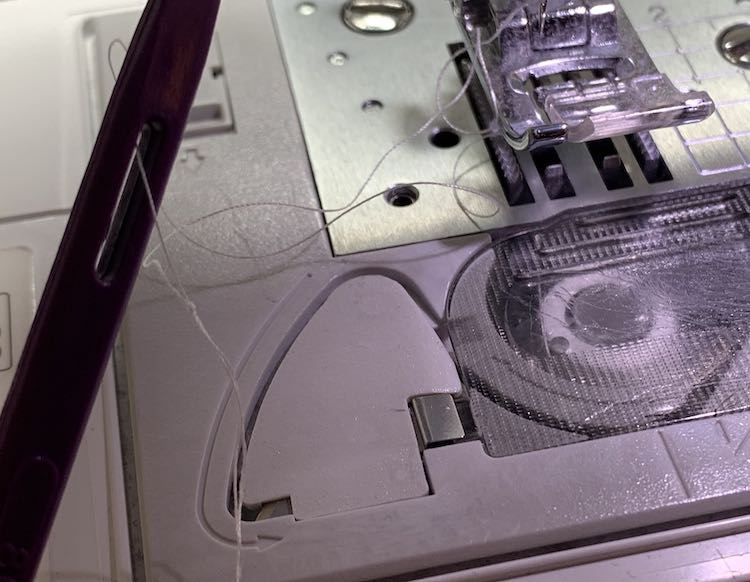
Since I was blogging about the Patsy dress anyway I wanted to go over how I sewed and turned the straps the right way out. I pulled out extra thread from my machine, pulled it through my That Purple Thang (no affiliate), and tied a knot. I then threaded That Purple Thang into my strap and while keeping the thread free of the needle started sewing the strap closed. After sewing the strap I pulled gently so the end turned right side out and went through the tube. And the strap was ready to be pressed and used.
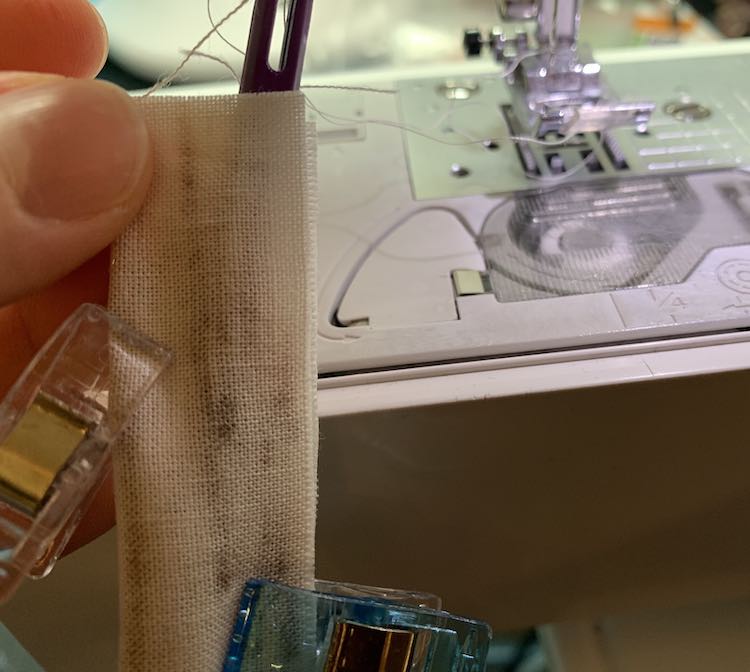
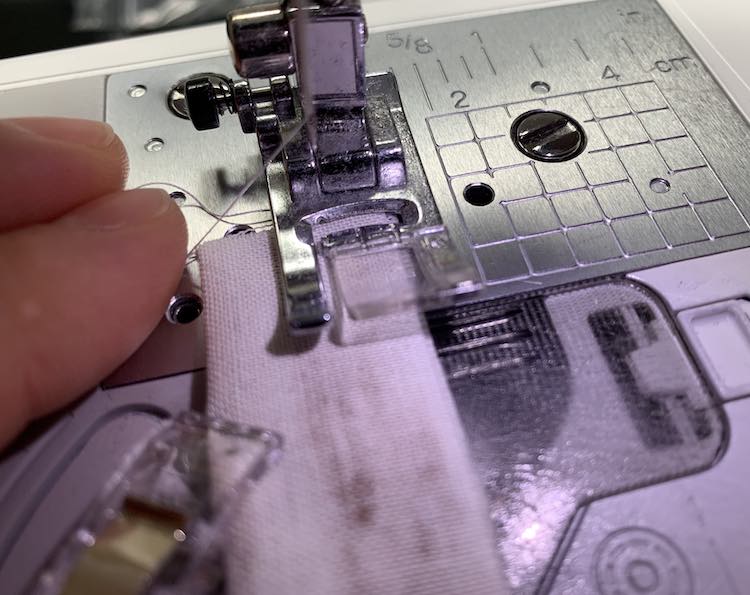
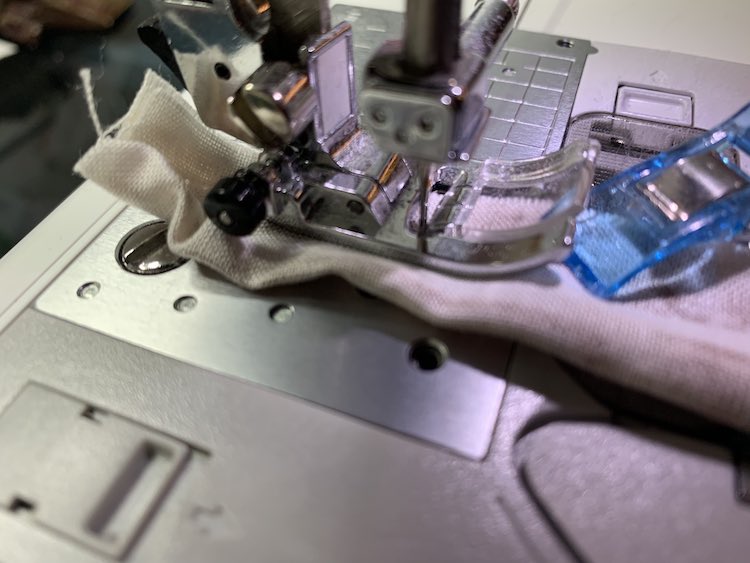
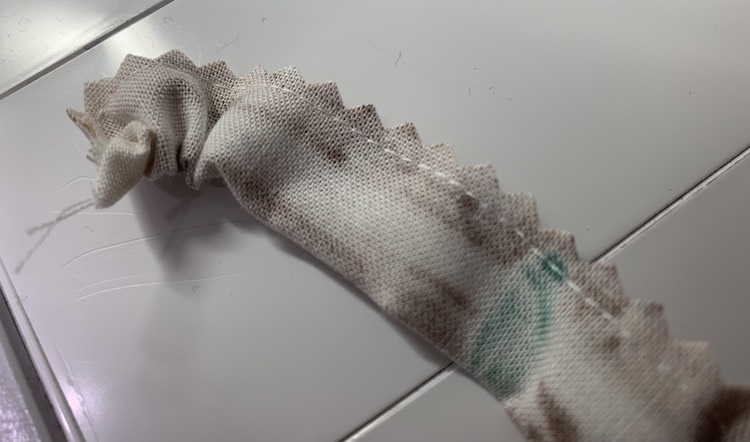
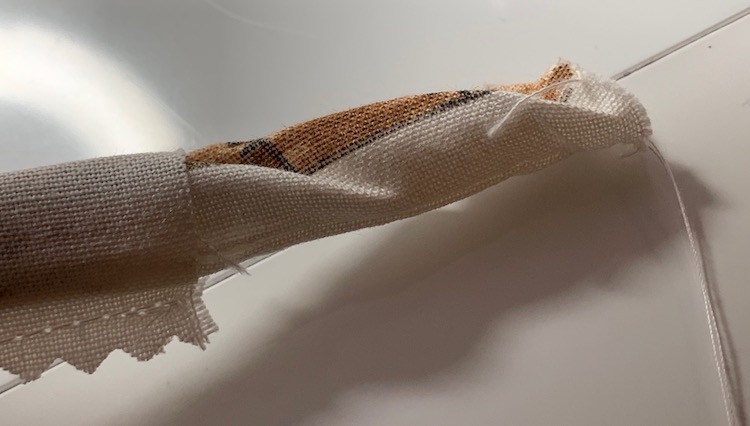
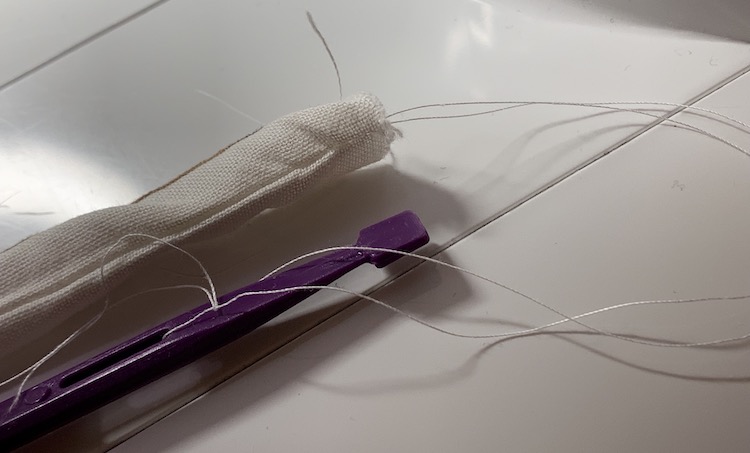
Once the straps were sewn to the dress I folded over the back end of each strap and stitched them in place. I did this because over Christmas I attached the straps as per the instructions (again surprise dresses so the girls didn’t try it on ahead of time) and then later shortened the straps by folding them inward. This time I decided to finish the ends of the straps so I could later measure the length of strap I needed, hide the extra inside, and sew it in place. Then if I need to shorten or lengthen it in the future I could, ideally, seam rip where I sewed and easily sew it down in a new place.
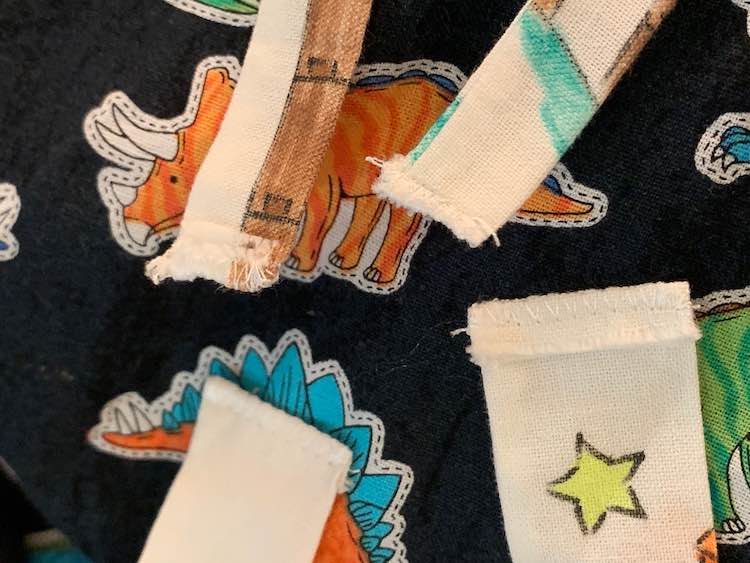
I then based the length of the straps on the last Patsy dresses I sewed so measured and clipped them in place before sewing them. I found it easiest to lower the needle in place before removing the clip and then lowering the presser foot.
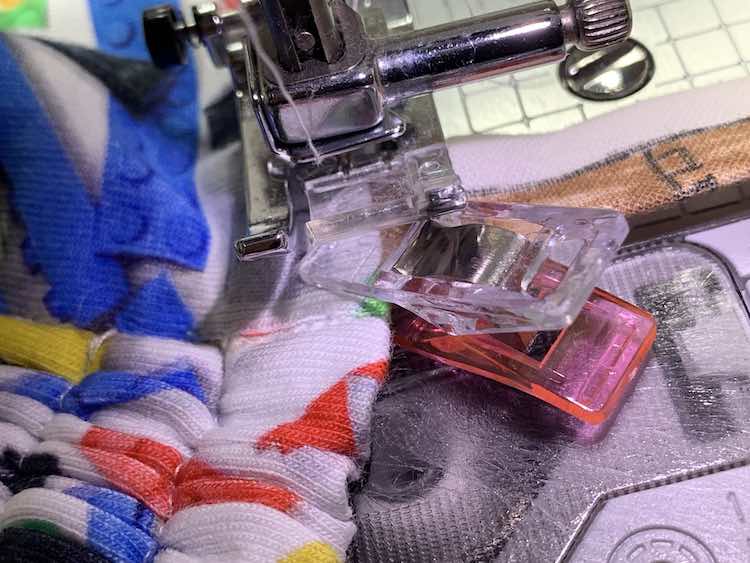
And then the Patsy dresses were done!
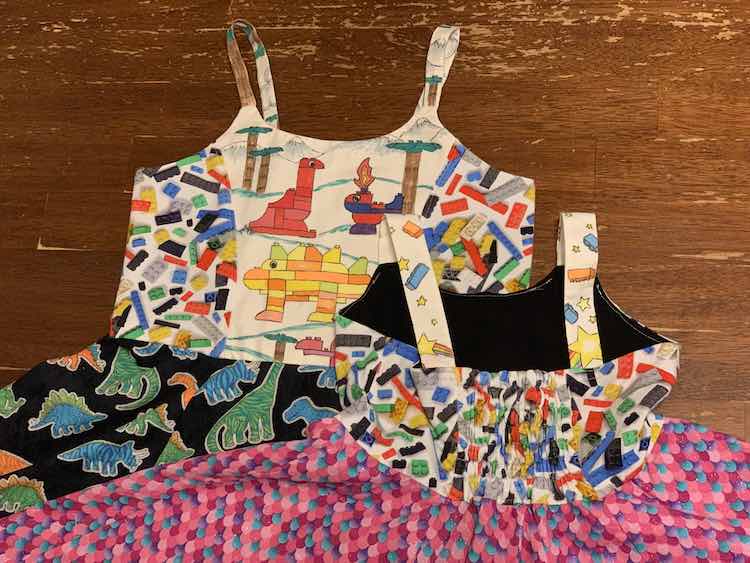
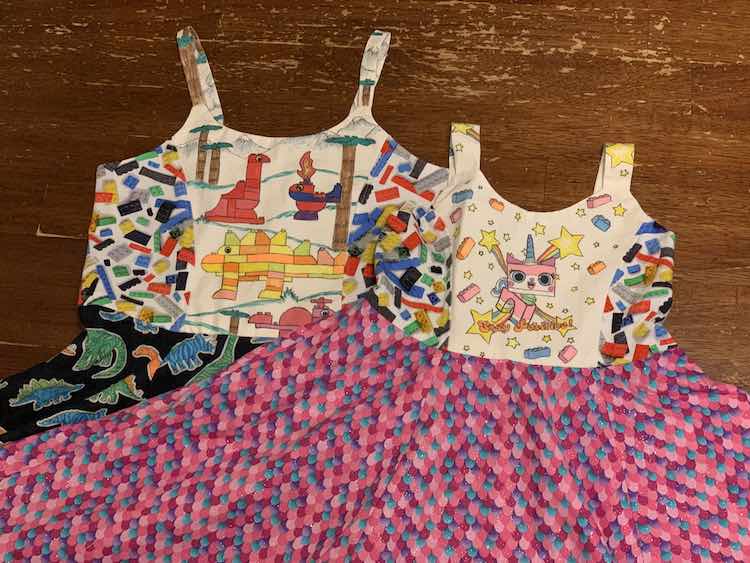
Outfit 2 – Olivia Top
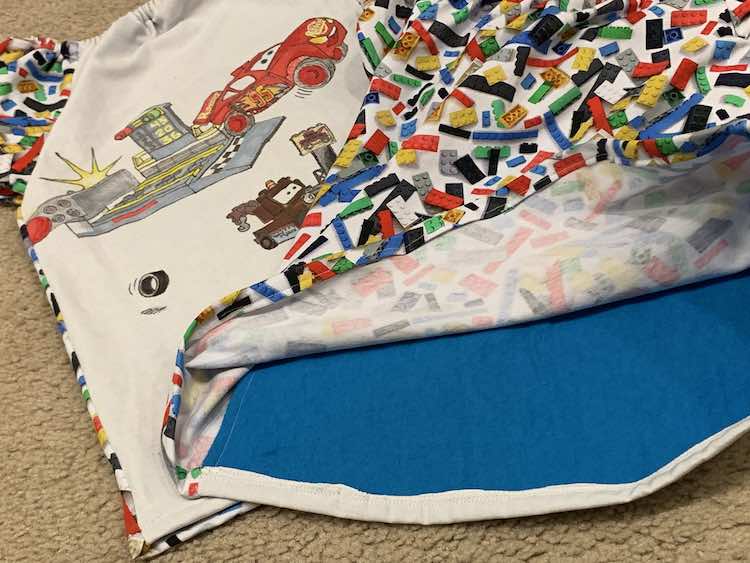
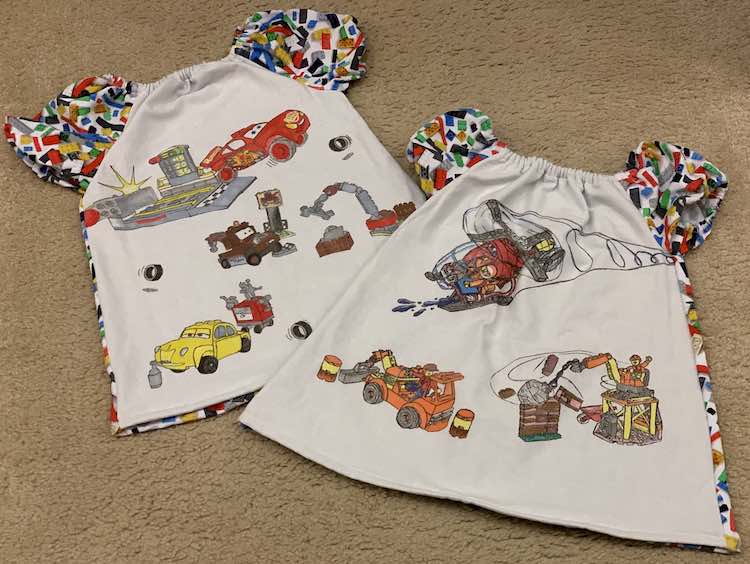
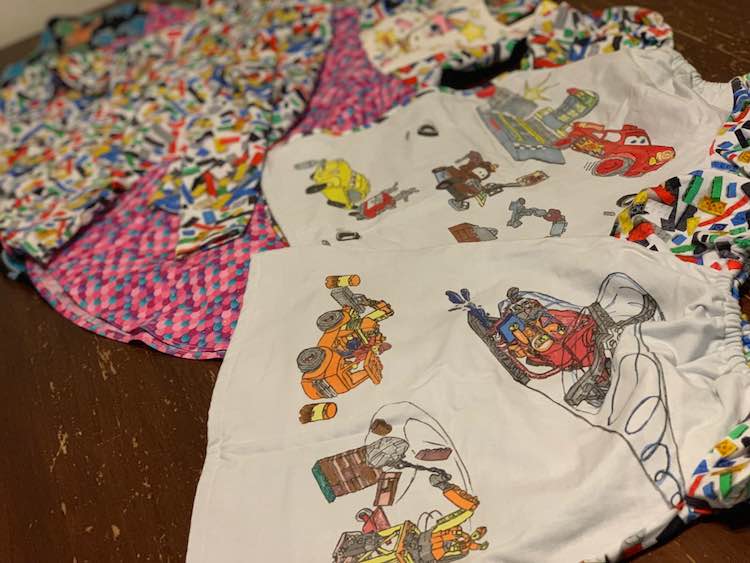
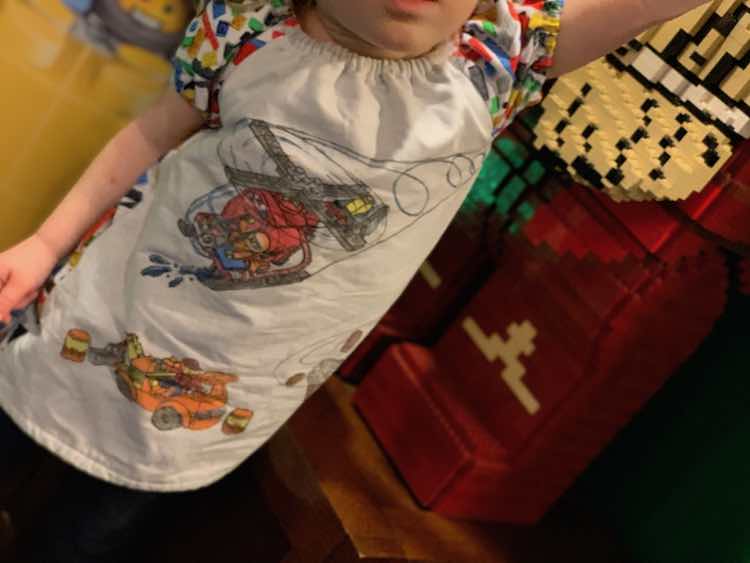
The Olivia top was a simple decision to sew up. I had sewn it up for both girls twice before and they loved it both times. I previously sewed theirs shirts with quilting cotton but the pattern is also designed for lightweight knit so I wasn’t concerned about using my brick fabric. Since I was personalizing the front of the shirt I only cut the knit fabric for the sleeves and back. Zoey loved all the vehicles on the coloring pages I printed out so her shirt ended up being rescue and construction vehicle scene so she could have all the vehicles she loved. Ada preferred the LEGO® Cars when she colored so I restricted her top to just the Cars characters. The Olivia top isn’t lined and I was worried about the transparency of the white fabric so I ended up lining the front with a blue fabric I had on hand. This stiffened the front of the shirt a bit so next time I might leave it unlined or using a thinner fabric so it drapes better.
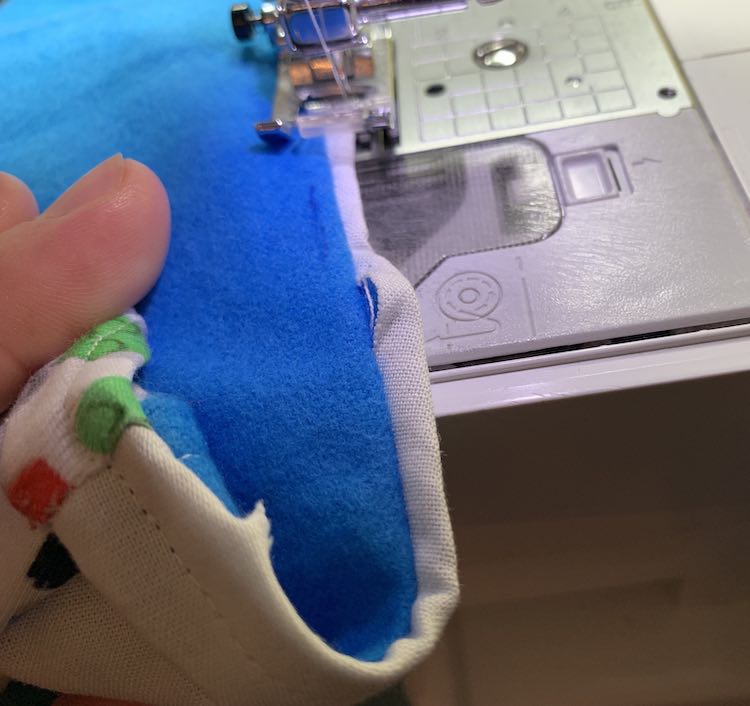
Outfit 3 – Ellie and Mac Unisex Raglan
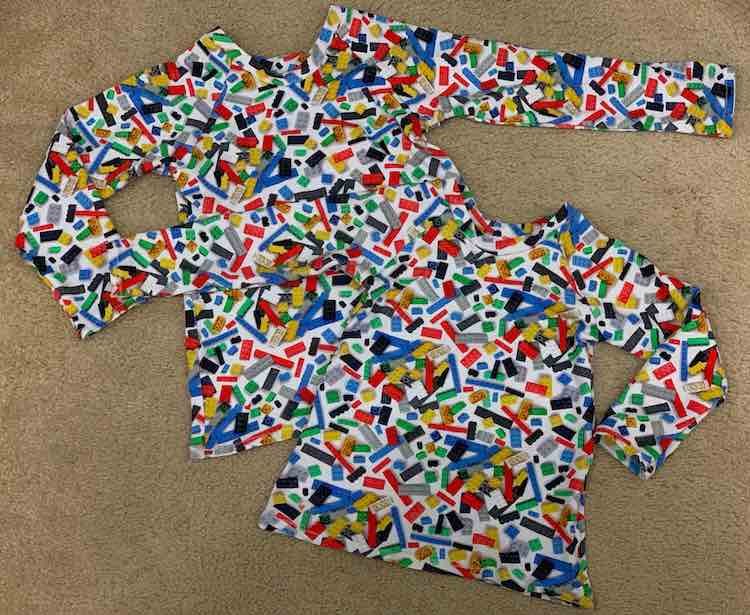
The Ellie and Mac Unisex Raglan is a pattern I’ve sewn up several times before but haven’t specifically blogged about it and more mentioned it in passing. The first time I first used this pattern was for the girls’ swimming suit rash guards and then later I used it for quick birthday shirts and then as a base for Zoey’s firetruck Halloween costume. I left off any custom LEGO® characters so it would be a quick sew and let the brick fabric shine.
Finished Outfits
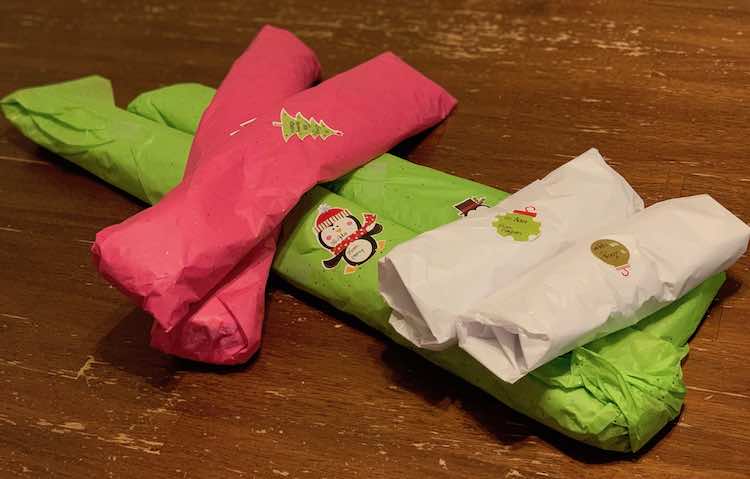
When they were all finished I admired them all together on our kitchen table before wrapping them up to make them even more special and, most importantly, so they wouldn’t be spotted before it was time to be surprised.
At LEGOLAND®
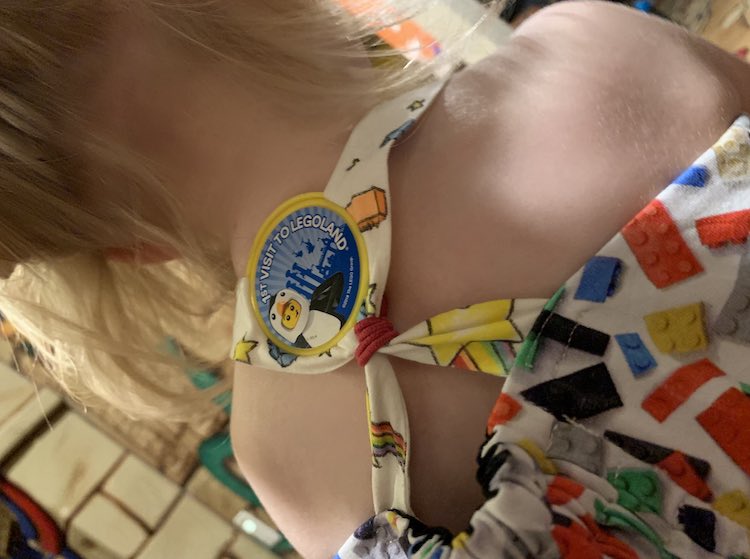
We first arrived at the LEGOLAND® hotel right at check-in. I had originally planned to go with the Patsy Party dress the first day and wasn’t concerned about fit as I had sewn them up before. Somehow the dresses seemed bigger than expected (I had lengthened the first set right before measuring) and had forgotten needle and thread so wasn’t able to shorten the straps or cinch in the sides. After using the LEGO® bricks in the hotel room, partially for fun, I ended up shortening the straps using a ponytail tie and their badge to make sure it stayed put. It was funny because one kid’s ponytail let go first while the other kid lost her badge before the ponytail tie. Either way the kids had a blast exploring the hotel’s play spaces, restaurant, and as an added bonus the white background of the bricks and some of the fabric markers glowed in the black light as they danced away at the party. Overall a success!
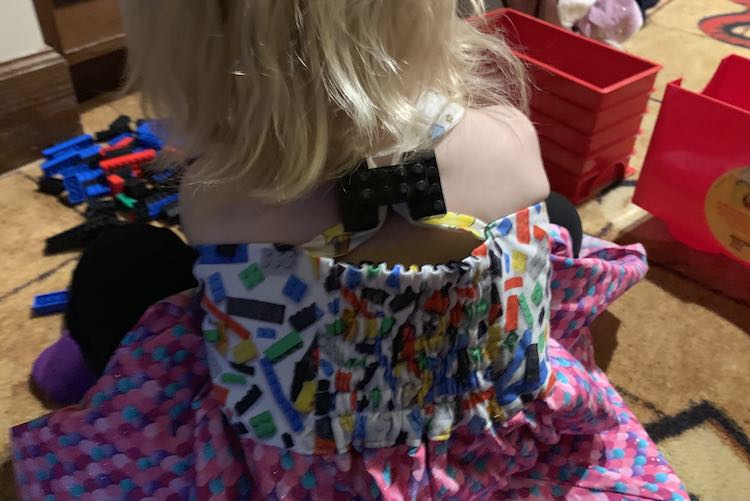
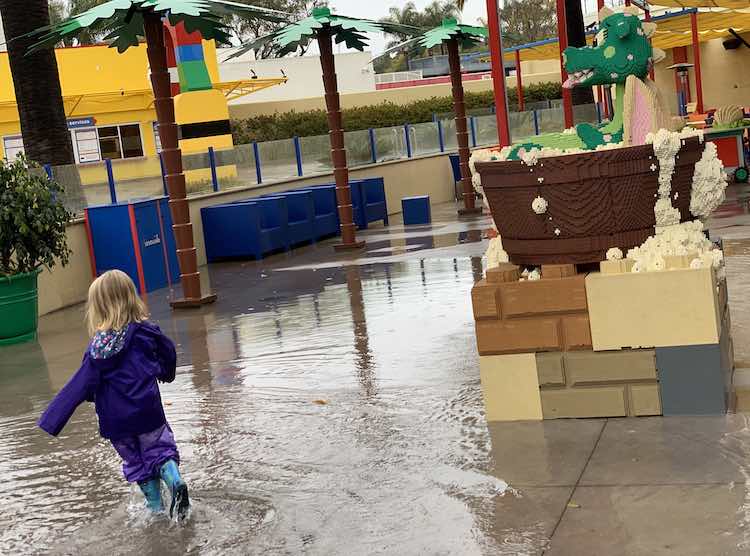
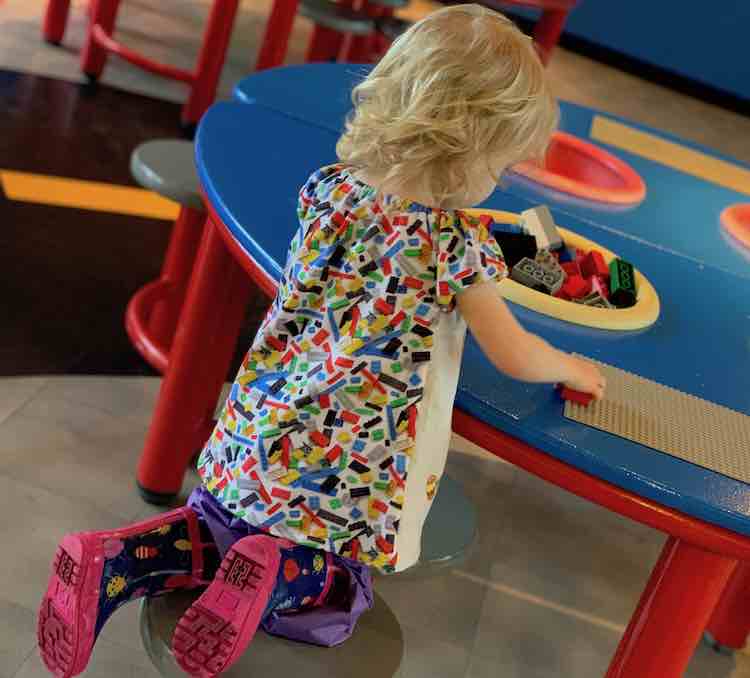
The second day we were under a flash flood warning and most of the park was closed. I had originally planned to have the kids wear their raglans but decided since we were at LEGOLAND® all day I’d pull out the Olivia for something special. Our rain gear ended up covering up the shirt while we were outside but they were adorable while playing in the DUPLO® room, at Sea Life® aquarium, and inside the hotel that night.
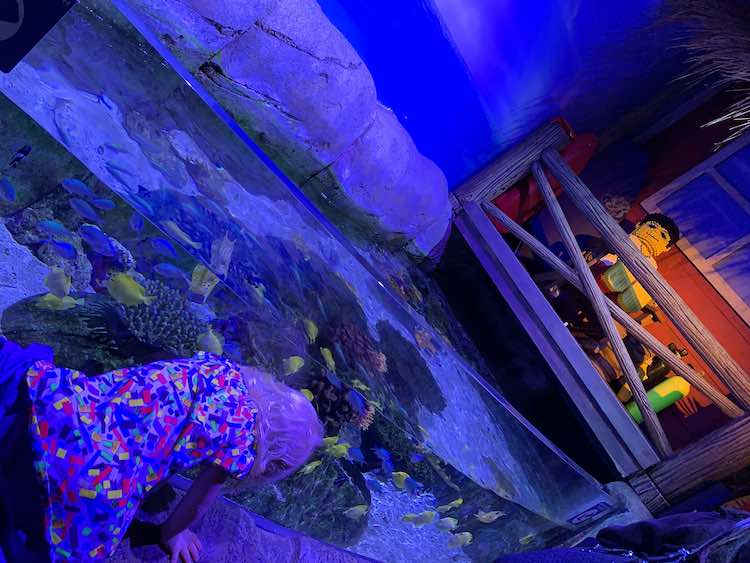
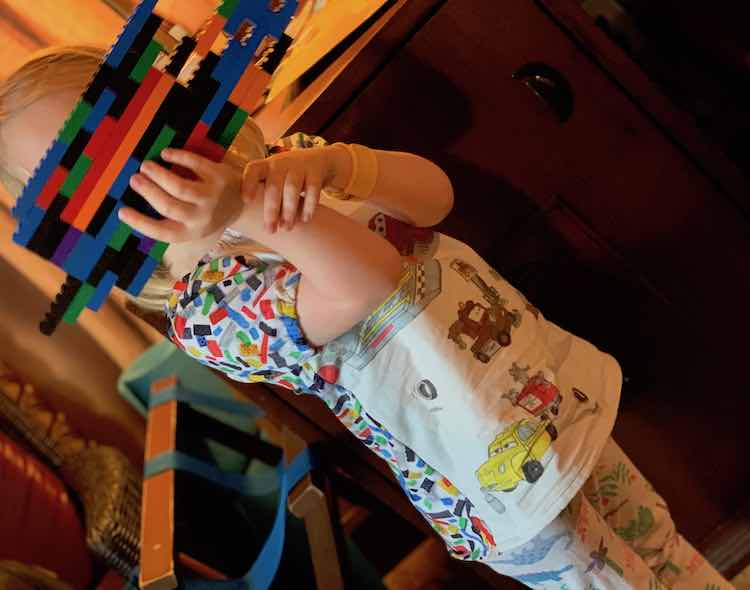
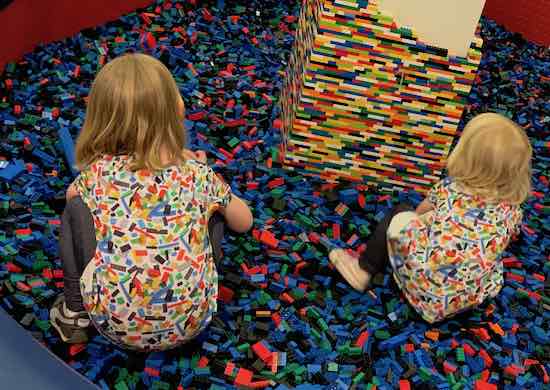
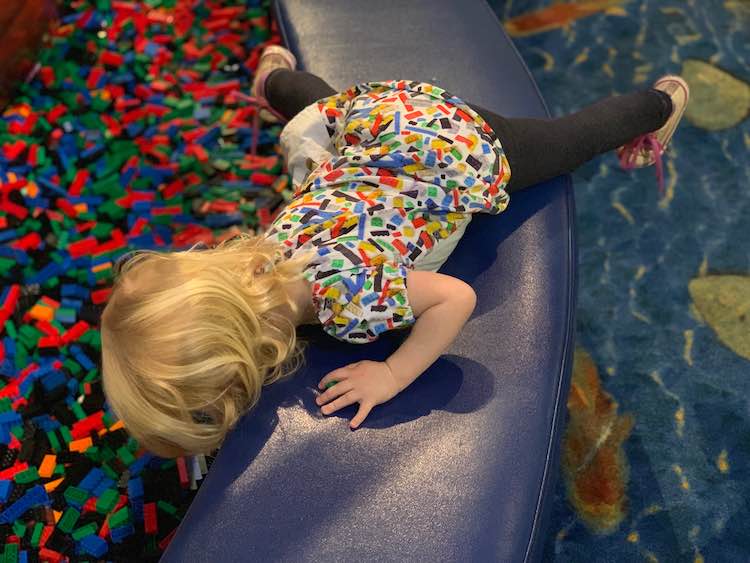
The last day I pulled out the raglans. Ada loved it and walked around the park with one sleeve pushed up to show off her LEGOLAND® hotel bracelet. Zoey decided she wanted to wear one of her older dresses. This was the day I had people comment on what Ada was wearing since it was the shirt with the least amount of work…. of course.
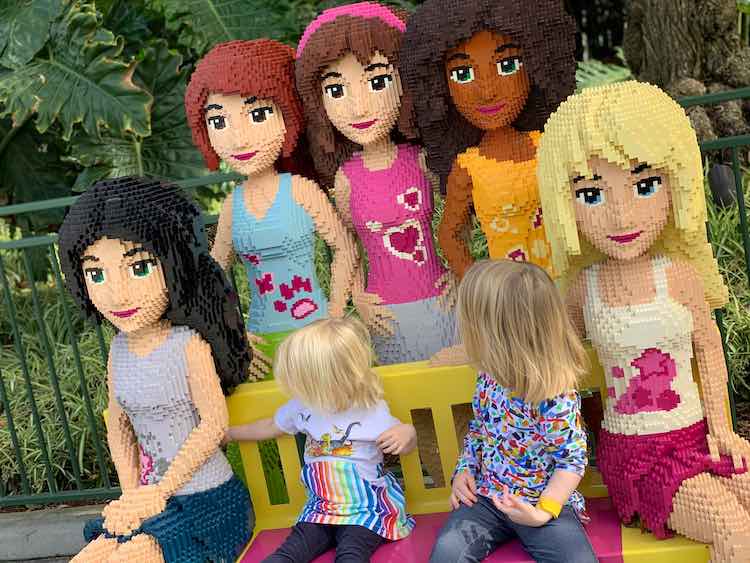
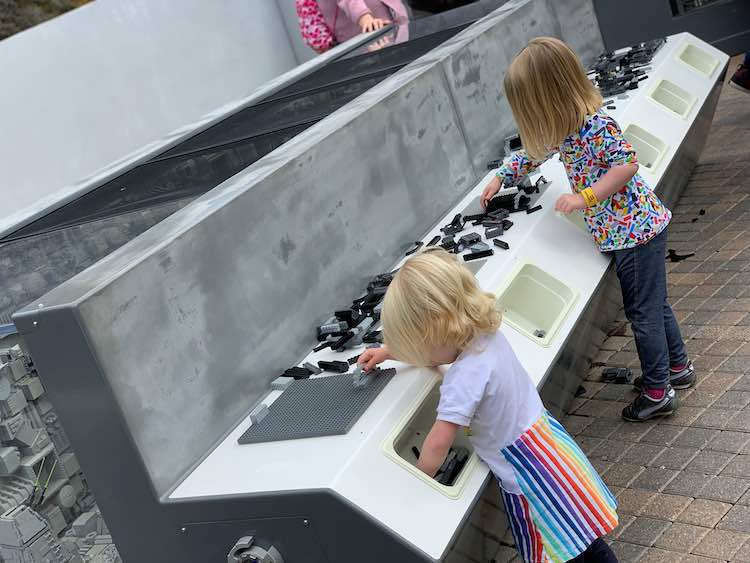
Overall we had a blast at LEGOLAND® and I’m happy I made them LEGO® themed outfits for our visit. I love that the dresses and shirts will have memories of their vacation attached to them whenever they wear them in the future.
Do you try to make themed clothing when heading on a special vacation? What have you made before? Do you have any tips for making LEGO® themed clothing? Feel free to share what you’ve done in the comments below, on my Facebook page, or through Instagram. I hope you have a great day!

