Our Simple and Adorable Kitchen Snowperson
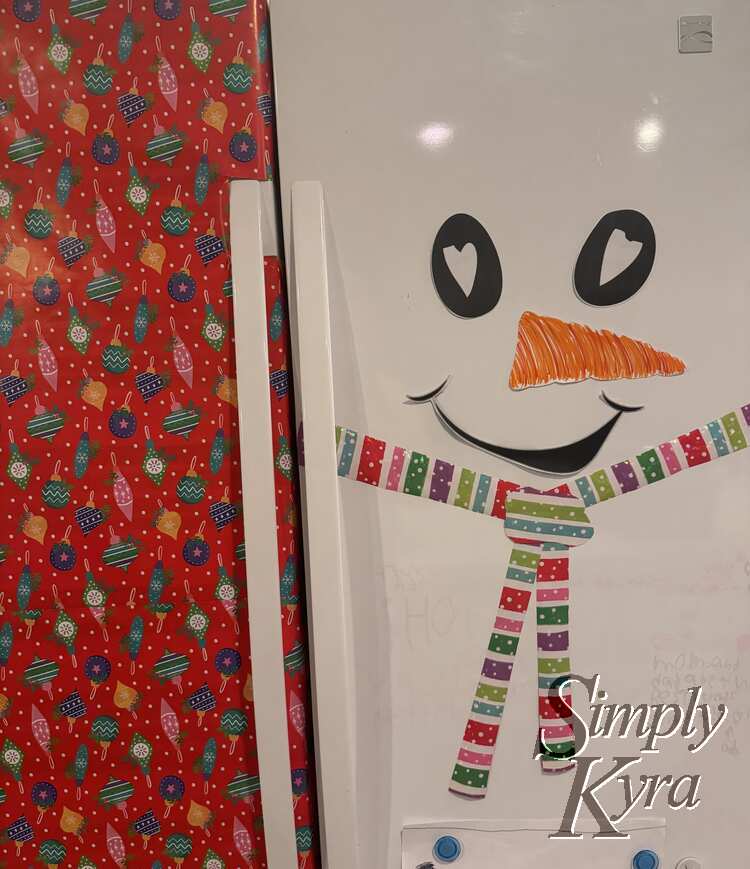
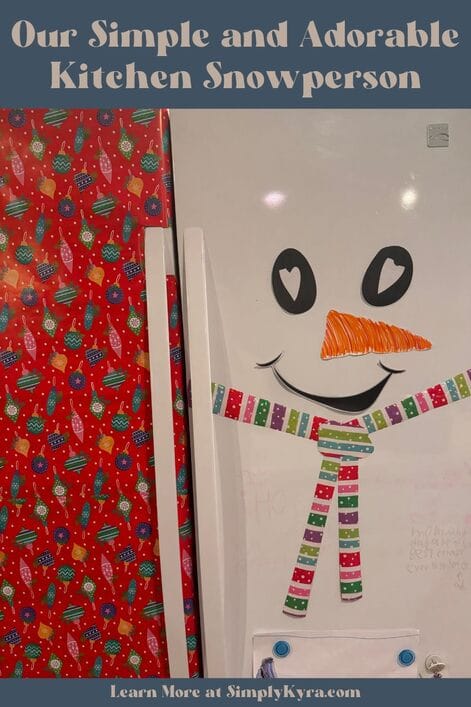
Last year I used wrapping paper, computer printouts, markers, and masking tape to make the most adorable snowperson on our fridge. I'm so glad I made it as seeing it made me smile so much over the remaining winter season and I ended up putting off taking down the snowperson until late spring.
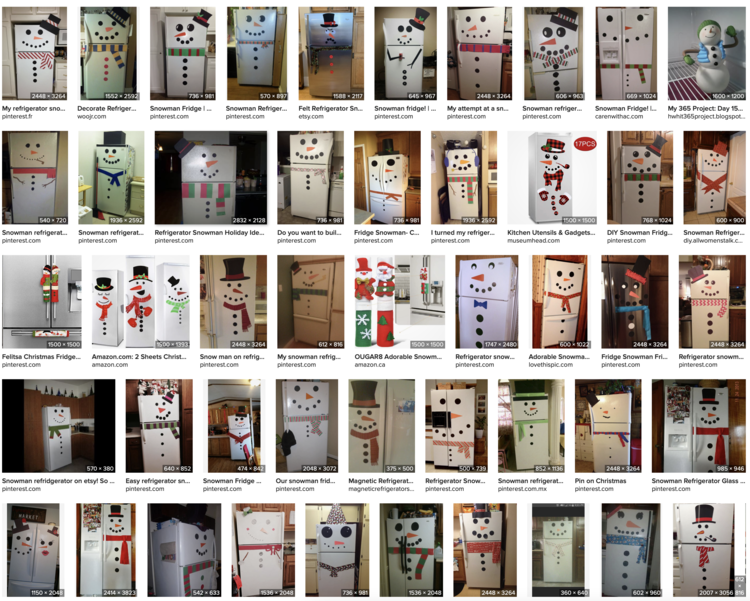
I vaguely remember having seen a snowman decorated fridge pop up occasionally on social media every once in a while where I smiled, debated recreating it, and then kept scrolling. This past year when I came across it I realized I now did in fact have a white fridge and this year was the time to do it. Looking back I'm so glad I did as, funny story, the following summer our fridge broke so that year was are only "snow coated" fridge chance making me especially happy that I took advantage of this idea last year.
Planning
Inspiration
Once I decided to do this I immediately jumped on the computer to look for ideas.
Gather the Parts
Looking back, if I were to do it again, I can see cutting the parts out of construction paper but we didn't have any on hand so I didn't think of that and instead looked up printable versions of the parts I wanted. Specifically, I found my results by searching the image section of Duck Duck Go for "large snowmen eye printable".
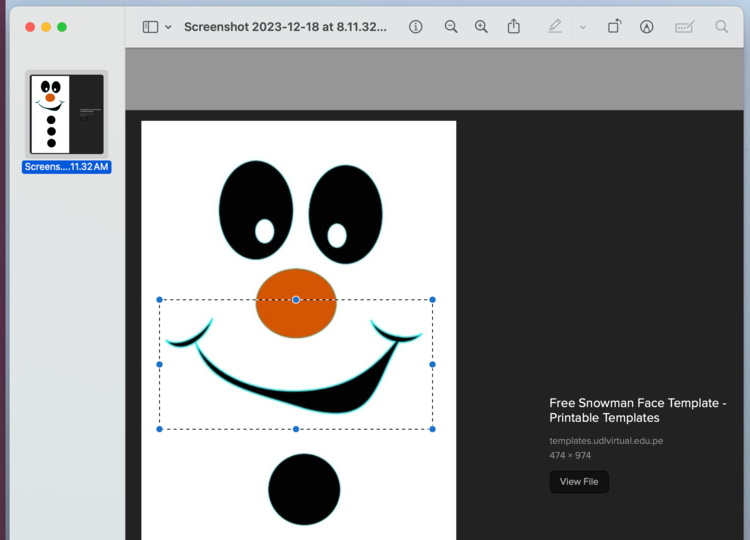
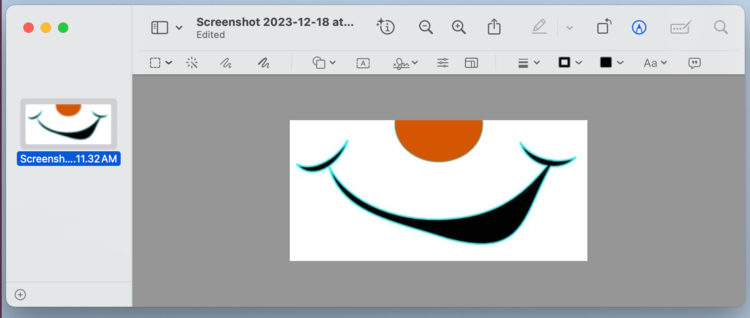
Depending on the website of the found part I either took a screenshot or downloaded the image. I then went into Preview, on my Mac (link to Apple support), to crop it to the specific section of the image I wanted.
Mouth
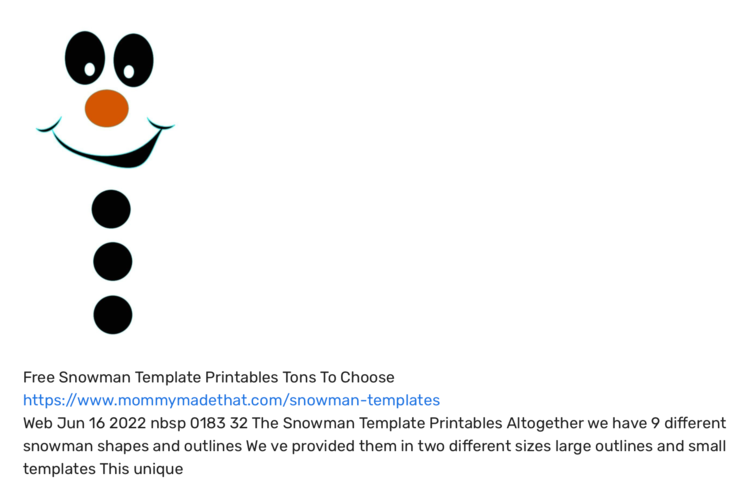
The link I took the following screenshot from last year no longer works but it does link to Mommy Made That Free Snowman Template Printables and I've since found the direct image link for you here.
Eyes
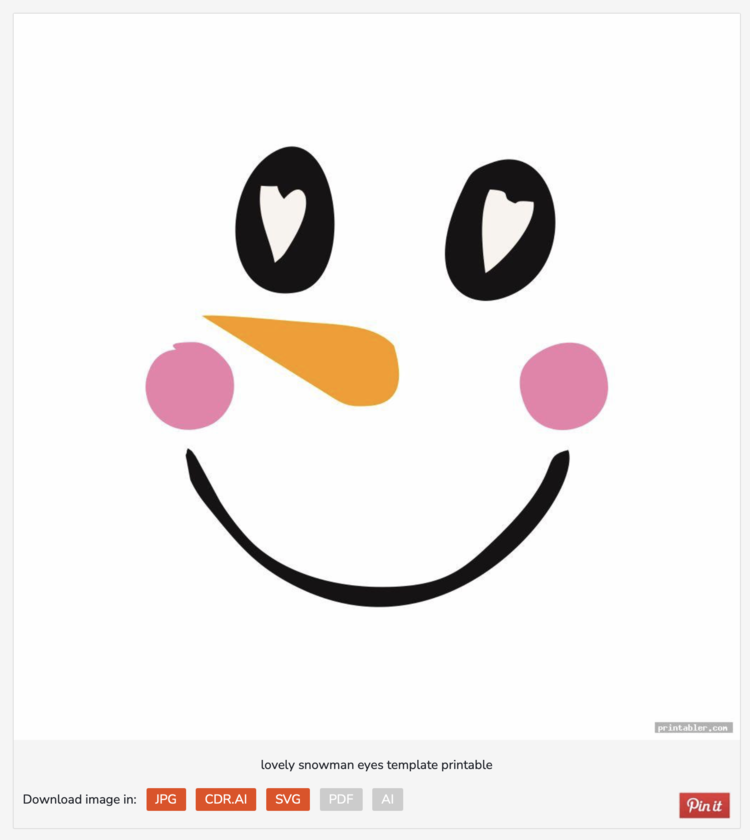
I liked the eyes in the above photo but also wanted something more. I ended up finding these adorable heart filled eyes on this page (gridget.com) with the direct link to the image here.
Nose
Although the above photo includes an adorable carrot nose we have a black and white laser printer so I decided rather than print a grey one to instead postpone making it a bit longer and make it myself.
Scarf
Like the nose the scarf was also a later task since I planned to make it somehow with Christmas wrapping paper.
Making It
I kept this plan a secret and was going to do it while the kids were at school to truly surprise them but life got busy and although I had the pieces ready I never got around to plugging in the printer and starting the process until after the kids got out of school for the break. That said, once I decided to actually start the process it didn't take too long and although Ada caught me cleaning the magnets off the fridge (had to stop and snap photos so they remembered what it looked like before I could continue) she didn't ask what I was doing. When I truly started the girls were distracted playing Goat Simulator 3 next to the kitchen and somehow, no idea how, they didn't notice what I was doing and were surprised when they saw the finished fridge.
Prepping the Pieces
With the pieces prepped, procrastination completed, the black parts printed, and the fridge cleaned off it was time to get the snowperson going.
Eyes and Mouth
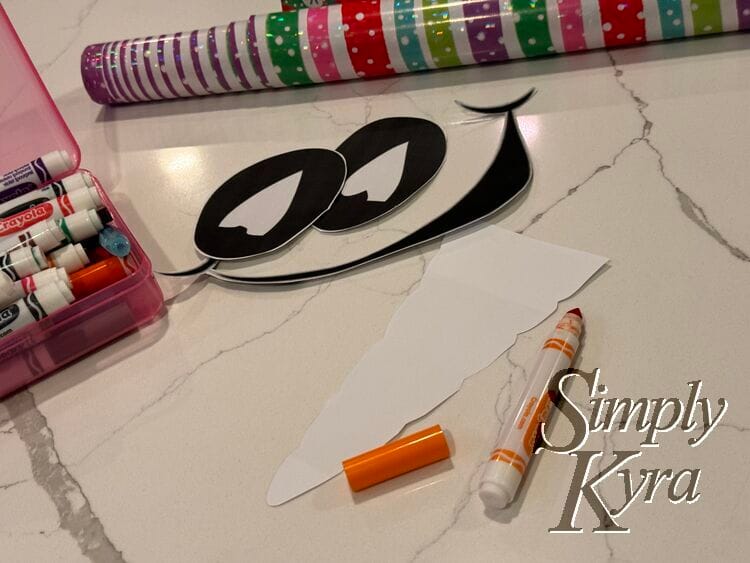
The eyes and mouth were simple as all I needed to do was cut them out following the black edges. Also, since the fridge was white I left the heart inside the eyes as is. That said, I could also see cutting out the heart if you so desire.
Nose
For the nose I took a piece of leftover paper from the first parts and cut a triangle out of it making sure to add rounded ridges along the length. I grabbed two different shades of orange markers and colored it in.
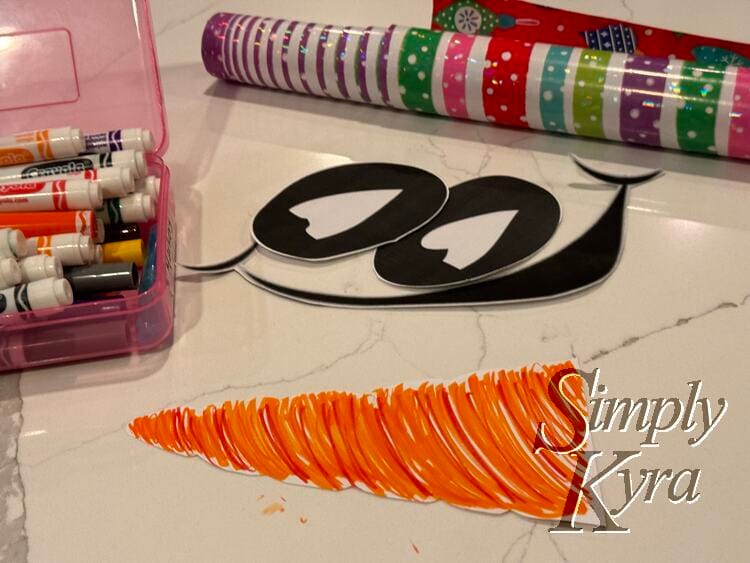
Scarf
For the scarf I chose a lined wrapping paper to help contribute to a knitted look. After cutting two equal stripes from the end of the roll and confirming they were in fact long enough I felt good to go.
Making the Snowperson
I attached several pieces of rolled up masking tape pieces, making sure the outside was sticky, to the back of the nose, mouth, and eyes. I then carefully placed the mouth, nose, and then eyes to the fridge making sure to press firmly on each piece to make sure it was attached firmly.
With the face on the fridge the next step was the scarf. I started by attaching one end of the first strip to the inner side of the fridge door at an angle. I next added rolled up pieces of masking tape to the underside of the paper until I was in the center area where I then folded the paper several times to get it going down, secured it under the folds, and called this half of the scarf done.
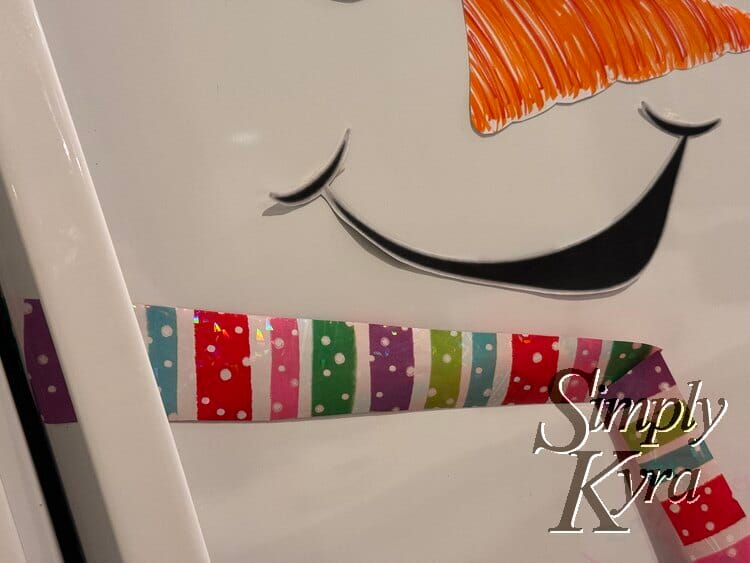
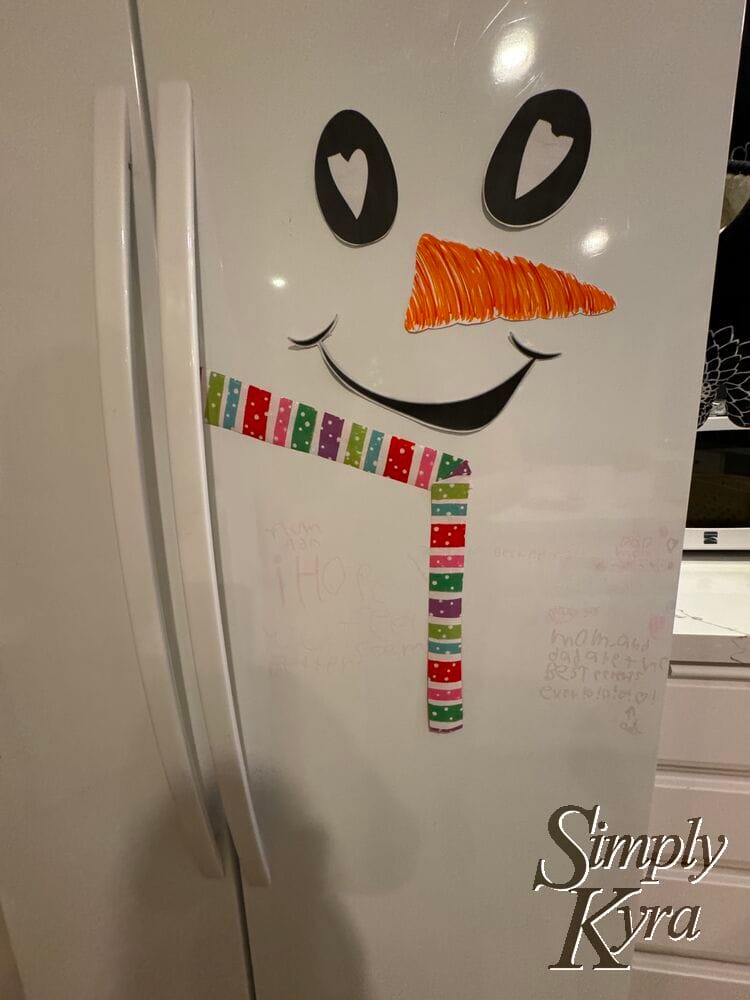
The second side of the scarf was a bit harder as I worried the angle would be wrong and it wouldn't look right. As such I placed it angled against the scarf on the fridge, followed the strip to the outer edge of the fridge, and folded the angle in place. I then added tape to the back, carefully attached it in place, and continually added more rolled up tape until I got below the mouth area again. At that point I added folds until it was reaching down at an angle before taping it all into place.
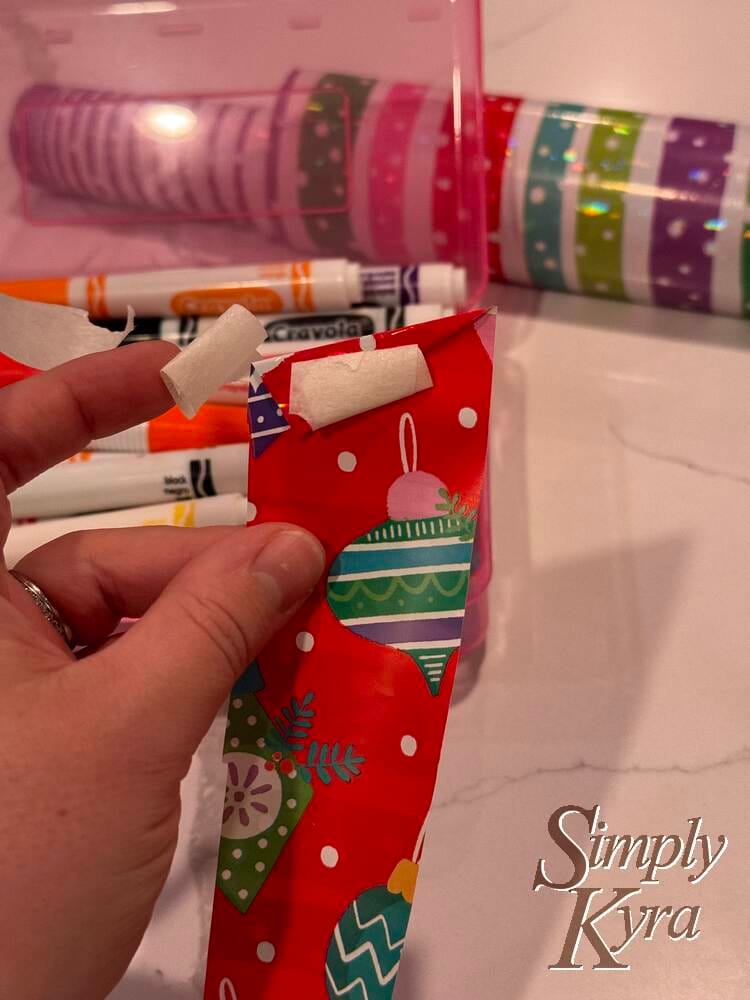
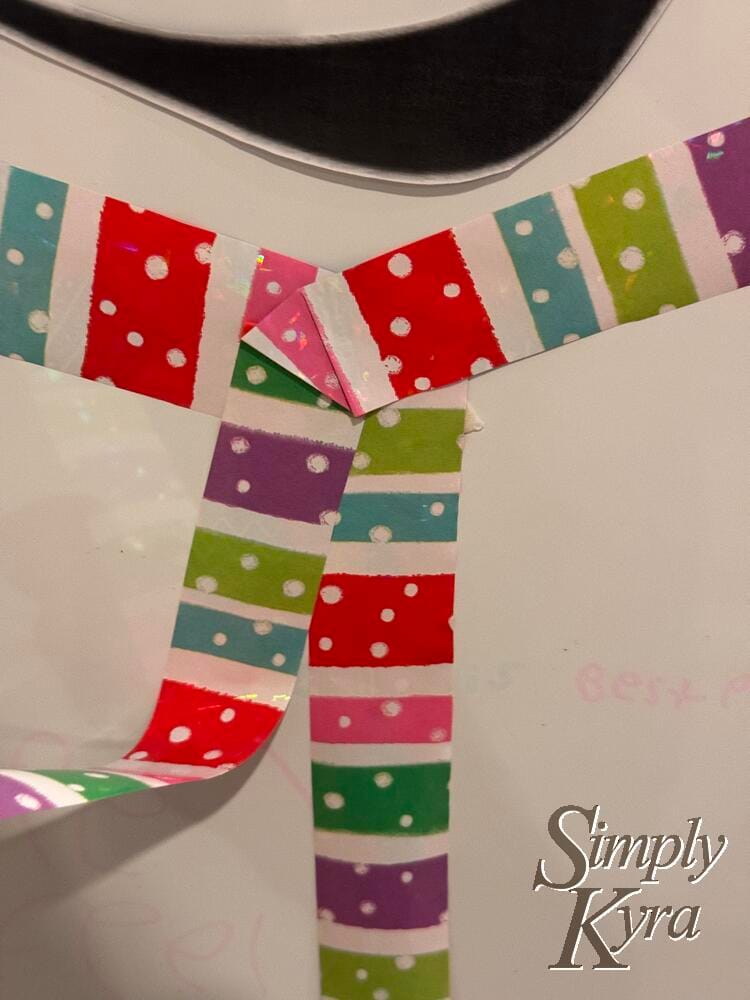
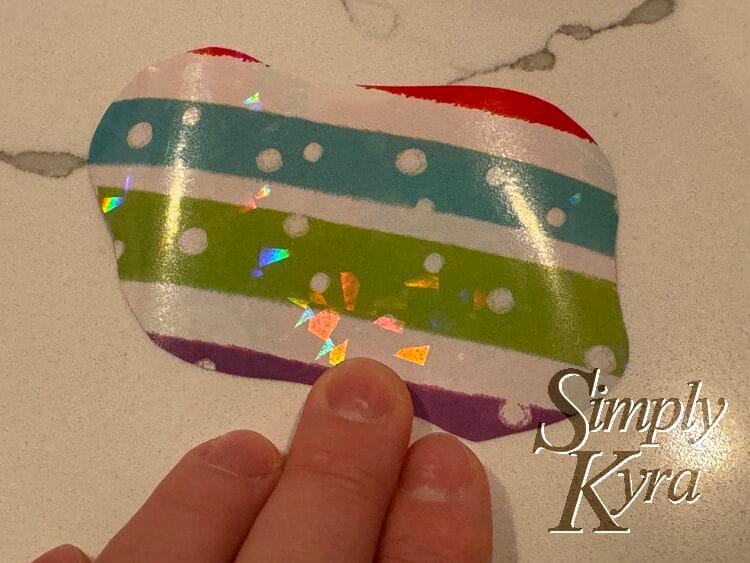
At this point I knew I wanted the folds to be hidden so I grabbed the wrapping paper and cut a bow-ish shaped piece making sure it would be large enough to hide the paper folds and hoping it would look like a knot on the tied on scarf.
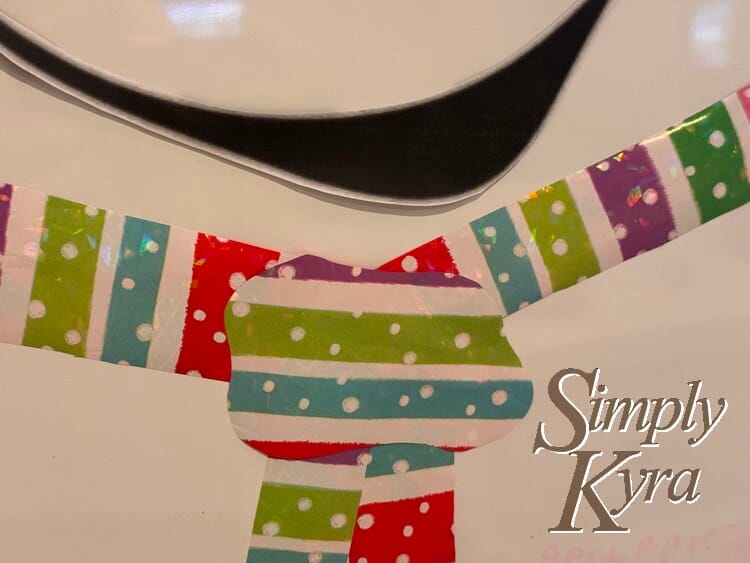
I love how this snowperson turned out and if I still had a white fridge I could definitely see doing this again. I had debated the first time adding coal buttons... had planned to but forgot the printer was in double-sided print mode and was too lazy to re-print to save the buttons. Additionally, Matt had mentioned a missing top hat. Definitely potential improvements to keep in mind for another time.
Present Half
I was really happy with my snowperson but didn't quite like how blank the freezer half looked and I didn't know what to do. Then I figured why not wrap it up. The wrapping paper I was using was double-sided so I cut a long piece, flipped it over, and started taping it to the freezer door. Once the top part was secured I started folding over the edges and secured them to the side and top of the fridge with more tape. I then worked my way down ignoring, for now, the handled side of the door.
The paper ended up coming up a bit short but I decided that didn't matter and left it as it was. Finally I decided to tackle the handle bit by cutting a rectangle out of the paper at each handle attachment point, tucked the center of the paper between the cuts under the handle, and taped it all down.
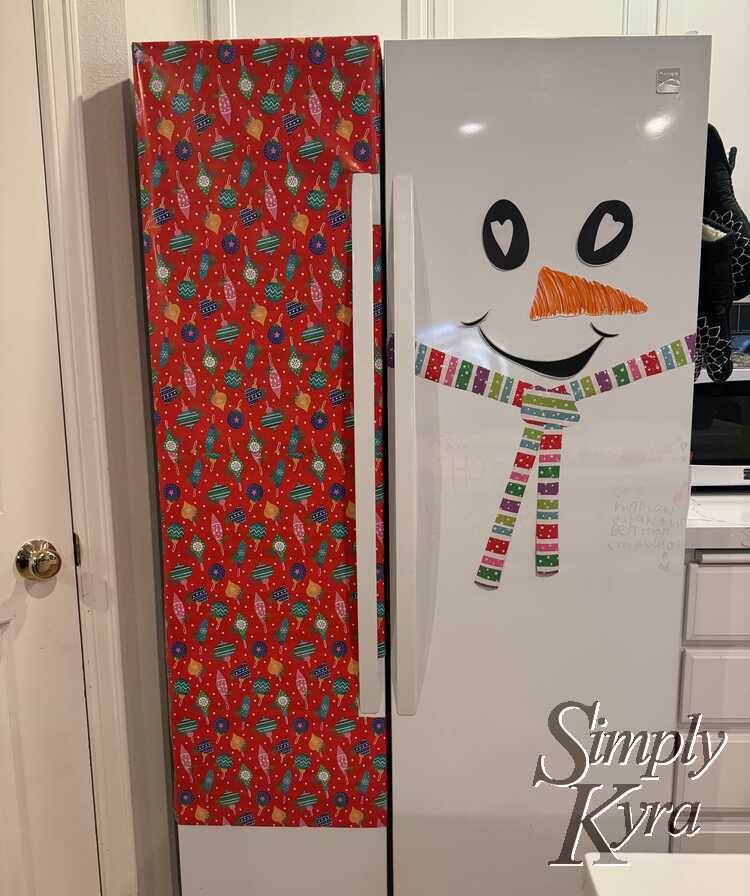
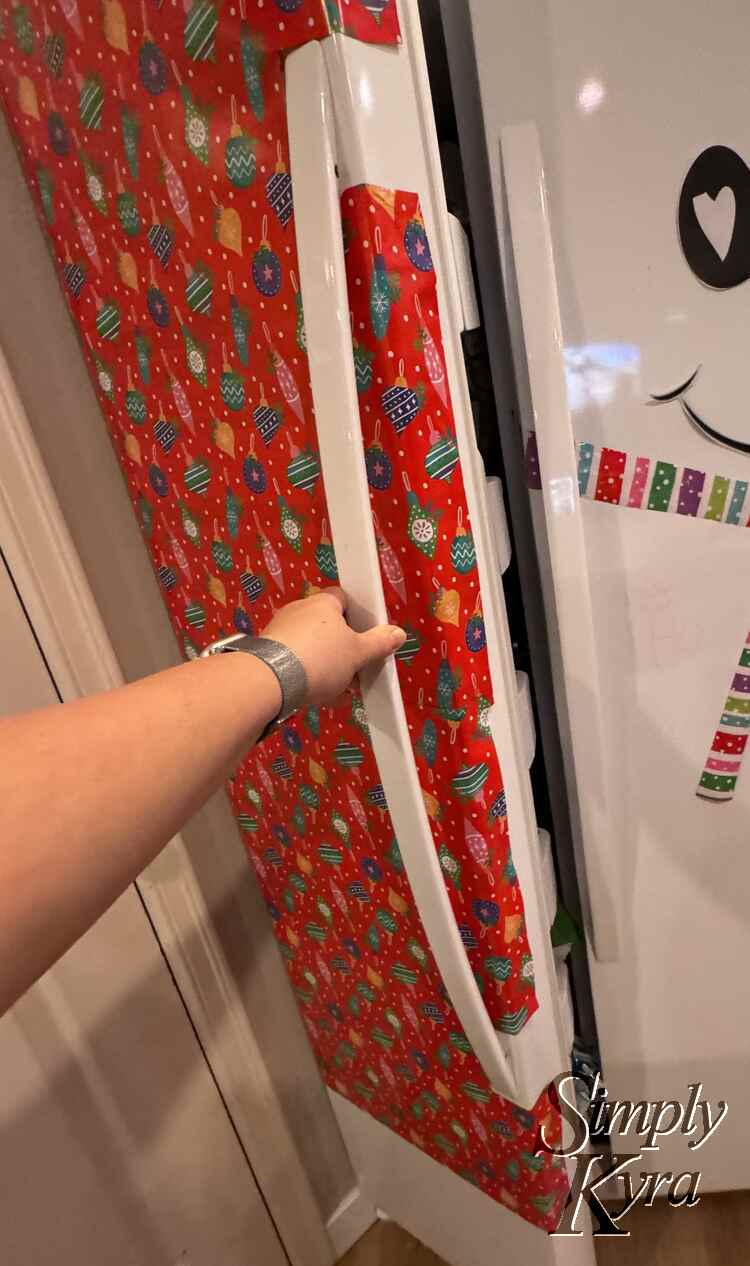
Later on, looking back, I still like how it looked but could see changing it by extending the paper, adding thin strips like ribbon, and/or adding a bow. That said, I love how it turned out.
Final Look
It turned out beautifully and I’m so glad i did it!
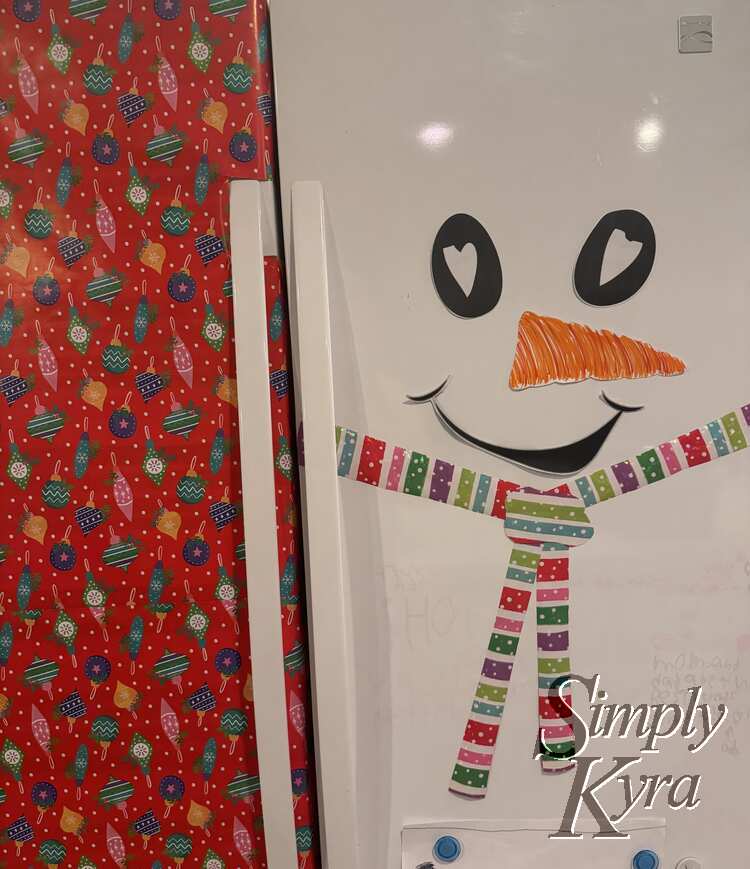
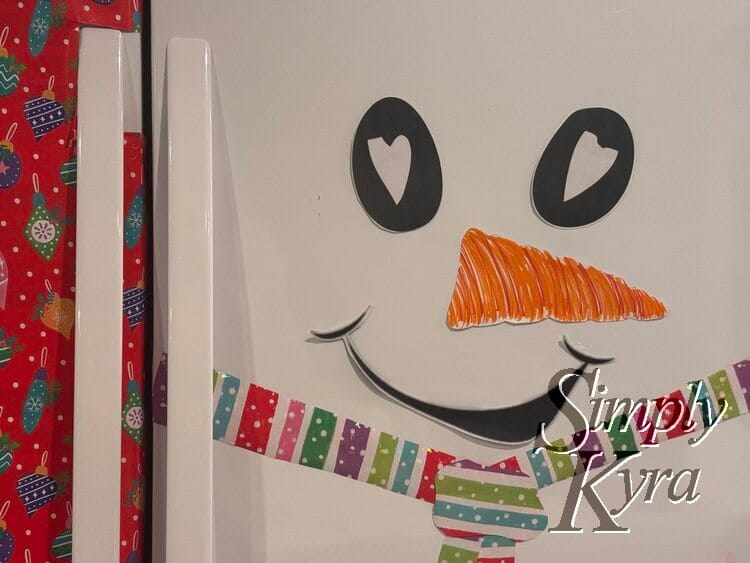
I ended up putting some important paper back on the fridge under the snow person and, after Christmas, I unwrapped the freezer so we'd have more magnet space. That said I thoroughly enjoyed the snowperson and left them up for all of winter and a bit into spring.
If you do this I'd love to hear what you used and how you customized it in the comments below. Hope you're having a great day and an amazing winter season!
If you’re interested in getting any of my future blog updates I normally share them to my Facebook page and Instagram account. You’re also more than welcome to join my email list located right under the search bar or underneath this post.

