
Our Peppermint Swirl Dresses
The Peppermint Swirl Dress by Candy Castle Patterns was the first sewing pattern I came across that called for me to buy it… and I’m so glad I did. I was also a little bit scared to try my hand on clothing, but this pattern and accompanying directions made it easy to make. The pattern comes as a PDF, you print out the pattern pages (at 100%), tape them together, cut them out, and you’re good to go. The instructions are extremely straight forward. I’ve even bought another pattern through them though I haven’t gotten a chance to look at it yet. They also have an active Facebook group if you have any questions while sewing the dress or if you just want to show off what you were capable of making.
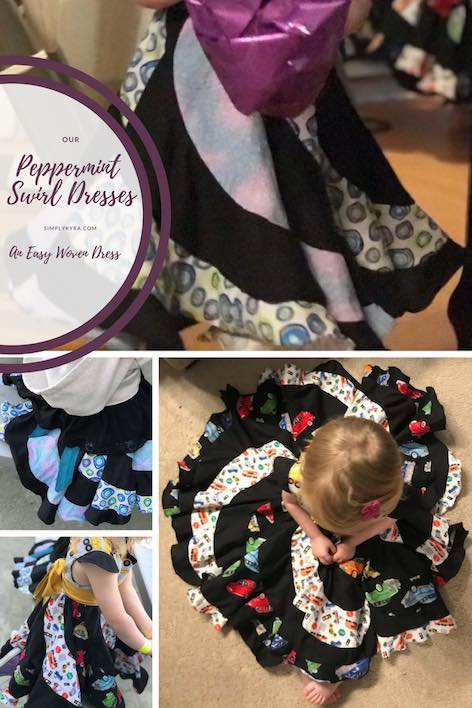
I’ve since made this dress several more times. If you’re interested in seeing the later dresses, with more experience under my belt, feel free to check it out here with Even More Peppermint Swirl Dresses.
In addition to making an incredible dress I was able to try out some new stuff in the process:
Snaps
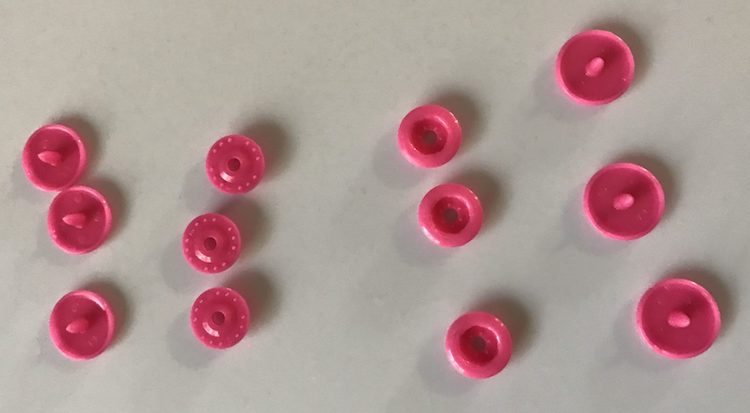
To close the back of the bodice I chose to use snaps. While sewing the bodice I added some interfacing I had on hand. to make sure the snaps would be secure through frequent use. I only had thicker interfacing on hand from making the quiet books so I’m hoping it was the right stuff. To get my snaps I looked through the Facebook group for recommendations and then bought KAMsnaps online. If you don’t want to worry about snaps you could also do buttons and buttonholes.
Gathering
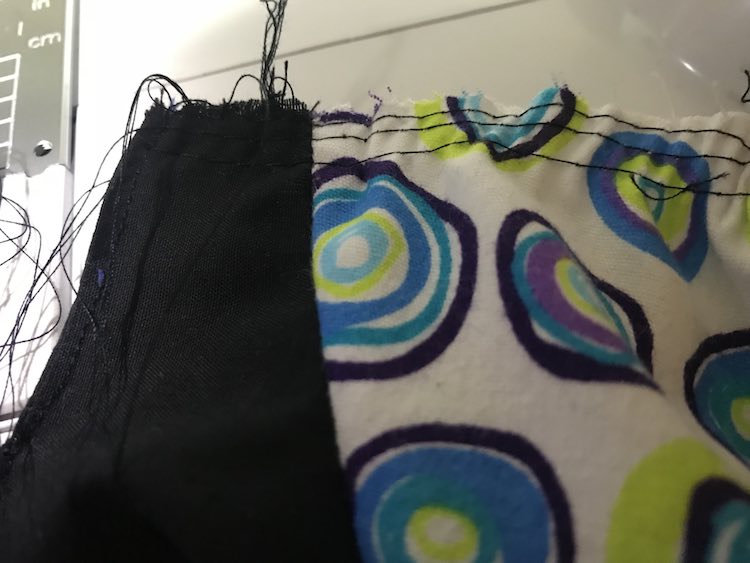
This was the step I was the most worried about. Through perusing the Facebook group‘s previous questions I was able to find a video (Niler Taylor’s Gather Fabric Fast – Quick and Easy Steps!) that showed a simpler way to gather fabric. I tried it on the sleeves and although I wasn’t able to make it work like the video it still worked enough to gather the sleeves as much as I needed. I wasn’t sure if trying that technique again would work on gathering the skirt and I wasn’t patient enough to spend too much time refining the technique so I decided to go for a more tried and true way for the skirt. The pattern instructions showed you how to gather but I decided to be extra safe while gathering the skirt and followed this video’s (MADE Everyday’s How to gather and ruffle fabric, the proper way) suggestions and used three running lines to gather it.
Hemming
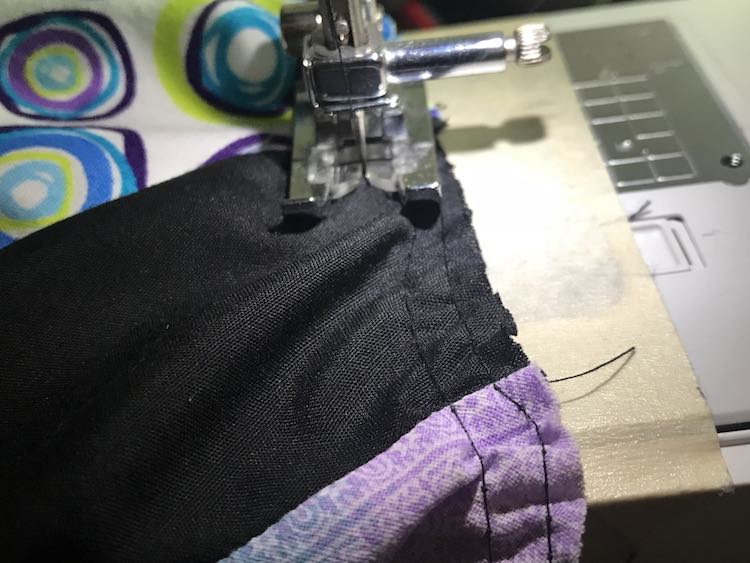
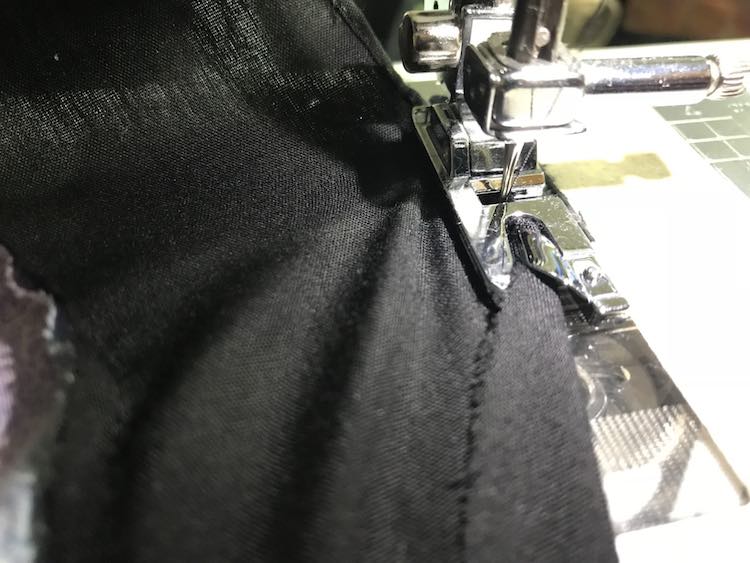
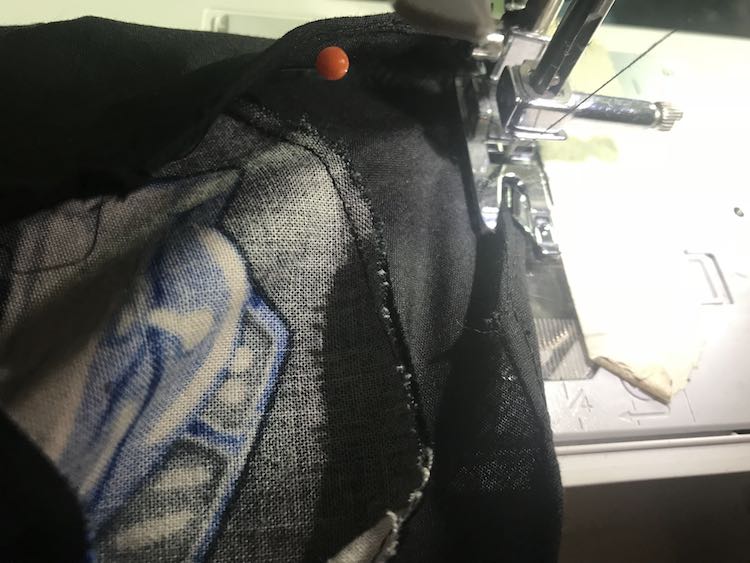
Before these dresses the only items I had hemmed where my jeans where I used a simple folded hem and either hand sewed or, lately, machine sewed to keep it in place. The pattern instructions went over three different ways you could hem the dress and I ended up deciding to do the rolled hem on my sewing machine. It gave me a reason to buy another foot for my sewing machine and I didn’t have to calculate how much bias tape I might need to buy for the dresses. This was my first time using the rolled hem and I noticed some spots that didn’t work properly on the dresses the first time around so I ended up sewing along the circumference of the dress twice to make sure it was properly hemmed and wouldn’t try to unravel with use. I’m glad I did the rolled hem twice as the hem line is a bit heavier and the dresses are long enough that any loss to the length didn’t matter. When doing the rolled hem the second time I noticed it was hard to tell the difference between what had been hemmed once and what was hemmed twice so I used a pin to mark where I started hemming so I knew where to stop without second guessing myself…. as much.
Troubleshooting
Update (Jan 2nd 2020): Since publishing this post I’ve heard several times to not use tissue paper as it might get sucked into your machine and be worse although some people still prefer it. In case you want an alternative lately I’ve been keeping my thread long before starting so I can gently pull on it once I’ve stitched into my new fabric. I’ve found that the gently pulling is normally enough to keep my fabric moving along. If sewing multiple seams back to back I sometimes don’t trim the previous threads until I get an inch or so into the next seam as that offers something to pull gently on if needed.
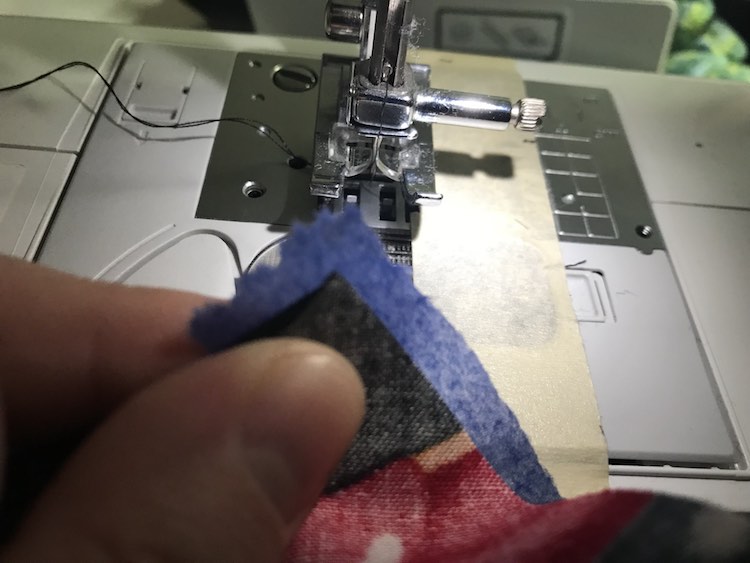
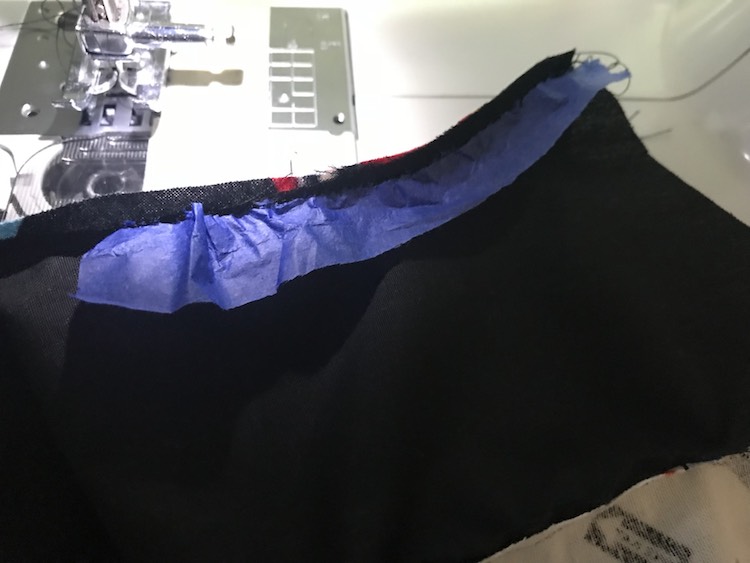
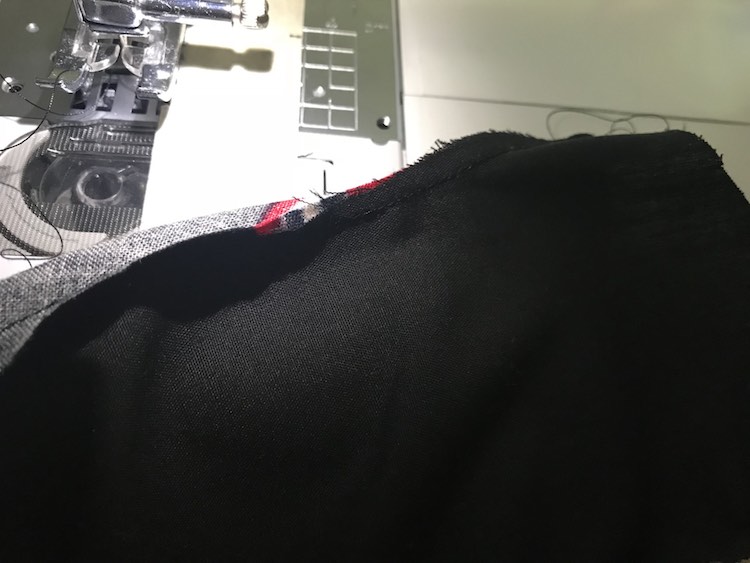
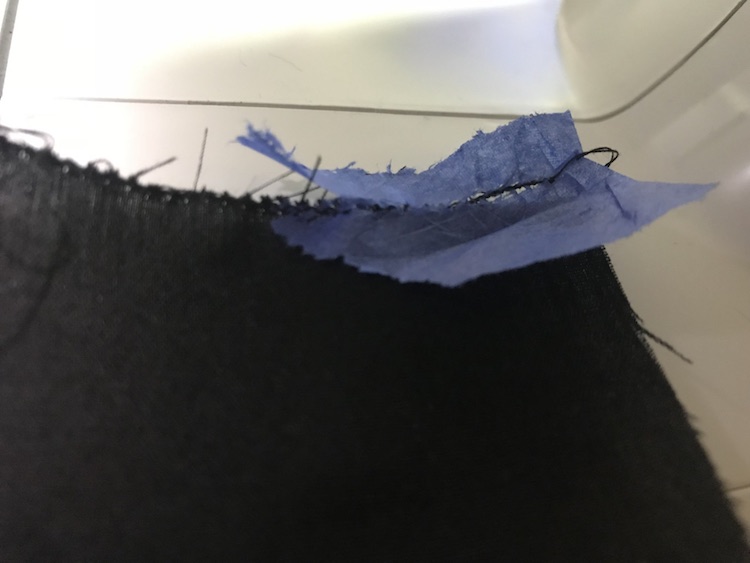
My black fabric was thinner than the patterned cotton so frequently while I was sewing black to black I had issues with the fabric being eaten by the sewing machine and I had to pull it out and seam rip the thread. One trick I read about awhile ago and I remembered to use is to use tissue paper while sewing. If my sewing machine tried to eat my fabric twice in a row I would pull out the tissue paper. All you have to do is tear off a piece of tissue paper, place it underneath the fabric you’re about to sew, and sewed through it. Once I was down sewing the length I needed I was able to easily rip the tissue paper away. Sometimes the tissue paper might get stuck under the stitches but it was still easy to remove.
Overall I’m really glad I bought the Peppermint Swirl Dress by Candy Castle Patterns. The most time-consuming step for me was putting off sewing it followed by cutting out the fabric. Some of the steps in the instructions mention using a serger but it’s also written in such a way that you don’t need one. All I used was my regular sewing machine. I love the finished dresses and can’t wait to see what you come up with if you make your own. Feel free to share your creations in the comments below, post on my Facebook page, or connect with me on Instagram.
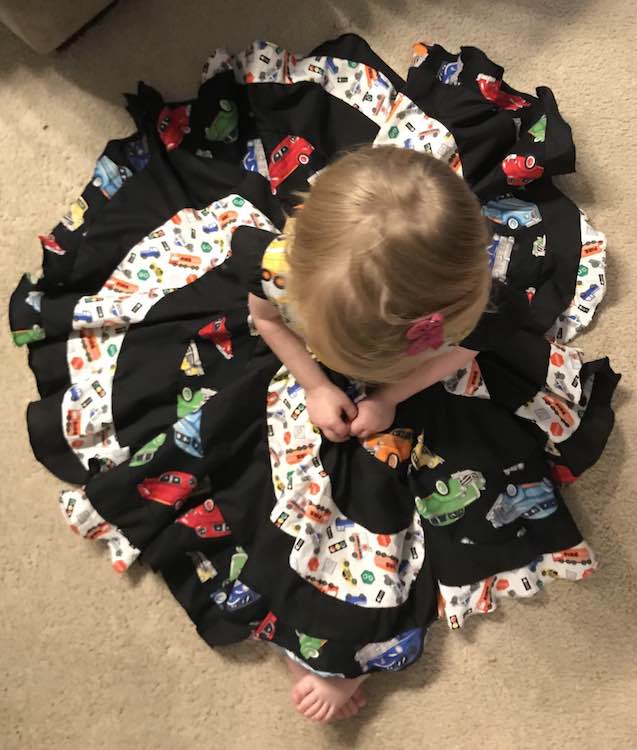
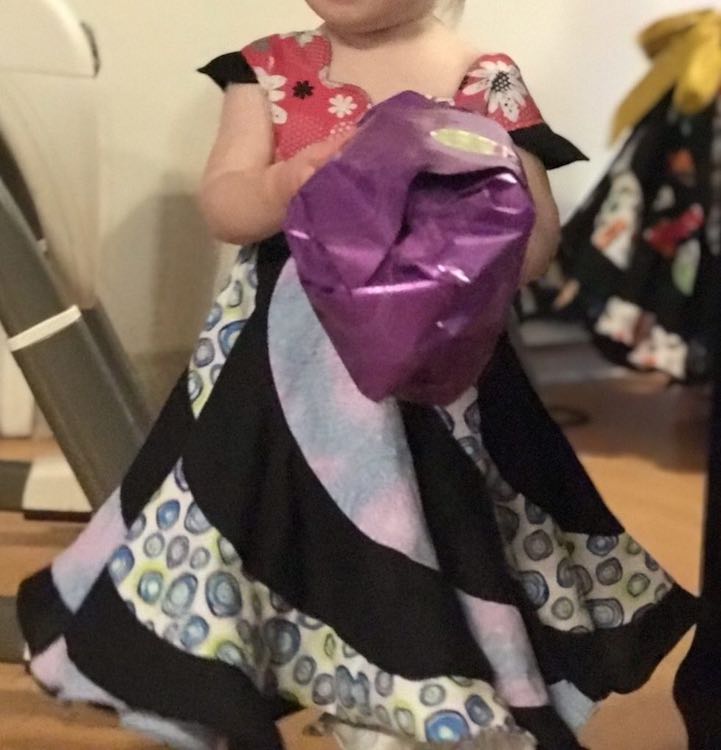
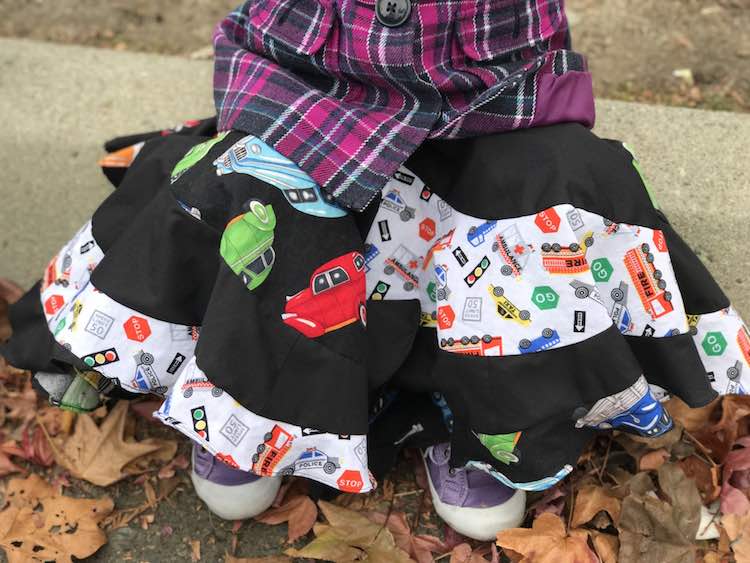
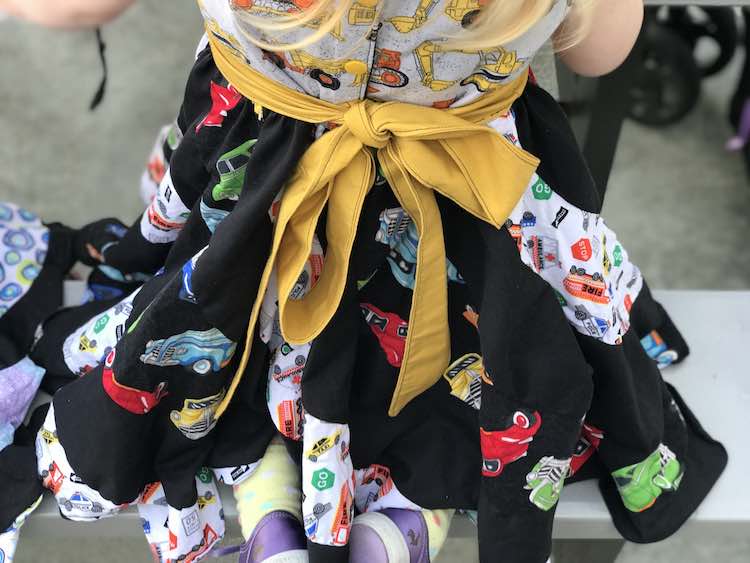
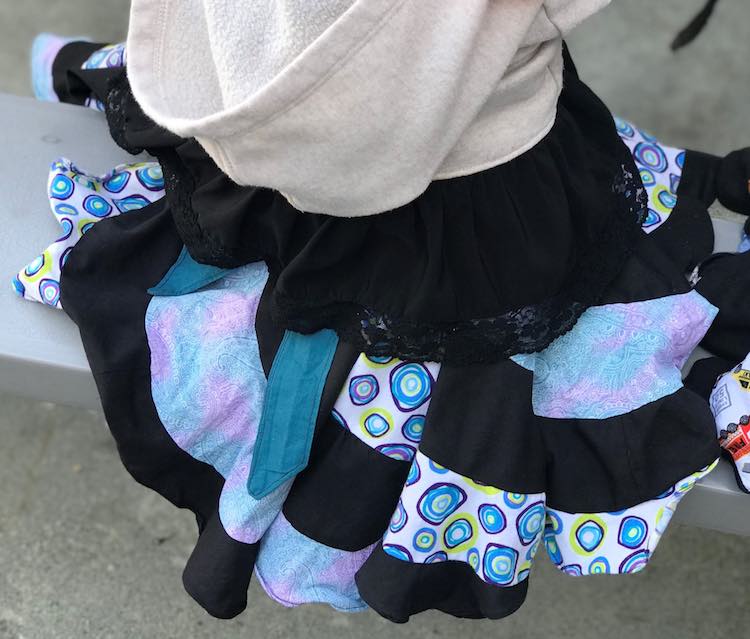
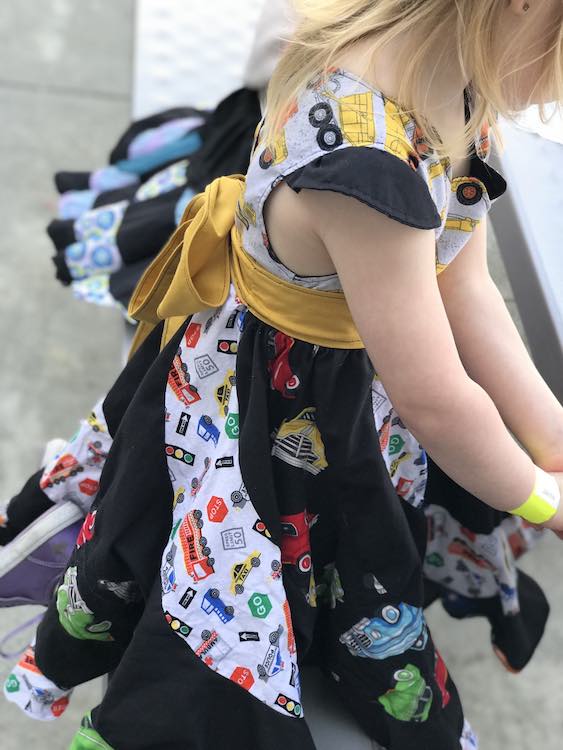
Again, if you’re interested in the pattern it can be found here: Peppermint Swirl Dress by Candy Castle Patterns.

