
Our Amazing Halloween Costumes: Costumed Hairstyle Ideas: Spider
Last year, while chatting with a friend, it came up that I should do something themed with my hair. A pumpkin was mentioned and then a spider which led to me ordering some pipe cleaners but then putting it off. I’m so glad I decided to do this as the kids LOVED it and I ended it up wearing the spider for hours. I then realized if you happen to have the supplies at home it’s a perfect last minute idea and so I had to share it with you! Here’s how I did it.
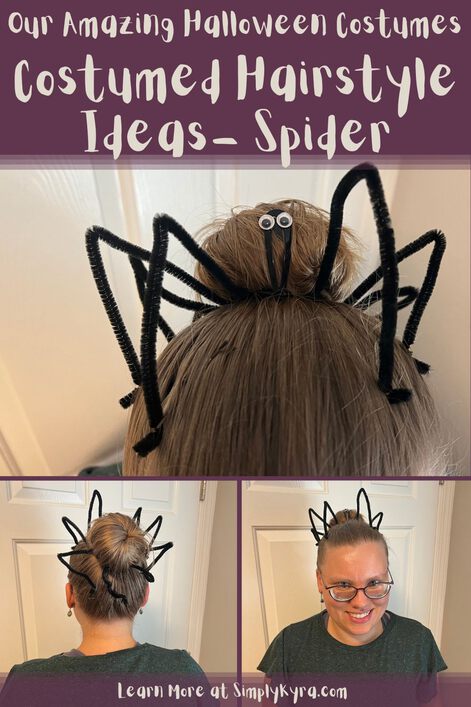
Before Halloween last year my friend gave me the idea to do something with my hair by sharing a MetDann video of a pipecleaner and bun spider based on this longer video by SweetHearts Hair on YouTube. I ordered a set of black pipecleaners and googly eyes but then put off prepping this any farther. On Halloween I decide why not and quickly scanned through the video, came up with a quicker way to attach the googly eyes, and made it happen.
All in all I’m supper glad I ended up doing my hair special. The girls had no idea I had planned this so it was a great surprise. Also everyone seemed to appreciate it and I had to crouch down several times so the girls could see the spider up close. The only downside to this was a slight headache as I’m not used to such a high bun or bobby pins. All in all this could be a good yearly default and, worst case, now the kids have a hair clip with two attached googly eyes.
Prep Work
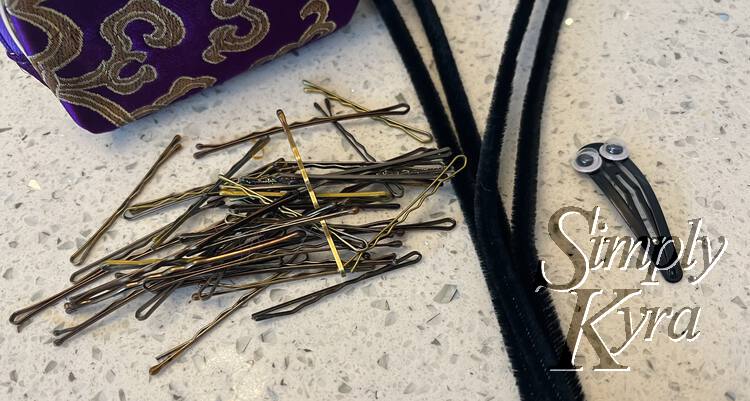
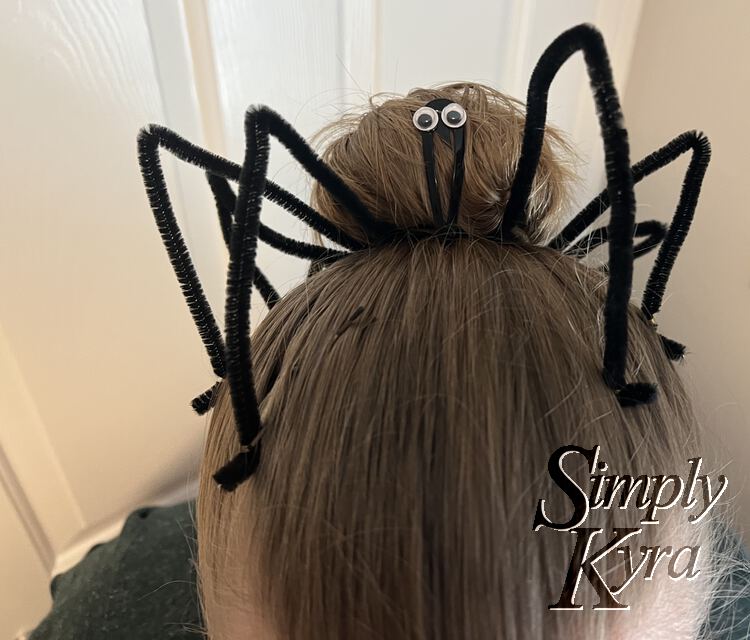
I started out by crafting the googly eyes for the spider. At first I was going to make something more involved like in the video but since this was more last minute and I was lazy I instead burgled the girl’s hair clips and found the perfect black one. I planned to keep the clip horizontal but worried a googly eye wouldn’t have enough to hold on to and so I turned it vertical thus creating something remarkably like Microsoft’s Clippy.
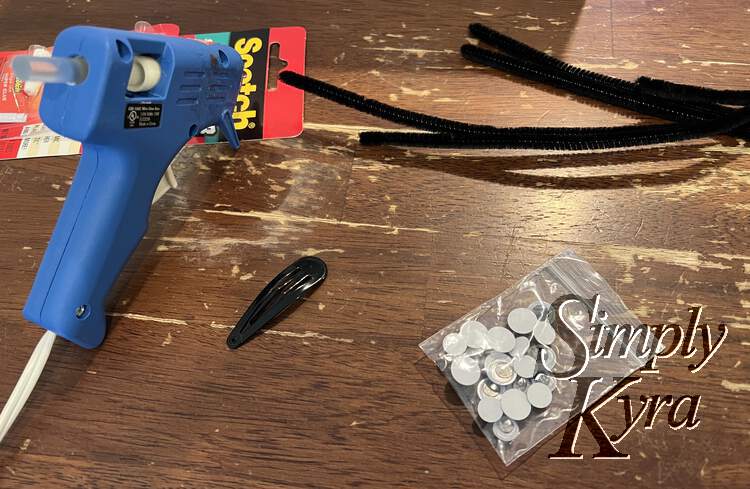
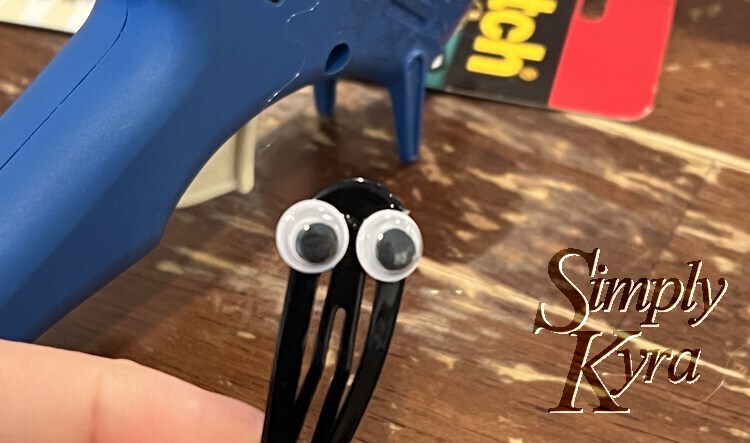
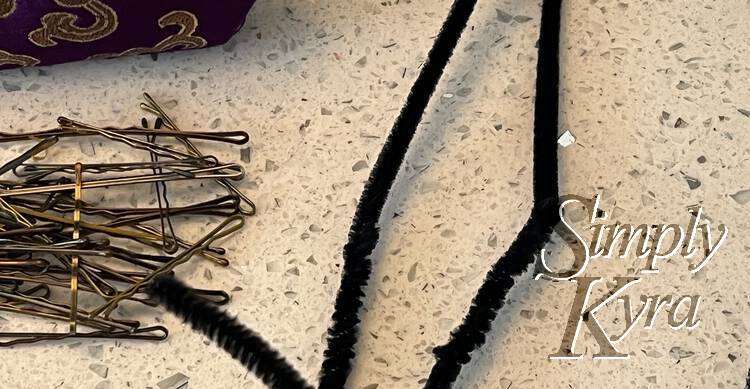
With the hair clip made it was now time to create the legs. The video I watched had you take two pipe cleaners and tie their ends together to make one really long pipe cleaner. I repeated this process to have four long pipe cleaners that would become eight legs. I then took the finished hair clip and pipe cleaners legs with me to the bathroom along with many bobby pins, two hair ties, and my hair brush.
The Hair
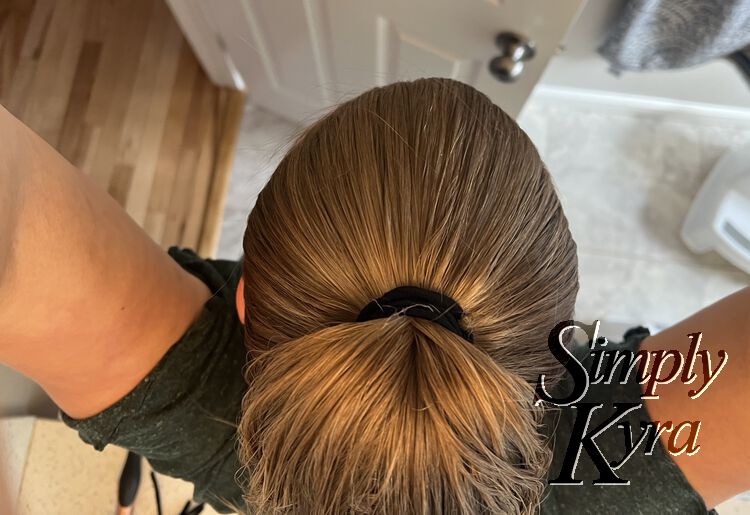
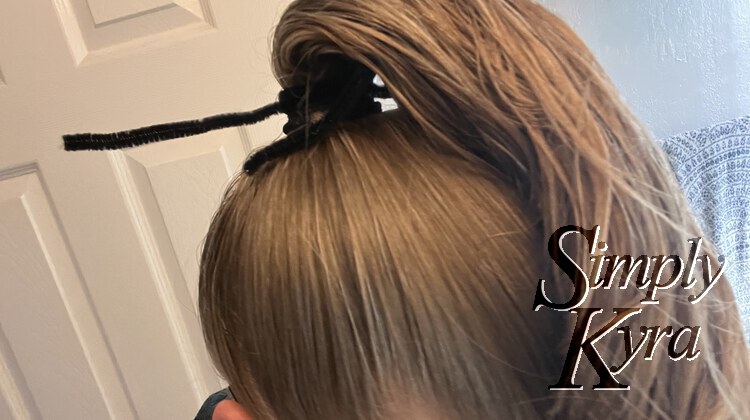
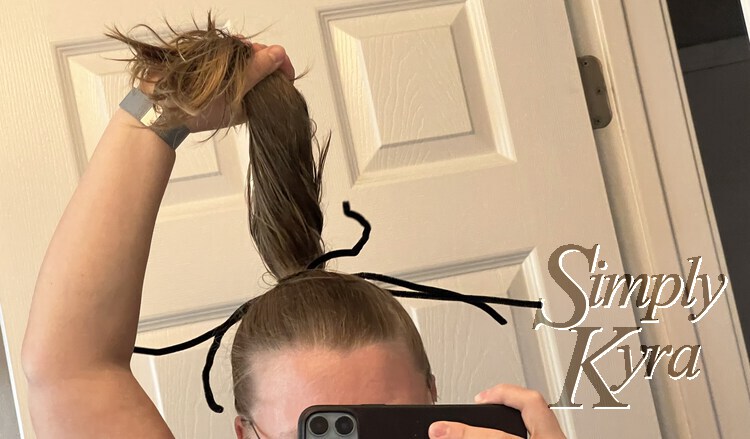
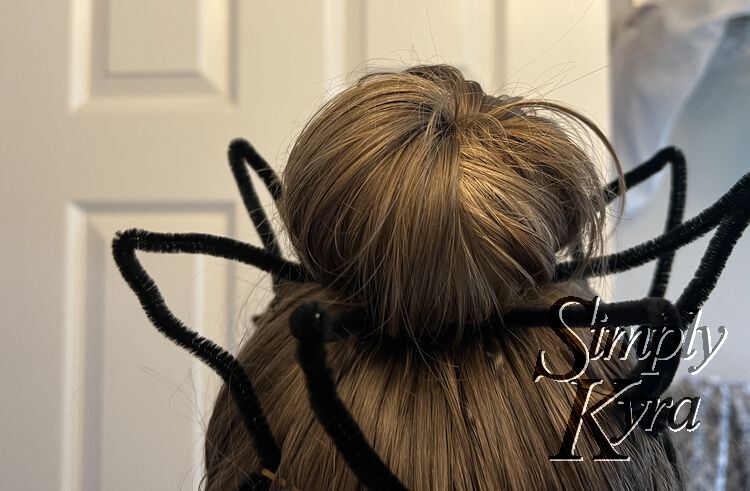
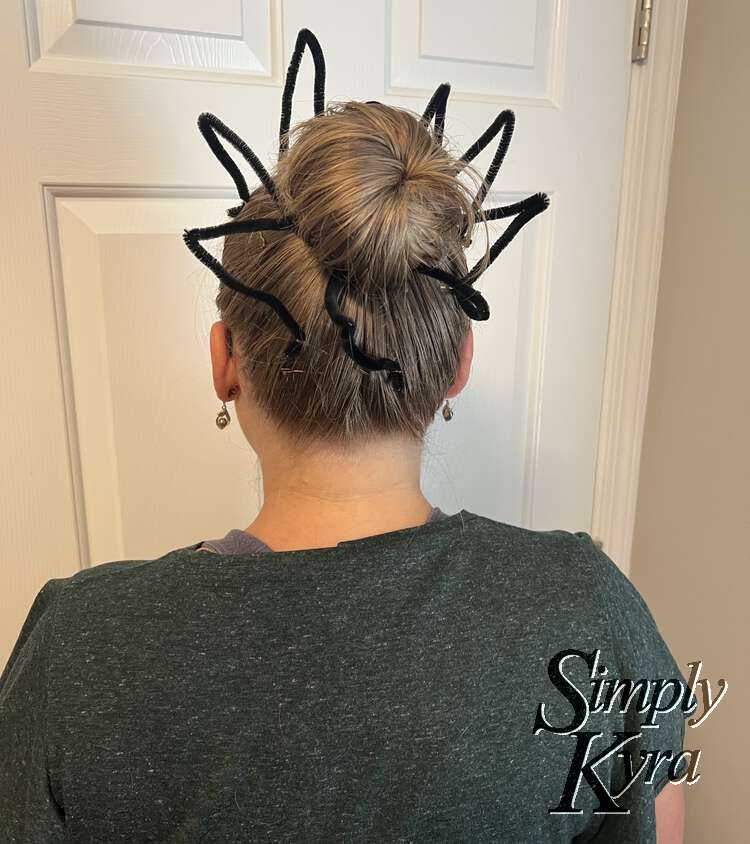
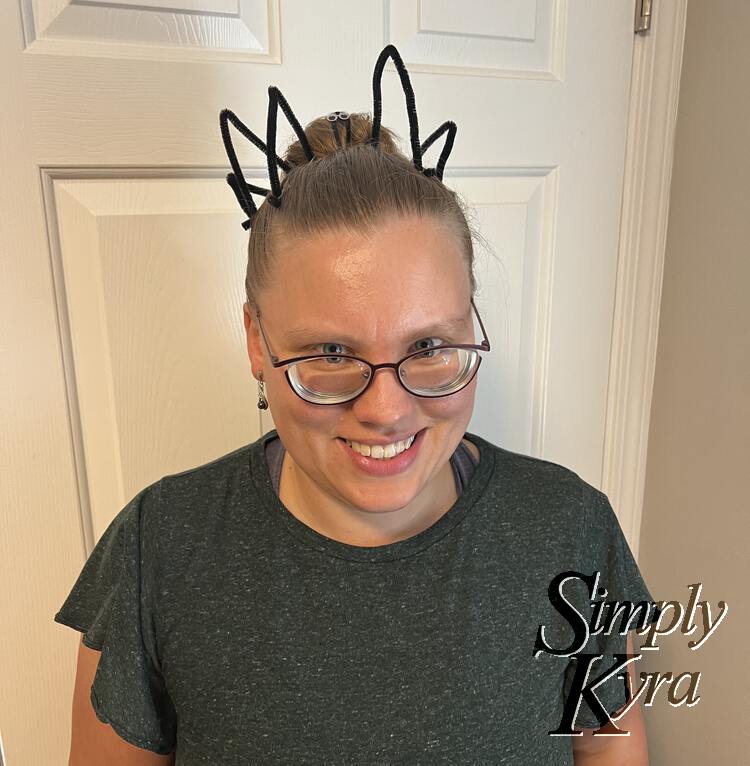
The first step was to simply make a high pony wherever you wanted the spider to be on your head. You won’t want to turn it into a bun yet. With the pony secured it’s now time to take a long pipe cleaner and wrap it over the pony tail tie once and twist it to hold it in place. With each pipe cleaner you add you’ll want to angle it to point another way so all the legs (either end of the pipe cleaner) will come out at different parts. For instance I did the top (two front legs), back (two back legs), and then added one to either side (the center two legs). While doing it you’ll need to be careful to not catch your hair in the pipe cleaners. Once the legs are attached you can next wrap your hair up into a bun shape and use a second pony tail tie to hold it all in place. With the bun made now comes the fun part… where do you want the legs to be positioned? I took each leg, one at a time, and bent them in two places to create the knee and foot. I then positioned the foot where I wanted it, fiddled with the pipe cleaner leg until I liked how it looked, and used a bobby pin to attach the foot to my hair and keep the leg in place. With all eight legs positioned all that was left to do was make it a real spider by attaching the googly eyes. And finished!… although I then grabbed some more bobby pins to keep any loose hairs in place as my spider had some awesome side swept bangs.
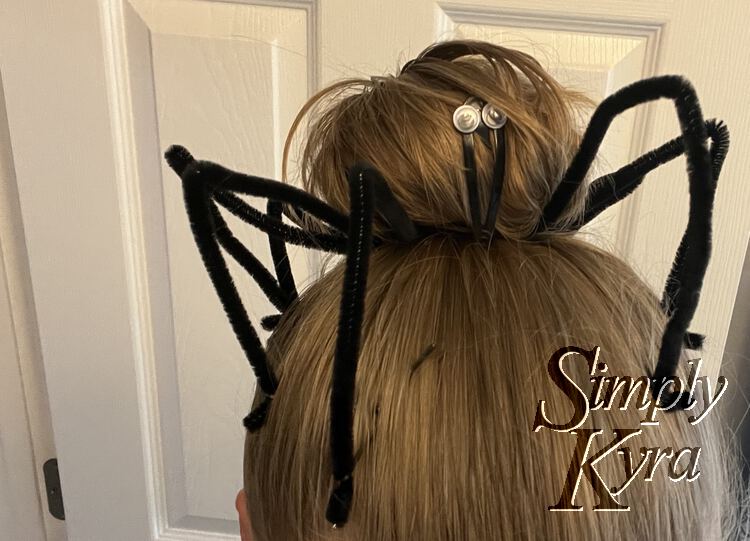
The Final Result
And with that the hair style was done! Here’s some more photos of the final result:
Word of Warning
Make sure you’re already wearing whatever shirt you’re planning on wearing before doing your hair. I ended up changing between picking up my girls from school and Halloween night and let me tell you I had to be really careful. Just simpler, looking back, if I had already changed.
Some Other Ideas
If I had the pipe cleaners on hand I might’ve chosen to do a pumpkin bun instead by pre-wrapping the bun with orange pipe cleaners and then tilting them up to make an orange structure with a green center stem. That said if this was a truly last minute hair decision I could have instead made a ghost by using a white tissue or napkin with a quickly sketched face and secured it over a bun for shape. That said, I love the copious amounts of options I’ve found online.
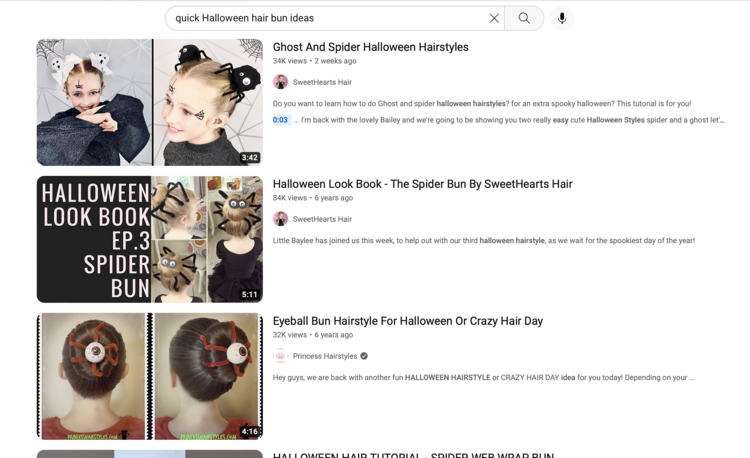
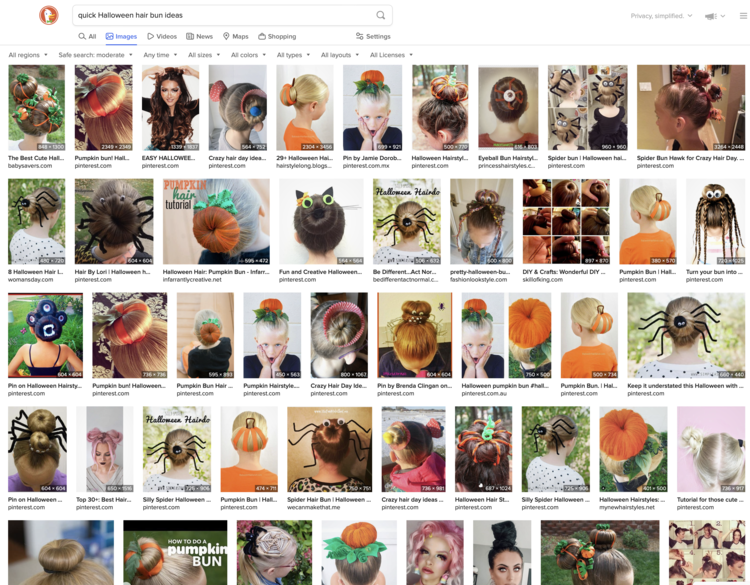
Whether you’re planning ahead or heading out and need something festive in your hair I hope this post helps you out. Feel free to share how it helped in the comments below and/or share what you end(ed) up doing!
Have a great time!
If you’re interested in getting any of my future blog updates you can join my email list located right under the search bar or underneath this post.
Did this save you time?

