

My Simple Pressure Cooker Sausage and Pasta Meal

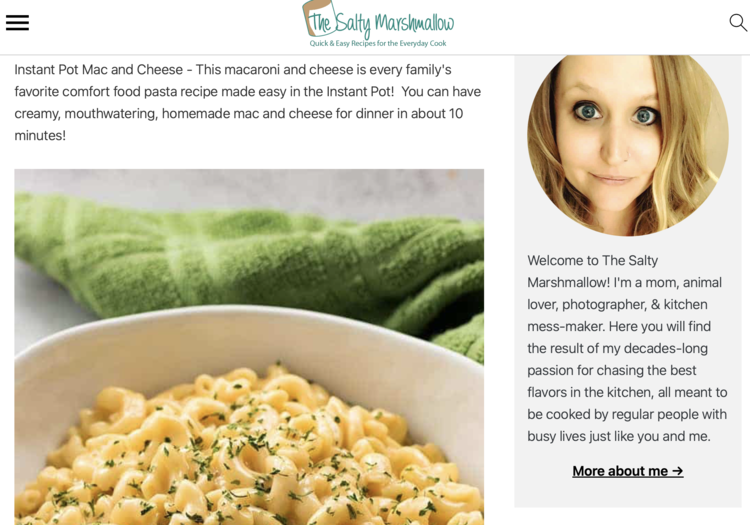
A while back I came across the Instant Pot Mac and Cheese recipe from The Salty Marshmallow and our whole family loved it. Over the years we've changed it up from minor cheese alterations to much more drastic changes. I figured I needed to share this new version, along with the original link, with you in case you and yours would also enjoy it.
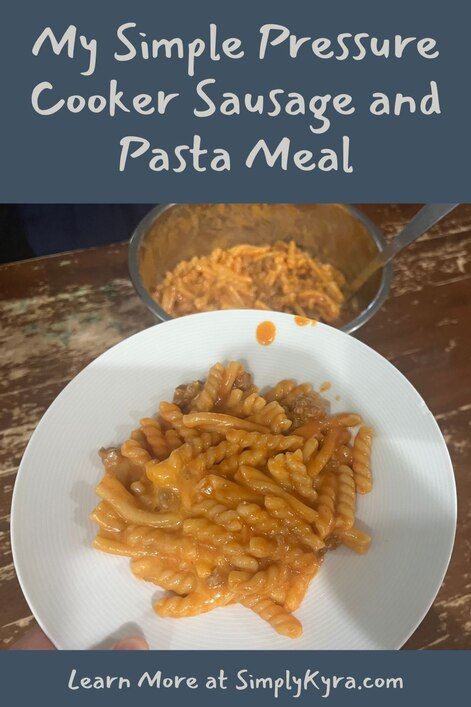
For the last while we've loved the Instant Pot Mac and Cheese from The Salty Marshmallow although we've never used the specified cheese and sometimes add some type of meat to make it go further. It's so good that we've always doubled it hoping for more leftovers. At the end of the summer we had just gotten home hungry from paddleboarding and I wanted some comfort food that was quick, easy, and would have no complaints from the kid. I considered our current iteration of this recipe but didn't have any havarti on hand and didn't feel like only using cheddar cheese. The kids still love our Pasta, Tomato, and Cheese but I wanted something more heartier. Something made me think of homemade hamburger helper, which I also didn't have all the ingredients for, but I decided to just go for a mix-mash of this instant pot one with the idea of hamburger helper using what we had. I'm so glad we did as this new recipe is so good. We adored it. It's become our new favorite meal and I knew I needed to share it with you. Here's how I did it... and how I've altered it in the past.
The Original Recipe
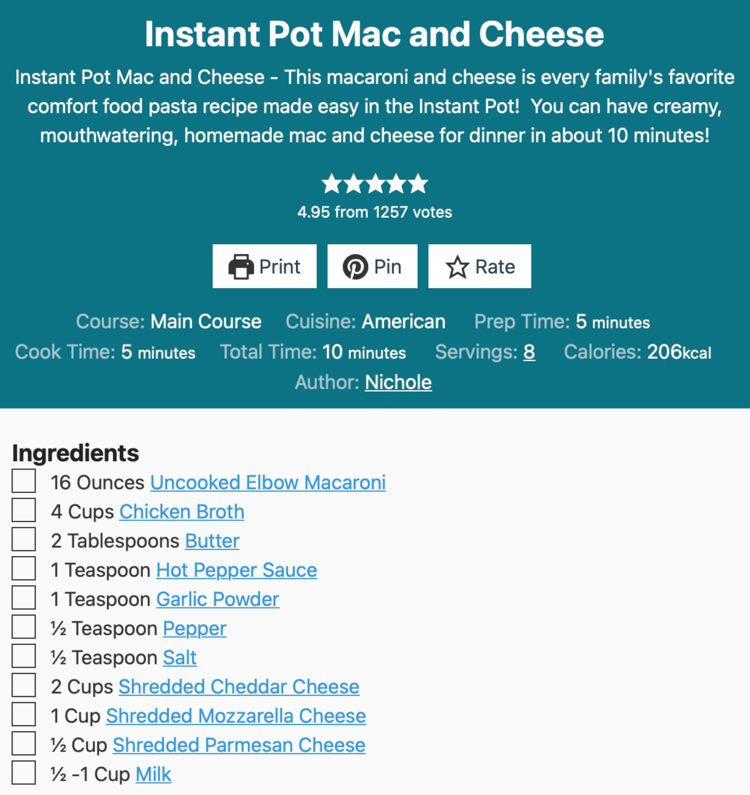
You can find the original recipe we used through The Salty Marshmallow under Instant Pot Mac and Cheese. It calls for pasta, chicken broth, butter, hot pepper sauce (I normally half or skip depending on kids), garlic powder, pepper, salt, milk, and three kinds of cheeses.
Our Changes
The Salty Marshmallow's Instant Pot Mac and Cheese calls for three types of cheese: cheddar, mozzarella, and parmesan. We've never made it this way, funnily enough, and somehow stumbled upon havarti (we adore Castello creamy havarti with the plain, dill, or spicy types being tried at different times) although since moving we've mostly used Tillamook sharp cheddar cheese as it's simpler to find.
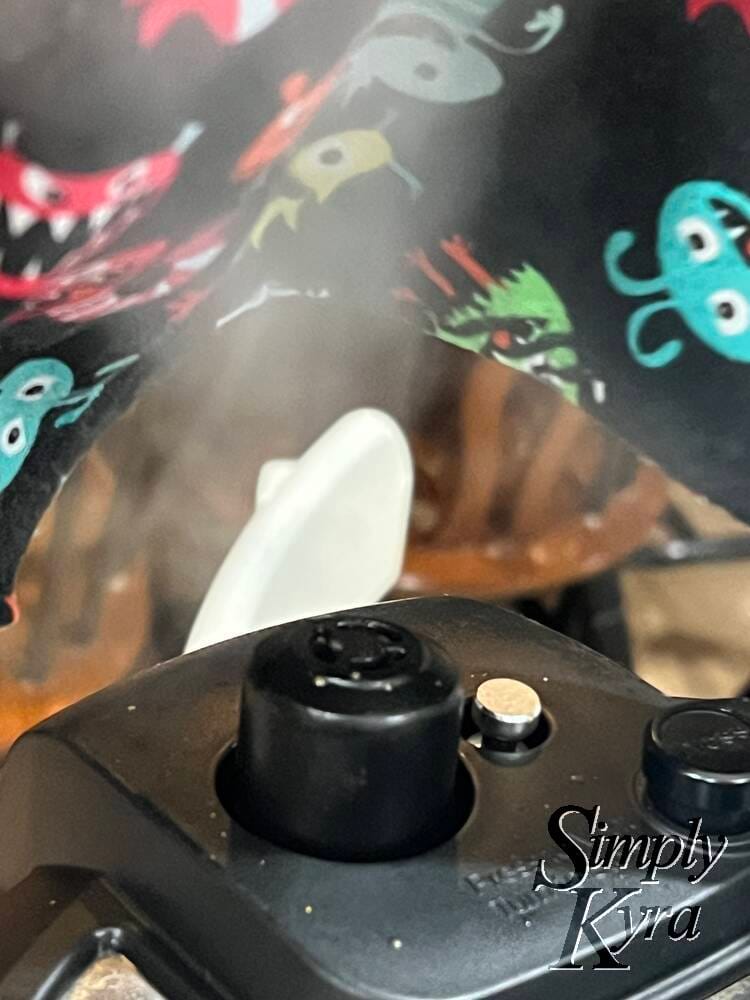
This recipe is so good that we often double it, although, just a warning since we downsized from a Ninja Foodie to an Instant Pot our pressure cooker often spits when releasing pressure so I need to hold one of our fabric napkins or a tea towel above the steam release valve to catch and limit the starchy steamy mess.
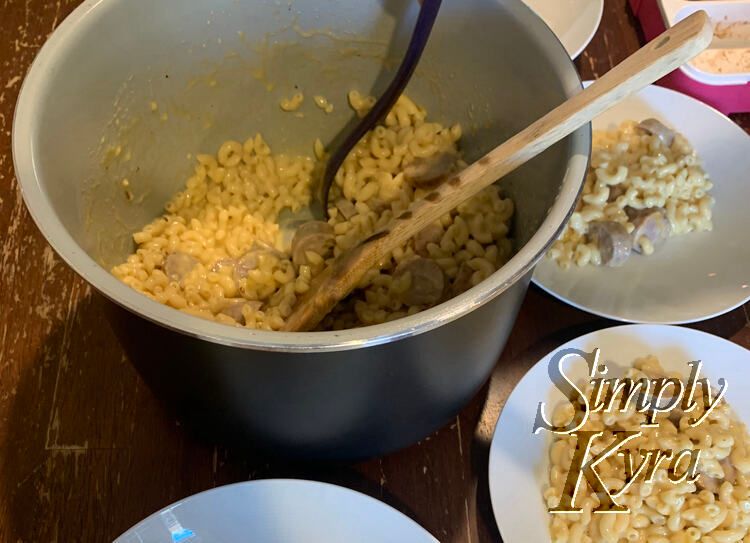
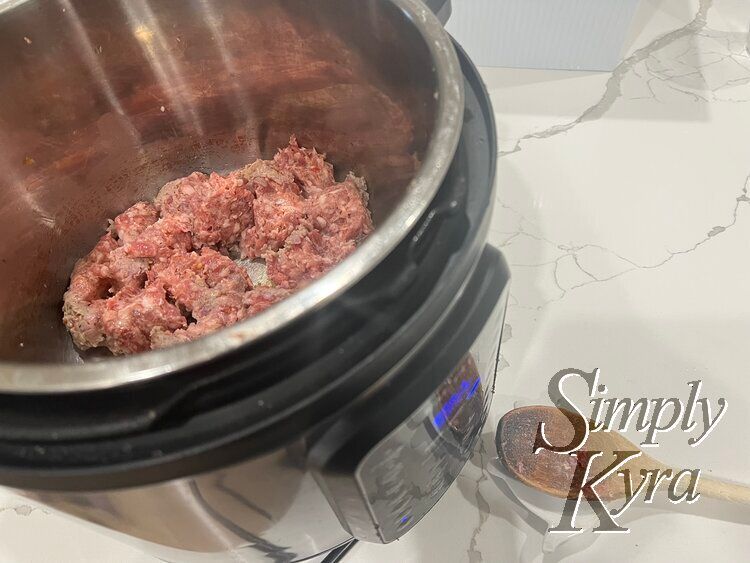
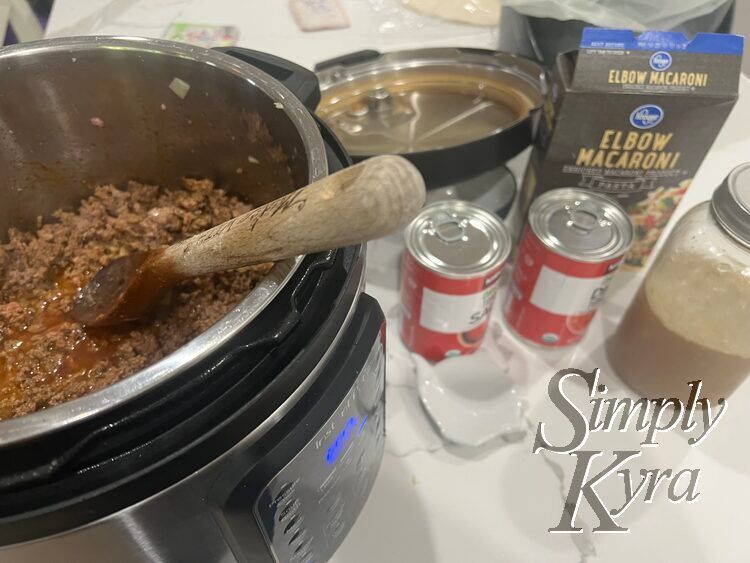
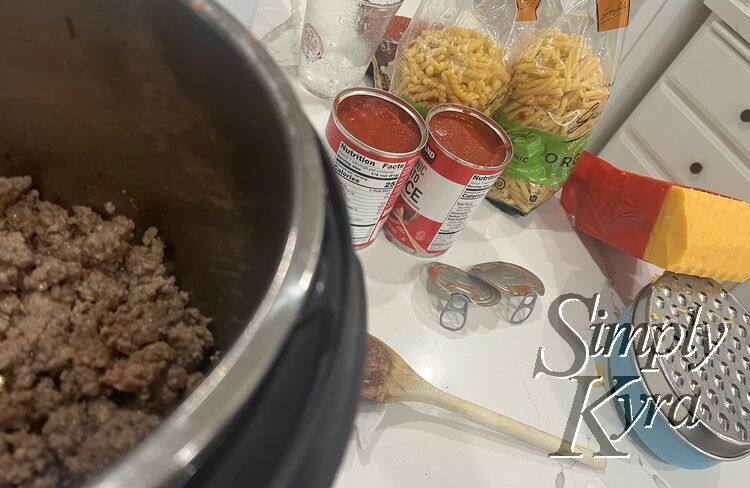
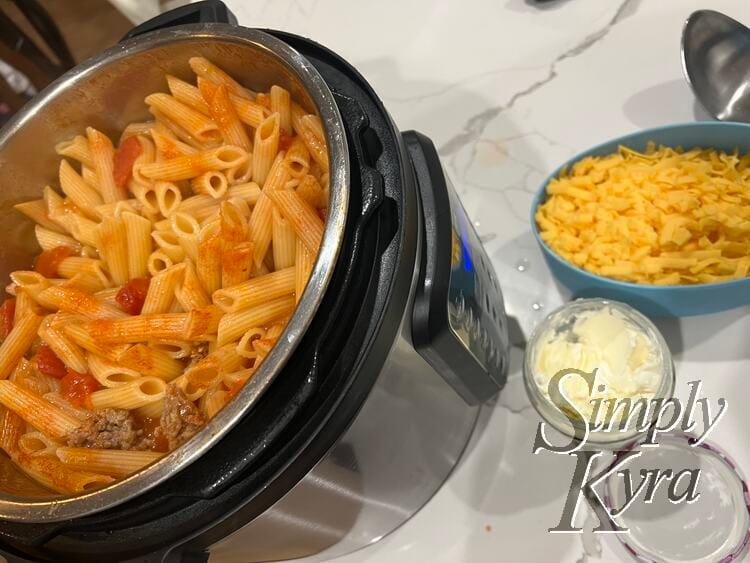
To make this recipe truly our own I've frequently changed it up by cooking some ground sausage or sliced chicken apple sausages in the pot before adding the ingredients and pressure cooking it. I've also waited until after the pressure cooking was done and switched out the cheese or adding pre-cooked microwave re-heated meat like tritip or pulled pork. This pasta is a superb base to add leftovers to and once, when Matt was debating getting food from a BBQ place, I planned to have him buy some extra meat specifically for this dish the next day. I've also changed this up a time or two by adding a can of tomato sauce or diced tomatoes at the end as a play on our old stovetop pasta tomato and cheese dish.

My Recipe
The Recipe
Word of warning: we sometimes prefer our pasta el dente, a bit undercooked, but in our experience this recipe cooks it longer and recently my eldest decided she liked it freshly made but not as leftovers. That said everyone is happy when this is made and served.
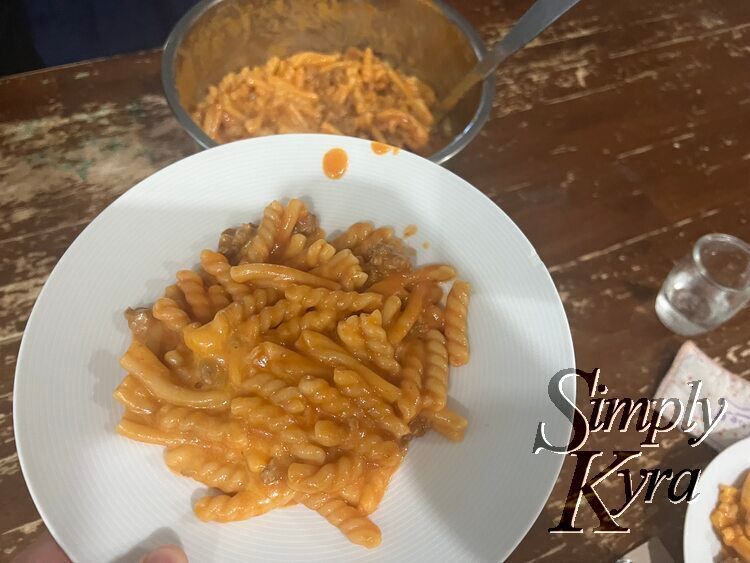
A super simple pasta recipe that's truly delicious comfort food. My kids adore it!
Main Course; Pasta Prep Time: 2 minutes Cook Time: 5 minutes on high + needs to reach pressure Total Time: 10 minutes and to reach pressure Servings: 4 people. Can easily be doubled.Ingredients
Main
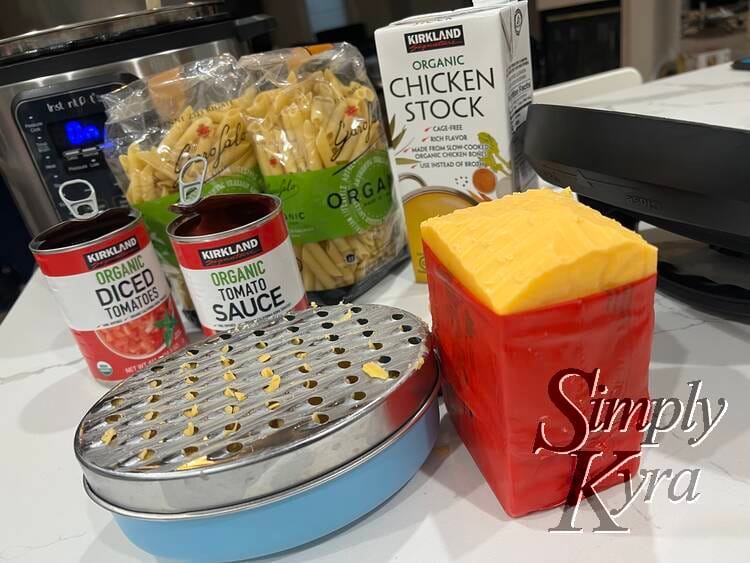
- 1 lb uncooked pasta - normally use Costco's Garofalo organic pasta
- 4 cups chicken broth
- have used water instead once for a vegetarian guest and my kids liked it but Matt and I prefer it with the broth
- switch between the Kirkland Signature organic chicken stock and homemade
- 3 cups grated cheese - some options include:
- Tillamook Sharp Cheddar is our go to
- we adore the plain, dill, or spicy Castello creamy havarti
- the original recipe called for a combination of three cheeses
- once I replaced the milk with cream cheese for a hamburger helper vibe
Potentially Needed
These are ingredients called for in the original recipe that can be skipped depending on the optional add-ins I include.
- 1/2-1 cup milk - depending on liquid level remaining
- 2 tbsp butter - skip if adding meat with enough grease
- Seasonings - depending on the seasonings in the added meat
- 1 tsp garlic powder
- 1/2 tsp salt
- 1/2 tsp pepper
- 1/2 tsp hot pepper sauce
Optional Add-Ons
- can of tomatoes - diced or sauce
- meat: cooked at beginning or heated and added at end have used:
- hot or mild ground Johnsonville sausage - sauté at beginning before adding other ingredients
- ground beef with taco seasoning for a taco vibe - sauté it beforehand with the taco seasonings
- sliced chicken apple sausage added with pasta - I add with the pasta and chicken broth before pressure cooking it but have also added it pre-sliced at the end
- leftover tritip or pulled pork - microwaved to warm and added at the end with the milk and cheese
How I Make It
- Optional: if your meat needs to be cooked start with that in the pressure cooker on sauté mode. If you plan to use any meat specific spices add them in now. One example if adding taco seasoning to the ground beef. I leave the cooked meat in the pot, when ready, and then add the pasta and other ingredients in the next step before pressure cooking it all together but you could remove the meat and set it aside to add at the end too.
- At any point now or while the pressure cooker is pressurizing make sure your cheese is prepared for when the pasta is done. Mainly, this means figuring out your cheese and grating it.
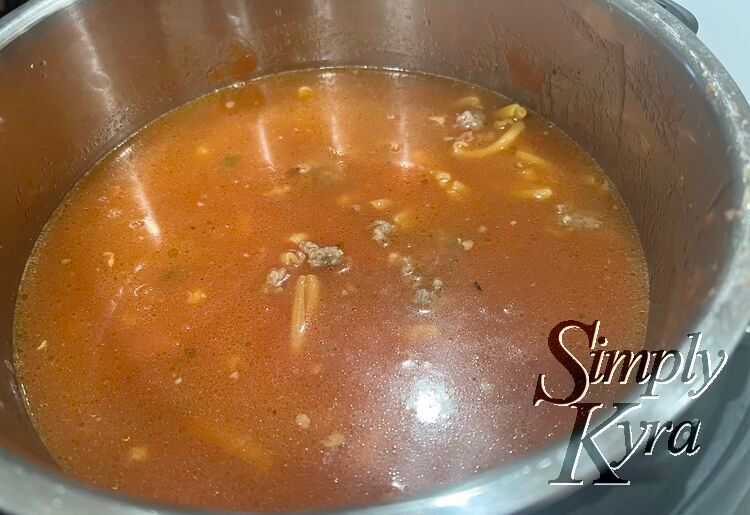
- Add the uncooked pasta, canned tomatoes, and any seasonings you haven't already included to the pressure cooker. These can include: butter, hot sauce, garlic powder, pepper, and salt. Then pour in your chicken broth until the pasta is covered. Optionally, at this time add any pre-cooked meat (like sliced chicken sausage) that you want cooked with the pasta.
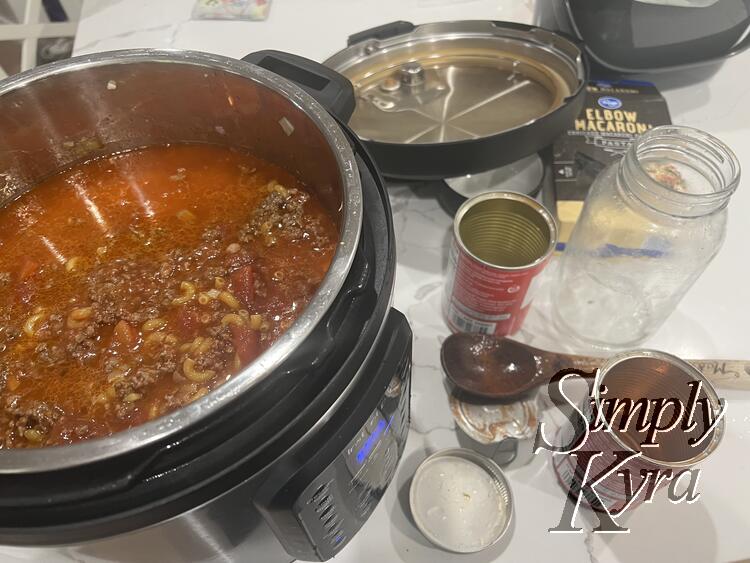
- Give it a stir, place the lid on the pot, and set it to seal before cooking on high pressure for 5 minutes. When done do a quick release and, if needed, cover the vent to prevent a starchy mess from escaping.
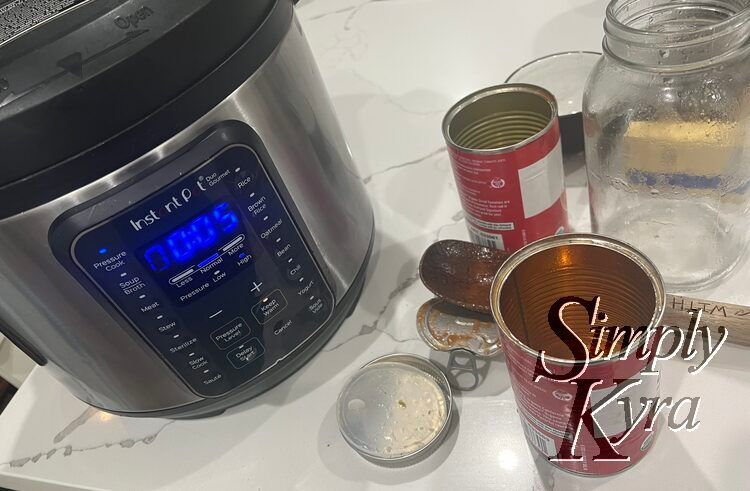
- Once the InstaPot is depressurized and opened up I add in, while stirring, the milk, cheeses, and any optional meat.
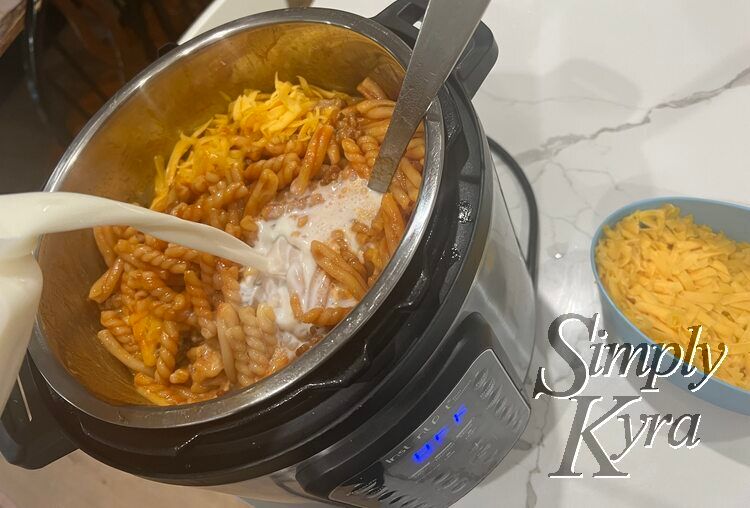
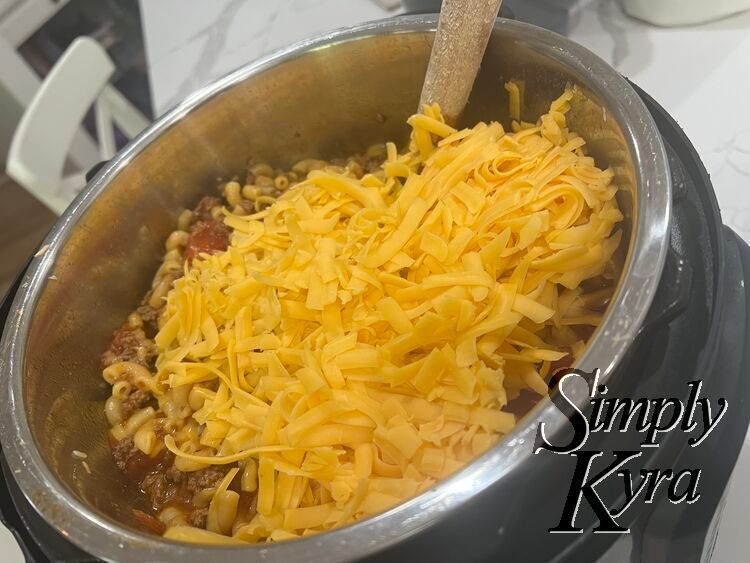
- Season as necessary and continue to stir until it's smooth and creamy.
And that's it. It tastes incredible and we all love it!
If you make it yourself I'd love to hear how it went in the comments below. I'd especially love to hear how you changed it up to I can potentially try it your way too! I hope you have a great day and week.
If you’re interested in getting any of my future blog updates I normally share them to my Facebook page and Instagram account. You’re also more than welcome to join my email list located right under the search bar or underneath this post.
Did this save you time?