
Moving All My Posts From My Ghost Homepage to Its Own Custom Page

A while ago I decided I wanted to move my post feed away from my Ghost homepage so I could set up a more static page showing my upcoming apps. I tried to start the process several times but had trouble setting it up and decided to give up for now. Recently I realized I couldn’t put this off any longer and got down to business to make it happen! In case you want to do the same here's how I did it!
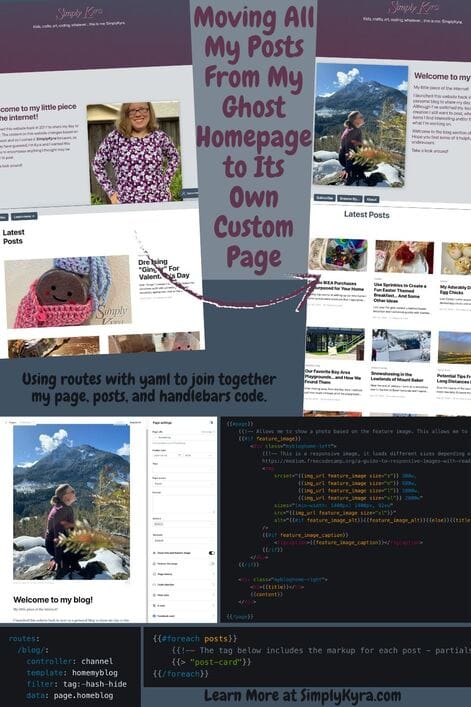
About or so a year ago, after migrating my website from Wordpress to Ghost, I next customized my homepage using the Ghost tutorial How to build a custom homepage. Ever since getting that; however, I'd been meaning to move the blog aspect of my site off the homepage to something more low key and change my homepage to feel more static. I tried off and on with not the best results and kept giving up before I truly got it. Recently; however, with my apps coming closer being published, I knew I couldn't put it off any longer and decided to just go for it. Here's how I created a custom working My Blog page with an infinite post feed on my Casper Ghost website.
My current version of Ghost, at the time I did this, was 5.82.3+moya while my localhost, where I tested things before pushing to production, was still back in 5.39.0,
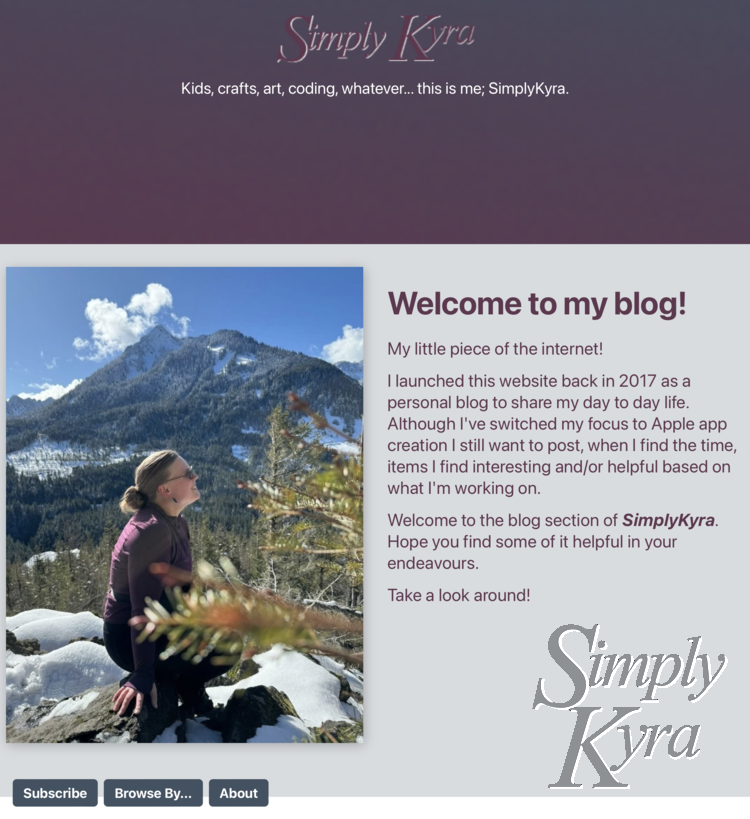
Previous Homepage
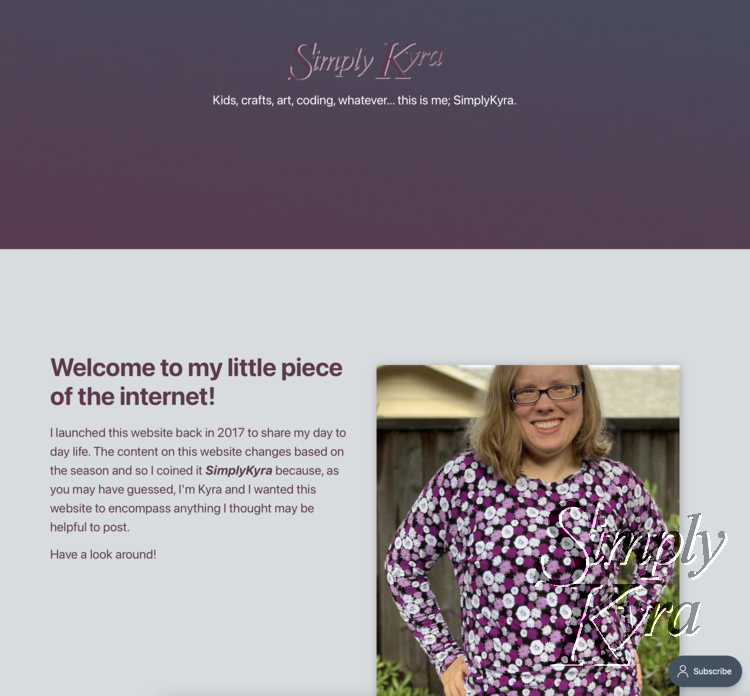
I realized when writing this I should share what the original homepage looked like but apparently I forgot to take some before shots. Thankfully by the power of the Wayback Machine I was able to get this image of how my homepage used to look:
Setting the Pieces Up
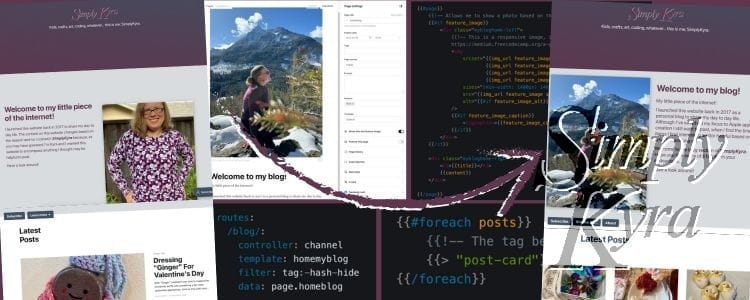
So many of these steps depend on each other so I did them concurrently first with the initial setup of each, tying them together, and then the incremental changes while monitoring how the front end was affected. To make this easier I’m going to split it up and explain each section before going over the exact handlebar code I used and the routing needed to tie it all together. That said, my process was more journey-like as I was missing several pieces towards getting the right results.
Don't think this was wham, done, yah! There were way more ughs than that.
Handlebar File
I started out similarly to how I created my custom homepage by creating a new handlebar file within my theme code and started copying sections of the code I liked from my currently existing custom home file into this new one. Again, in case you want similar code, the tutorial I followed the first time to create my custom homepage was Ghost's How to build a custom homepage.
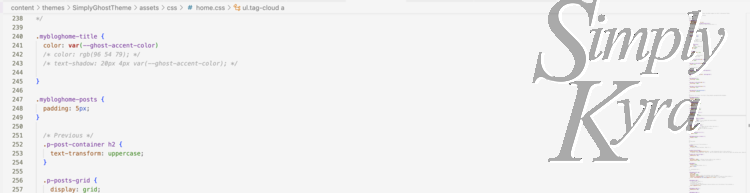
CSS
With the main structure set up and displaying I next went to the css to make it look good. After making minor changes here and there piecemeal I decided to simply rename the class names in my hbs file to separate it from the homepage css. This reset the look but I next wrote out empty class wrappers in the css for each new area before slowly copying over single lines to see if I liked what they did (keep) or not (don't use). This helped me better understand the code I had used from the Ghost tutorial a year ago so much better.
Page
At first I hooked this up to my website the same way I did before by pairing up the hbs code with the matching page on my website's frontend based on it's url. This allowed me to see my changes, on localhost for now, each time I made them. Other than the temporary aspect of seeing the code changes an additional aspect of using the page was the ability to use it’s data to customize the hbs page so in the future I don’t have to go into my theme code to change out something simple like the photo or text. By using the page I can simply go to the page editor to change out its cover image or update the page's content and have it reflected on the website without pushing any changes in the theme's code.
This data to hbs was later linked in the routing yaml below but for now using the same name worked to troubleshoot it all. Caution if going the yaml routing way in the future you don't want these names to match. The next section Quick Testing: Page Templates explains this.
Quick Testing: Page Templates
Right now this might not show up on your website as you haven't linked the handlebar code and css with your front end. Previously, for my category browse pages (Category Slideshow, Topic Tagcloud, and Recent Posts by Topic) I linked the hbs code with the website by creating a matching page and naming them the same. In the case of Category Slideshow the page in my theme is called page-categoryslideshow.hbs which dictated the page I created to match needed a matching url too so it needed to be www.simplykyra.com/categoryslideshow/. Now when I go to www.simplykyra.com/categoryslideshow/ it shows the page-categoryslideshow.hbs code which uses {{content}} to show the Ghost editor page's content.
This is how I started the connection but later, when I was having trouble implementing the infinite post feed, and was working in the routes.yaml file I decided to switch to using only the YAML routing method instead which meant the page and hbs names couldn't match.
Final Put Together With YAML Routing
To hook it all up I used the routing yaml file found in the Ghost settings.
Where Is It?
To find this routing file you'll need to go to your domain and type in /ghost/#/settings/labs afterwards. In my current website, running version 5.82.3+moya this looks like so:
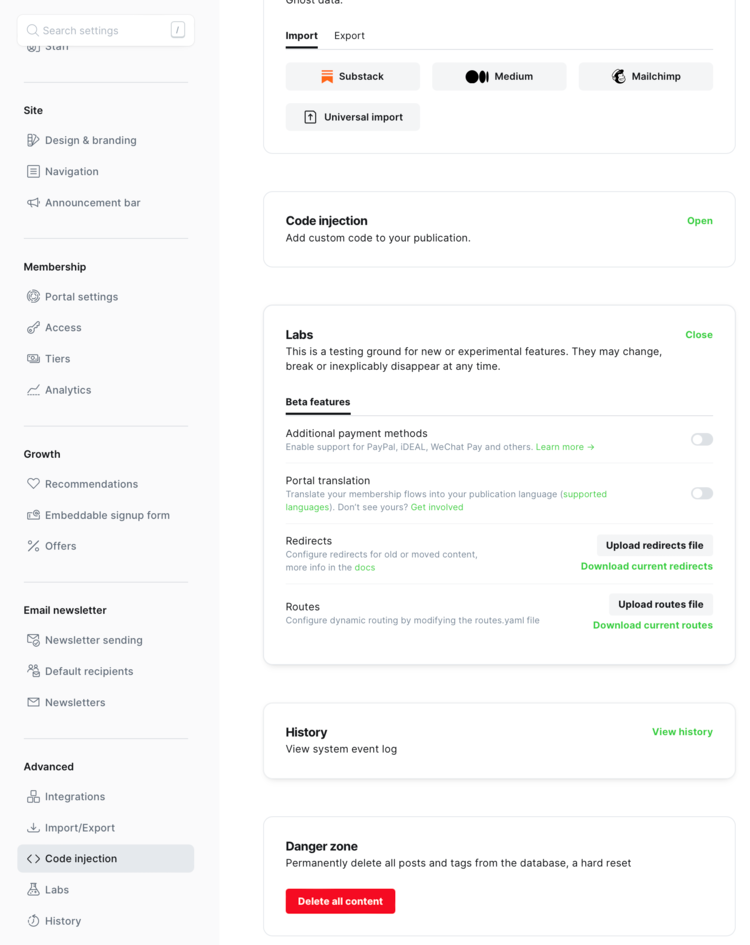
Labs section with the beta features including Routes below it. Here, beside Routes, is a bolded button to upload the file and below, in green, you can download the current version. Basic Configuration Explained
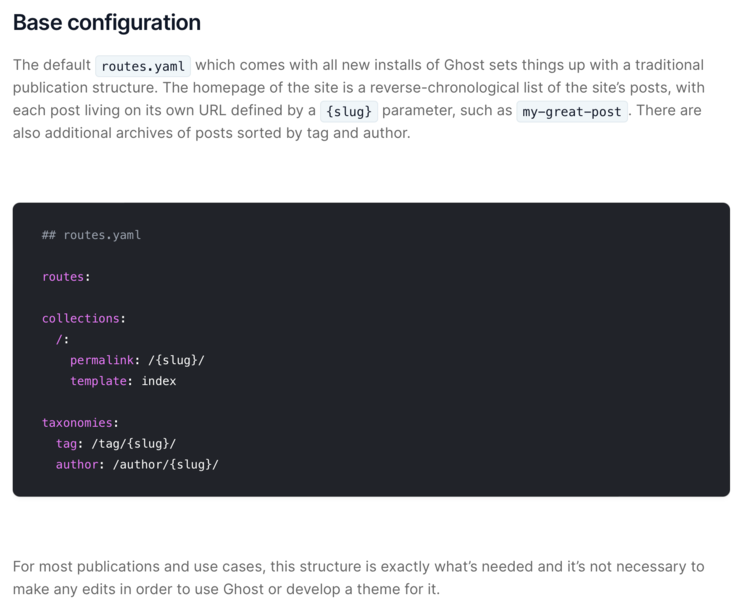
The basic configuration, shown and expanded on in Ghost's URLs & Dynamic Routing, shows the routes section of the routes.yaml file being blank by default. Then it goes on to show the collections section where each post will show up as domain/postURL (shown with the permalink as the {slug}) while using the handlebar file named index.hbs to dictate how it's shown. Below that is the taxonomies where they show how the post tags show domain/tag/tagName for each tag url and, for the authors, has domain/author/authorName. In all cases {slug} stands for the url portion of what it's standing for be it the post, tag, or author.
What I Added to Tie It All Together
Here's is the routes portion of the yaml file showing what I entered, keeping care to use the proper indenting, to hook up the url domain/blog/ I wanted, the posts I needed controller, the display dictated in the handlebar file homemyblog.hbs, the post filtering to hide the hash-hide ones, and using the data in my page homeblog.
What I Did Explained
More in depth this section needed to begin with:
routes:Then, after a newline and a tab in, we show what url this routing is for. In my case I want this to be shown when I go to simplykyra.com/blog/ so I remove my domain from the text and simply put /blog/ in:
/blog/:During this entire process I had trouble duplicating my infinite post feed I had on my home page. There were several parts that needed to work together and this controller one is pivotal. I'll let the Channel section of Ghost's URLs & Dynamic Routing explain this:
A channel is a custom stream of paginated content matching a specific filter. This allows you to create subsets and supersets of content by combining or dividing existing posts into content hubs. The best way to think of channels is as a set of permanent search results. It’s a filtered slice of content from across your site, without modifying the content itself.
So here I put this:
controller: channelAnd followed it up with a filter to hide any of the internally hidden posts:
filter: tag:-hash-hideSince I wanted to use my homemyblog.hbs to dictate how this looked I set the template to point to this file with:
template: homemyblogAnd since I used a Ghost page to customize the top of my page, meaning I could change the content in the top part without needing to go back into my theme's code, I wanted to keep that working by assigning where the data was coming from. Specifically I checked my page, confirmed and/or set it's url to homeblog, and then came here and put:
data: page.homeblogUnlike when using page templates you now need to have different names set for both the handlebar filename and the page's url... hence the removal of my in the above text.
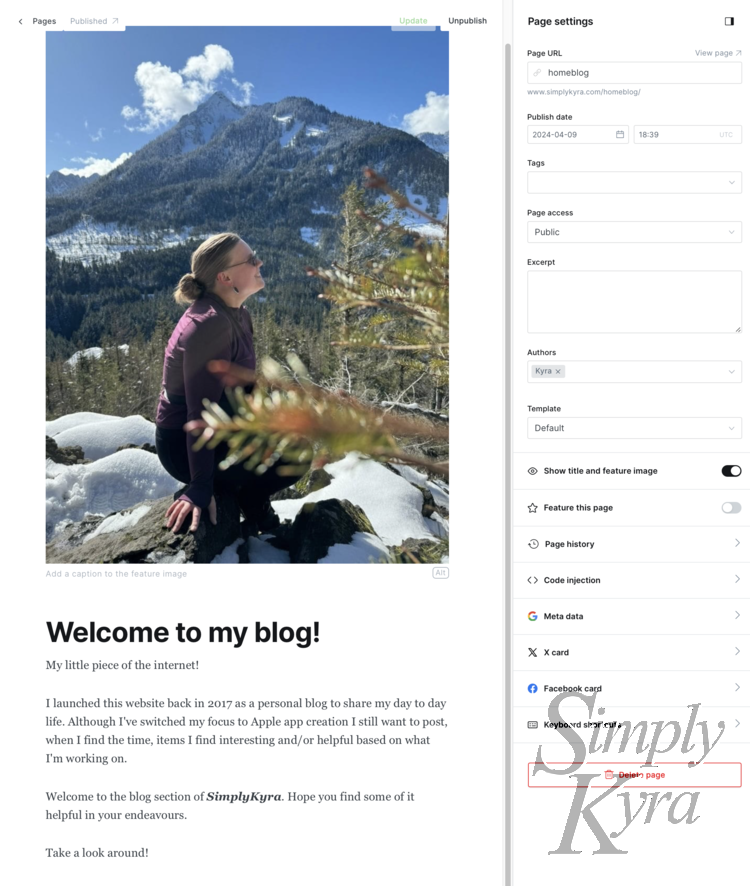
Ghost Page
With the switch from the old way of linking the page and hbs code to only using the YAML routing method done the only change I had made to the Ghost page from the above section was making sure the two names (page url and hbs filename) didn't match.
Handlebar Code
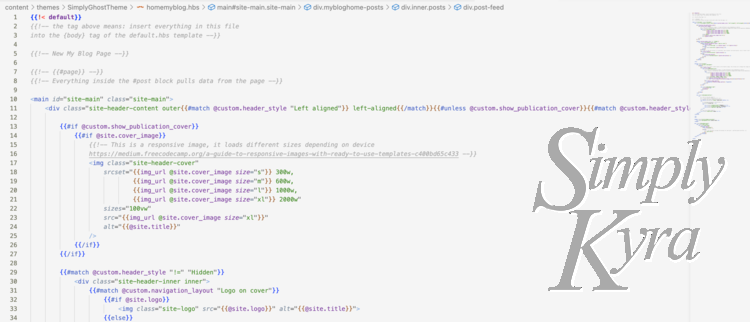
I'm not going to show the entire file as that's just big and ungainly but I will share the parts that matter most for this post.
Using The Data
To use the data you need to encircle the section that's using the page's data with the page tag so: {{#page}} ... {{/page}}. My main problem with this was I put it around the whole file so my infinite post shown below the shown data wasn't working. I had to make sure to only put those tags directly around where I was using the page's data and nowhere else.
Here's the page-specific section of my handlebar file where I displayed my feature image, using {{feature_image_caption}} to display the caption if it is set, showed my {{title}} in a header, and my {{content}}.
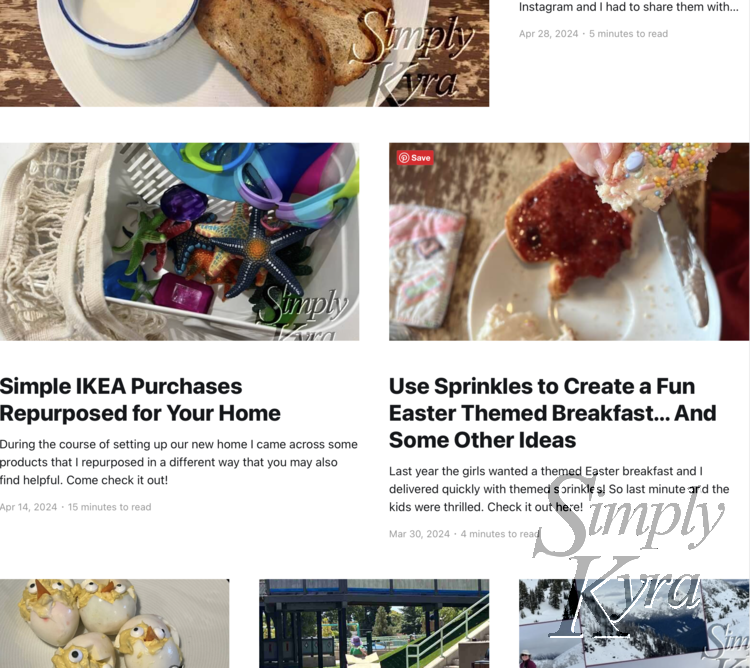
Now I can change my page homeblog at any time and have the title, feature image, image caption, and/or content updated, showing up on my simplykyra.com/blog/ page immediately, at anytime without needing to go into the theme code at all. It will look different based on your css but mine looks like:
Infinite Post Feed
The actual code for the infinite post feed is so simple once I figured out both the yaml and to not surround everything with the {{#page}} ... {{/page}} tags above. I then spruced it up a bit with div tags and classes around it but the code is essentially just:
So simple!
One More Issue
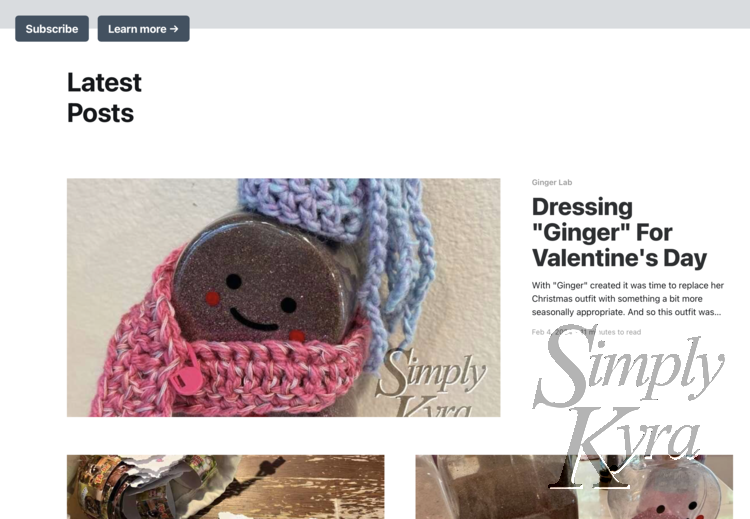
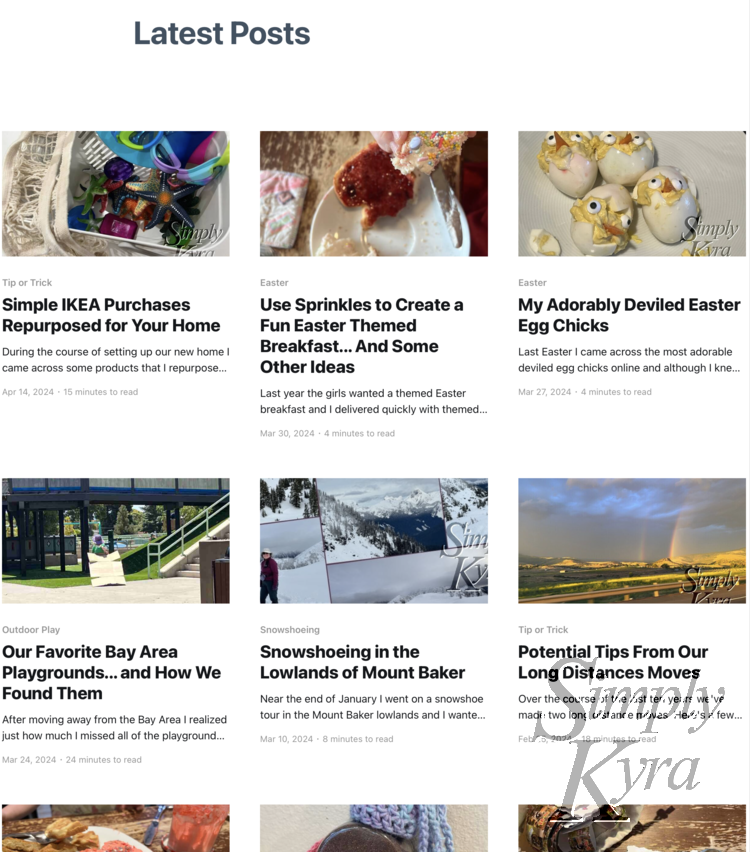
At the time I was so happy that the post feed was infinite like the homepage had been but I was also disappointed that it wasn’t displaying like my homepage was. I love how the Casper Ghost theme shows my post feed with a single post on the first row, two posts on the second row, and then shows a grid of three across for all the remaining rows.
I had been hoping to recreate that on my blog page but I decided I was spending too much time on it and it appeared to be, based on my understanding, tied to the theme's specific internal css and the fact it was the homepage... which my page no longer was. I ended up deciding it wasn't worth spending more time on it right now. Instead I made sure to keep some posts on my homepage so I could enjoy both layouts but if you know a way to duplicate the layout off my homepage without breaking my current setup I'd love to hear how to do it! Feel free to share below or email me at mail@SimplyKyra.com.
With that I bid you adieu and hope that you’re having a great day.
If you’re interested in getting any of my future blog updates I normally share them to my Facebook page and Instagram account. You’re also more than welcome to join my email list located right under the search bar or underneath this post.