
I Sewed Up Three Free Face Mask Patterns and Here Is My Takeaway
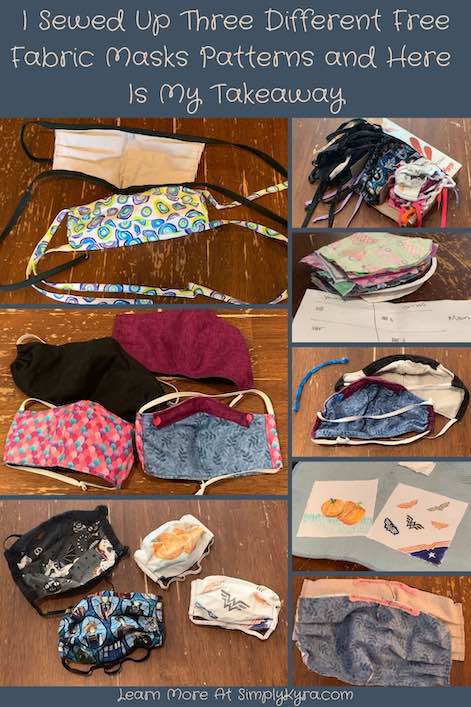
Over most of 2020 I’ve kept debating whether or not I should share anything about fabric face masks on my blog. Masks themselves seemed controversial, at first, over whether we should or shouldn’t wear them and then on whether or not we should sew our own version up. When fabric face masks were first being sewn I was scared I’d sew an unsafe face mask causing someone to get ill while wearing it. Over time I started realizing that we’re going to have to wear masks when we leave the house and luckily, as I was realizing this, I came across a sewing pattern for a mask that I wanted to try for my family and I. After a bit I tried another pattern and then expanded out to sew a couple of face masks for a few of my friends. Before COVID-19; however, I had been attempting to sew through my woven fabric stash so by the time I started sewing our own fabric face masks I didn’t have a lot of woven fabric left and it was hard to order more online. With many months having now past, woven fabric and elastic being more readily available, and Halloween having just happened (as I created matching masks for my kids’ costumes) I figured now was the time to share the masks I did make with you in case you’re also looking at making different custom masks whether it’s to match a specific outfit or for your own day-to-day use.
Putting on a Face Mask
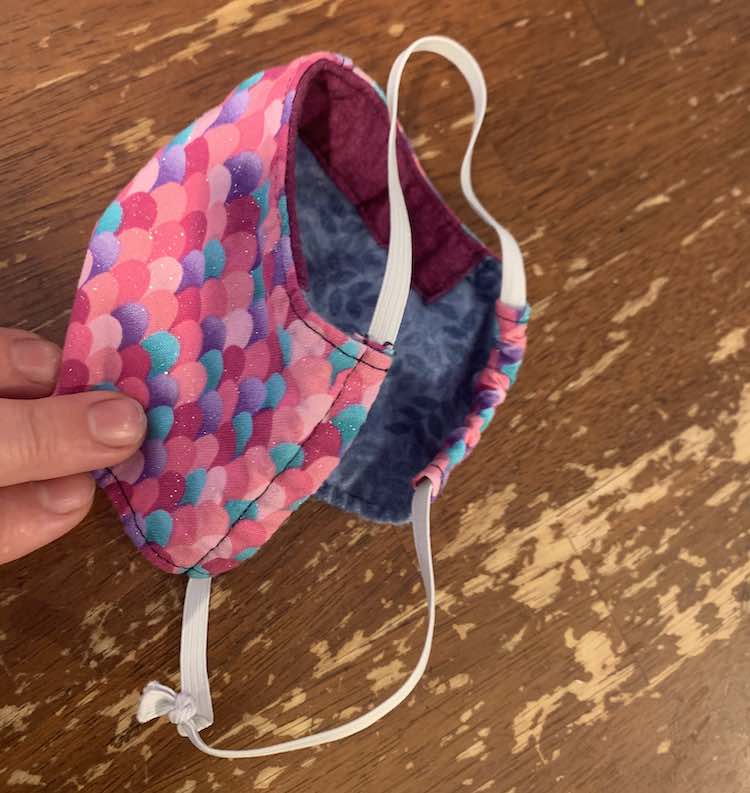
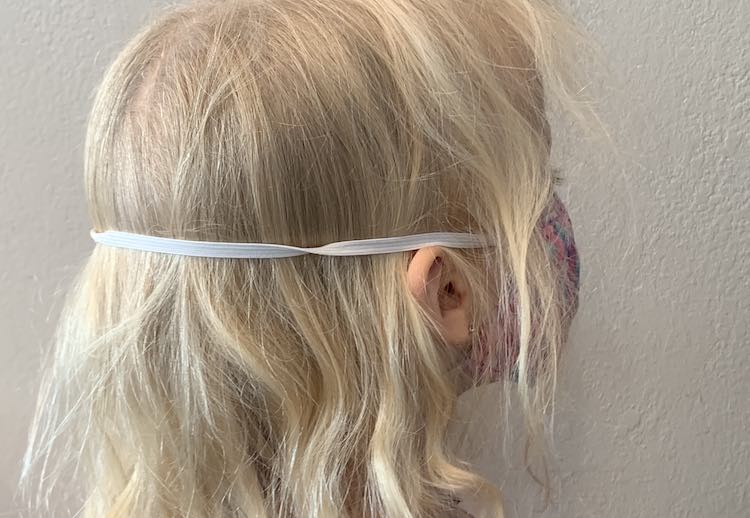
Before going into the face masks sewing patterns I sewed I first decided to show you how we wear our face masks. Most images you find online of store-bought face masks have small loops of elastic extending from either side to go around the ears to hold them on. On Facebook, in the sewing groups, I heard that the elastic around your ears might hurt them over time so I decided to customize ours using a single long stretch of elastic that can, instead, loop around the back of the head rather than just the ears. To do this I made a mask with channels going up either side of the mask which I then used to thread the elastic up through one side of the mask and then down through the other. Before trimming or tying the elastic I then sized it on the person to confirm the elastic was long enough while still making the mask stay flush against the face. Once the mask is on there’s a lower band that goes around your neck, stretching from your jaw, and then a higher band reaching from the two upper corners of the mask, trailing over your ears, and then looped around the back of your head. I’ve started putting my hair in ponytails so I can rest the upper elastic over top of the pony and I don’t have to worry about it slipping off my ears. Thus one of the many reasons I’m almost always wearing a ponytail now.
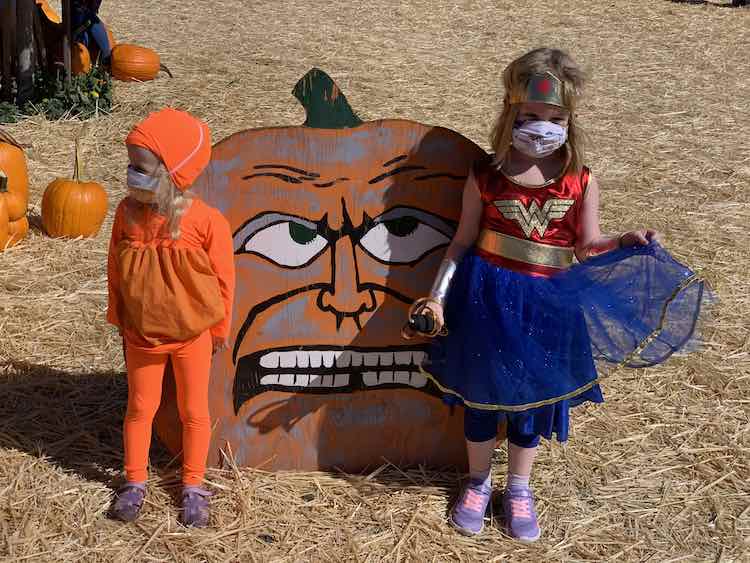
While taking photos of the masks I quickly had Zoey model how she wears her mask for you. She had just finished eating breakfast and we hadn’t had a chance to brush her hair that morning yet.
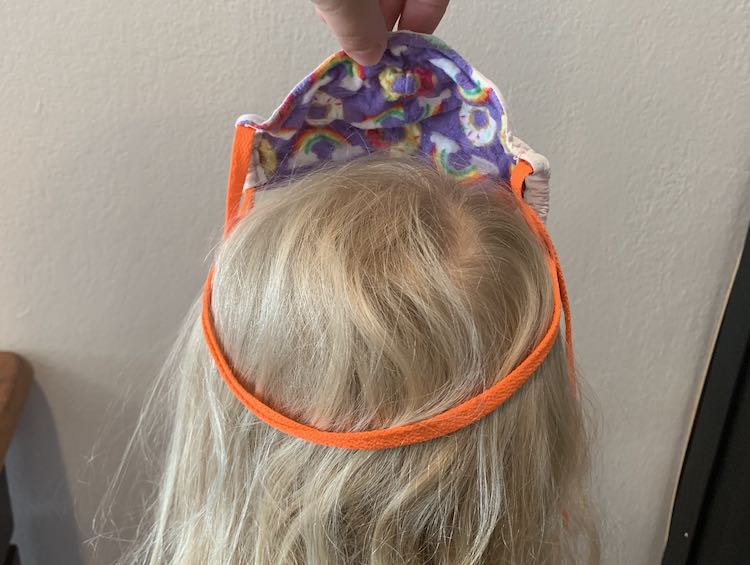
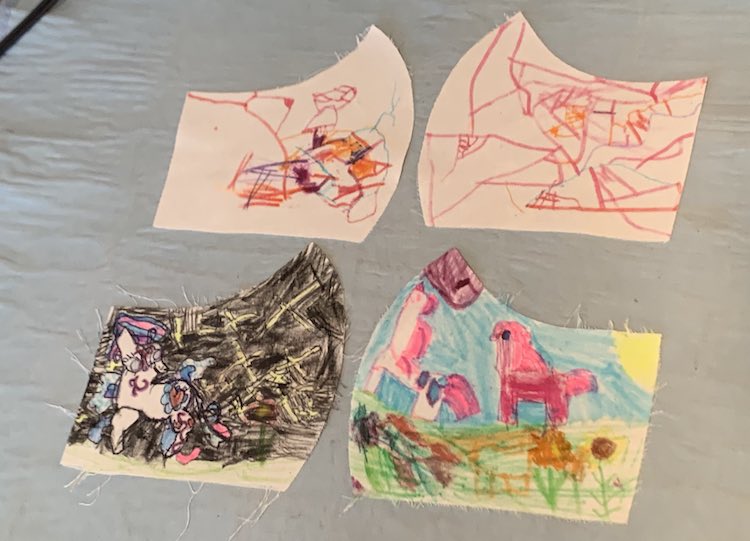
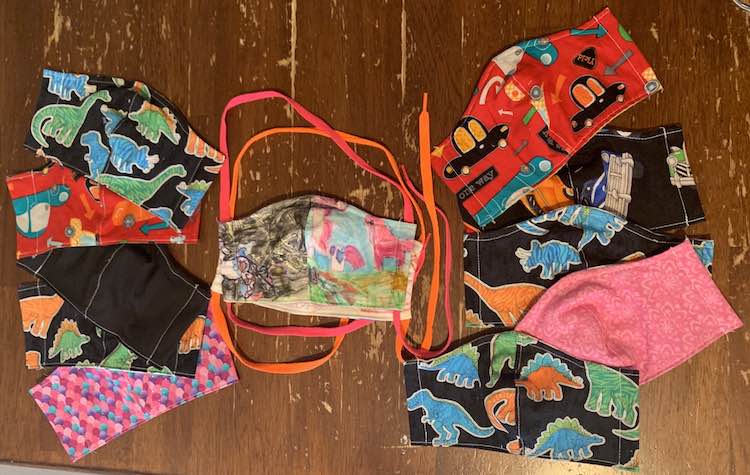
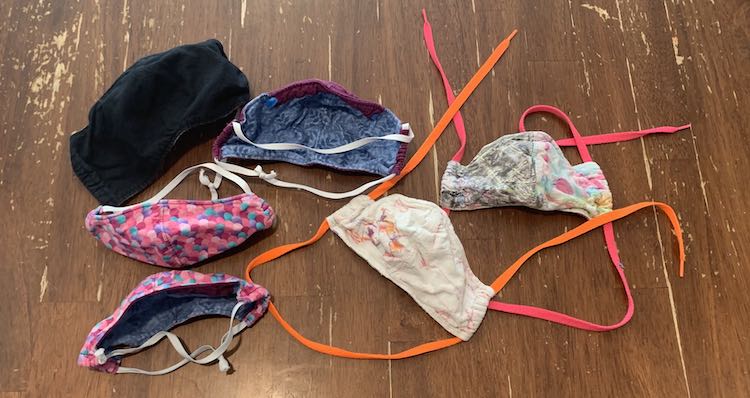
If you’re making a mask with the side channels but don’t have or want elastic you could also grab something else to tie the mask on. Several years ago I bought a multi-pack of neon shoelaces, from Amazon, for sensory play ideas which I mostly didn’t get around to (other than a couple quiet book pages: bumblebee threading and tying shoelaces) so I still had several pairs left. When I heard you can use shoelaces for the masks I jumped on it and I love this alternative idea. For this set of masks the kids were able to doodle with fabric markers on the outer fabric, before I sewed it together, so funnily enough the neon colors seemed to match and worked perfectly with them. When I first tried these masks on the kids I threaded it so the loop was at the top and the loose ends were coming out of the bottom. Once the kids wore it I quickly realized it worked much better with the loop at the bottom instead. This way I can loop the mask on and once it’s around the neck I can easily tighten the two ends and tie it over their hair. I did have one issue so far, which I don’t know if I should blame on the hair or the shoelaces themselves, but I find the top loop frequently falls down and the mask gets loose so I have to keep an eye on them and their mask and be ready to tighten or fix it if needed.
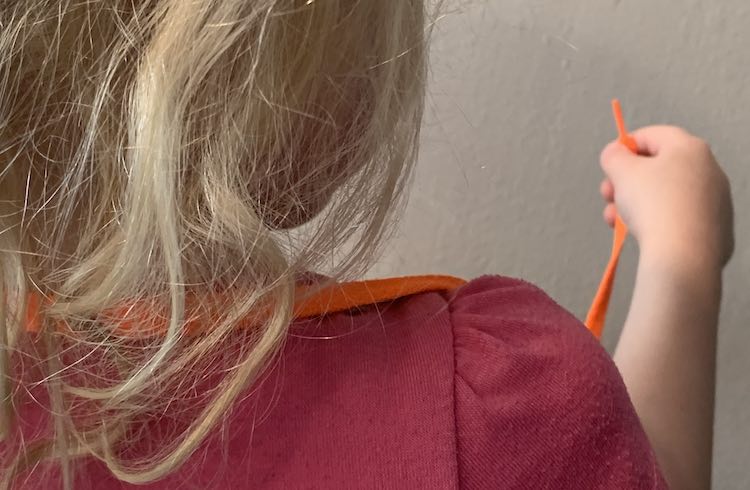
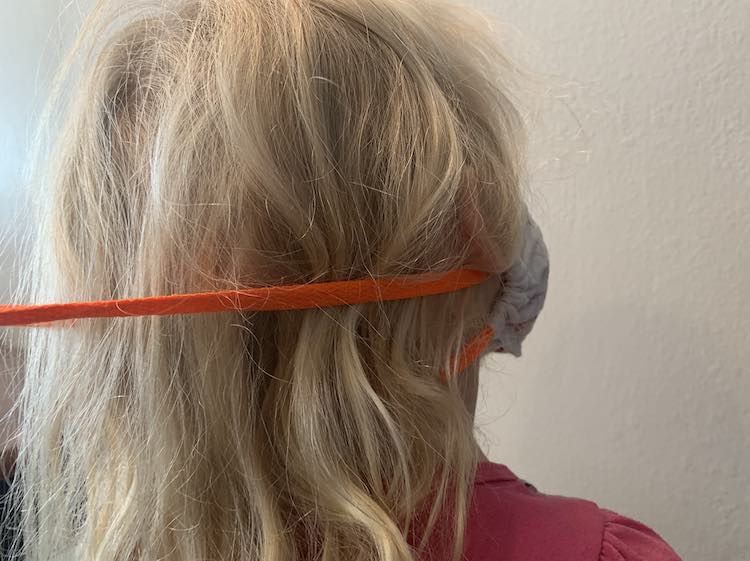
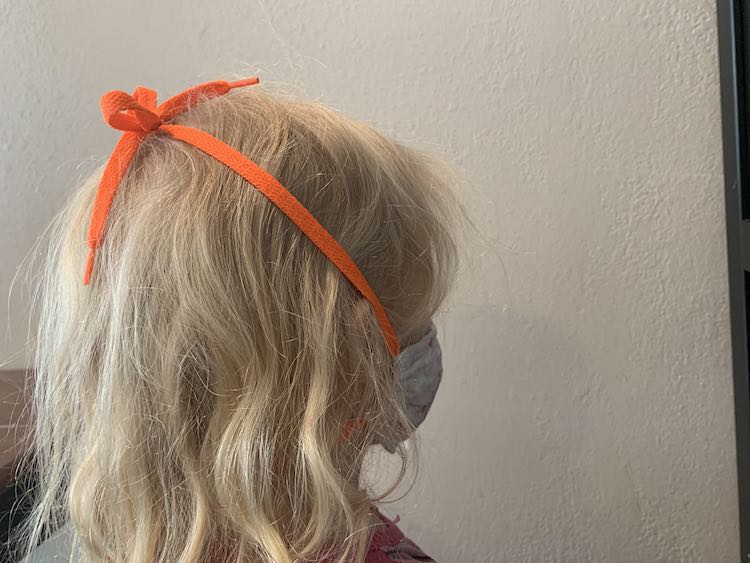
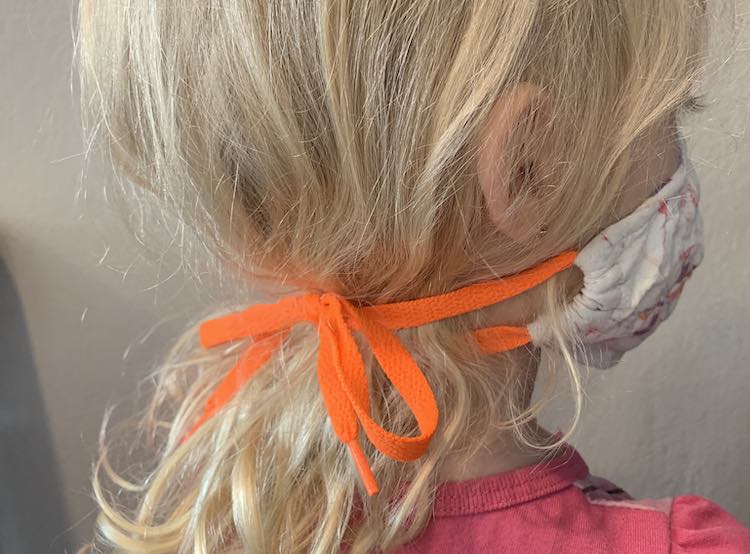
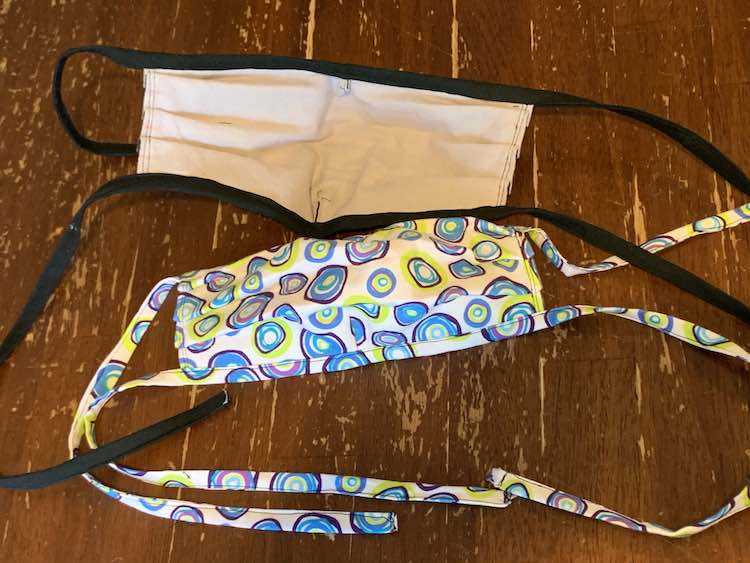
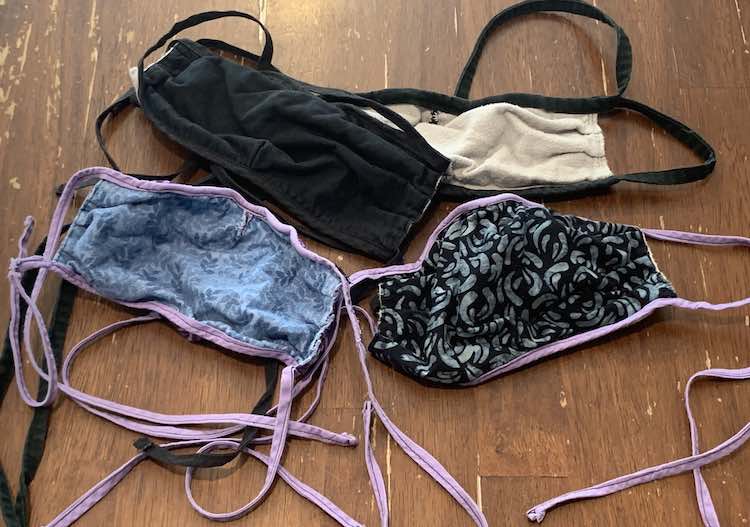
Some of the mask patterns call for bias tape that goes over the top and bottom of the mask. In the case of the below mask the bias tape is extended from all four corners so you can easily change the tightness of the mask each time you wear it, like the shoelaces, which would not work with elastic. Like with the above mask the lower bias tape would tie at the nap of your neck, under your hair, and then the top would tie at the top of your head, over your ears or ponytail.
Face Masks
Before going over the fabric face mask sewing patterns I used I wanted to mention the fabric. There are many studies out there on what masks are best and what fabric and filters are best to use. I ended up using the woven fabric I had sitting in my fabric stash from Joann’s Fabrics; although any 100% cotton with a tight weave seems to be recommended. I wanted it to be apparent which was the outer layer and which was the inner layer so they wouldn’t get confused so I used the smoother quilting cotton for the outside and the fuzzier snuggle flannel (thin and fuzzy on only the patterned side) for the lining against the face. I ended up only using two layers of fabric but two of the below patterns include an optional opening for a filter and you could always double up the fabric, while following the instructions, if you want more layers. Just be prepared to have to sew through more fabric if you do that.
Craft Passion
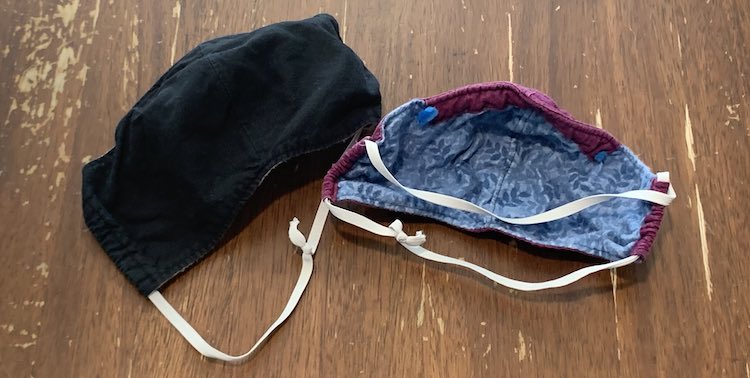
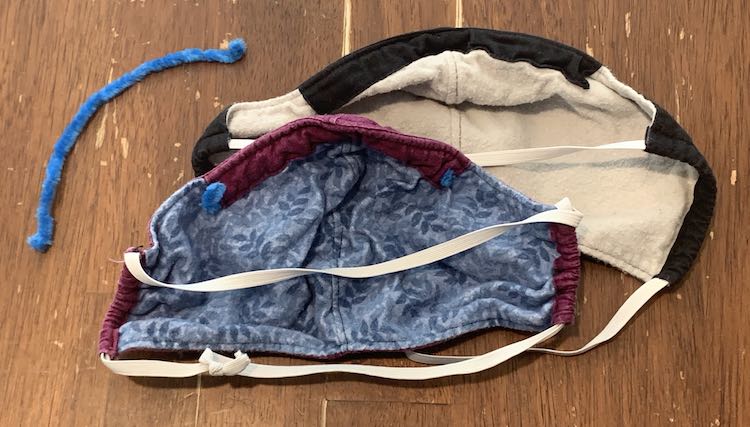
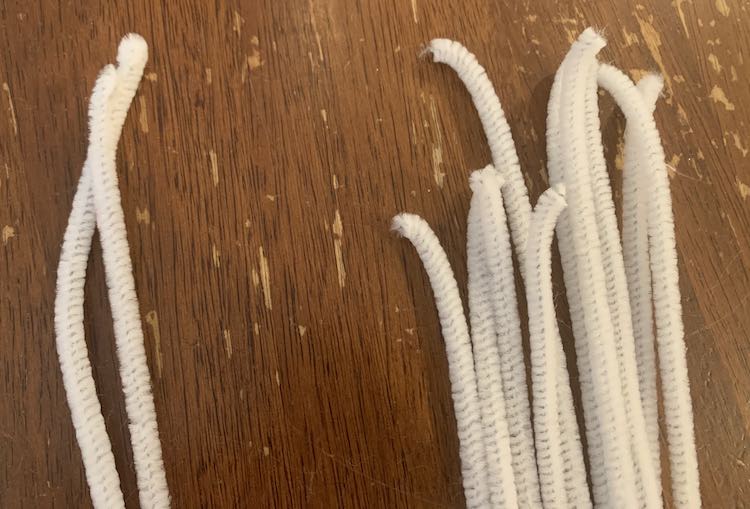
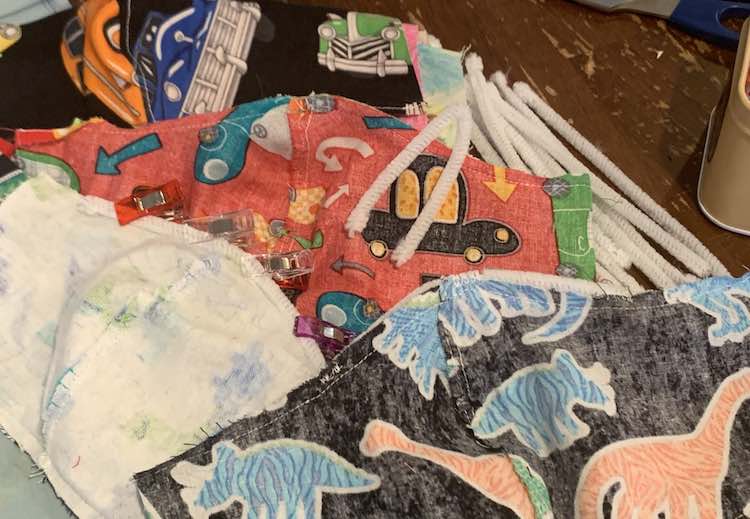
The first mask sewing pattern I chose to try out was The Face Mask Sewing Pattern through Craft Passion back at the end of March. It comes with the option for a filter opening, which I skipped, and an added channel for a nose wire, which I included threaded with a halved pipe cleaner once I finished. I absolutely loved how it fit at first and loved that our family now had a mask each that we could use if, and when, we left our house. Matt found it not to be roomy enough so a couple weeks later I tried another pattern, shown below, with pleats for added room. At that time I still preferred my Craft Passion one over the new mask but over the next couple months decided I liked having more room than the Craft Passion one offered. As a quick aside I later discovered a Craft Passion Face Mask Support Group on Facebook that has so many people loving the pattern and willing to help if you have questions. Inside that group there’s also files for different mask options, located under Files, and I was, for a while, debating trying the bat wing mask that so many people in the group were raving about. That said I love how this mask takes less fabric and doesn’t need bias tape, as it makes a channel, letting you choose if you want elastic or some type of cord to hold it on. A couple weeks after the first batch I chose to make several more kid-sized face masks and thus chose to use this pattern again. The kids have since gotten a mask with a third pattern yet still love these original masks. Just a heads up, in case it matters to you, but this pattern does have a vertical seam going up the center of the mask so if you want to stay away from a seam there you might want to find another one.
The DIBY Club
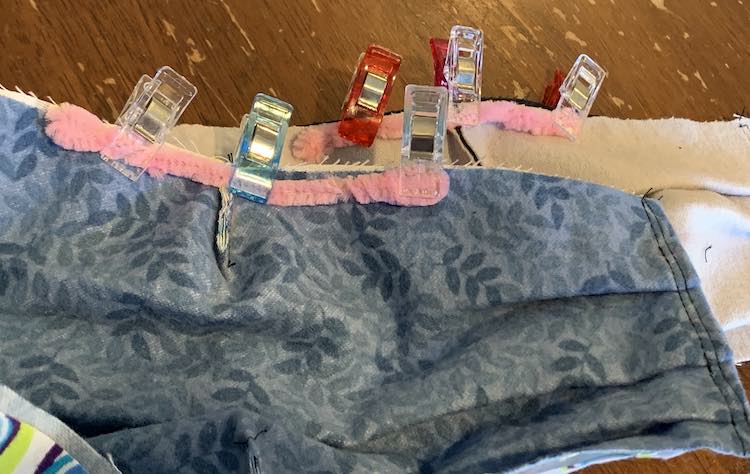
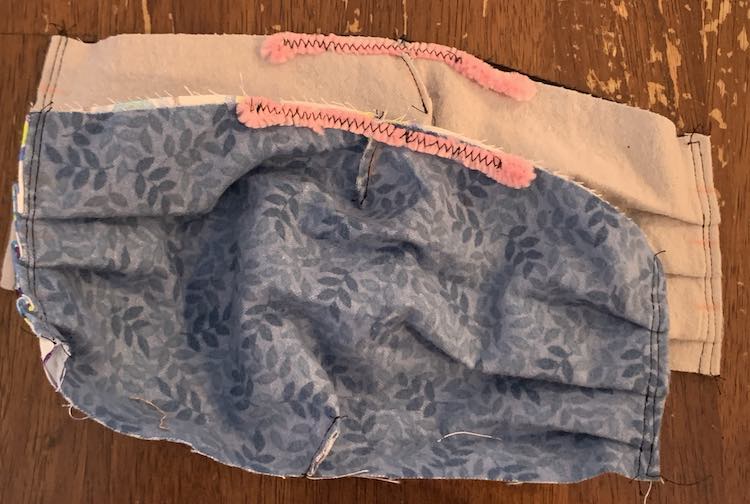
Mid-April I decided to try The Fabric Face Mask pattern through The DIBY Club (Do It Better Yourself) which Matt absolutely loved. At first I preferred the Craft Passion one but over time I grew to prefer the space offered in this one through the use of the side pleats and two darts. This pattern comes in kid sizes but I never did try it out for the girls as they loved their earlier masks. Like before I used halved pipe cleaners for the nose wire but this time I started off by sewing the nose wire to the top before adding the bias tape to hide it. The first time I sewed this pattern I used my zigzag stitch along the length of the pipe cleaner to hold it in place before sewing the bias tape on around it. I later realized my pipe cleaner, and not Matt’s strangely enough, broke in several spots the first time through the washing machine and I wonder, looking back, if I nicked the pipe cleaner with my sewing needle causing it to have weak points. The next time I sewed these masks I ended up only sewing the pipe cleaner down at the center and either end so there was less chance of nicking it. Unlike the previous and next mask this one doesn’t offer an opening for a filter but you could easily double up the fabric if you want to use more than two layers; although be sure you’re sewing machine can sew through the pleats with more layers added first.

Iris Luckhaus
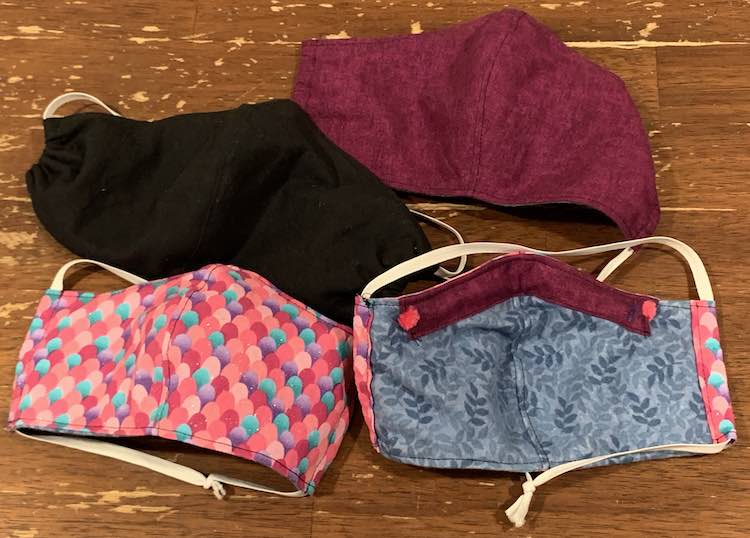
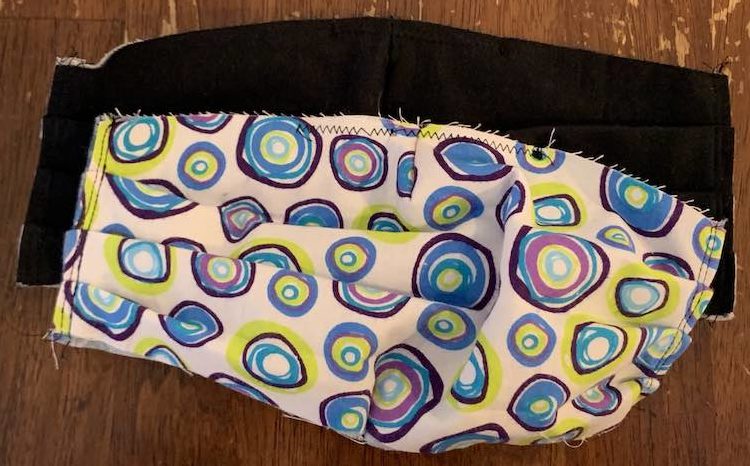
I found Iris Luckhaus’ face mask sewing pattern back in September and absolutely loved the idea of it. The pattern showed detailed instructions that looked slightly complicated although she had already added a new page showing an awesome tutorial with tons of photos by the time I came across it so once I justified jumping in and sewing it the pattern was super simple to follow. I first made one for myself and it was immediately my favorite mask. I had been thinking of making my kids new face masks to match their Halloween costume choice so I justified making more and quickly cut and sewed four more assembly style; as I included myself and Matt in that set. This pattern has it all including the construction to tuck around your nose to minimize the glasses fog I hate, a simple channel needing no extra fabric in case you choose to use a nose wire in the future, pleats to add extra space inside your mask, the ability to lay flat for storage and if you want to iron it later, and side channels at the sides to help cinch the mask around your face. My whole family loves the mask and I always make sure to keep the two I made for myself on top of my mask pile so I can use them as often as I can. With the backwards pleat around my nose I hardly ever have to deal with my glasses fogging. I also love that the channel for a nose wire was so simple to add that it seemed easier to add it rather than skipping that step; although I haven’t tried to thread a nose wire in mine yet. I only made one minor change to the pattern. The first time I sewed it up it was simpler to include the opening in the mask for a filter, rather than sew it closed, although I hadn’t ever used a filter yet. I noticed with the opening that there was a raw edge that could potentially unravel and although it hasn’t happened yet it still bugged me knowing it was there. To combat that the next time I sewed up the mask pattern I made sure to serge the bottom edge of the two pieces, making sure not to cut any off, before following the instructions so I didn’t have to worry about any unfinished edges at the end. I also love how this pattern comes in several sizes and you don’t have to worry about checking layers on or off. The size of the pattern changes based on how you print it off. Specifically if you print it at 100% it’s for a size medium (ladies) and fits me great. For Matt I printed it off at 110% (size large) and although the edge went off the page it still worked out great. For the kids I only remembered there being an option for older kids (aged 8-12), by printing it off at 90%, so when I sewed it up I guessed and chose to print the kids at 80%. Checking the website now I see a chart partway down including the XS size for 4 to 8 year olds going up to the XL size at 120%. I’m not sure if I just missed that or if it was updated since I last looked. Either way the 80% print off worked great for both Zoey and Ada (4 and 6 years old). The additional thing I loved was that you can adjust the fit with the amount of elastic you use after you sew the mask up. I make the elastic go around the back of our head and the first version I made I cut the elastic almost too small so it fits tighter to my face compared with my second mask. Looking at them now you can see the tightness in that first mask where the only change was the elastic length.
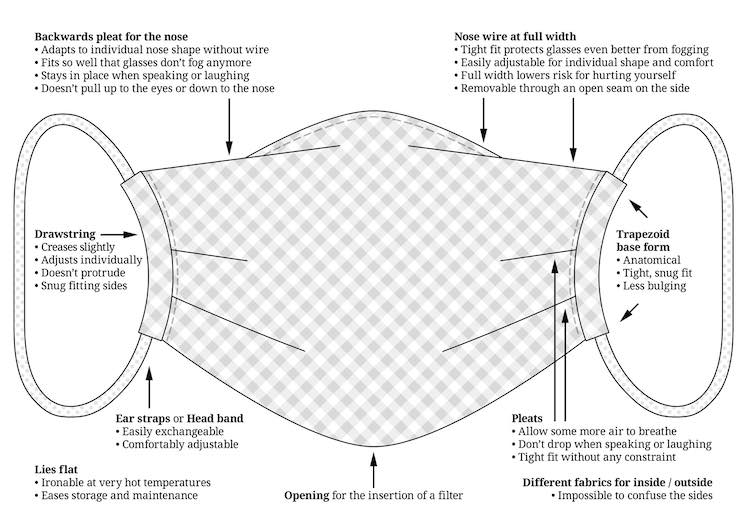
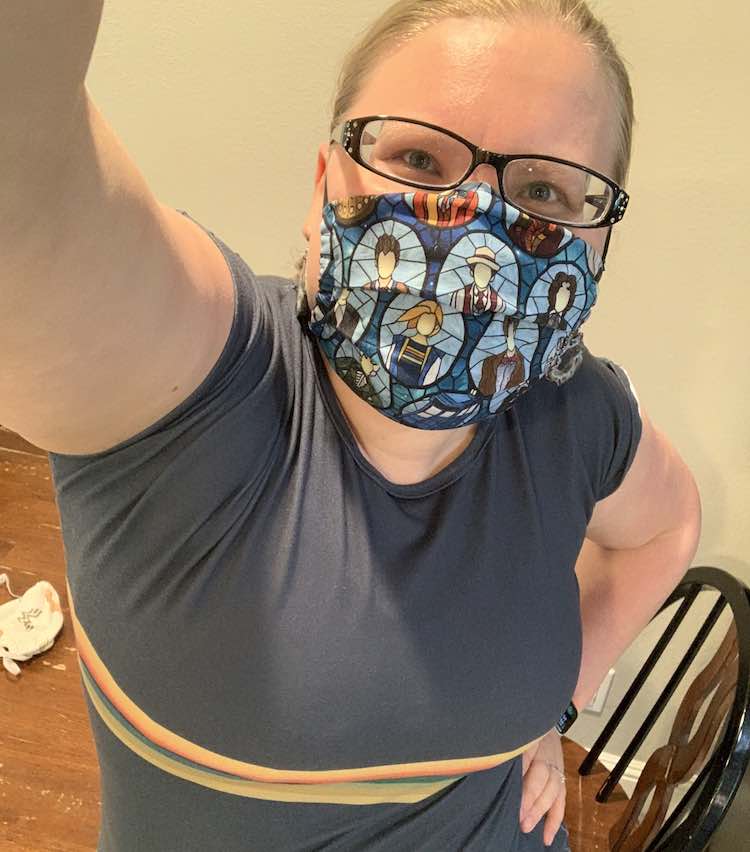
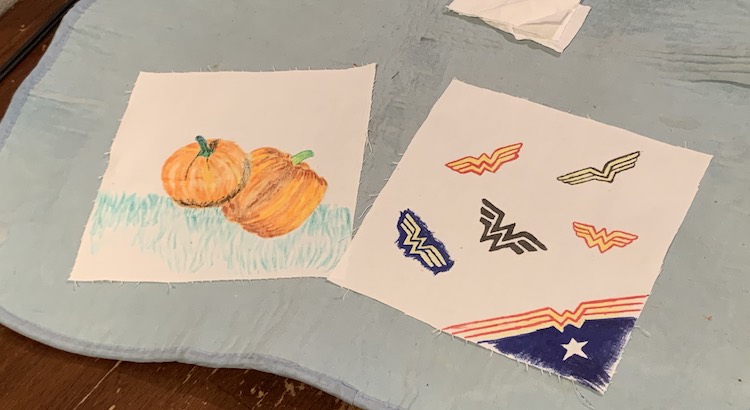
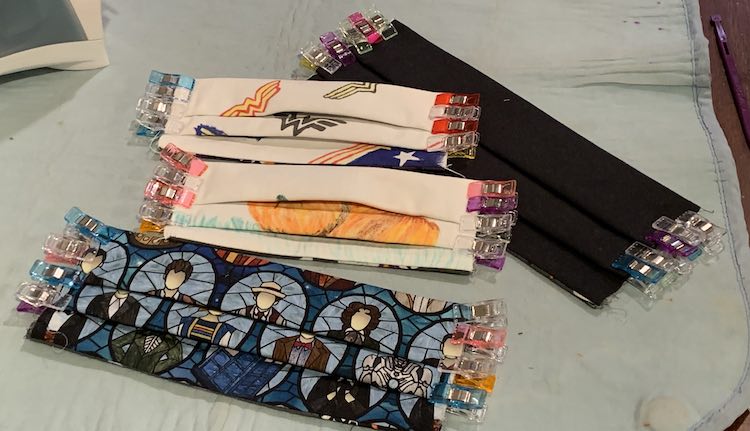
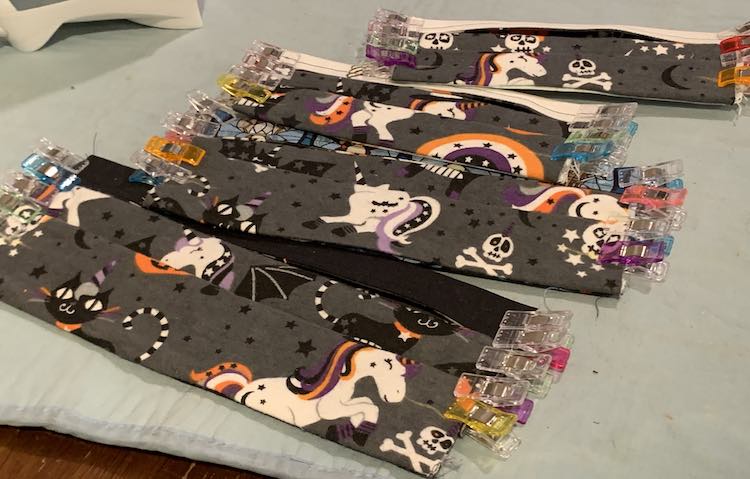
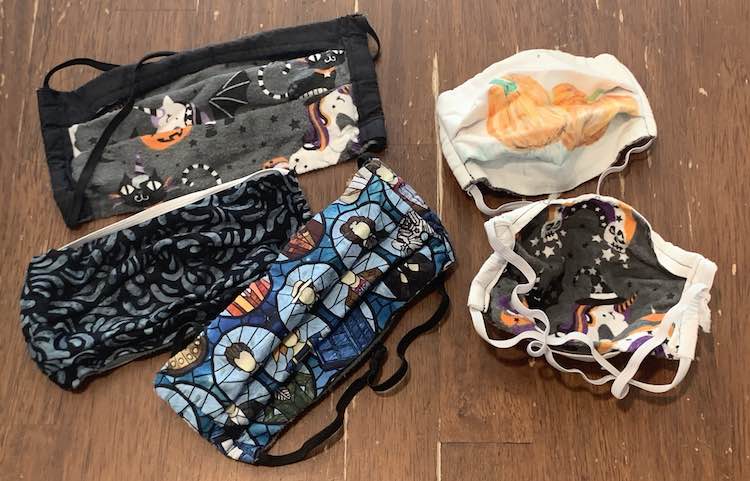
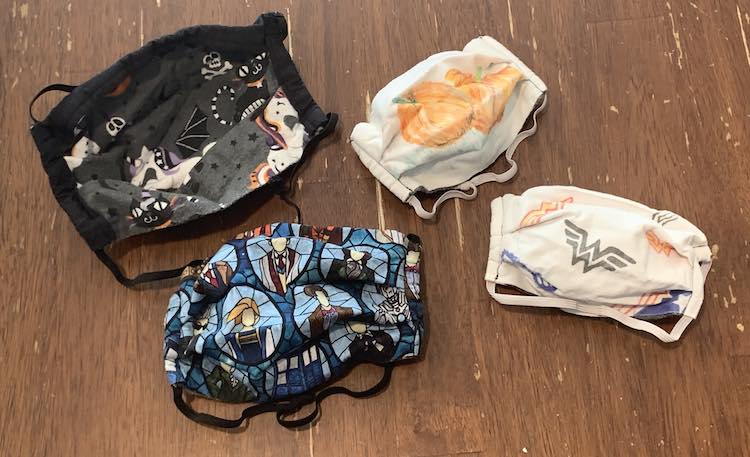
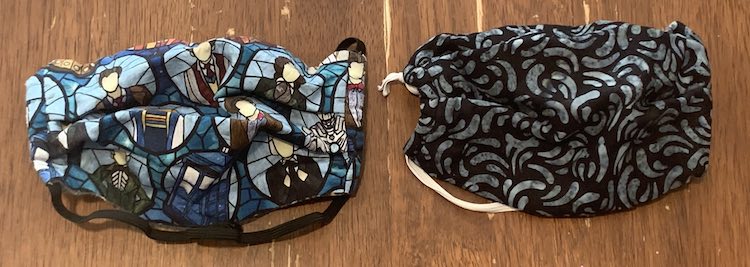
Hands down this mask pattern, through Iris Luckhaus, is my absolute favorite one and I can definitely see sewing so many more in the future. It does take a bit more fabric, especially when comparing it to the smaller Craft Passion one, but I absolutely love how it fits and that it stays in place when you talk.
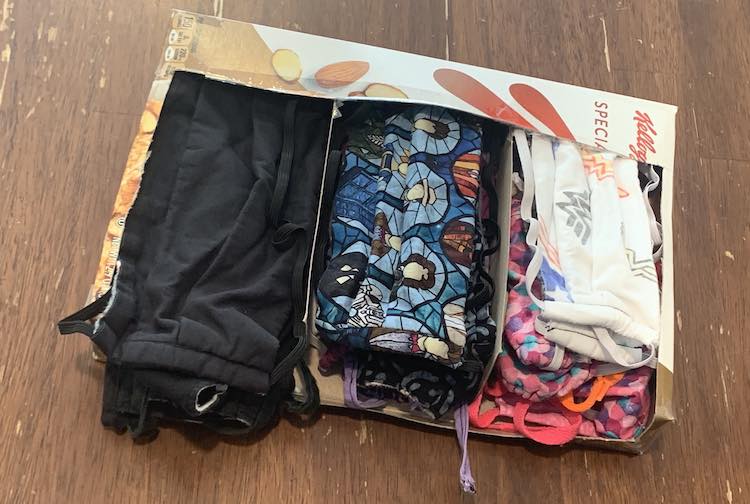
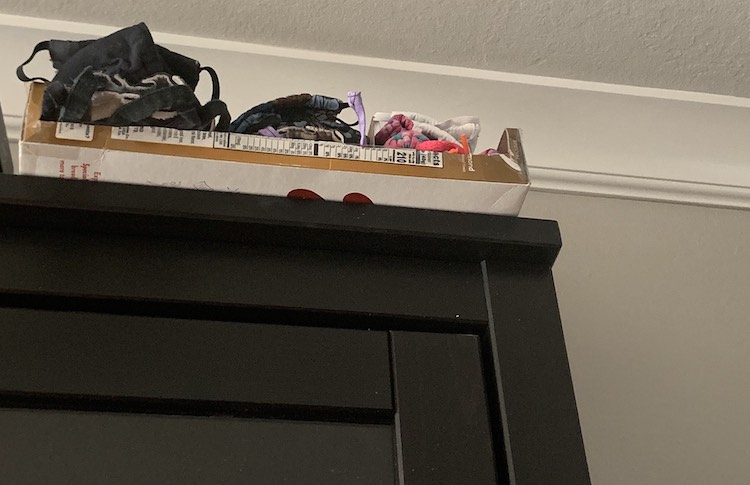
With so many masks I’ve had to come out with an organization attempt so it would be simple to grab the right mask, when needed, and also be easy to put them away. I ended up making my own organizer, blogged about the cereal box upcycle here, so I could easily keep Matt’s, mine, and the kids’ masks separate from each other. It works perfectly and, once they’re washed, I’ve been making sure the favorite masks are at the top to be used the most. I ended up putting the whole organizer on top of our cabinet, by the front door,
Have you made your own fabric masks? If so what patterns did you love and did you use the same fabric as me or something else? I’d love to hear about it in the comments below. Hope this helps you out and that you have a good week.
If you’re interested in getting any of my future blog updates I currently come out with a new one every Wednesday and share them to my Facebook page and Instagram account. You’re also more than welcome to join my email list located right under the search bar or underneath this post.

