How We Made Our Tasty Ice Cream Cupcakes
This year Zoey requested ice cream cake for her birthday party and as I always serve cupcakes I ended up turning our go-to recipe, taken from Princess Pinky Girl and their Copycat Dairy Queen Ice Cream Cake, into cupcakes! It was so simple and I was able to use the excess ice cream I thawed to make a small cake I surprised them with much later.

Background
For the last several years the kids wanted an ice cream cake on their birthday which started with, the first year, me making it before they quickly took control over the cake themselves. These cakes included:


The original recipe I used, if interested, was taken from Princess Pinky Girl's blog post: Copycat Dairy Queen Ice Cream Cake.
This year Zoey requested the cake for her party and as I normally just do cupcakes, simpler blowing out candles and dishing, I used the recipe as cupcakes instead and got the opportunity to use my new silicon cupcake tray I had recently bought. That said I think it would work just as well in a regular muffin pan with silicon liners too.
Making It
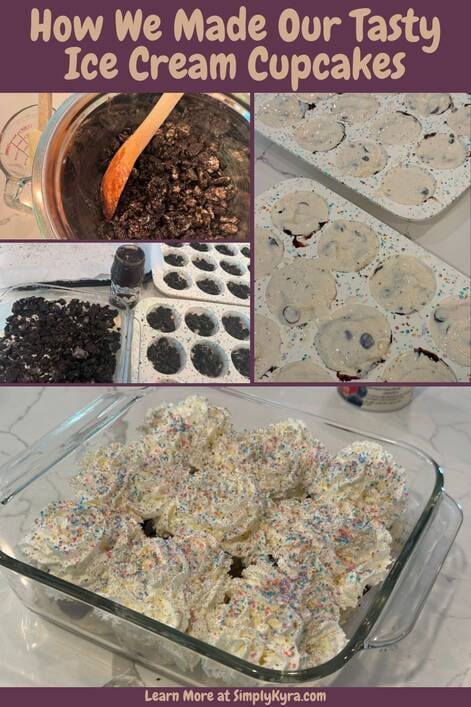
Just like when making the cake version we started with crushing Oreos, mixing it with melted butter, and baking the mixture to re-harden.


Unlike with the previous cakes Zoey chose to have mint ice cream by combining Costco plain vanilla ice cream with Girl Scouts Thin Mint Bites we also bought from Costco. I wasn't sure about the bites' size so I tried to crush them like the Oreos before deciding to just individually cut them.... I can't remember if I cut all of them or stopped partway through but either way the resulting ice cream was great. On that note I love how we can make this cake so different just by the ice cream flavor or add-ins.


Once the ice cream was a bit thawed I mixed it together with the broken Bites before placing a spoonful in each cupcake slot and flattening it out. I realized I had a lot of ice cream so I put some in a small square glass casserole dish to surprise the kids with later. With that first layer done I placed them in the freezer to set along with the leftover ice cream so it didn't melt too much.
Once set it was time for the center layer. I tossed a lid-less jar of chocolate fudge sauce in the microwave to soften, pulled the trays out of the freezer, and divided up the cookie bits amongst them all. I then used a spoon to add dollops of fudge sauce to each cupcake before microwaving a second jar for the center layer of the cake.


After I finished I put the trays back in the freezer to set while pulling out the rest of the mint-y ice cream to thaw on the counter. Dividing the ice cream between all the cupcake spots and the cake is the last step for the cupcake base before letting it fully harden in the freezer.


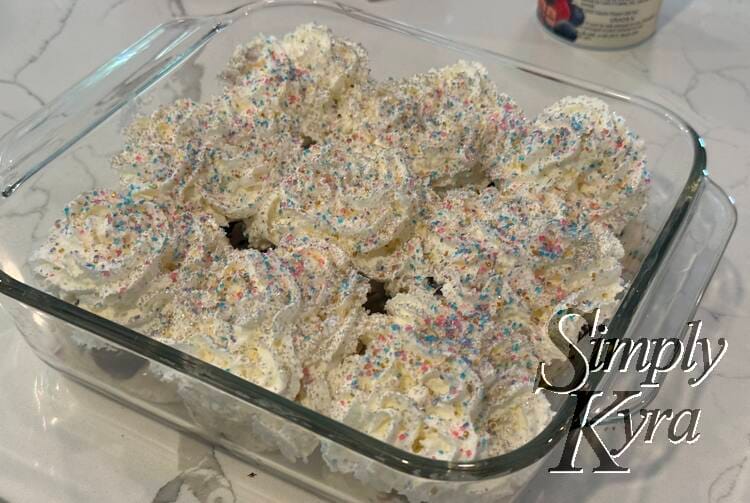
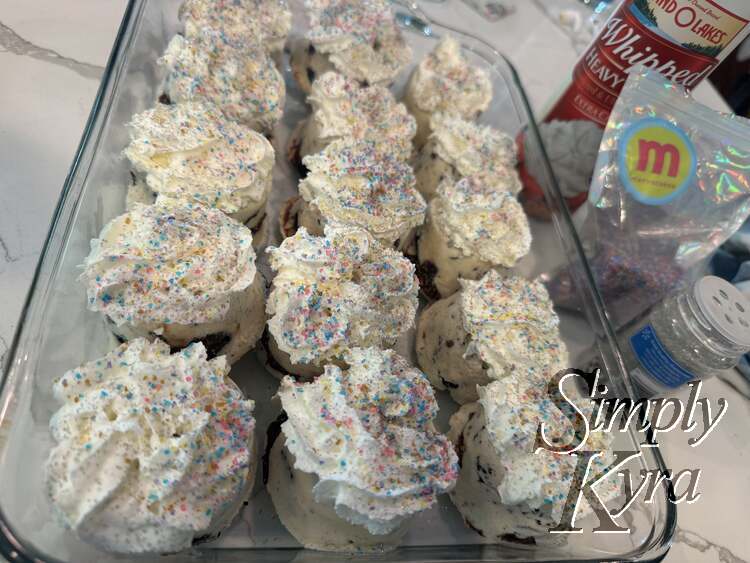
Normally I bring sprinkles and whipped cream to the birthday party mainly so it's simpler to store ahead of time but also so we can decorate according to the kids' preference. That said, this is ice cream cake so the whip cream needed to be frozen too! Thus after it was fully frozen I debated how to decorate them. Looking back I could've kept then in their silicon tray but I was also worried it wouldn't seal well so I transferred the cupcakes to a casserole dish, decorated them with whipped cream, added sprinkles, and then covered them with plastic wrap.


Word of warning they kind of stuck to the glass so debating next time either using removable liners or maybe just pulling them out five or so minutes before serving so they could thaw a bit. Let me know in the comments below if you have any ideas.
Since Zoey's party was in our home I didn't have to worry about transporting the glass casserole dishes or the ice cream thawing ahead of time. I simply pulled out the large casserole dish when we were ready for dessert, plated Zoey's with a candle, sang Happy Birthday, then dished all the other ones. We ended up not even using the smaller casserole dish so it stayed in the freezer until supper that night when we had another before moving the extra ones to a Stasher bag for longer term storage.
And as for the cake? I kept meaning on pulling it out but timing was never right especially as the kids knew about Zoey's leftover brownie ice cream cake so that was requested often instead. We ended up eating the cake itself about two months later. Looking at it critically the cake didn't look as nice anymore as the sprinkles and whipped cream had flattened a bit but it still tasted fine.
I hope this helped you out and I hope your week is going great. Let me know if you make this by sharing in the comments below! Also how did you or how will you customize it?
If you’re interested in getting any of my future blog updates I normally share them to my Facebook page and Instagram account. You’re also more than welcome to join my email list located right under the search bar or underneath this post.


