
Halloween Trick-or-Treating Bags
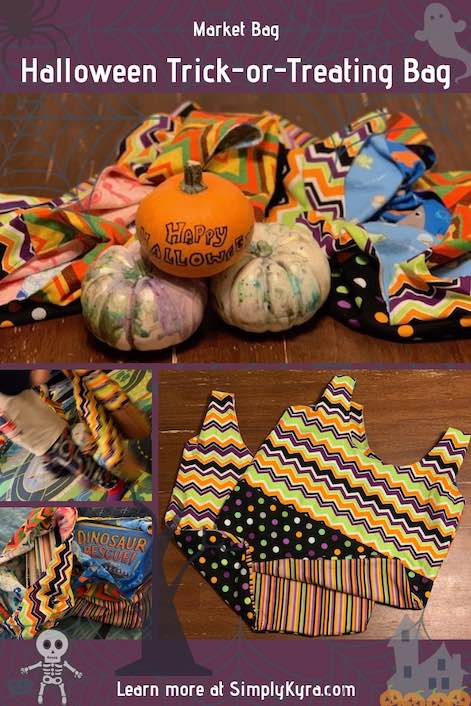
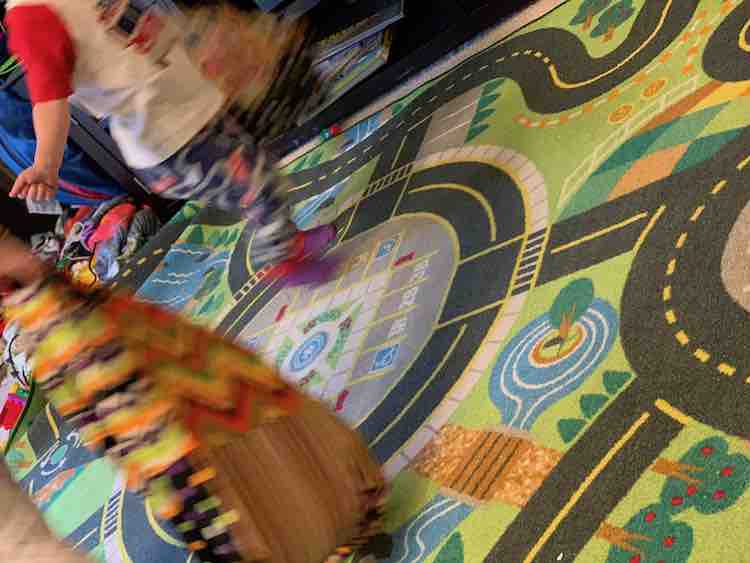
A week or so after completing my kids’ Halloween costumes I realized I didn’t have a bag for them to go trick-or-treating with. Last year I bought two drastically different pumpkin shaped baskets for the kids. They ended up becoming deck and playground toys. This year I had seen several Market Bags from Stitch Upon a Time on my Facebook groups and figured that would be the perfect way to go. Over the weekend the kids went trick-or-treating within in our apartment (a.k.a. filling up their bags with toys and transporting them), ran in circles while holding them, and Monday they were used as our library book bags. I love how these turned out and wanted to share it with you in case you’re also looking for a last minute trick-or-treating bag or for an all-purpose easy-sew reusable bag. These are durable and I don’t have to worry about them getting dirty as they are easy to wash or, worst case, I could just sew new ones.
Materials Used
- 6 100% cotton Halloween fat quarters I bought at Walmart last year. This would be enough for one bag but since I was making two I had the kids shop my fabric stash for the inside lining of the bags though the pattern says you can also use reuse old t-shirts or sheets.
- Sewing machine, thread, rotary cutter, and mat
- The printed and taped Market Bag pattern from Stitch Upon a Time
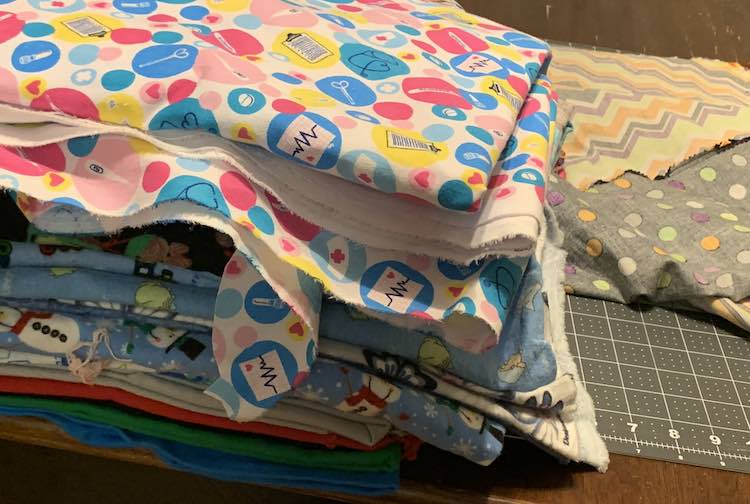
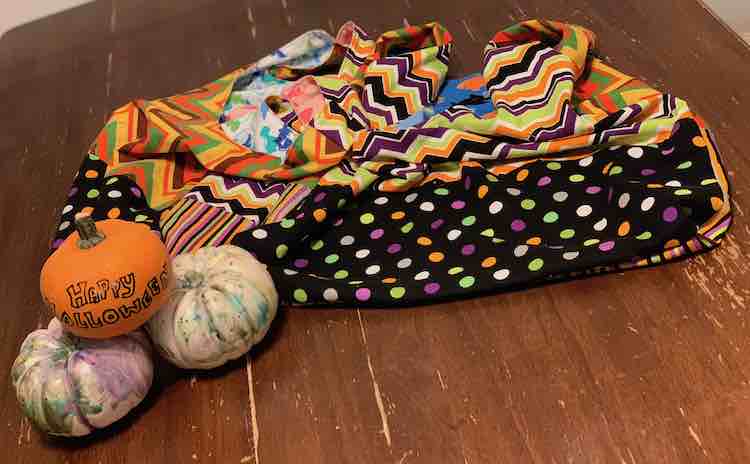
To design the outside of the bags I decided to use some fat quarters I bought on sale at Walmart last year. I had two ‘Halloween’ looking chevrons, two ‘Thanksgiving’ looking chevrons, one with polka dots, and finally one with stripes. I didn’t want the kids to argue over which bag they wanted so I decided to use all four distinct designs on each of the two bags. I started designing the bag layout by laying one of the fat quarters out on the Market Bag pattern to see how much of the pattern piece it covered. Since it covered just around two thirds of the pattern piece I decided to sew three of the fat quarters together so each side of the bag would be about one and a half fat quarters long (specifically two thirds of one of the duplicate designs and about one third the unique design). When you combine this with the back of the bag there would be all four fabric designs used so they’d have some of everything.
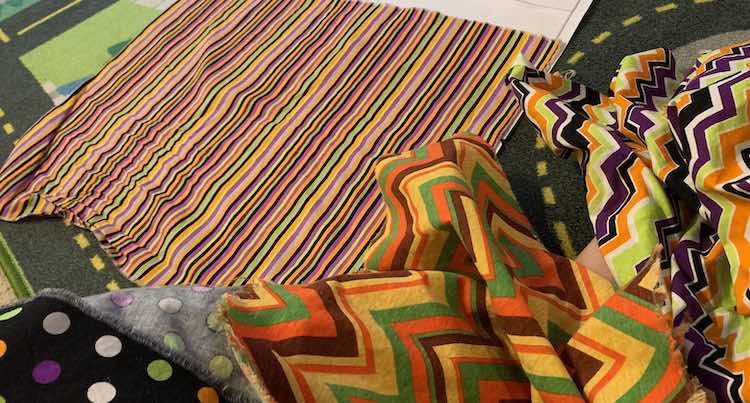
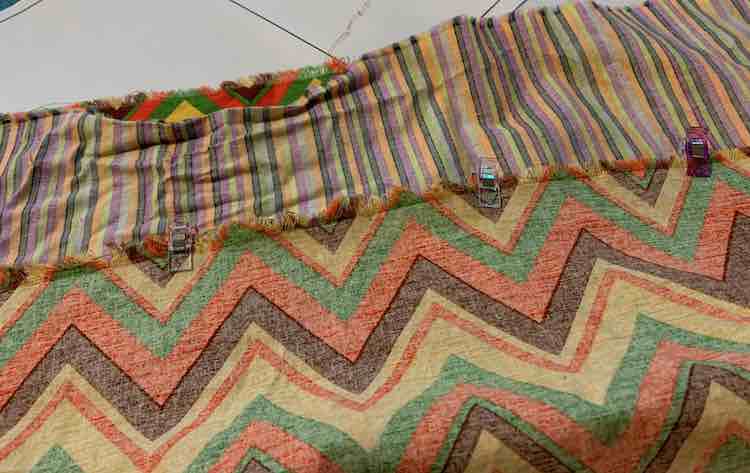
Since I wanted to half the single fat quarters (the stripes and polka dots) I sewed them to the duplicates so I had two sets of fabrics. I started by taking the striped fabric and clipping the one set of chevrons to one end and then the other chevron design to the other end. I did the same thing to the polka-dotted fabric too. After sewing where I clipped I trimmed the seam allowance with my pinking shears and then ironed them towards the center (or once sewn the bottom of the bag).
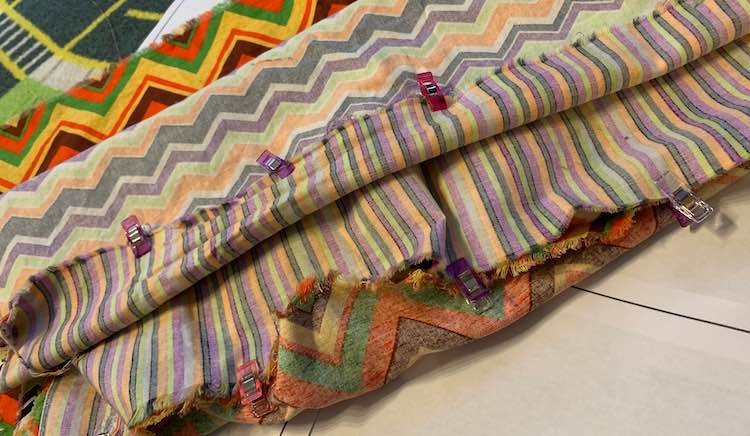
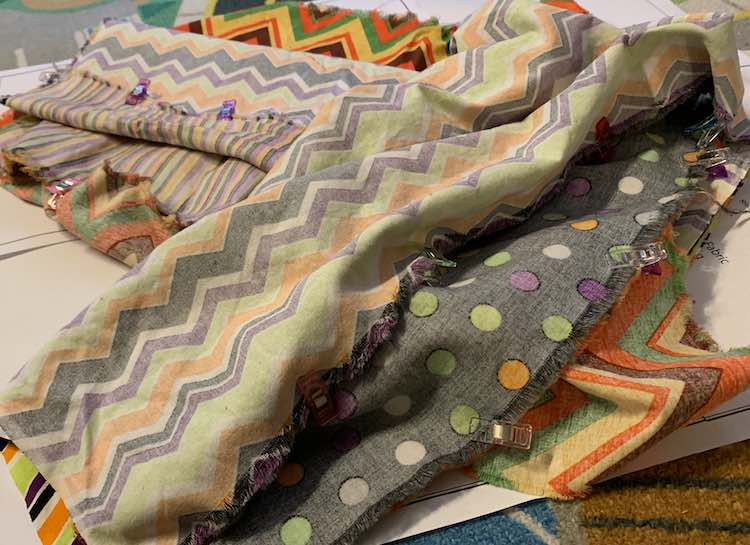
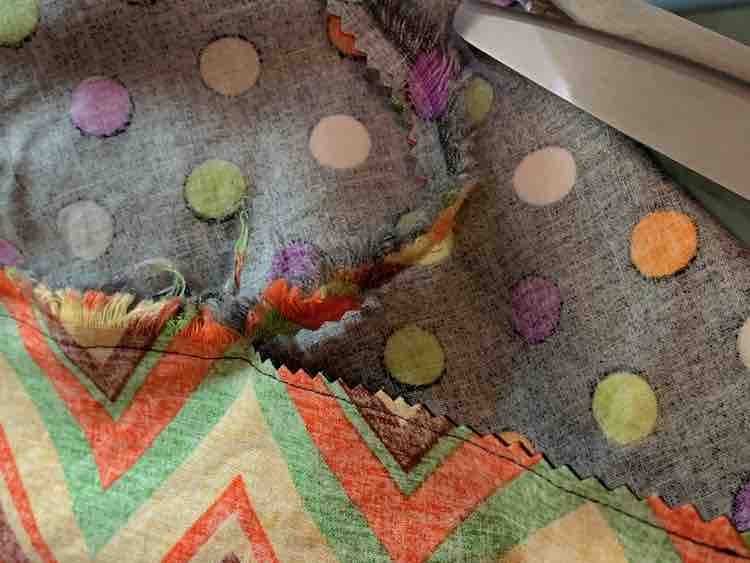
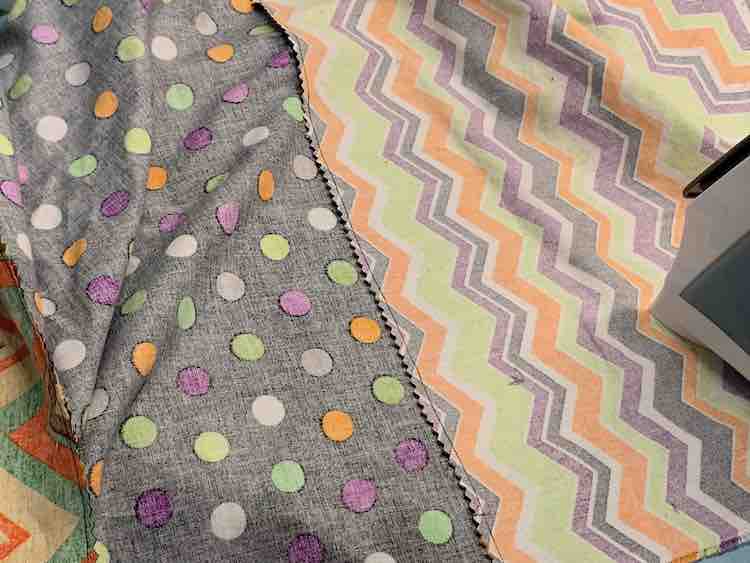
I then folded the fabric in half and stacked them on top of each other before laying out the pattern piece over top and cutting it out. If I was only sewing a single bag I would’ve been able to start sewing the bag now and had the perfect pieces for both the outside and inside layer. Since I was sewing two bags this was only enough for the outside of the bags.
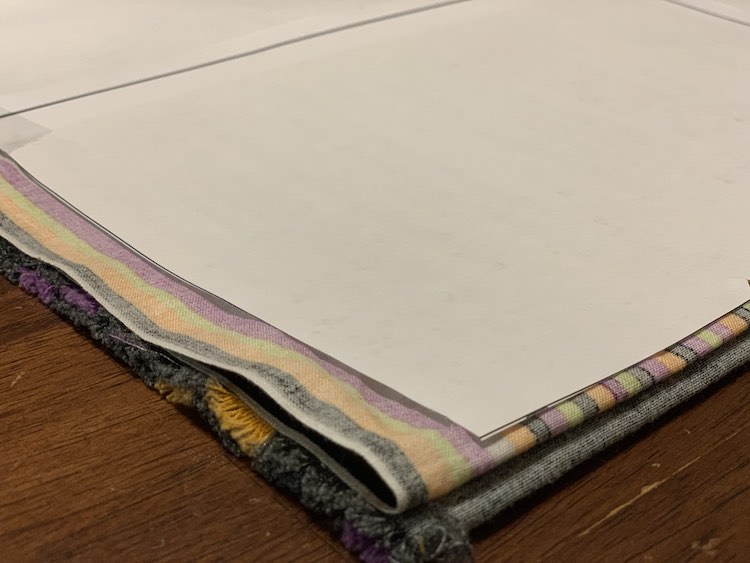
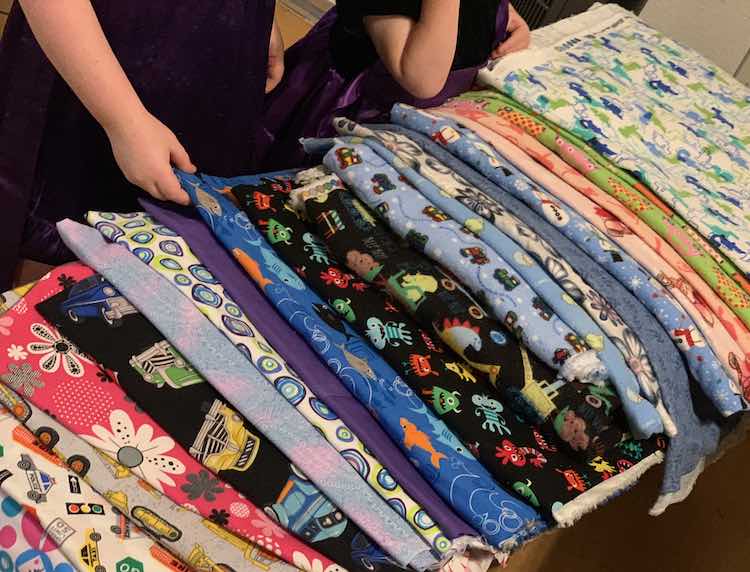
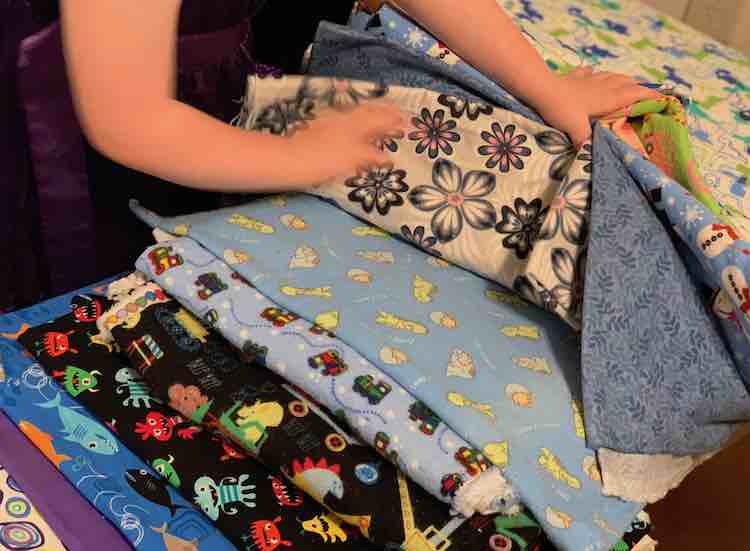
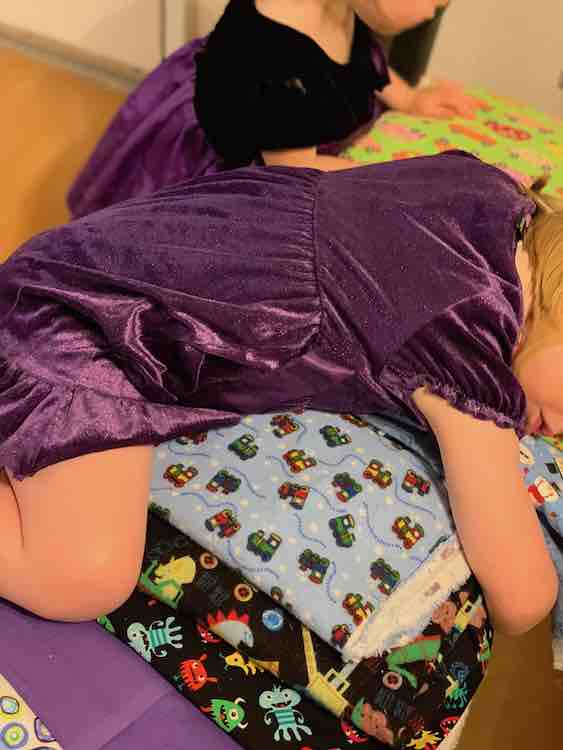
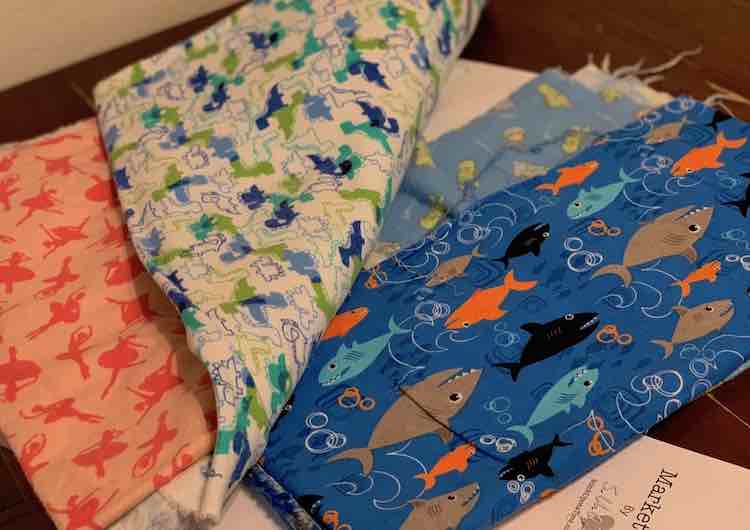
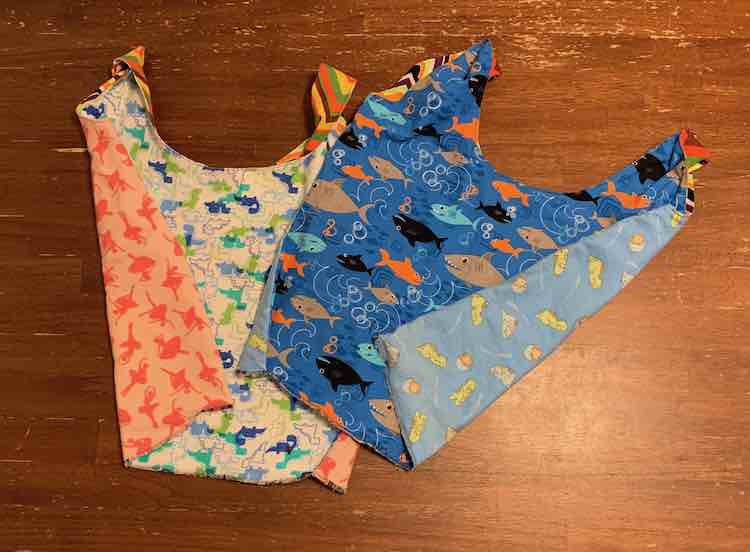
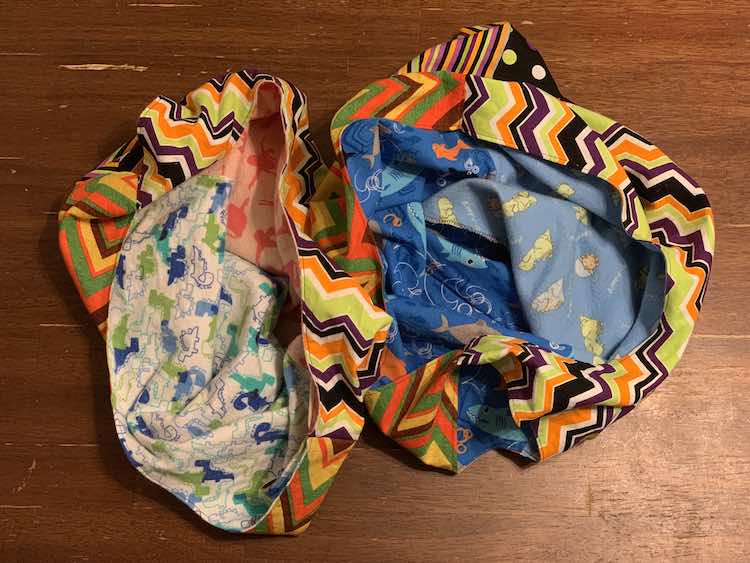
For the lining I decided to have the kids pick their own fabric. As the liner is made from two pieces of fabric I decided to let them choose if they wanted to have one or two fabric designs inside their bag. I decided it would be simplest to take out all my woven fabric (to limit the choices) and laid them out for the kids to shop through. I love how both kids ended up choosing (different) dinosaur fabric while Ada paired it with sharks and Zoey went with ballet (she calls it ballet after watching Shatter Me by Lindsey Stirling… haven’t corrected her to ballerina yet).
After cutting the lining out all that was left to do was sew the bags together according the pattern’s directions. I love how simple they were to come together. The handles have been folded in half and sewn down to hide the seams so the only exposed seam in the entire bag was in the inside bottom.
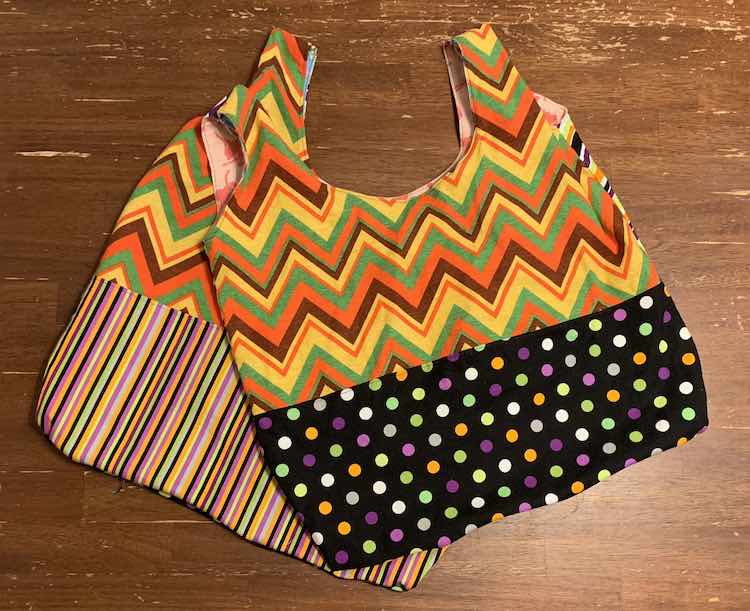
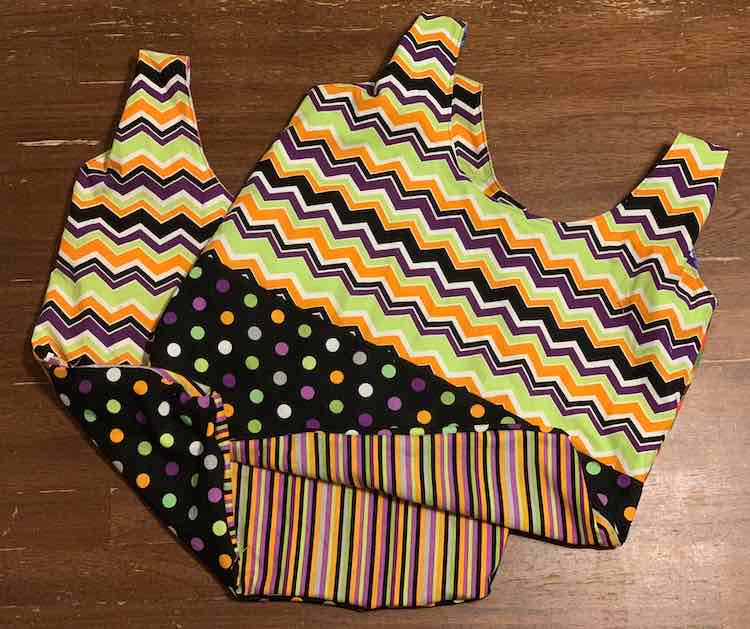
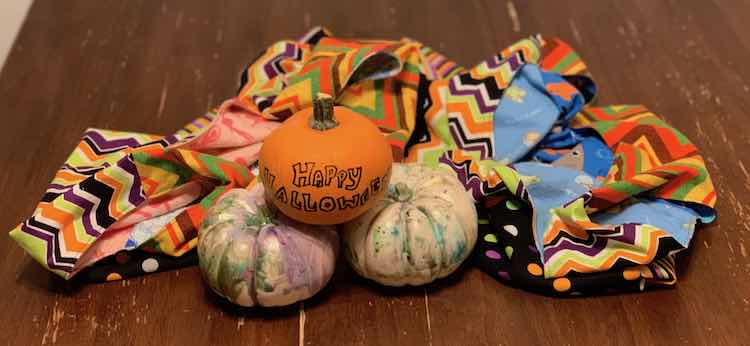
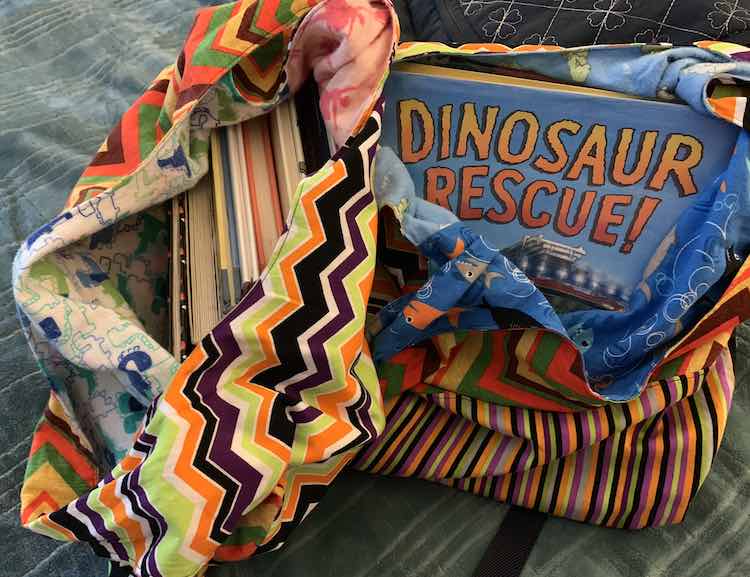
I hope this bag helps if you need to come up with a last minute trick or treating bag. I love how they’re small enough that the kids can easily carry them yet large enough that I don’t have to worry about anything falling out. So far they’ve only been tested with toys and books but I can’t wait to change that tonight. I can see using fabric that matches with your costume to further extend your costume. Oh, if doing Dorothy from the Wizard of Oz I could see making the outer fabric look more basket weave for her basket or, perhaps, adding Toto to the bag to further extend the costume.
If it’s not Halloween the Market Bag has also been designed to be similar to a plastic bag and so can easily fit in the bagging stations at the stores (though I haven’t had a chance to test yet) so I could see making many more of these for so many purposes. Some people on the Stitch Upon a Time Facebook chat group have thought to use them instead of gift bags too.
Hope you have a great day and a Happy Halloween. I would love to see your bags if you want to share them in the comments below, on my Facebook page, or through Instagram. I hope you have fun coming up with your own fabric combination for your bag.
Did this save you time?

