

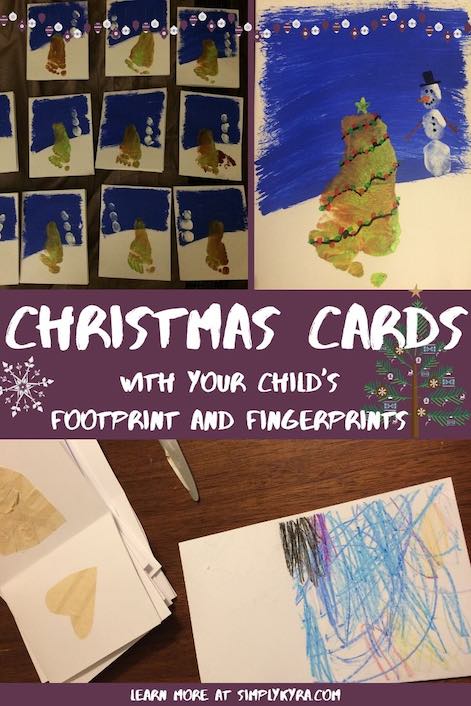
Footprint and Fingerprint Christmas Cards

I wanted to share with you the Christmas cards I made several years ago with my kids. I came up with this idea while I was searching for something that would work for both my toddler (2 yrs) and baby (4 months). As I had already created Christmas ornaments with their feet I wanted to focus on the hands. I ended up deciding on a reindeer (hand) for my baby, Zoey, and a snowman (fingerprints) for my toddler, Ada, so they’d both fit on the same page; however, after attempting and failing a reindeer Zoey ended up creating Christmas trees (footprint) instead. I wanted to share this idea with you in case you’re also looking for ways to incorporate your child’s prints in your Christmas cards. If you’re looking at making something more permanent while you’re at it I also made a Christmas canvas with a similar idea.
Prepping The Cards
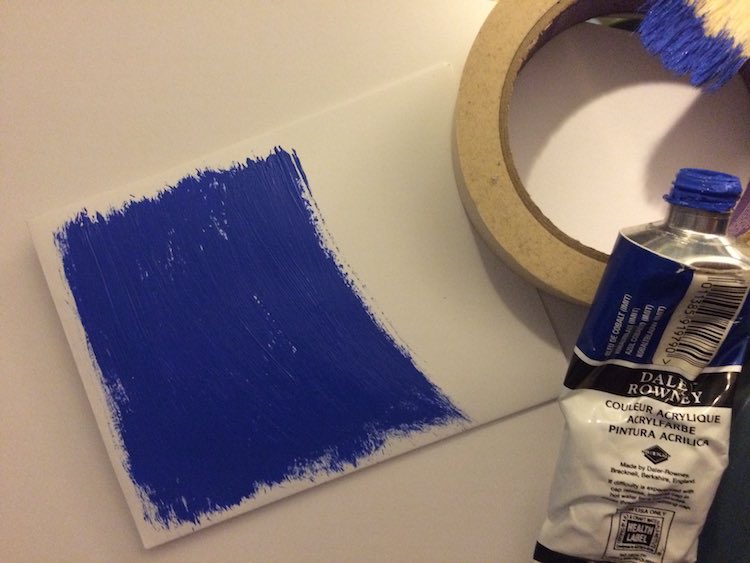
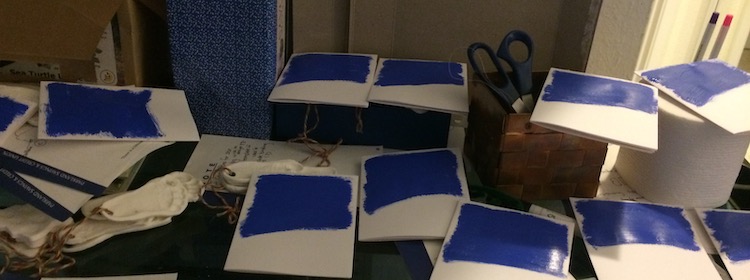
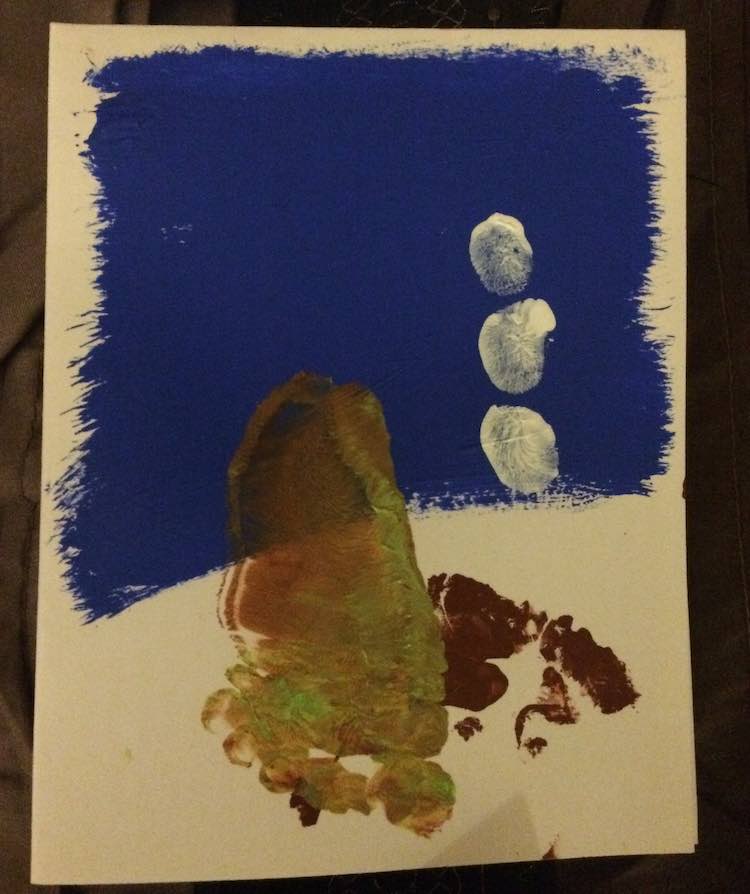
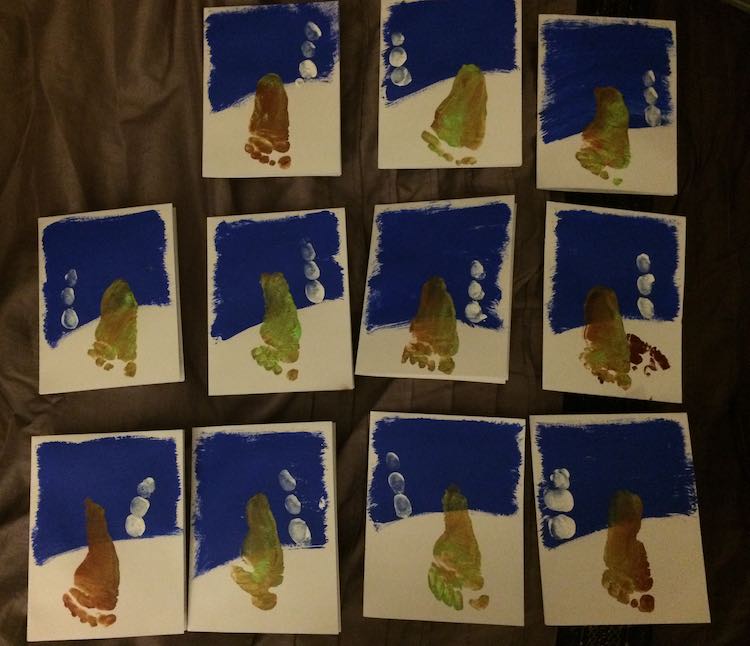
At first I was going to have Ada color the background and then get them to stamp their hand and fingerprints onto but I then realized, while I was folding the cardstock into cards, that white snowmen wouldn’t show up well on white cardstock. I decided to pivot my idea and decorate the background of the cards myself. I wanted to keep with a snow theme and leave the bottom of the cards white but I also needed the snowmen to show up. I decided to grab blue acrylic paint and added it to the top of the cards leaving the plain cardstock uncovered at the bottom to simulate a snow covered hill. This gave the (planned) reindeer a white background to stand out on while the snowmen could be posed at the top of the hill where they could stand out from the blue sky. I don’t know if this was considered smart or lazy but I squirted the paint directly onto the paintbrush each time I need more and not having to clean up a paint palette made me happy. You can always make sure to create a couple more than you need just in case one of them got messed up in the process and then if it all goes well you have a couple extra ones as a memento or for any last minute additions.
Stamping The Prints Onto The Cards
Once the cards dried it was time to go to the kids and add the prints. This way you haven’t put too much work into the cards yet so if you decide you hate how the prints look you could, ideally, create a new card easily enough…
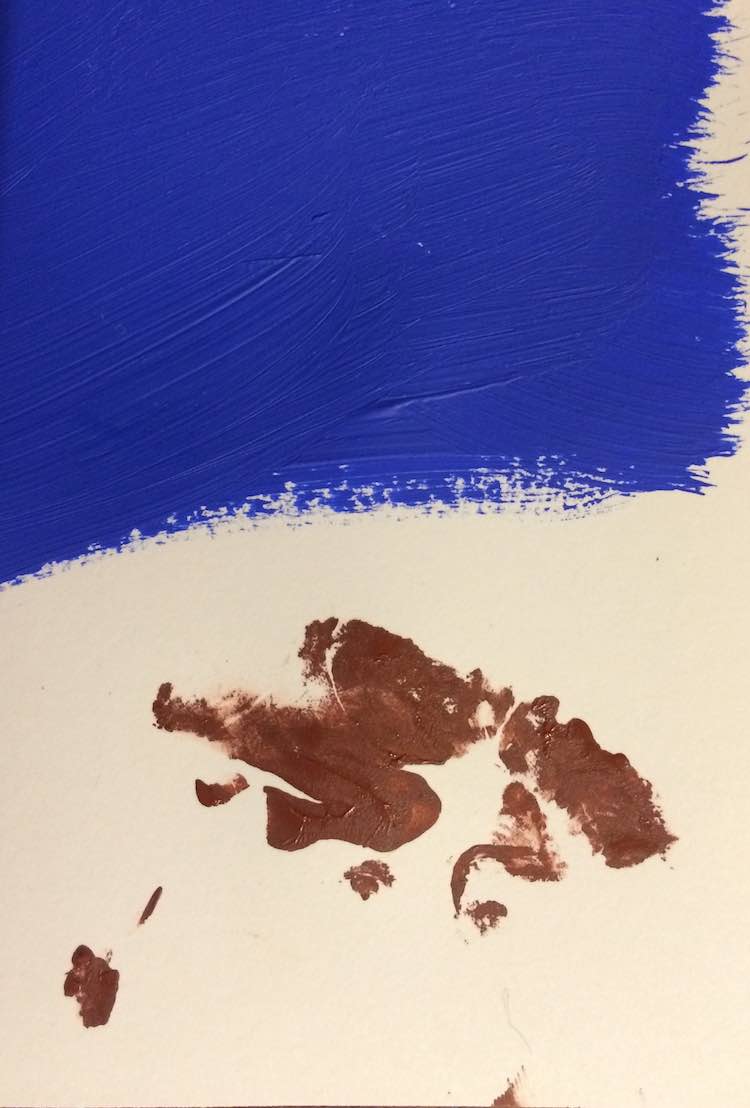
I, however, didn’t listen to this advice and after my first attempt at a reindeer failed so badly I decided to switch from using Zoey’s four month old hands for a reindeer and instead used her feet to make Christmas trees on the exact same card. I then continued on squirting green onto the paintbrush, applying it to Zoey’s foot, and pressing her foot to each card. After I finished adding the Christmas trees to the cards I washed Zoey’s foot and the paintbrush off and switched to white paint and Ada’s fingers. I can’t remember if we used Ada’s thumb or finger though I do remember whatever one I started with was awkward and we switched to another finger or thumb afterwards. I had planned to use different fingers for each part of the snowman to get the sizing right but it was easiest to just use the one finger and press down harder or lighter. I wanted the snowman to be over the blue background so I started the bottom print/snowball almost touching the white and then made two more prints/snowballs above the first. It doesn’t have to be perfect since they are just technically rolled ball of snow that don’t listen to the rules dictated by physics so the lower down balls could be smaller and they could overlap or not touch and it still works.
Adding Details To The Cards
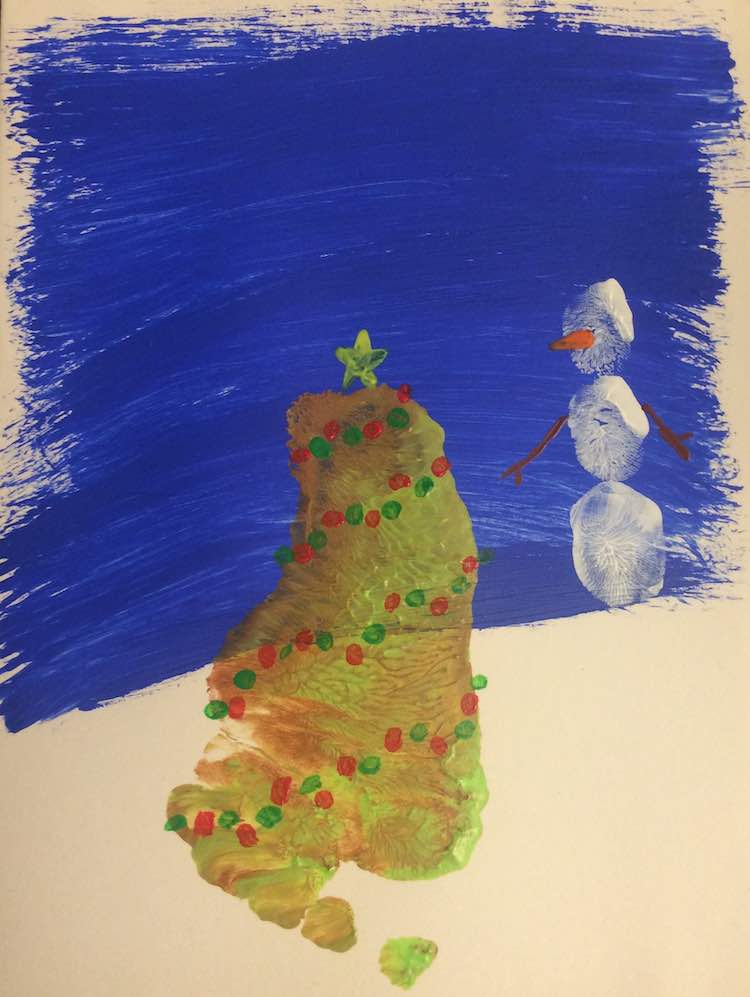
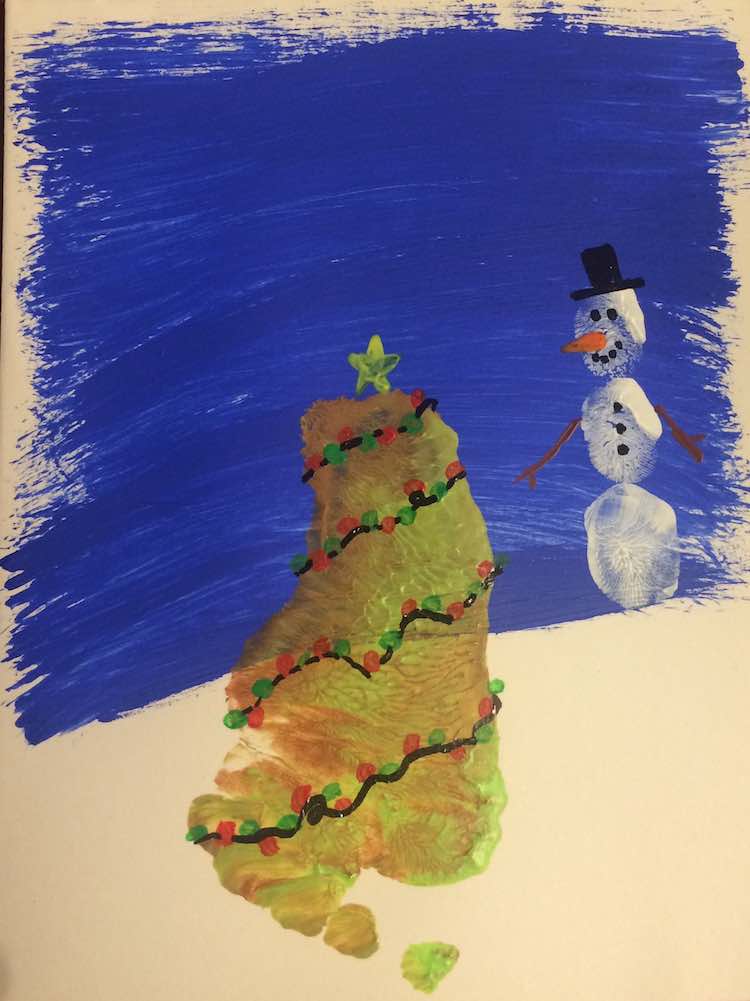
Now all that’s left to do is add the details to turn your fingerprints and footprints into realistic snowmen and Christmas trees. Again I treated this as an assembly line choosing a single color of paint and applying it to each and every card before washing off my paintbrush, drying it, and going onto the next color. I used yellow for the star on top of each tree, red and green for the Christmas light bulbs, orange for the snowman’s carrot, and brown for the twig arms on the snowmen. After all the cards dried I grabbed my oil-based paint pen to give the snowmen a top hat, coal eyes, and coal buttons. I then added the string connecting all the lights wrapping around the Christmas tree.

Inside Of The Cards
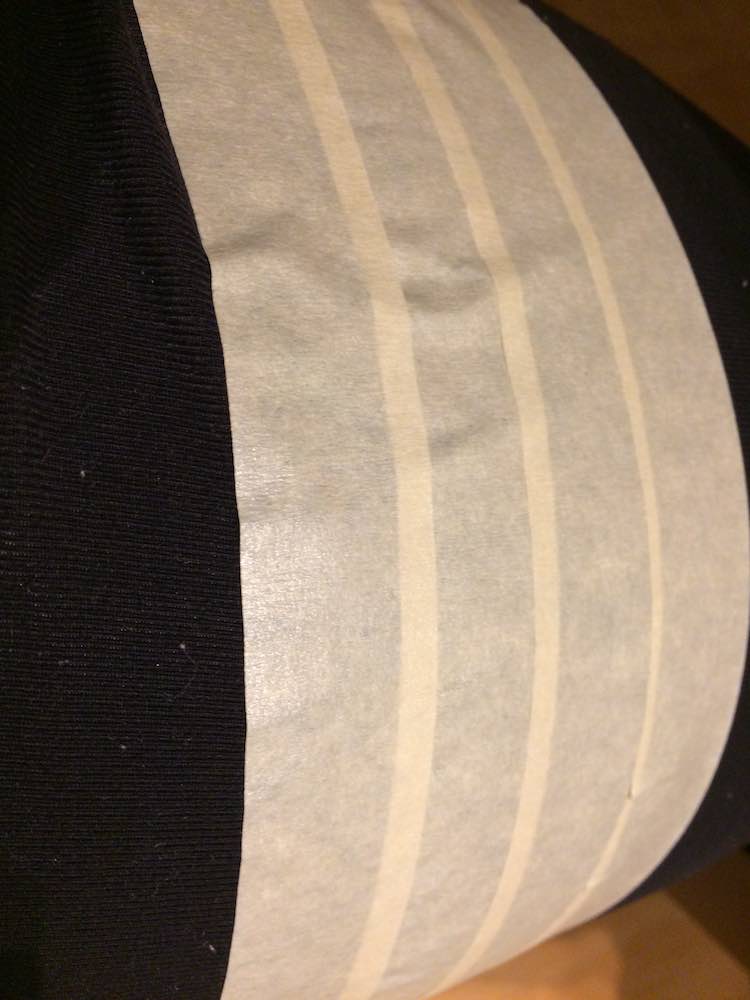
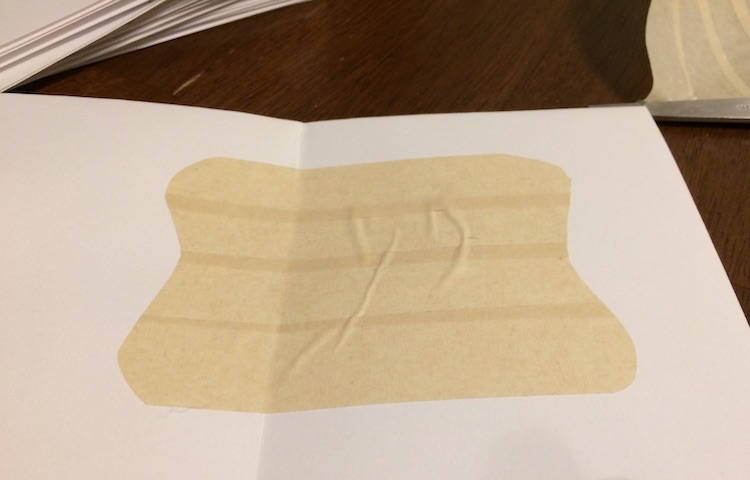
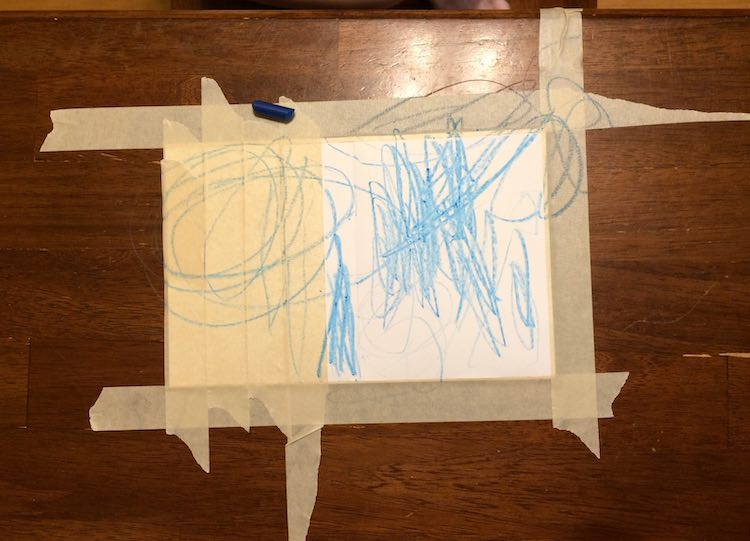
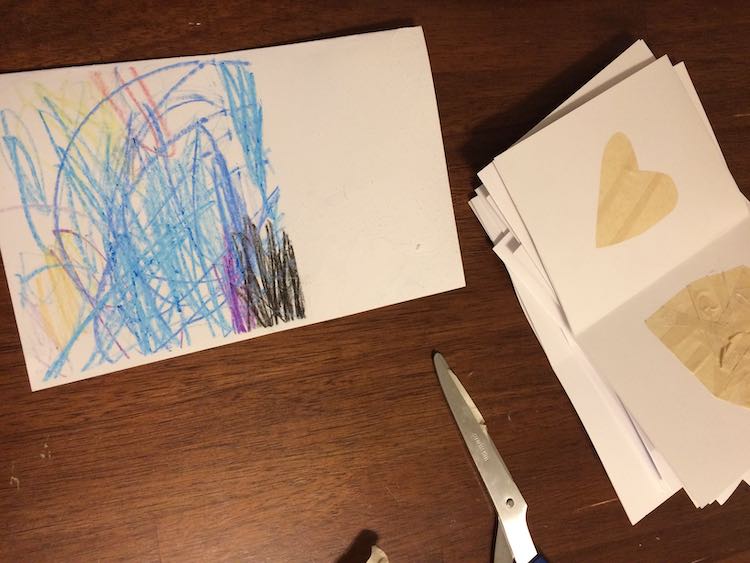
I wanted Ada to fill in the insides of the cards but I wanted there to still be a space to write. I decided to pull out masking tape to block off a part of the card and let Ada scribble over the inside. Once she was done I pulled the tape off and had a blank space to write it.
I love that we had Christmas cards that both Ada (toddler) and Zoey (baby) were able to contribute too. That said lately we have been switching to store-bought photo cards. If you’ve found this helpful and made your own I’d love to hear about them and, if you have photos, see them. Feel free to share in the comments below, on my Facebook page, or through Instagram. I hope your day is going great.
Did this save you time?