
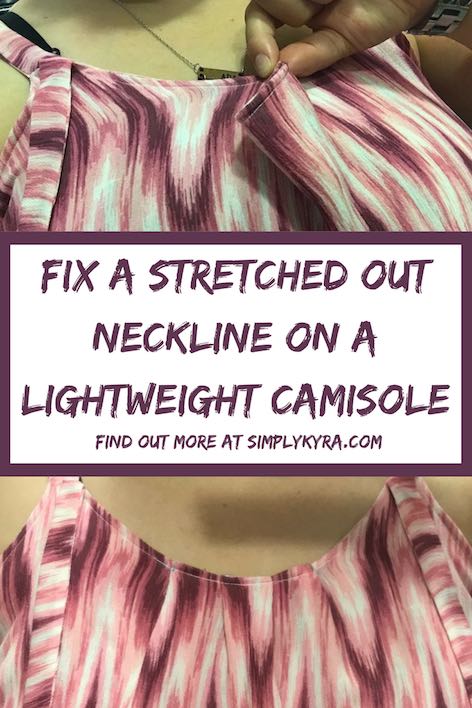
Fixing a Stretched Out Neckline On a Lightweight Camisole
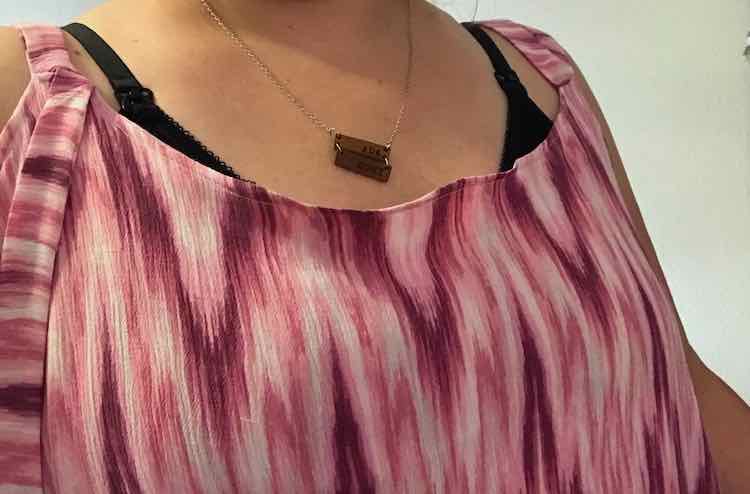
If you’re sewing a woven shirt, the best way to stop your neckline from stretching is to staystitch the neckline. If you’re reading this then I’m guessing you’re like me and forgot. The first time I sewed the Chloe Camisole I didn’t staystitch and ended up with a very wide camisole top. I ended up altering my camisole’s fit by adding pleats to both the front and back neckline. This tightened up the neckline enough that the armhole was also raised and was no longer too low for me.
If this doesn’t fix your armhole, or you’re here with a different problem, I’ve also written about fixing a too low woven armhole using matching fabric and fixing a knit garment’s stretched out arm and neckline before.
Extra materials used
- Your stretched out woven top
- Sewing clips or pins
- M&G iErase friction and heat erasable pen to mark my surface and then have it dissapear when I iron it
- Sewing machine with matching thread
- Iron to press your pleats and/or make your ink dissapear
Staystitching
The second time I sewed up the Chloe Camisole I didn’t run into this problem as I staystitched around the entire top of the outer bodice piece before sewing it to the rest. Basically staystitching is a stitch that stops your fabric from stretching out while you sew. This is mainly used in curved parts (like the neckline and armhole) as your fabric can warp more easily as it’s cut on the bias in places.
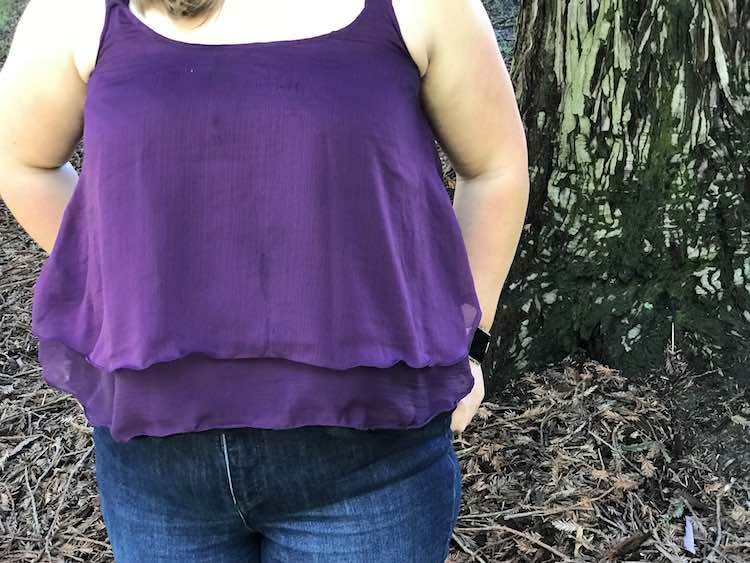
To staystitch you start at the botton (center bottom of the neckline or bottom of the armhole) and sew within the seam allowance up to the top of your bodice piece. Cut your threads, go back to the starting place, and then sew up the other side. Repeat this in the other curved bits. Afterwards continue sewing your pattern as normal since the staystitching will be hidden in the seam allowance.
Doing a quick search I found an article on Craftsy that can give you more information.
Fixing my neckline
You’re probably more worried about recovering your garment rather than staystitching your next one so let me get onto what I did to fix my camisole. I realized my problem before I sewed my straps onto my camisole so the outer straight straps are pinned in the back to keep it on and the crossover straps are dangling down the front in my pictures. If you want to sew up the camisole yourself you can find more pictures of my camisole sew and links in my previous post about the Chloe Cami.
Front of the camisole
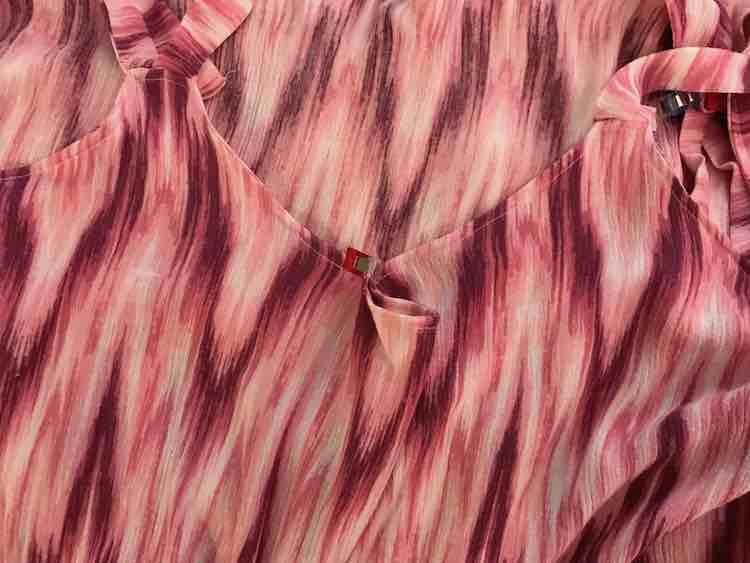
I decided to start out with the front of my camisole before going to the back. I started by trying on the top and figuring out how much fabric I should pinch out in the front before clipping the fabric and taking the camisole off. This way I knew how much excess fabric I had to work with.
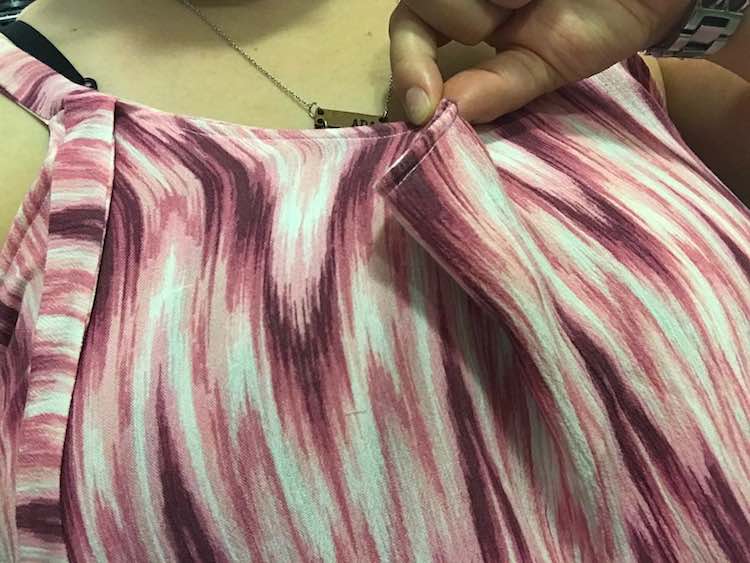
I then measured the amount of excess fabric that I had clipped out of the bodice and recorded it. I wanted to do a larger center pleat and then have a smaller pleat on either side so I decreased the amount of fabric that was clipped out and made sure it was centered on the front of the camisole by measuring from the front straps to the clipped fabric.
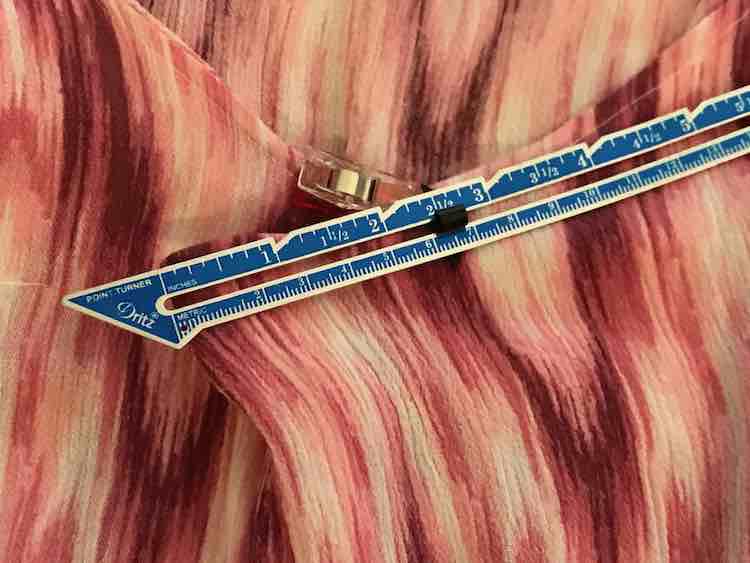
I then took my excess fabric, squished it down, made sure it was folded equally to the left and right, and then clipped either side down so it wouldn’t move on me.
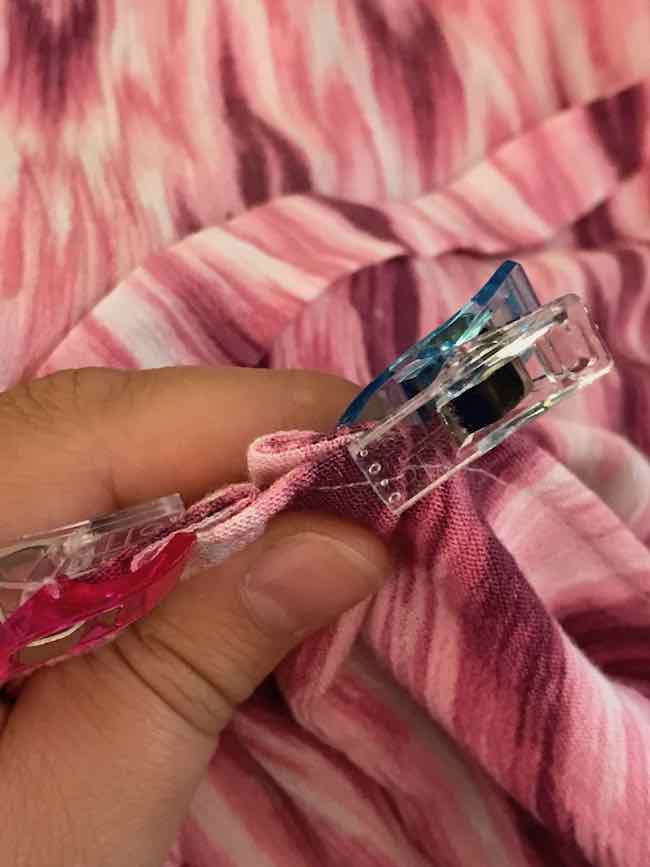
I was able to go on to make another pleat on either side of the main pleat as I had removed some of the excess fabric before making the main pleat. To determine how large I could make the secondary pleats I took the original measurement of how much fabric I needed to removes, minused the size of my front pleat, and then divided the resulting number into two as I wanted two pleates, one on either side of the center pleat, for symmetry. Specifically the minor calculations were:
( original excess fabric amount – size of my front pleat ) / 2 for either side of the pleat
So for example if my original clipped fabric was 2 inches from the clip to the fold and I made a 1 inch wide double pleat on the front then:
( 2″ clipped excess fabric – 1 ” front pleat ) /2 = 1 /2 inch pleats on either side
I would want a half inch pleat on either side of my one inch pleat.
I measured and marked about an inch on either side of my centered pleat so the pleats would be an equal distance from the center pleat. This is the inner mark. I then measured out two more points the width of my required finished pleat (1/2 an inch in the above example). I then created the left and right pleat by taking the mark closest to the pleat, folding it over the second mark, bringing it to the third mark, and then clipping the resulting pleat in place so it wouldn’t move before creating the same pleat on the other side facing the opposite way.
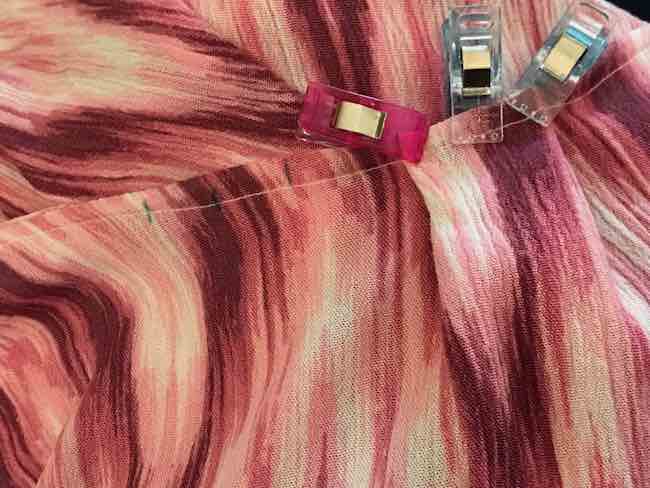
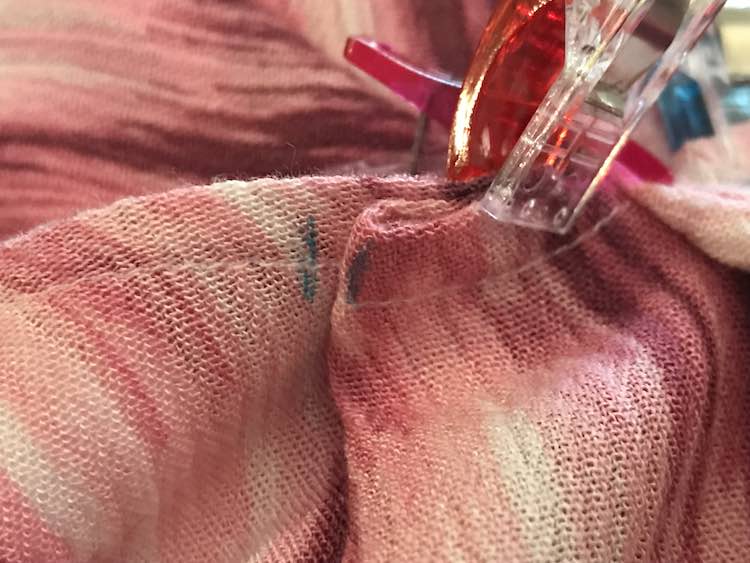
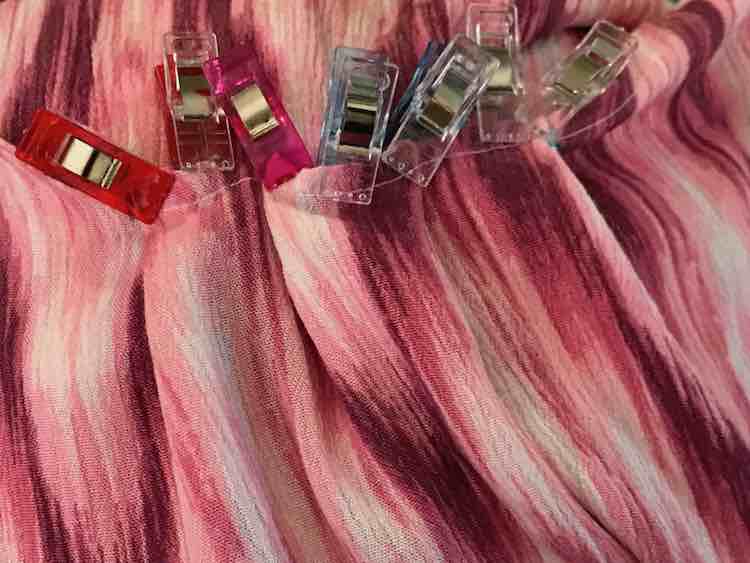
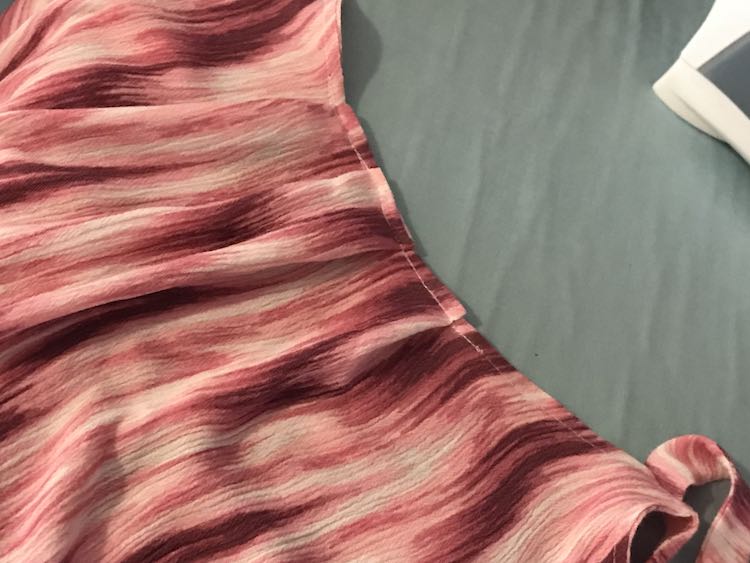
Then being careful that the fabric doesn’t shift too much I sewed along my previous topstitching to sew the pleats down. Once you try the camisole on again and are happy with the fit in the front (in case you need to rip any stitches out) you can press the pleats down with your iron. The iron will also get rid of any of your iErase pen marks with it’s heat.
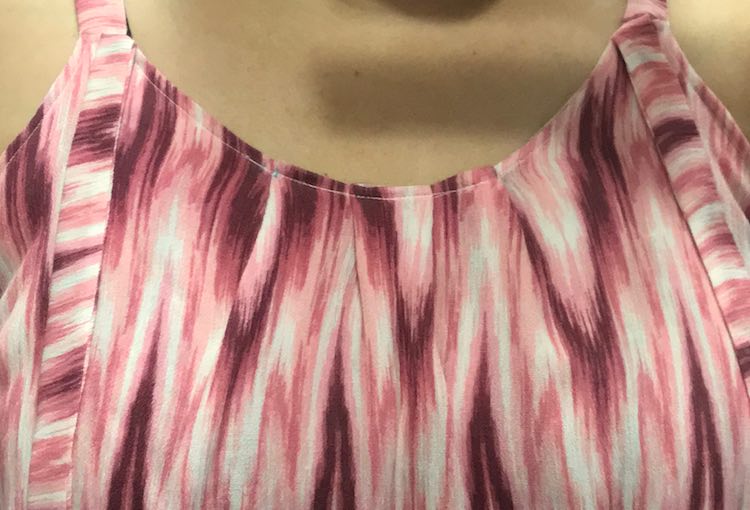
You can also iron the pleats before you clip them into place or pin the pleats and then iron them. With my sewing clips I didn’t want to take the chance of running the iron too close too them.
Back of the camisole
Once you are done with the front you can go onto the back of the camisole. Since it was behind me I decided to clip a similar amount of fabric as the front and then try the camisole on to check the fit. I used two sewing clips in case the inner one fell off (if it was pinned too tightly).
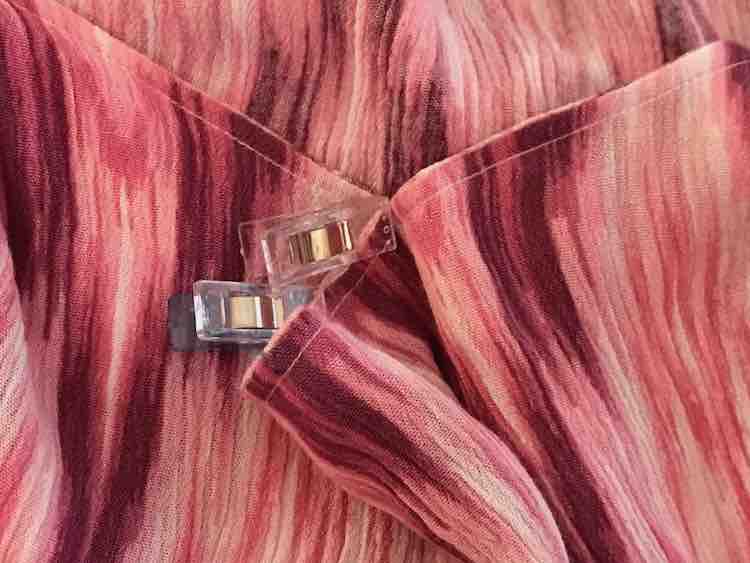
I then took the measurement and figured out how many pleats I wanted and marked them off. Again I did three marks for each pleat with a larger distance between each pleat (between each set of three marks).
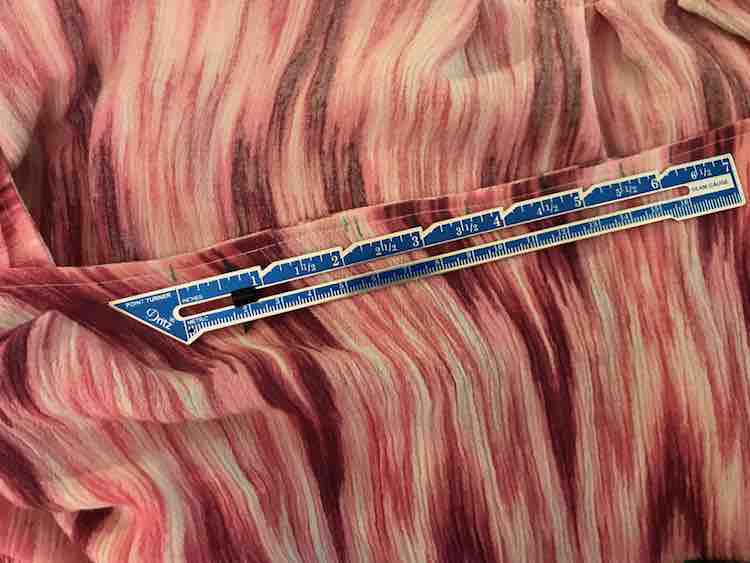
For the three marks I took one of the outer marks, pinched it, brought it over the middle mark, and set it on the third (other outer) mark. The middle mark was the fold for the fabric. I then pinned it in place.
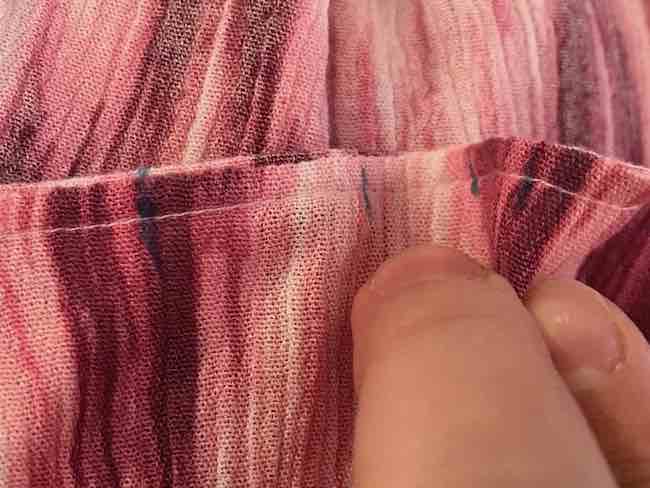
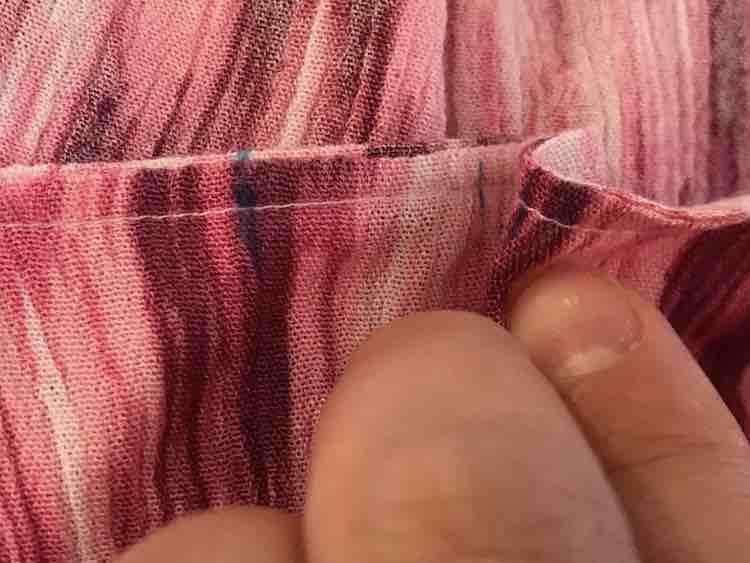
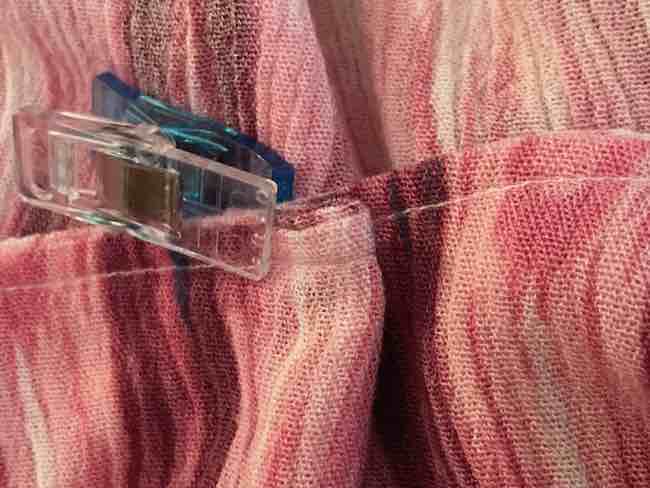
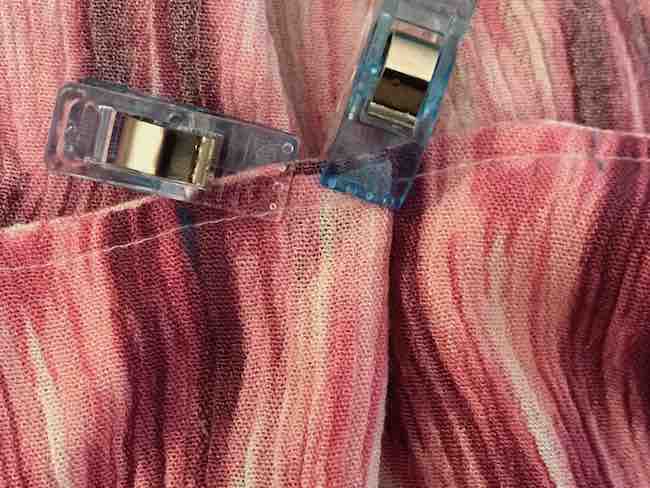
And you end up with a lot of clips. Remember you can angle them to help them fit closer together.
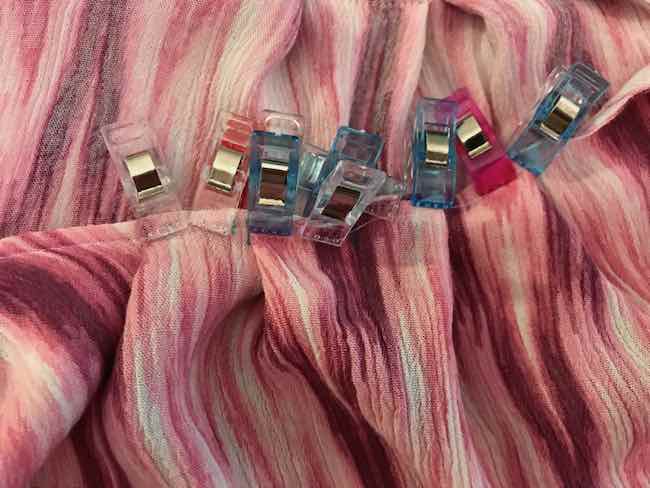
Then sew the pleats on by sewing along the topstitching while carefully removing the sewing clips and keeping the fabric in place.
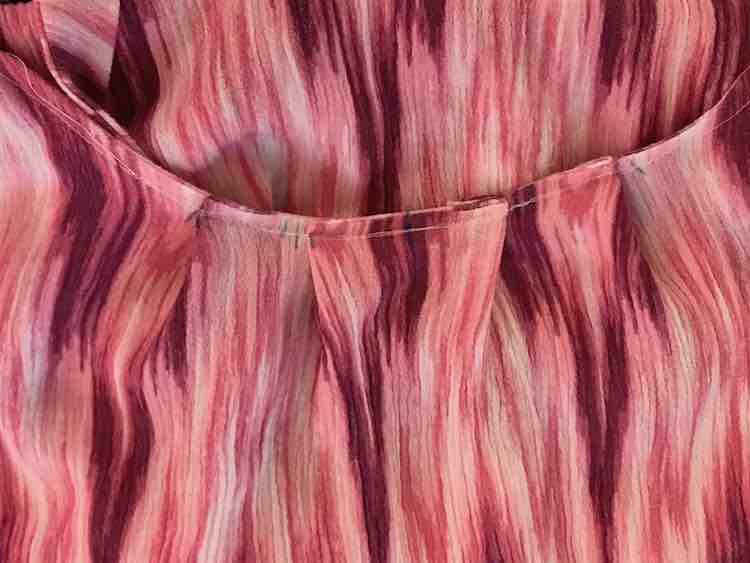
And try it on for fit. Bringing the front and back bodice further together with the pleats also raised my armholes. If it hadn’t I might’ve tried to add one or more smaller pleats to each armhole so my bra wouldn’t show. Alternatively, if you have more of the original fabric you could use it to ‘patch’ the armhole instead of using pleats.
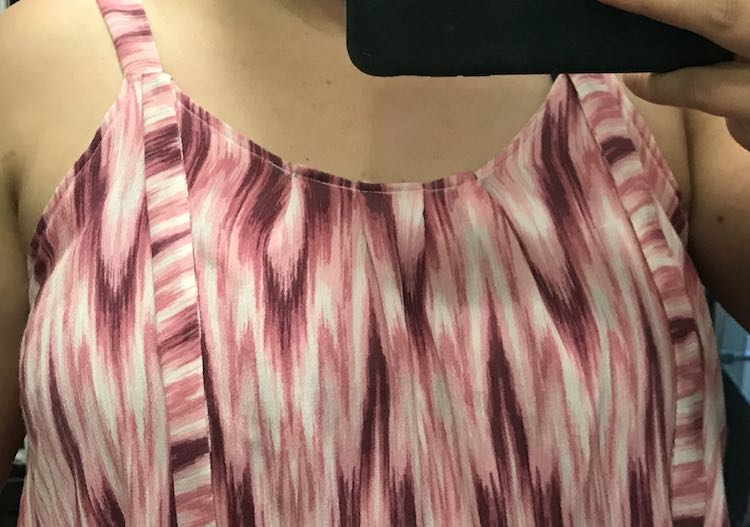
And then you can press the pleats in.
Final camisole
And I loved how the camisole turned out with my pleat additions and they’re weren’t obvious at all with my fabric pattern. If you want more final photos of the camisole you can check out the Chloe Cami post from when the pattern was first released. This camisole also pairs beautifully with the Cora Cocoon cardigan.
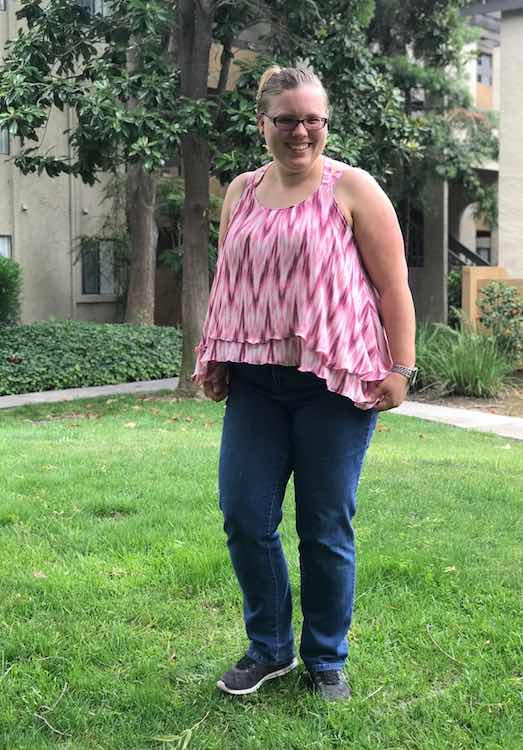
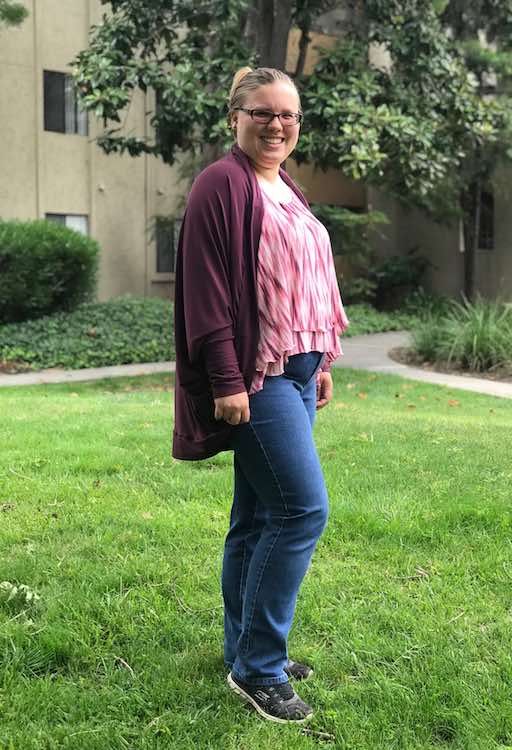
If I were to do this fix again I might use some wash away sewing tape to keep the pleats in place before sewing them in place. I’ve since you used it for another project. I’m not sure if you’re able to iron it though so you may need to wash away the tape before you iron the pleats down. There’s also Heat’N Bond but you’d need to iron it down to attach and it isn’t wash away so I don’t know how that would affect the drape and thickness of your camisole.
I hope you enjoy this pattern alteration and I hope it comes in handy if you ever need it. I can’t wait to hear from you through the comments below, on my Facebook page, or through Instagram.
Did this save you time?

