
Even More Peppermint Swirl Dresses
I first posted about the Peppermint Swirl Dress, from Candy Castle Patterns, back at the beginning of 2018 after I made two for my girls as part of their Christmas present. The next year Ada’s only Christmas request was another Peppermint Swirl dress so I went on to sew two more that Christmas, 2018, and then chose to sew another two the following Christmas in 2019. I love all the ones I sewed so I can totally see this becoming a yearly tradition. So I guess I’ll be measuring the kids again this coming November or December to make yet another set. I fell in love with this pattern from the very first dresses I sewed and have since gone on to refer it, using my older post Our Peppermint Swirl Dresses, whenever I see someone on Facebook asking about dress recommendation. I absolutely love how complicated these dresses look but once you get all the pattern pieces cut out they’re truly simple to sew up with really detailed instructions. And if you don’t want a dress there’s a free add-on to teach you how to make the paid pattern into a skirt. Over the last couple years I’ve wanted to create an updated post to refer people to showing my updated photos. When creating this I had considered taking down my older Peppermint Swirl Dress post but decided to keep it around in case something in it might still interest you.
Christmas 2017
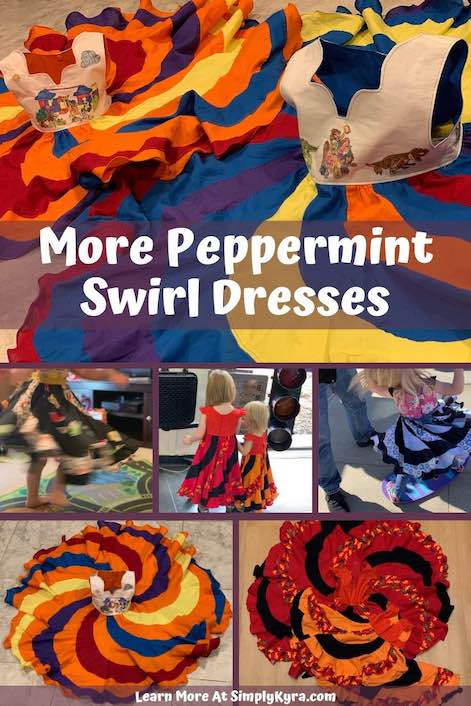
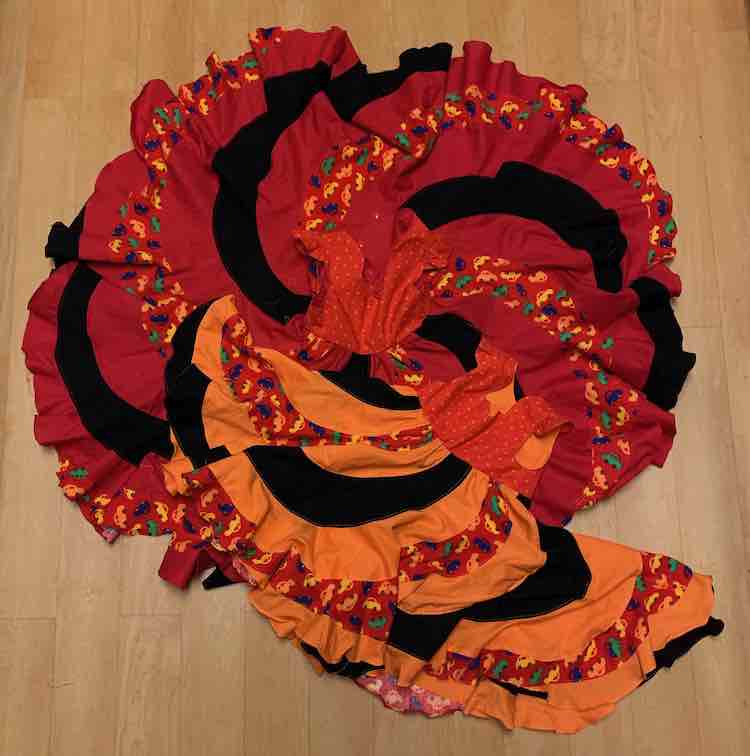
Having sewn the first peppermint swirl dresses almost two and a half years ago I’m still surprised that Zoey’s dress still fits and, technically, until Ada puts hers on again and proves it doesn’t I’m counting it as fitting her too. For these I had Ada pick out her own fabric, back when she loved only vehicles, and I chose fabric I liked for Zoey, as she was too young to choose. I’m actually still using the leftover scraps from Zoey’s dress to sew up my small projects and appreciating the fabric each time I sew up another small item. I tried to get their dresses to match by using black fabric on the flutter sleeves and alternating black swirls on the skirt. I love how both dresses turned out unique but still vaguely matching when viewed together. Once the bodice no longer fits I’ve heard of other people who cut off the bodice and add a waistband to the skirt so it can be worn longer so who knows how long the skirt part will actually last us.
Christmas 2018
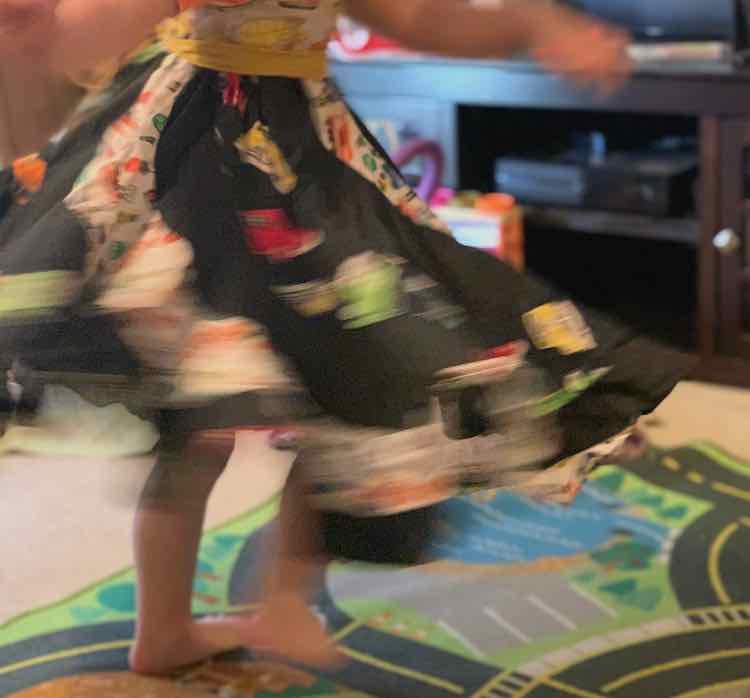
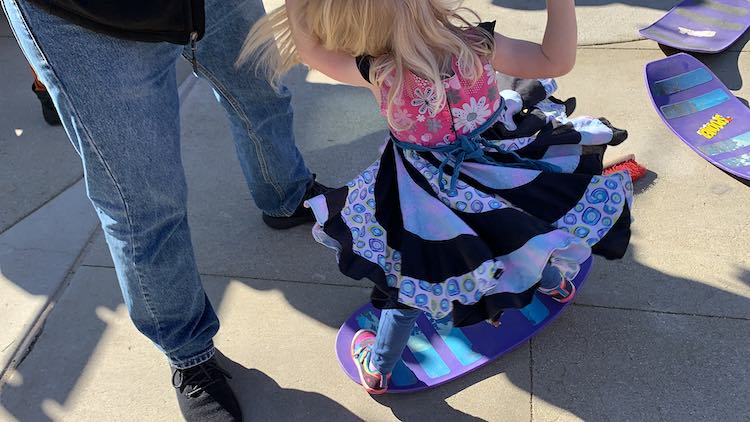
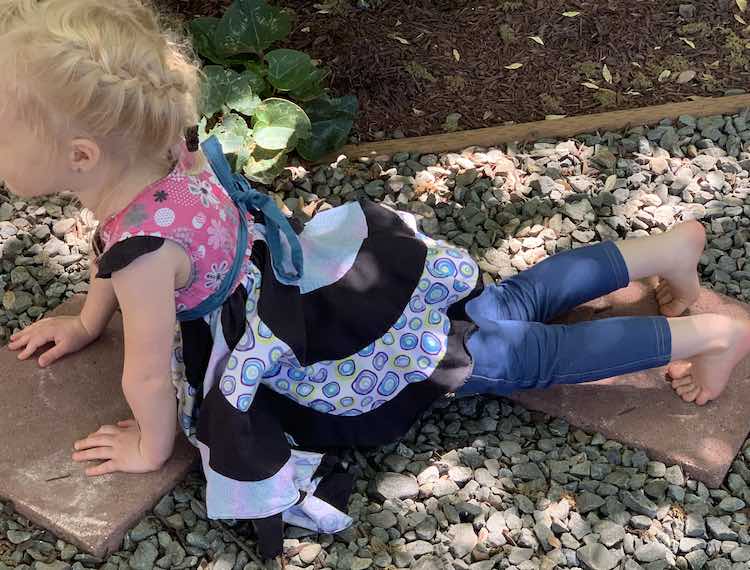
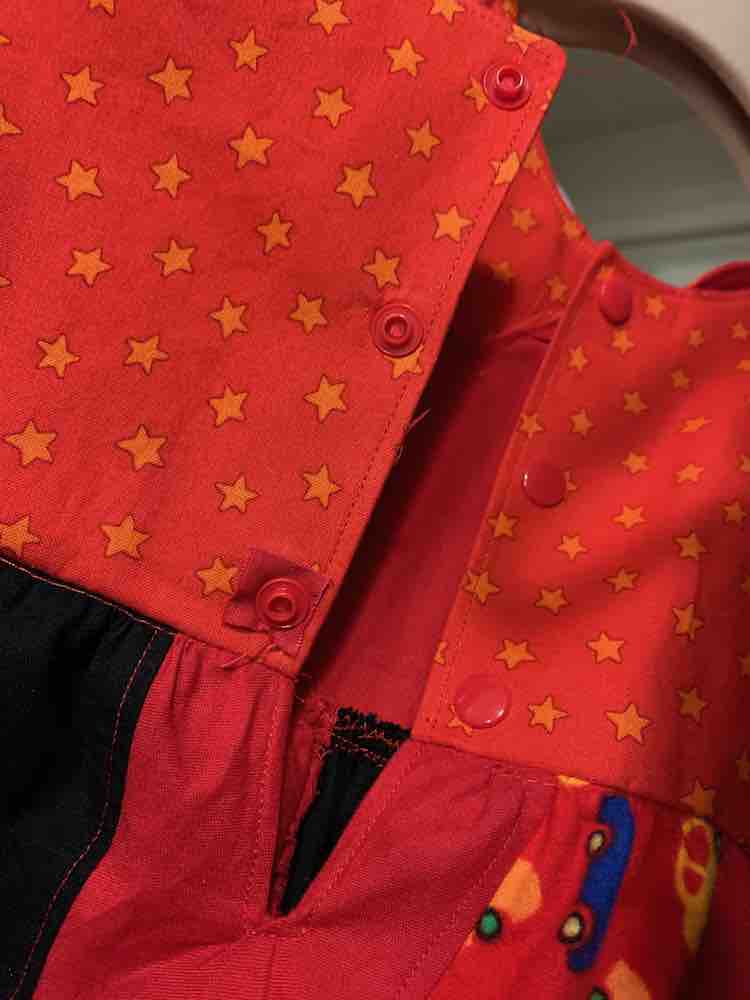
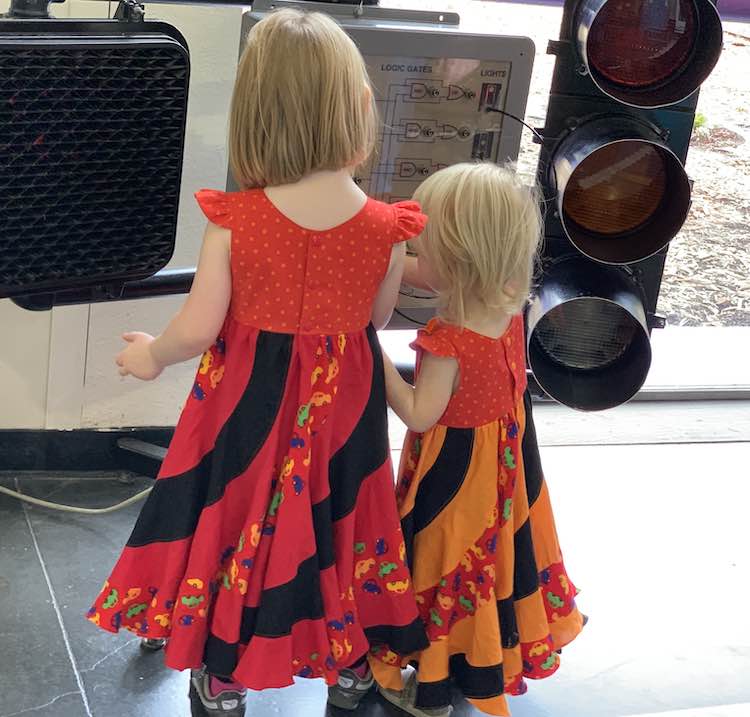
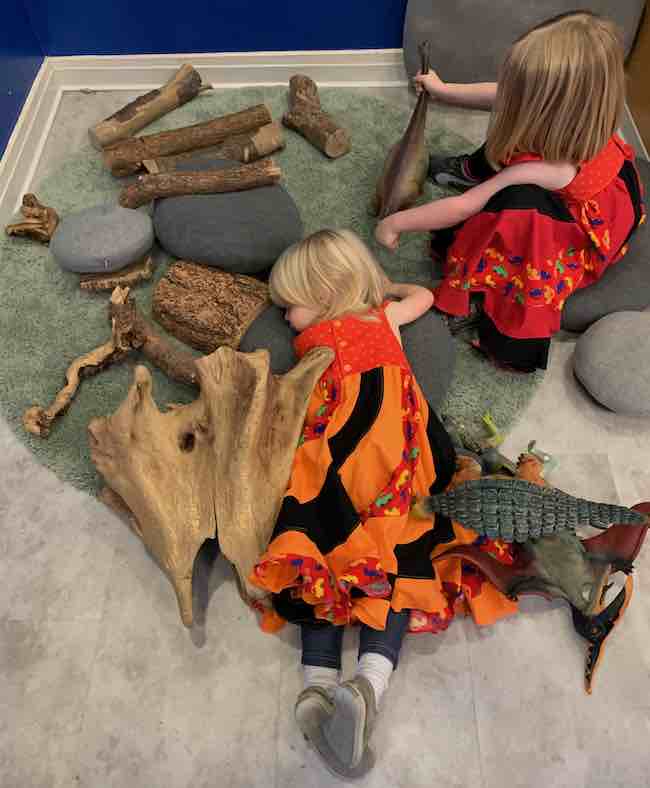
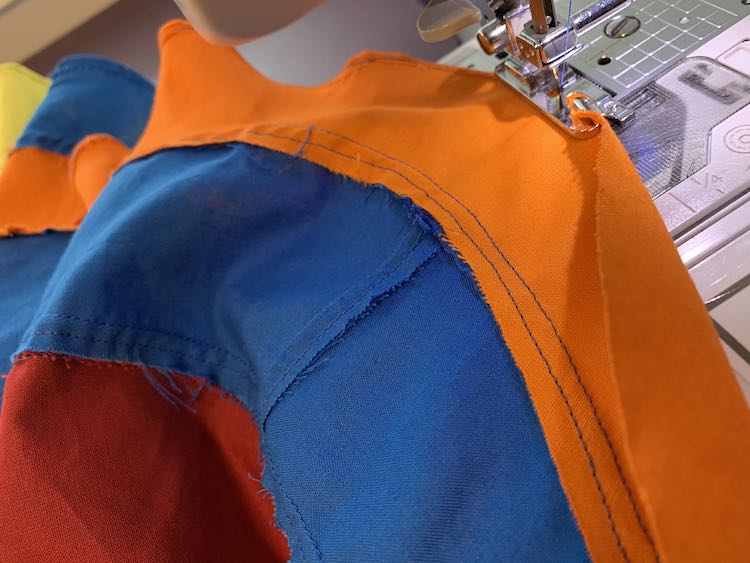
For the dresses a year and a half ago, December 2018, I hadn’t planned to sew any but Ada made it her only Christmas request that year which made it so important to do. Once I decided to sew them up I quickly realized I wanted them to match each other but still represent who Ada and Zoey were at that point in time without confirming with them that I was, in fact, making the dresses. At that point Ada absolutely adored the color red while Zoey was firmly behind the color orange. So I chose to work with that. While looking for fabric I came across some Christmas Pete the Cat, through Fabric.com, which I didn’t specifically include for these dresses, as I wanted them worn all year round, but I did use the coordinating fabric that was red with orange stars. I couldn’t have asked for a better way to tie the two favorite colors, and dresses, together. I also bought some orange fabric and some red fabric that I hoped would match the stars along with black, as I loved the contrast last year, and car fabric, as the kids still loved vehicles and, like the stars, it included both red and orange. And I had my matching but different dresses figured out. To further enhance the red versus orange aspect of the dress I chose to sew each dress with it’s own matching thread including using that color to topstitch each seam of the skirt. I had read that topstitching the swirls can take away some of the twirl-ability of the skirt but I loved how it looked and I wanted to make sure all the seams were more secure this time around. And when done the dresses still seemed twirly and swirly enough that I topstitched the next years too.
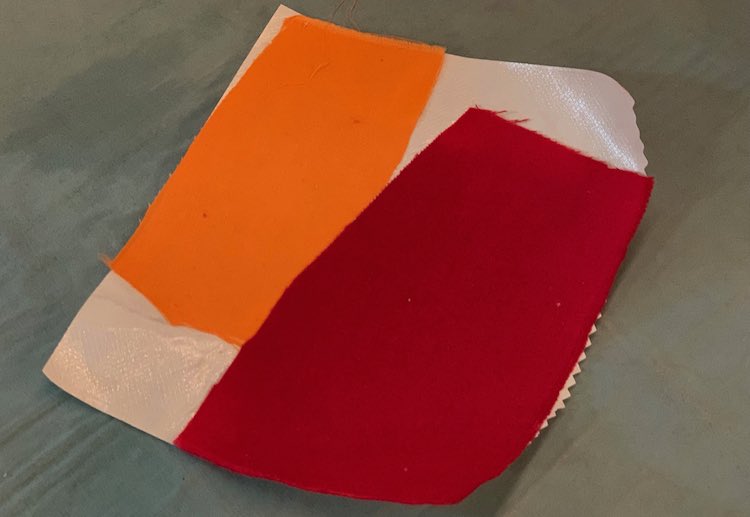
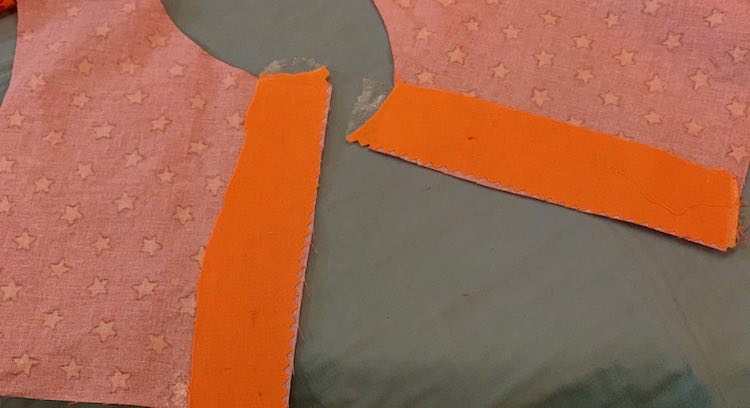
Since I had the experience of last years dresses behind me I was extra careful to include interfacing along where the snaps were going to go to make them extra secure. I chose to interface the snap spot by using HeatnBond to glue woven fabric to the back of the outer bodice making that part of the fabric thicker. Since the bodice is lined this means that the snaps will go through three layers of fabric instead of just the two: lining and outer. While adding the snaps I put one in the wrong way and had to remove it causing a larger hole but I was able to patch it with some woven fabric and added the new snap to that same spot. I considered adding the sash, again, but I wasn’t happy with how sad last years sashes were looking after a couple washes and so I decided to instead leave it off. Bonus this way I don’t have to keep tying the back of their dresses or worry about the sash catching in something when they play.
Christmas 2019
This last Christmas I was debating skipping making the Peppermint Swirl dresses as the girls still had the two previous ones that still fit and didn’t ask for them when asked what they wanted for Christmas. Closer to the end of November; however, we decided to surprise the kids by taking them to LEGOLAND® before Christmas. With the tickets to LEGOLAND® booked and remembering the dance parties the girls had participated in the first time we went I knew what I had to do… make LEGO® inspired dresses and what better to use than the Peppermint Swirl dress. We wanted the trip to be a surprise so I couldn’t make it obvious what I was working on. We actually didn’t even tell the kids there was a trip until the night before, so they could pack a hotel toy bag, and we waited until that morning to tell them about LEGOLAND® by making their advent calendar present show the surprise.
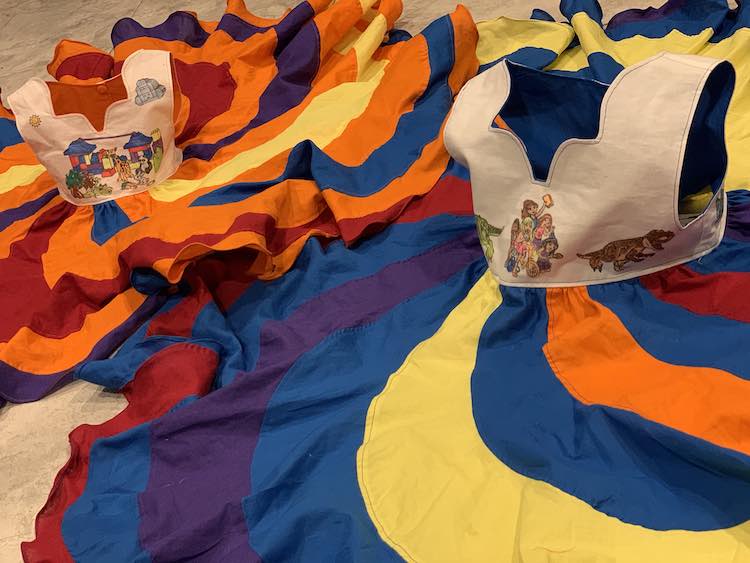
I knew I wanted to make them LEGO® inspired dresses but after looking online and not finding any woven fabric yardage I decided I had to create my own. I knew, from previous experience, that I could use fabric markers to customize the perfect LEGO® inspired panels for the kids but I didn’t want to spent too much time on it since creating this had to be confined to after the kids went to bed as it was a surprise. I wanted the skirt and bodice to go together by making both of them look LEGO®-ish without having to create any LEGO® drawings on the skirt too so I decided to limit the colors to primary and secondary colors, in bold, to look like LEGO® bricks. I already had orange and red fabric leftover from last year’s dresses so I went to Joann’s Fabrics to look for other fabric that might work with those colors and ended up choosing a single brand that was on sale, so the fabric look and feel would match each other, buying it in blue, purple, and yellow along with another brand’s white cotton fabric. I wanted the kids’ dresses to match without being identical so, again like last year, I chose to make the dresses with their favorite color as the primary and used matching colors for the rest. Over the last year Ada had switched her favorite color from red to blue and Zoey had stayed orange. To do this I made sure to use the main fabric in their favorite color to line the bodice and for half the skirt (alternating) along with using that color of thread to sew up the dress, and most importantly, topstitch.
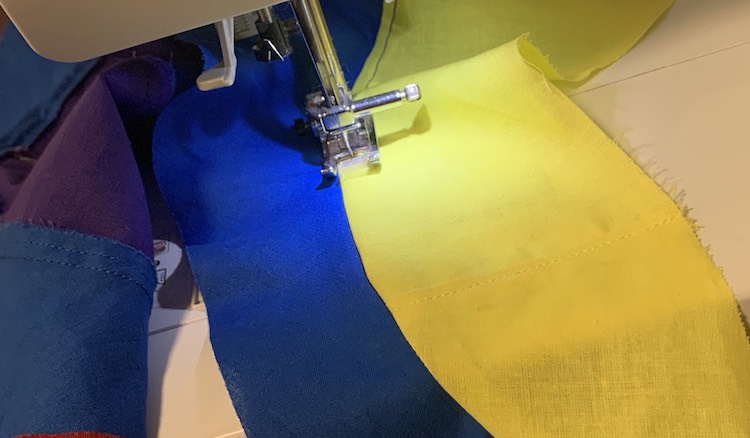
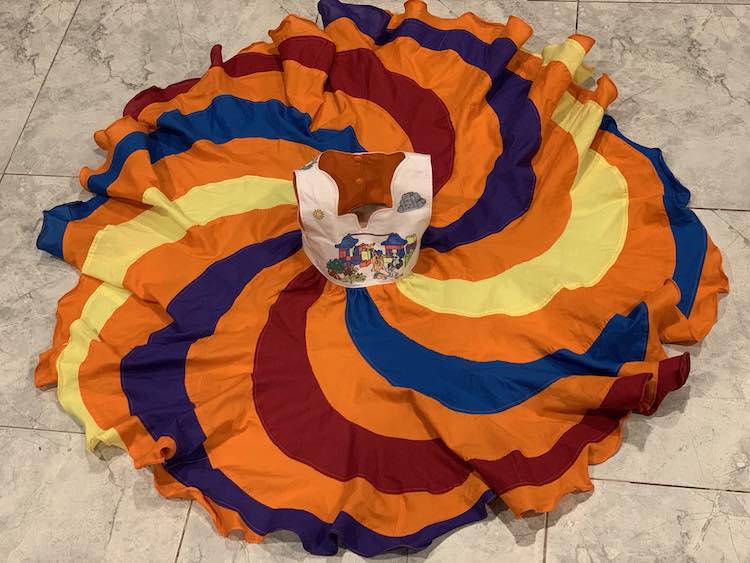
I started the bodices, shown below, first but since the kids didn’t know we bought tickets for LEGOLAND® I wanted to keep them a surprise, so I waited until they were in bed to work on them. That said I was running out of time so I started cutting out the skirt swirls when the kids were home and when they didn’t seem to care or notice what I was working on I continued on and ended up sewing most of the skirts when they were awake at home. If they realized what I was working on they didn’t say anything about it to Matt and I. Since I was going to hem it without trying it on the girls anyway I went ahead and hemmed the skirts once I finished them without waiting for their bodice to be done.
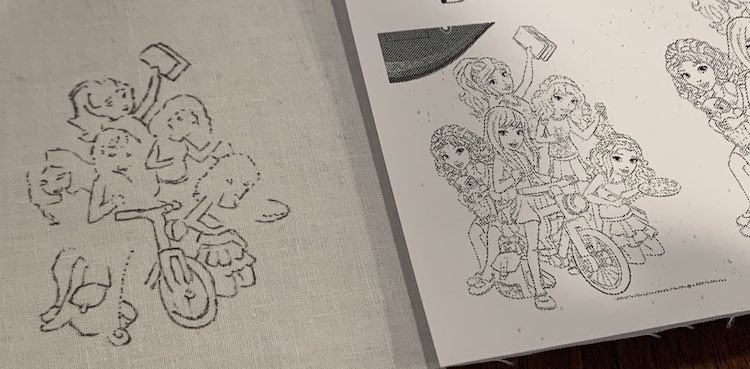
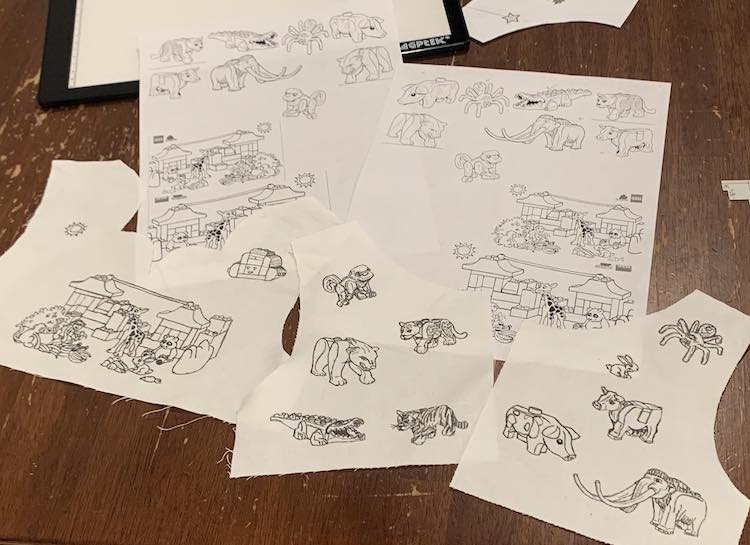
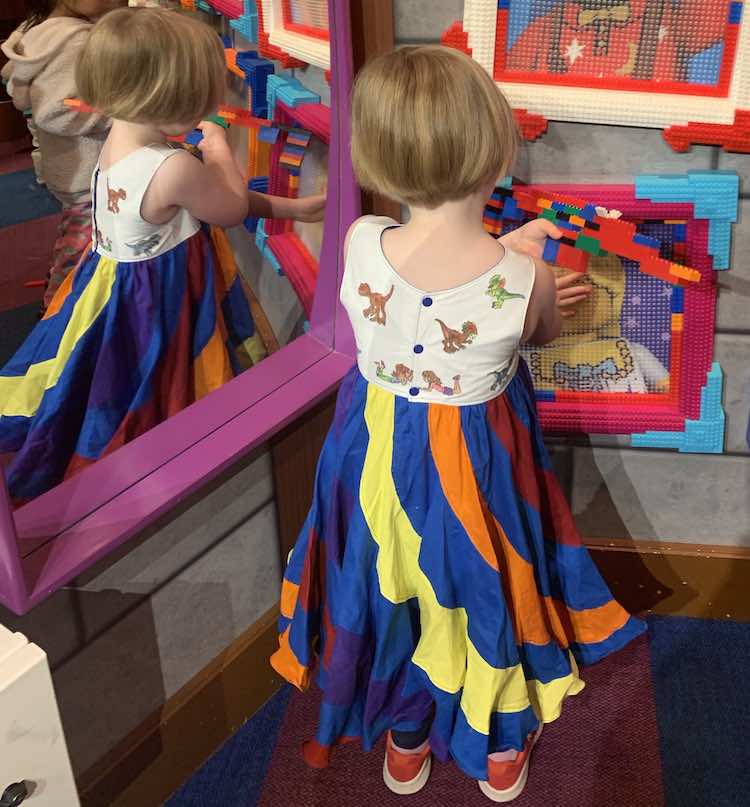
To make these bold skirts look truly LEGO®-ish I used fabric markers on the outer bodice to tie the dresses together. Ahead of time I asked the girls what their favorite LEGO® items were and Ada chose LEGO® Friends and dinosaurs while Zoey surprised me with animals. To fulfill their choices I went online and found LEGO® and DUPLO® coloring pages for Friends, dinosaurs, and various animals. I then moved the images to the, free software, Gimp where I played around with their sizes and printed them out so I could trace them. For the bodice itself I cut out the fabric, figured out where to place each character while paying attention to the seam allowance, and then traced them all out while being careful not to unravel any threads on the bodice edge. Some images were hard to fully trace, even with the light box, so I then pulled the coloring page out and sketched in all of the missing details.
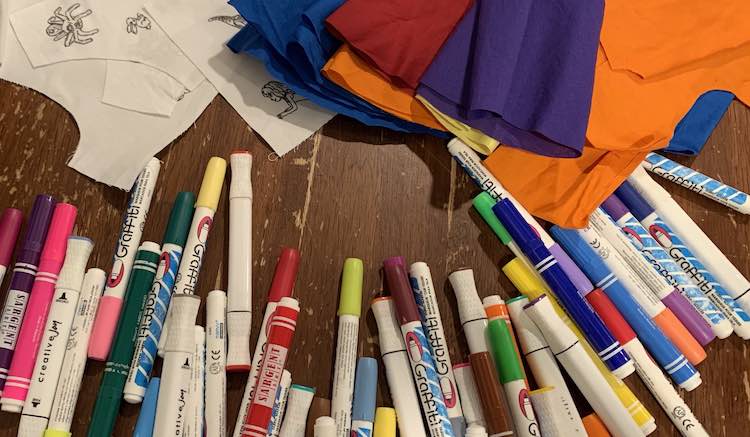
Once I was done with the outlined images and pressed the fabric to set the ink it was time to add in the colors. I started by laying out the skirt fabric and tried to pick out the fabric markers that best matched each fabric to help bring the bodice and skirt together. I was then careful to separate the chosen fabric markers from the rest and started coloring the images. As I colored each image I tried to use colors that had already been used, in my chosen already pile, and only if it wasn’t there did I move a new color in. I was trying to make an overall coherent dress where the images all matched each other and the skirt via the use of similar colors repeated instead of being a messy amalgamation that clashed. I’ve found over the years if two wet colors touch they blend into each other so I tried to color with a single marker over multiple images before going onto the next color so each section has time to dry and there was less chance of color bleeding. Once I finished coloring all the bodice pieces I pressed them all again so the ink would set and then followed the pattern’s instructions to sew up the bodice and attaching the skirt. I’ve posted before about creating your own woven panels with fabric markers, before I upgraded my light box, if you want more details.
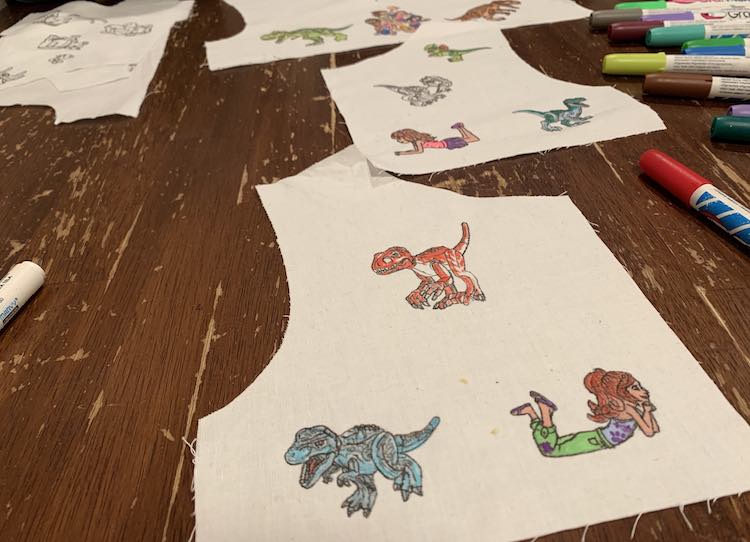
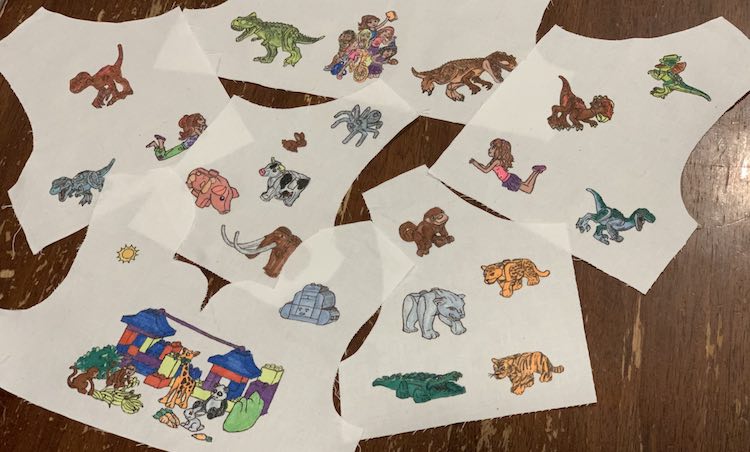
Going into the dresses this year I was considering how to change up the bodice while still being able to hold up the weight of the skirt and came across Alyssa’s version, in the Candy Castle Facebook group, who left off the flutter sleeve and, although it was a simple change, her dress looked gorgeous. I decided to do the same and left off the flutter sleeves on mine making the dress even simpler. I chose to leave off the sash even though I had cut them out and started sewing them up already. I chose to leave the sash off, last minute, once I realized it would cover up the bottom of the bodice including the drawings.
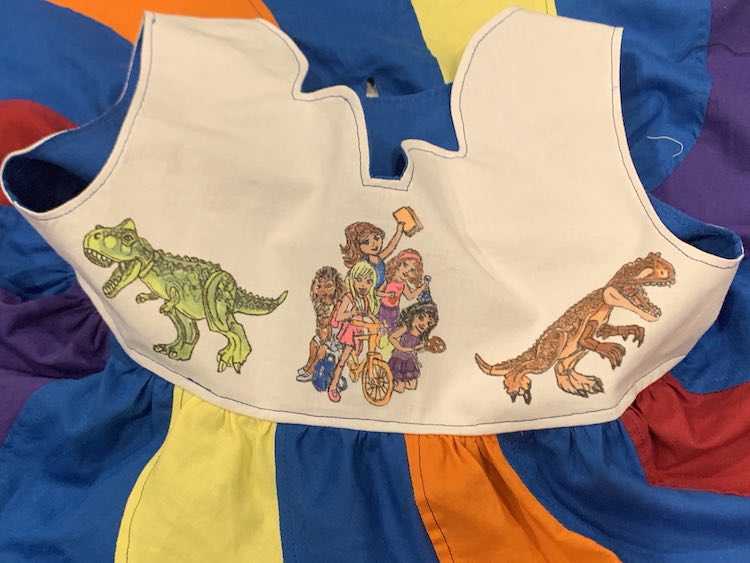
All that was left to do was add KAMsnaps to the back of the dress. Once I started overlapping the edges of the bodice I realized my mistake as one side covered up the drawings on the other side and my perfectly lined up drawings were no longer centered. I realized there was nothing I could do about it and started analyzing which side was better to cover up so less of the image would be hidden. Once decided I overlapped it and used my Crop-a-dile II to punch three equally spaced holes and added my KAMsnaps making sure, this year, to not make a mistake by paying extra attention on which snap I was adding and in which direction.
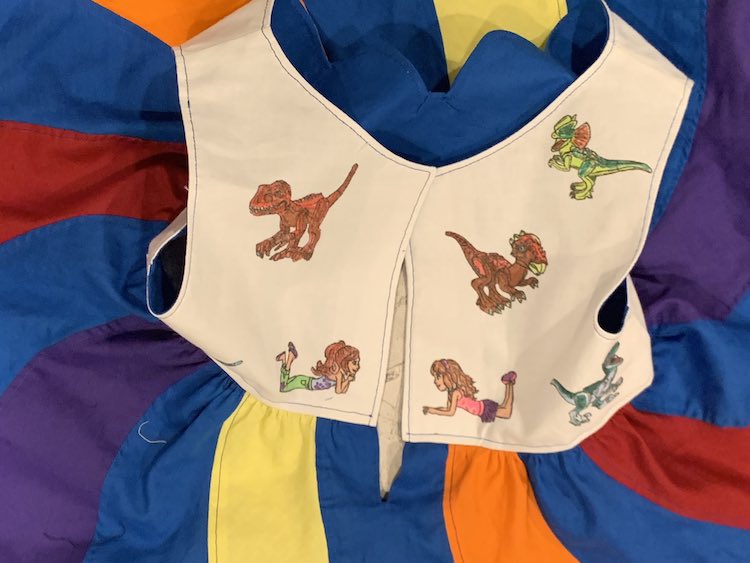
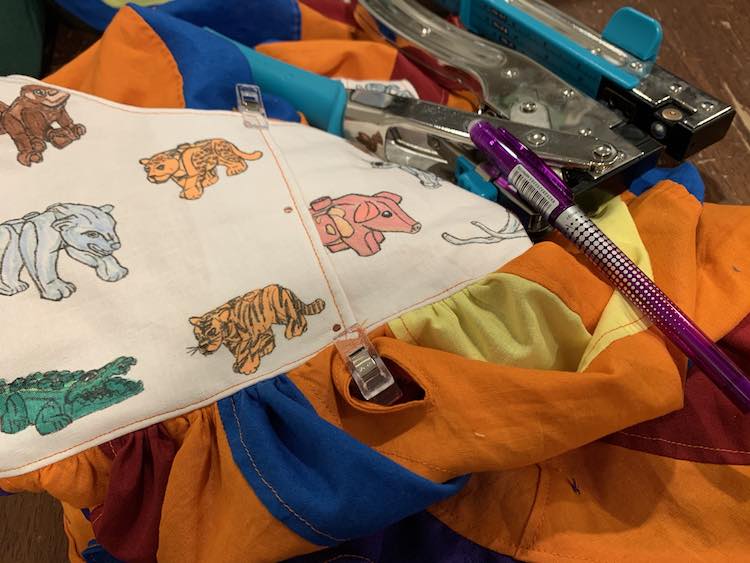
After adding the KAMsnaps to either side of the bodice, and confirming I did it properly, I grabbed the original coloring sheets and tried to sketch in the rest of the hidden image and attempted to match the color to the back image as much as I could. With the snaps in place, and being scared of melting them, I attempted to heat the ink, with my iron, enough to set it.
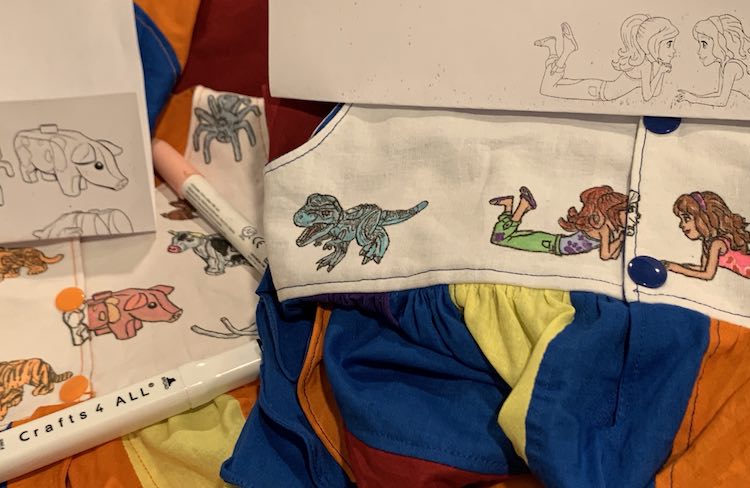
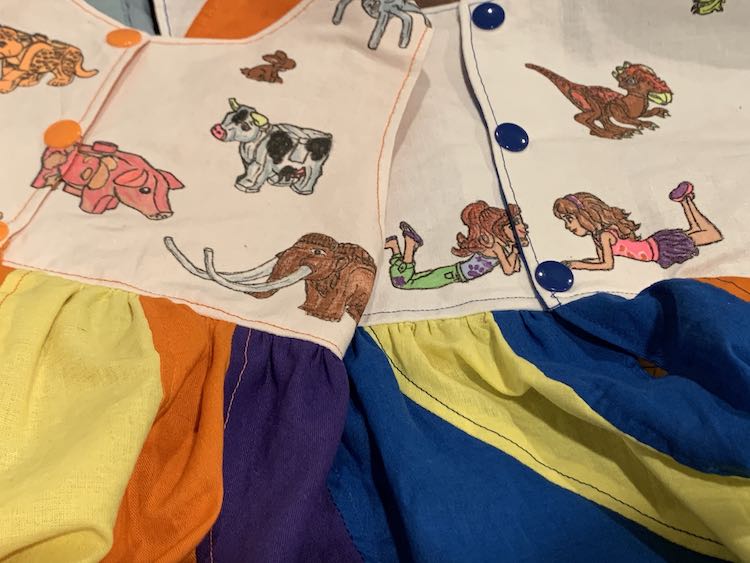
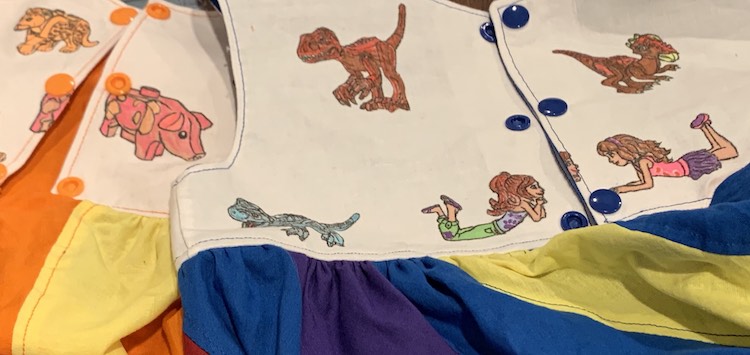
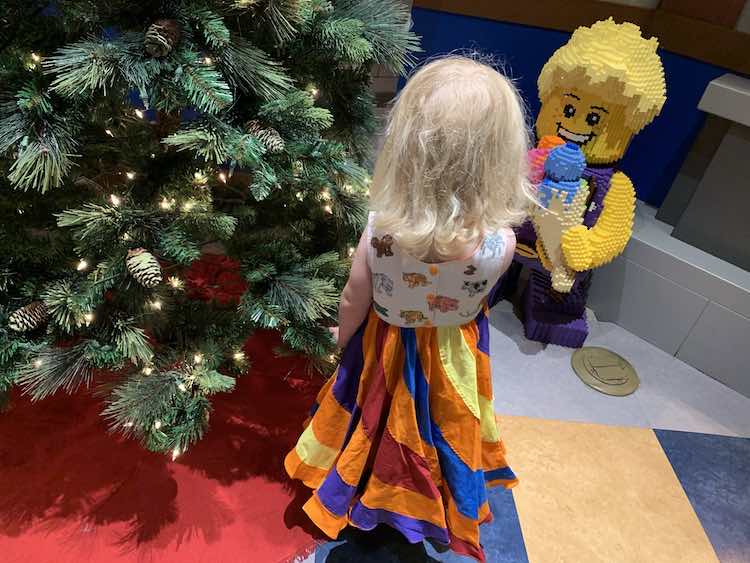
And with that both dresses were finished. I love how, again, both are unique to the child wearing them yet they still match each other. After taking some quick pictures I wrapped them up and packed them in our suitcase to surprise the kids with. Once we got to LEGOLAND® this trip felt more rushed and we spent more time in the park itself. Between that and the fact that the dance party was pajama-based, this time around, we ended up not opening the peppermint swirls immediately and I felt impatient. The second, and last, day in the park it was supposed to rain and since I figured all the rides would be closed anyway the kids got to open the dresses. Because of the rain, and rain jackets, I didn’t get a lot of photos but the kids were so excited to have them and they didn’t seem to get in the way of the opened rides though they did catch more water than a regular shirt and pants would’ve.
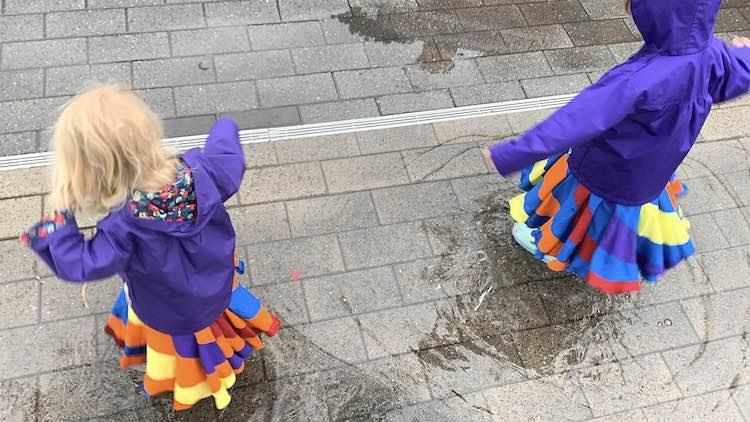
I absolutely love all these dresses and love how each year’s is unique from the other years even though it’s all the same pattern. Although they’re a lot of work to cut out they’re a fun sew and the instructions really hold your hand as you follow along with them. The girls didn’t wear the dresses too often over the year, but with the shelter-in-place over the last months the girls have been pulling the dresses out a lot to wear around the house. I can definitely see making them again this Christmas though I have no idea what theme I should use…. yet.
Have you made the peppermint swirl dress from Candy Castle Patterns yet? Are you planning on making it? If you do, or have, I’d love to see your version. Feel free to share yours in the comments below, on my Facebook page, or through Instagram. If you want to be notified about any future blog updates you can follow my Facebook page, Instagram account, or join my email list. The email list signup is located in the upper left menu, if on a wide screen device, or below, on any device. I hope your week is going well and you’re staying safe and secure.

