
Create an Exciting Playdough World Then Explode a Volcano
I was recently going through all of my playdough related photos to come up with some fun ways to change up playdough play when I came across these two dinosaur activities that both use playdough. I knew I needed to create a standalone post for them as I could see them working amazingly whether your kids love dinosaurs or you use the same idea for some other favorite animal. This would also be great for a fun dinosaur, volcano, Land Before Time, or other themed activity, playdate, or birthday party.
In case you’re planning a dinosaur themed party I wanted to share my other dinosaur related posts with you. Back when Ada turned five we had a fossil dig in our backyard were the fossils, and little dinosaurs, were made up beforehand using salt dough and then buried in the sand. The kids were supplied with dry paintbrushes so they could excavate and clean the pieces. For Zoey’s second birthday we made a simple playdough sensory bin that the kids could stomp dinosaurs through creating many footprints. Or you could go even easier and make a dinosaur swimming pool using a bin and dish soap. The kids used to spend hours outside with their swimming pools and various water-safe toys. Also, for the birthday girl or boy, we once attached a plastic dinosaur to my daughter’s head for crazy hair day in kindergarten. You may need just enough hair to be able to make small ponies so there’s something to connect the dinosaur to.
Create a World Out of Playdough
Anyway onto the first item: the dinosaur, or any other creature, playdough scene. I figured since dinosaurs lived outside I needed to make green, blue, and brown playdough for my girls so I grabbed my go to recipe and got to work. The blue and green were simple enough to make as my neon food dye included both of these colors. If I didn’t have the neon dye I would’ve defaulted to my primary colors, as I bought a large bottle of each years ago, and the blue would’ve, again, been simple as there’s a blue dye. For the green I normally mix equal drops of blue and yellow together. The brown was more complicated as I needed to mix two complimentary colors together to create it. In case you don’t know the three primary colors are blue, red, and yellow. When you mix two of those colors together you get a secondary color so blue and red makes purple, red and yellow makes orange, and yellow and blue makes green. To make brown you have to mix a secondary color with it’s complimentary primary. So if you used green (made from blue and yellow) you’d have to mix it with red, the color that wasn’t used, to result in brown. This means, essentially, you’re mixing all three primary colors together to make brown. The comments on this Food52 post may help if you want photos to better explain this process while this wikiHow post goes over mixing food dye to make brown and then goes on to mention how to make brown using a more natural colorant like cinnamon, ground espresso, or black tea. I’ve used cocoa powder and cinnamon to color and add scent my playdough before but I haven’t experimented with the other methods.
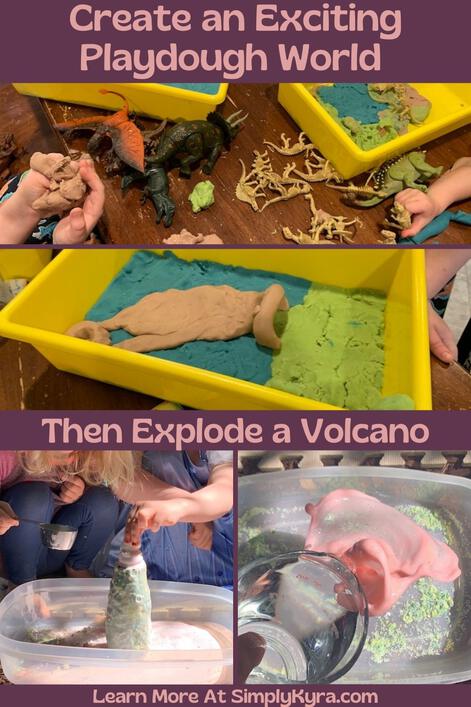
Once I had the three colors of playdough made I had the girls grab their plastic dinosaurs and then set them up with a yellow bin before explaining my idea. I figured the bin would give them a surface to work on, help keep the mess contained, and make their scene portable if we needed to move it in the future. I then explained why I made the three colors I did. I pictured using the green playdough for grass, bushes, and treetops. The dinosaurs also needed a water source so the blue could become a lake, stream, waterfall, or a salty ocean. For the brown I saw tree trunks, sand, or mud. Basically, the scene is only limited by our imagination, and physics, as the kids explore what to make. I then quickly showed them a tree by plopping a bit of green onto a brown cylinder and then got out of their way so they could play. When I took a look at their work a bit later I was amazed by their scenes and, especially, how Ada thought to use the side of her bin to keep her tree upright. Ada had spent her time creating the scene while Zoey had immediately grabbed her dinosaurs and was running stories while changing the scene around them.
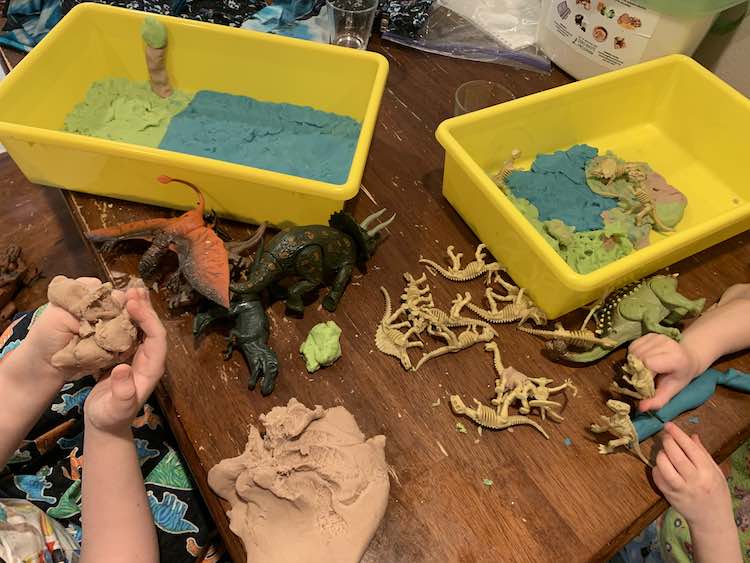
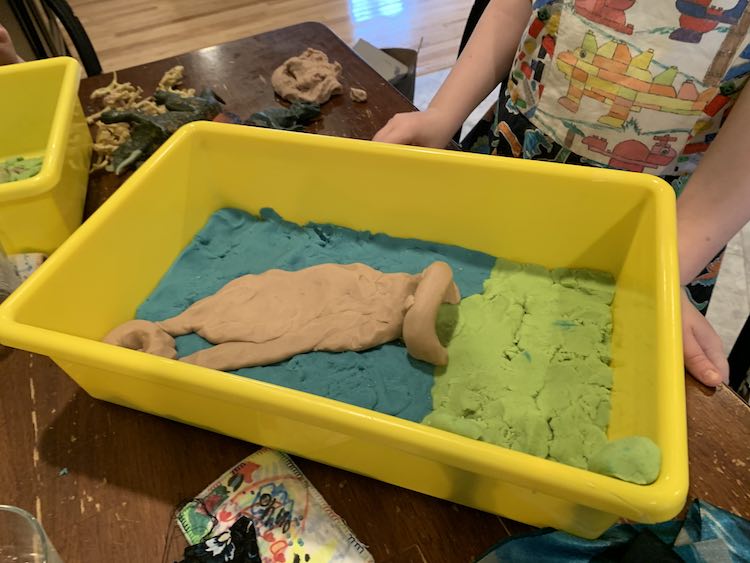
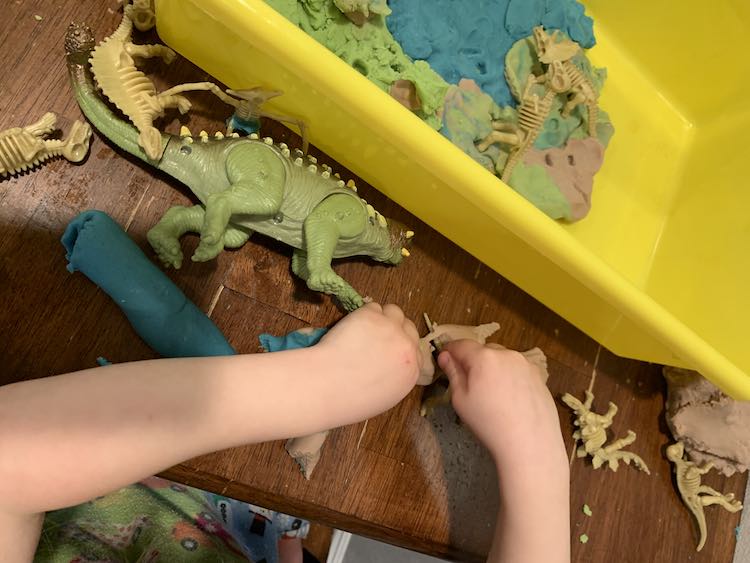
Once Zoey got bored I had her move all of the playdough into a freezer bag so it would stay fresh for longer. I then added dish soap and some water to her bin so she could give her dinosaurs a bath and, more importantly, prolong the play and have her clean up the area. Ada saw how much fun Zoey was having and decided she was also done so she immediately started pulling up the playdough to put it away too.
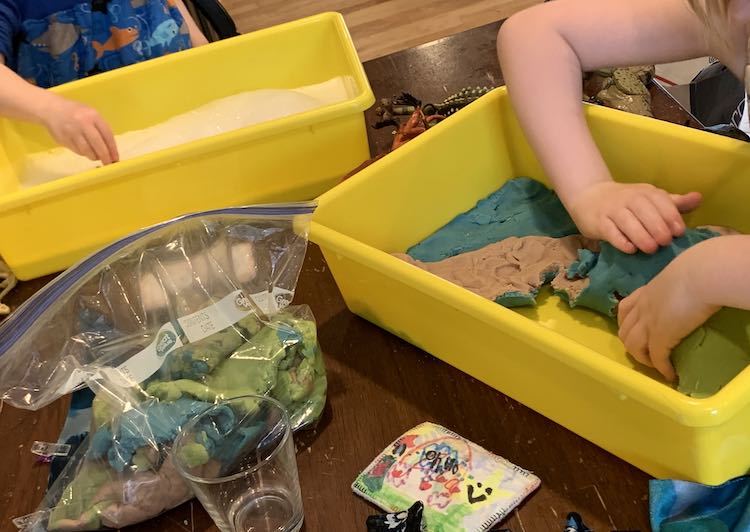
Looking back I’m curious how long Ada would’ve taken to create her scene and what she may have come up with if Zoey hadn’t distracted her. I also wonder if the playdough scene would’ve evenly dried if we had left it out in the sun outside and how much longer they may have played with it.
Create a Playdough Volcano
The most random things we’ve done with playdough, so far, was use it to create a volcano. Going into this I wanted to use up the last of the drying out playdough, as we had played with it several times since the first time, and I had pictured this elegant squat volcano sitting within a playdough scene. I then realized we may want to use something to protect the inside of the volcano as I pictured the kids playing with it again and again. I grabbed an empty Soylent bottle and the kids got to town surrounding it in playdough. They ended up only coating the bottle with a thin layer, and saving the rest of the playdough, rather than creating a large volcano or a scene around it like I had pictured but that worked. Once they decided that they had finished we took it outside, dumped baking soda into the bottle, and then poured some red-dyed dish soap added vinegar into it. It exploded and the kids loved it! I then left all the parts with them so they could experiment with the baking soda, vinegar, and volcano on their own terms. I could see this extending for longer if you brought in the plastic dinosaurs and had them play in the scene and react to the volcano erupting nearby.
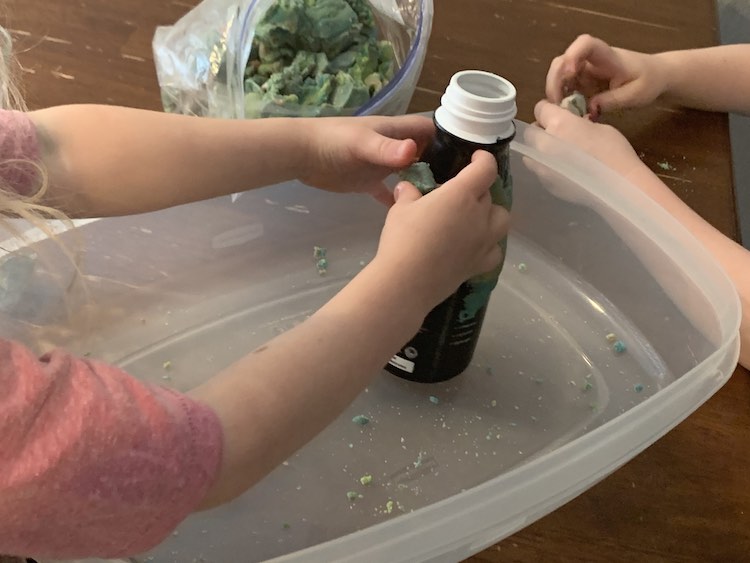
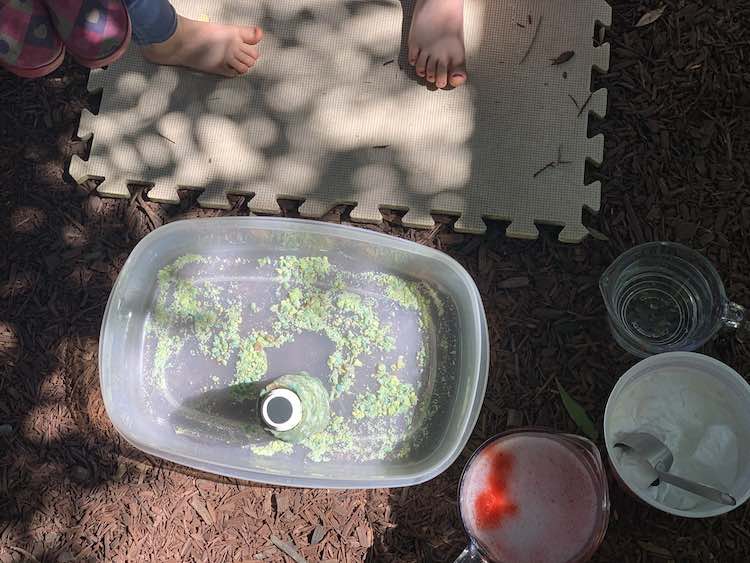
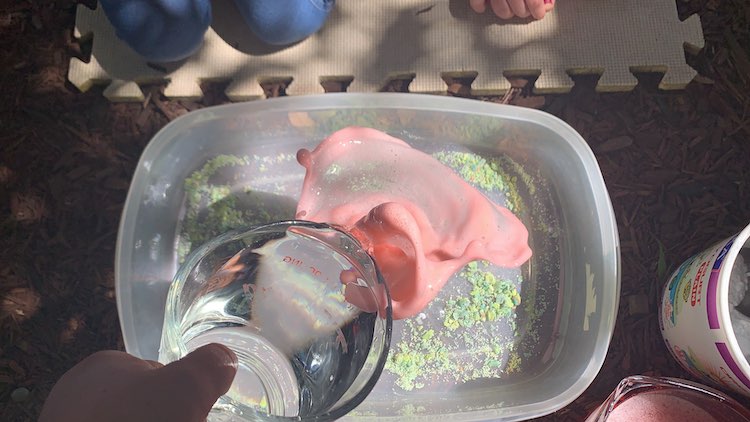
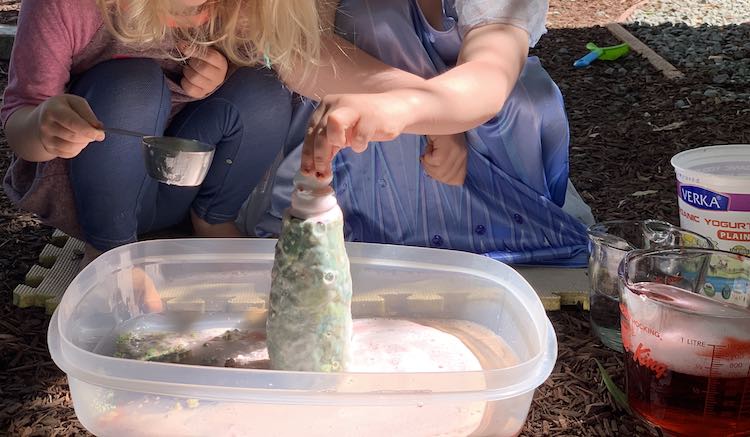
The kids had an absolute blast making the dinosaur scene, playing with the playdough over the next several weeks, and exploring the volcano outside. I’m so glad I thought of combining playdough, dinosaurs, and volcanoes together. Just a word of warning just after this Ada started balking from vinegar-based play for a while as she realized it hurt her hands when she had minor scratches. I wanted to mention this in case your child goes from loving this type of play to hating it without explaining to you why… since I don’t think Ada shared the why right away and I was confused.
Putting It All Together Inside
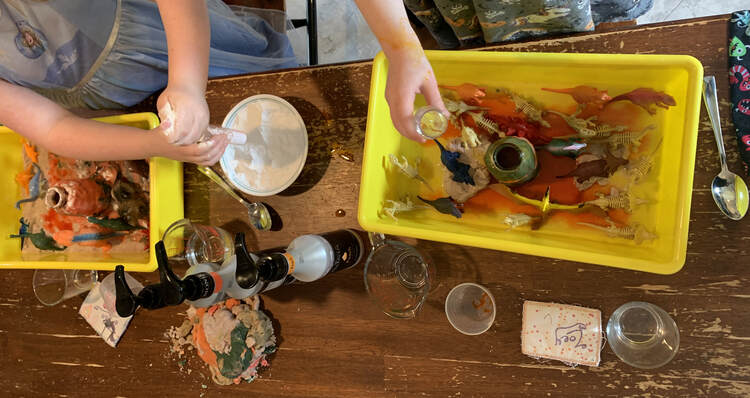
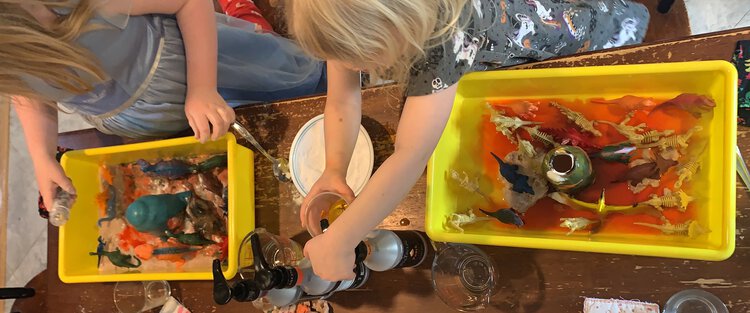
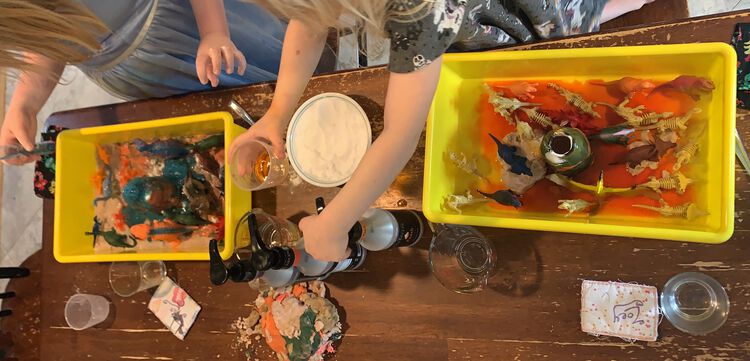
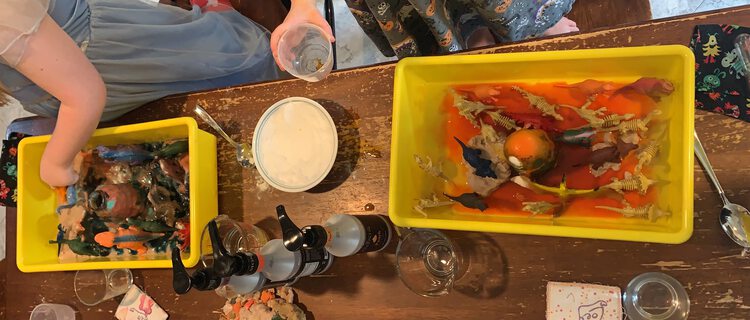
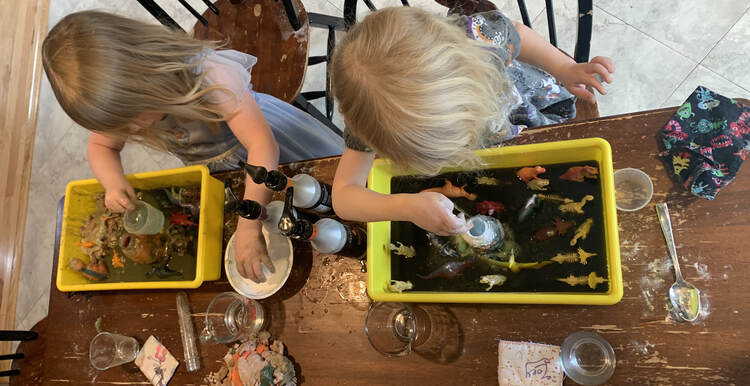
While writing this post I kept wondering why I had never duplicated this activity with the kids since. As we had some old playdough on hand that was getting dry I figured now was the time to recreate the setup. I decided to do it all inside, this time, so I set the girls up at the kitchen table and this entertained them for hours. I’m so glad I was reminded of this activity and I knew I needed to share what we did this time in case it helps you with an alternative layout.
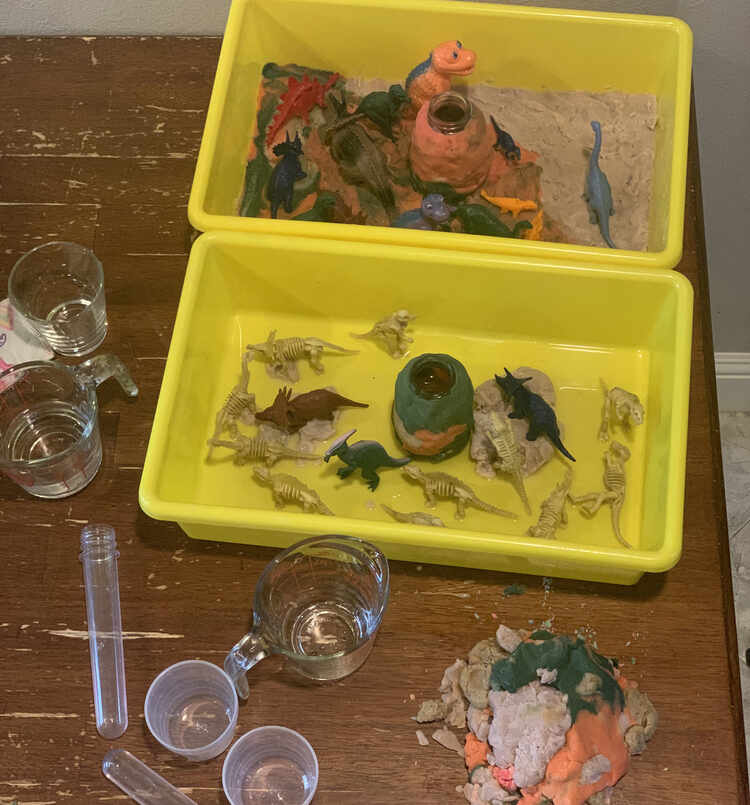
We started out by pulling all of the old playdough, two bins to contain the mess, and some volcano ready jars, vials, and cups. Specifically, I chose a cleaned out glass jar, a plastic vial, and a plastic cup for each kid picturing three differently shaped volcanos in their land and the vague idea of an experiment showing how each container effects the spurt of the lava. However, this was not meant to be as both kids only used the glass jar for their volcano and saved the vial and cup to make it easier to transport the baking soda and vinegar to the volcano.
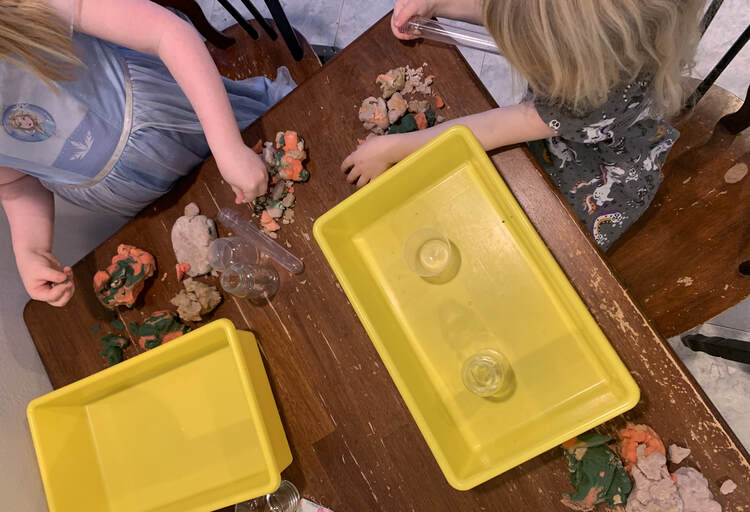
Later on they mentioned the playdough was too dry so I grabbed two one-cup glass measuring jugs, partially filled them with water, and gave them to the girls so they could dampen their playdough letting it stick better.
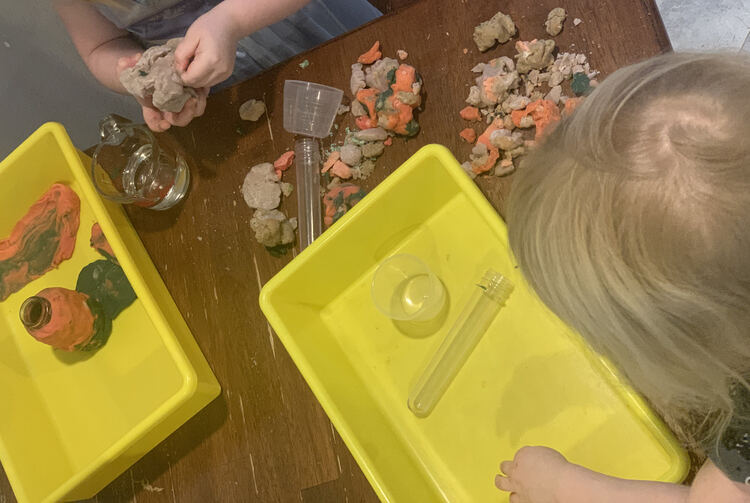
I sat nearby, essentially, leaving the girls alone to create their dinosaur landscapes in peace. By the time I got up and came close enough to see what they were doing Ada had created an entire playdough floor in her bin and coated the glass jar to make a single volcano set in the center. Similarly, Zoey had also coated the outside of her glass jar with playdough; yet, in contrast, skipped creating a playdough floor and instead poured her water out to create a river surrounding her volcano. I love the couple of extra pieces of playdough she added to the water to make rocks.
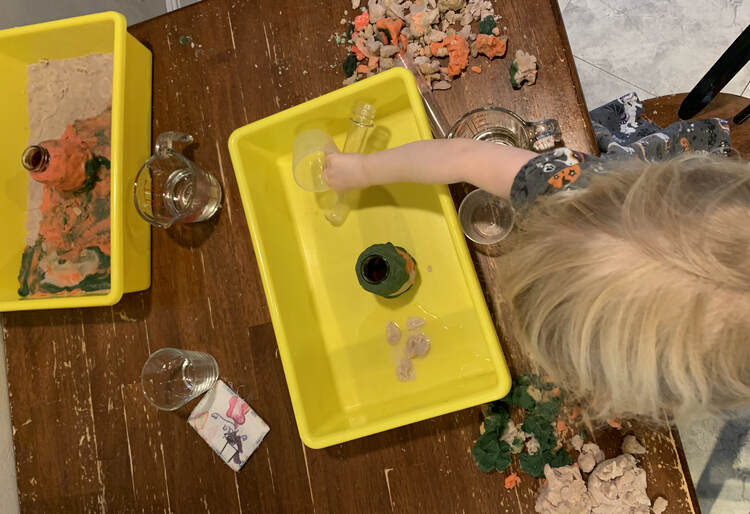
When they were done making their playdough scene they ran to their bedroom to grab some water-safe plastic dinosaurs to properly set up their dinosaur world. Once they were happy with how it looked we pushed it to the side so we’d have the space needed to break for lunch.
Once the kids were ready to continue I grabbed the next set of supplies which included three upcycled pump bottles, vinegar, food dye, a bowl filled with baking soda, and two spoons. I can’t remember exactly how much water-based food dye I added to each bottle before filling it the rest of the way with vinegar; however, I did make sure to have each bottle set to a primary color so the girls could easily mix up whatever color they wanted. After twisting each lid on I quickly shook each bottle and set them, along with the bowl of baking soda, between the girls and then explained to them which colors were in which bottle, gave them each a spoon, and off they went. They had an absolute blast! Ada kept trying different colors of lava while Zoey mostly focused on orange (mixing the yellow and red together) though later she branched out a bit to other colors. When they finally ran out of vinegar I opened up the bottles and poured in more. There had been enough dyed vinegar left in each bottle that their vinegar luckily stayed colored without needing more dye added.
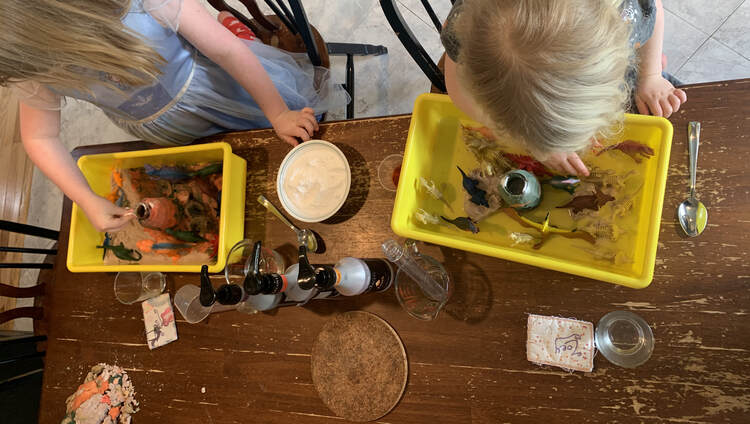
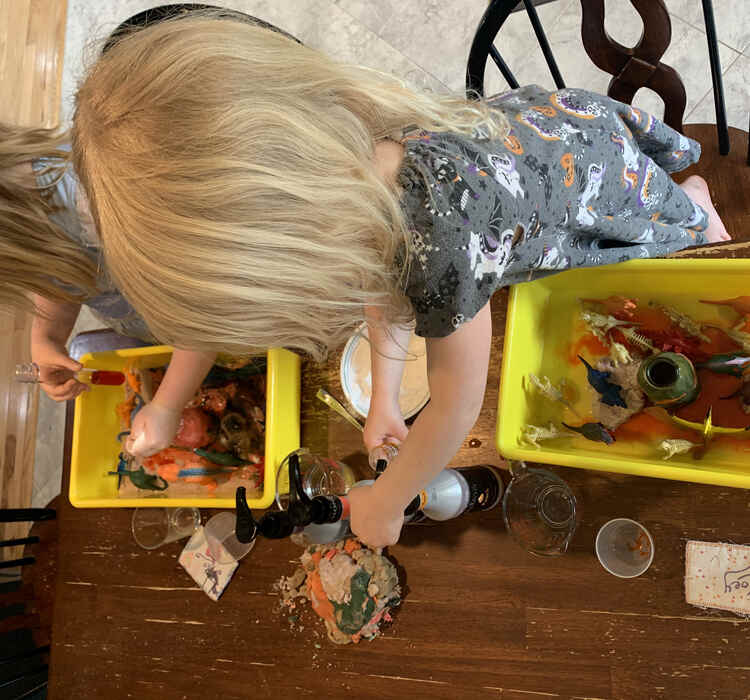
Then they kept scooping, sprinkling, and pouring again and again making many differently colored volcanoes. At what point I heard Zoey exclaim “Woah! Now that’s science!” while Ada quickly asserted that “Hey. I was about to say that.”
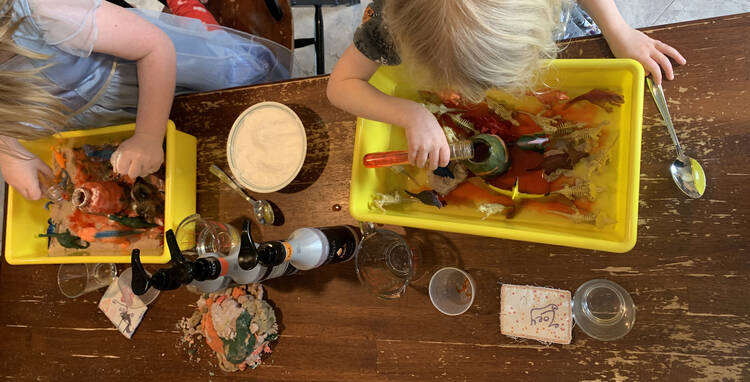
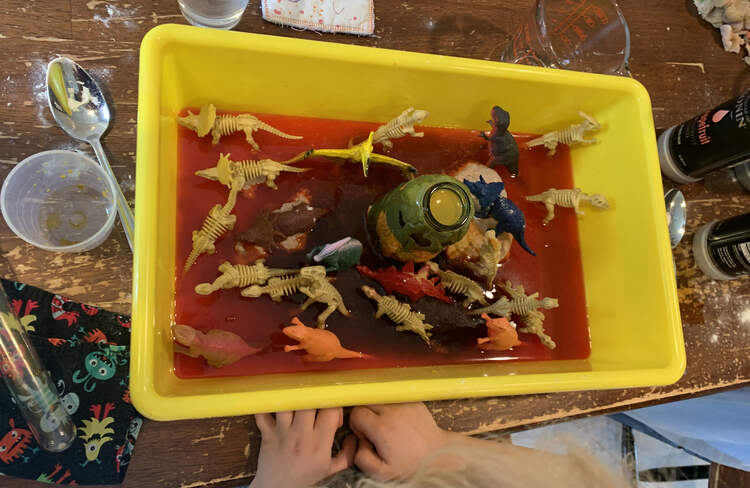
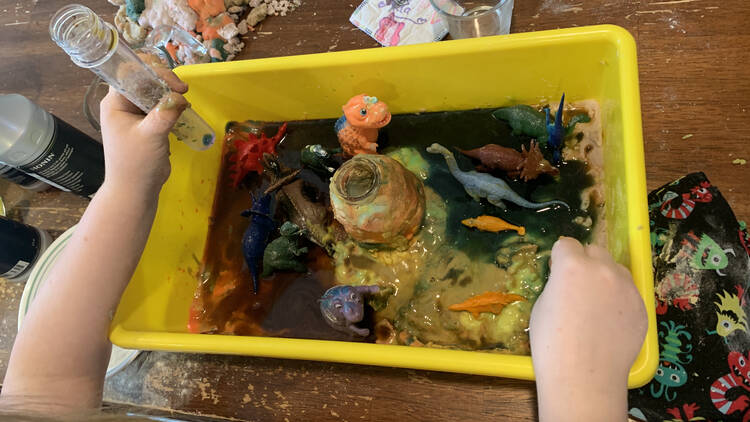
Zoey was the first one to decide she was done. I helped her clean up by pouring the liquid down the kitchen sink before pulling over the kitchen garbage so we could throw out all of the soggy playdough. Once the bin was mostly cleaned out and the dinosaurs were set aside I grabbed the yellow bin, took it to the sink, cleaned it out, squirted in some dish soap, and filled it halfway with warm water. Zoey started playing and cleaning her tools and dinosaurs while Ada continued on in her vinegar and playdough world for a bit longer before asking for soapy water herself. While they played I rinsed out the squirt bottles, set them aside to dry, and threw the bowl and spoons in the dishwasher. The kids had just as much fun cleaning as they did playing. As they each grew tired of the soapy water I had them remove the toys before I swapped the water for plain. I finally laid out two dishtowels, so they could lay out their own toys and tools to dry, before leaving them to play longer.
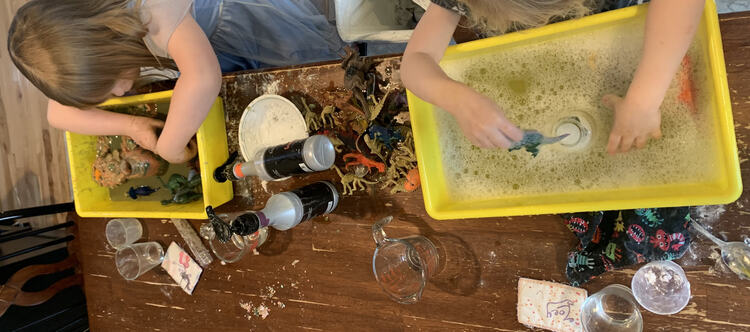
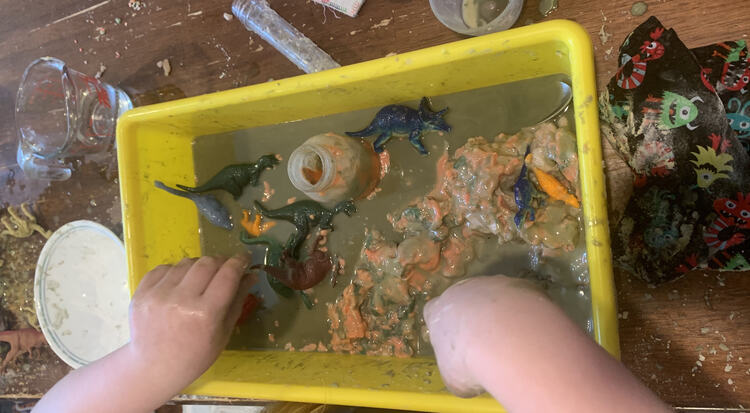
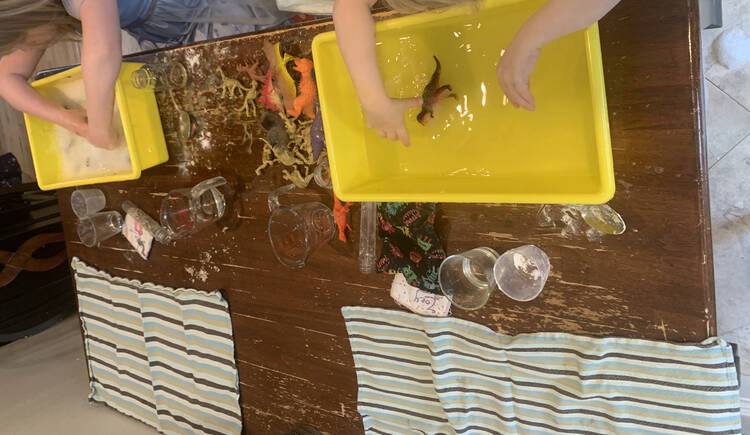
I’m so glad I saved my photos from the first time so I was able to come across them, repeat the idea, and finally share it with you. We ended up only stopping the water play when I pointed out that we were running out of time to watch the promised movie.
Anyway, I hope this helps you out whether you’re looking to branch out on your sensory fun or looking for themed ideas for an activity whether small or large. If you’re especially interested in the baking soda and vinegar explosions I did a bigger version of this at Ada’s science-themed birthday party using three upcycled laundry jugs to hold the dyed vinegar. To keep it smaller, or on a different theme, you could always restrict the vinegar to a single color or change the volcano to some other container like, for example, small pumpkins. If you’re here only for the dinosaurs they have also factored into many other ideas in the past.
I’d love to hear from you if you try this out. Let me know how it went and/or what you changed. Feel free to share in the comments below. I hope your day is going well.
If you’re interested in getting any of my future blog updates I currently come out with a new one every Wednesday and share them to my Facebook page and Instagram account. You’re also more than welcome to join my email list located right under the search bar or underneath this post.

