Create a Simple Double-Sided Printable PDF From Free Images Online
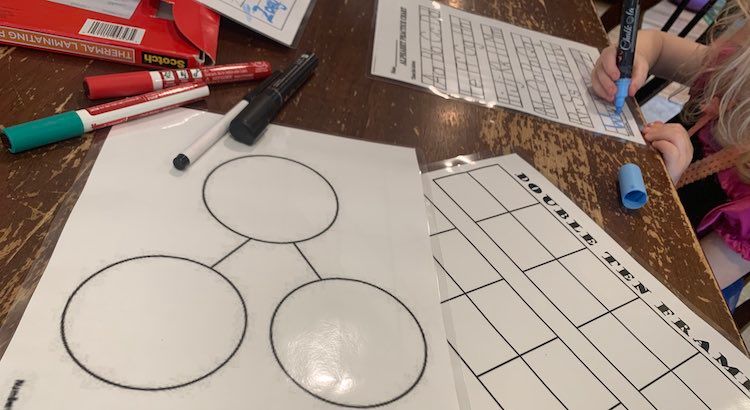
So far Ada is a week and a half into distance-learning, for grade one, and her most frequently used item is a plain piece of cardstock within a protective binder sheet that they’ve been calling their whiteboard. The first or second day of school Ada scribbled on the paper, by mistake, and I had to replace it with a less sturdy piece of computer paper so her whiteboard would, once again, be white for her. Additionally, over that first week I noticed Ada having to create a lot of number bonds and needing to be careful while erasing the contents of each circle so she didn’t have to redraw the whole thing each time. Also at the end of the week, when I picked up her math supplies, I noticed that a little piece of paper with a ten frame on it was included and I wondered how long that would last even if was protected within the binder sheet… spoilers I noticed marker marks on it a day later. Between the whiteboard, number bonds, and the ten frame I decided I needed to come up with my own simple solution so we’d have a longer lasting and simpler material making class easier for Ada. Looking back I could’ve simply printed each image I found onto it’s own page or manually returned each printed paper to the printer so I could have it print double-sided, but I instead choose to create a PDF and I figured I’d share it with you in case you’re also interested.
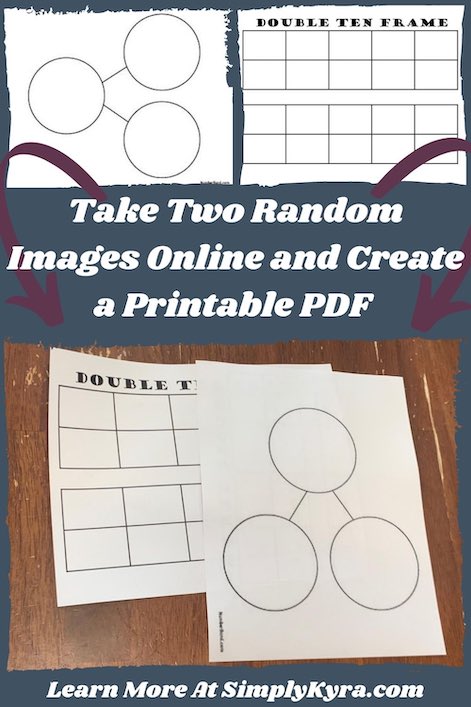
I’m showing you how I created a PDF file on an Apple computer so if you don’t have a Mac some of this will be different. If you have a Microsoft Windows machine this article, from How-To Geek called How to Combine Images into One PDF File in Windows, looks helpful.
All the screenshots, below, were taken on August 21st, 2020. The images I used, ordered by when they appeared, are:
- The simple number bond image was on Pinterest, but when I clicked through it brought me to a free download through Teachers Pay Teachers.
- The double ten frame image was, again, linked to Pinterest but I clicked through and was brought to Printablee.
- The four circle number bond image was a direct downloadable PDF on Google that said it was from Covedale school.
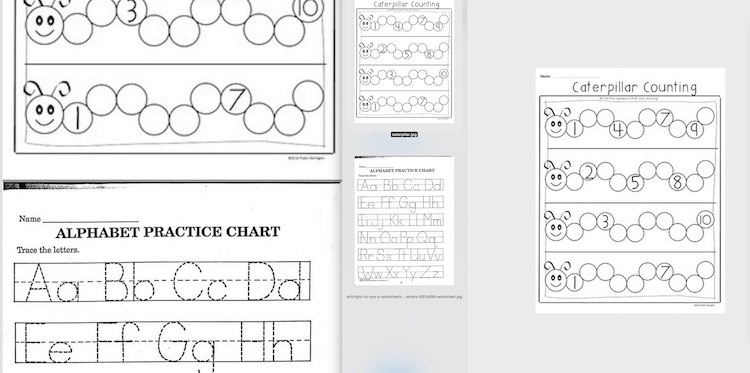
- The alphabet practice sheet was from awarofloves.
- The caterpillar counting page is, again, a free download through Teachers Pay Teachers.
- Create Printables helps you generate personalized worksheets.
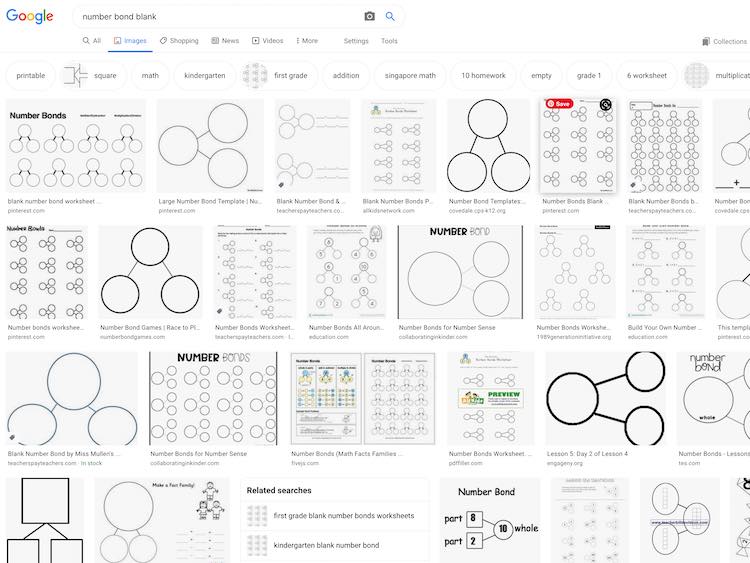
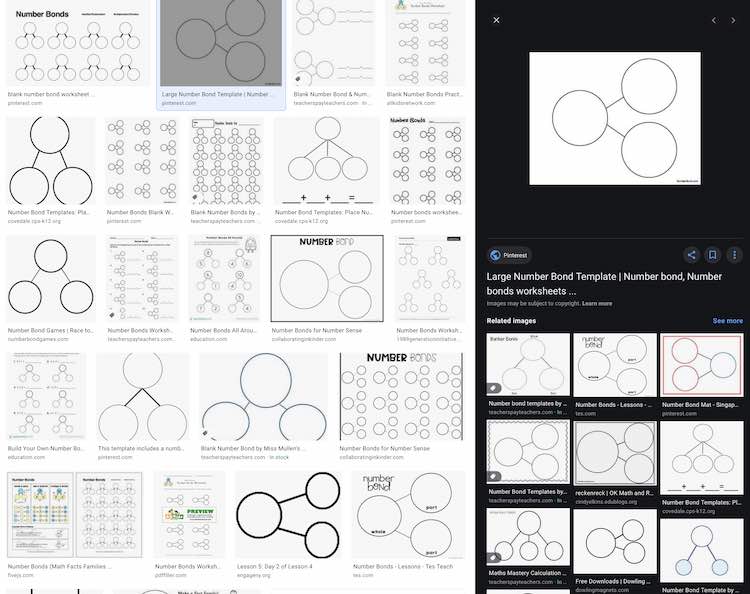
I started out by looking for the images I wanted to use for Ada’s new whiteboard by using the image search through Google. I didn’t want to download anything random from a third party site so I wanted to save the images to my computer rather than downloading files. Through Google, on my computer, whenever I clicked on an image I could see more information about it pop up on the right side of my screen. Once I found an image I liked I right-click on it and chose to save it to my computer. At this point I can use the name it’s already assigned or rename the image to something that makes more sense for me.
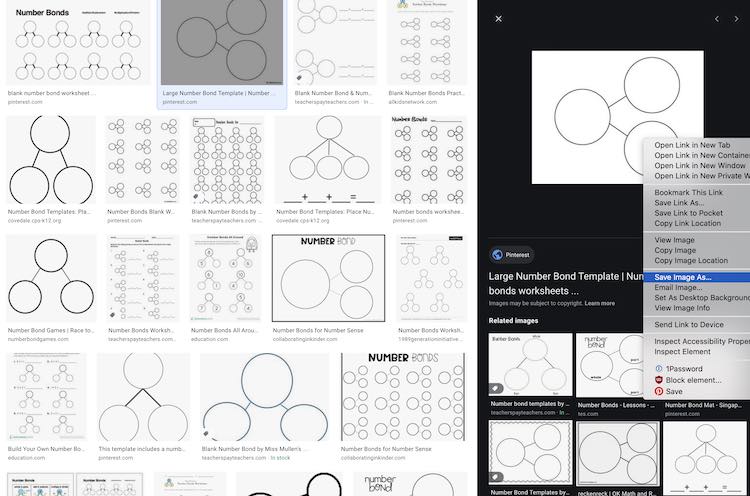
I then followed similar steps to find a ten frame I liked online and saved it to the same folder, or directory, as the first image. You could repeat your image searches many time so you’d have multiple saved images to create your PDF from if you’d like.
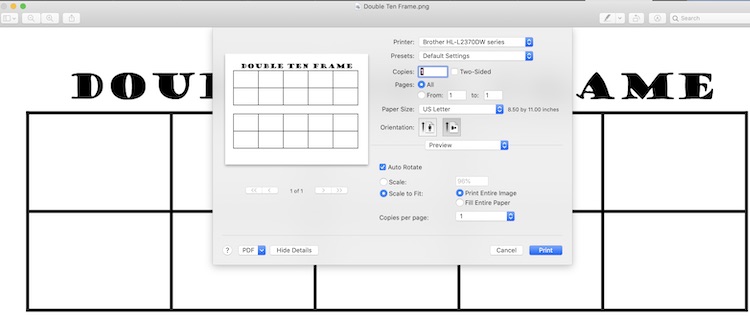
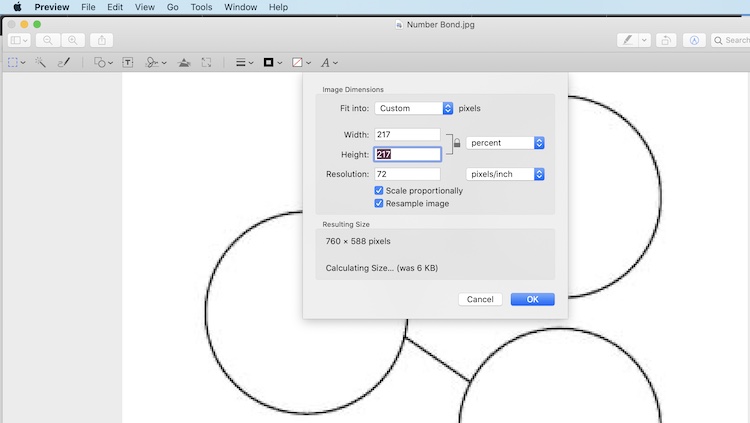
Once I had my images I next opened them up in Preview and went to the print dialog by going to File and selecting Print at the bottom of the menu. You could also press command and then p to open the same dialog. At his point I chose the orientation I would, later, want to print it in, selected Scale to Fit, and then switched between Print Entire Image and Fill Entire Paper to decide which print version I liked better. When switching between these two points the percentage, beside the label Scale, changes to reflect how much you are resizing the image. Any percentage below 100% shows that you are making the image smaller to fit within the paper and any percentage over means you’re making the image larger which could cause the image to pixelate, be blurry, so you might not want to go too high. Remember, at this point, your preferred percentage and then close the print dialog and, under Tools, select Adjust Size… so the Image Dimensions dialog opens up instead. At this point I make sure that the little lock image, next to the width and height text fields, is set to locked so adjusting one field automatically also adjusts the other one; however, if you keep it unlocked, in this case, you can easily set both fields to the same value. Beside these fields I changed the dropdown to percent, rather than my default pixels per inch and then filled in the width and height of the image with the percentage you preferred on the print dialog. Once you’re done click okay so the dialog closes and saves.
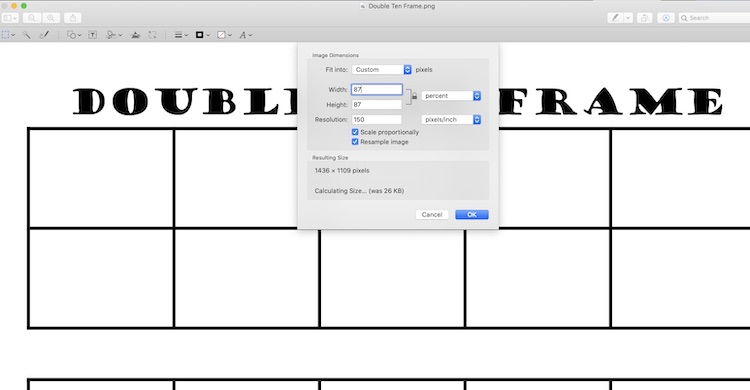
At this point, if you wanted the image to be in landscape mode, you could rotate the image 90 degrees. I, personally, left this step until later when I rotated both images at the same time but if you want some images in landscape and some in portrait mode this would be the best time to rotate them. You can rotate the image by pressing command and either l (to the left) or r (to the right) or you could go under Tools to Rotate Left or Rotate Right. I then repeated this entire resizing process with my other image.
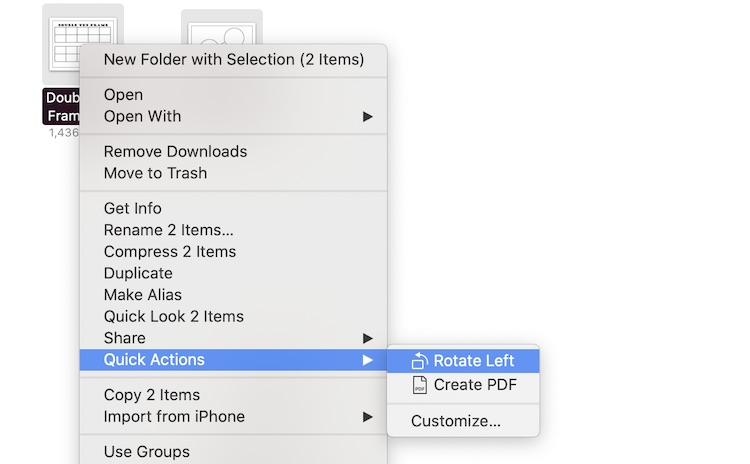
Now that the images have been resized it’s time to create a PDF including them. The first time I created my PDF I realized that the images where both right side up when I wanted them to be sideways for landscape mode so I had to rotate both images and generate the PDF again. Both the image rotation and the PDF creation are found by highlighting your images, right-clicking on them, and choosing Quick Actions; although you can also rotate your image by highlighting it and pressing command and either l or r for left or right. When I was ready to create the PDF I made sure all the images I wanted to include were selected and then right-clicked, chose Quick Actions, and then Create PDF. To select multiple images you can press command, for a single image, or shift, for a range of images, while clicking the images you want so they’re all selected at the same time.
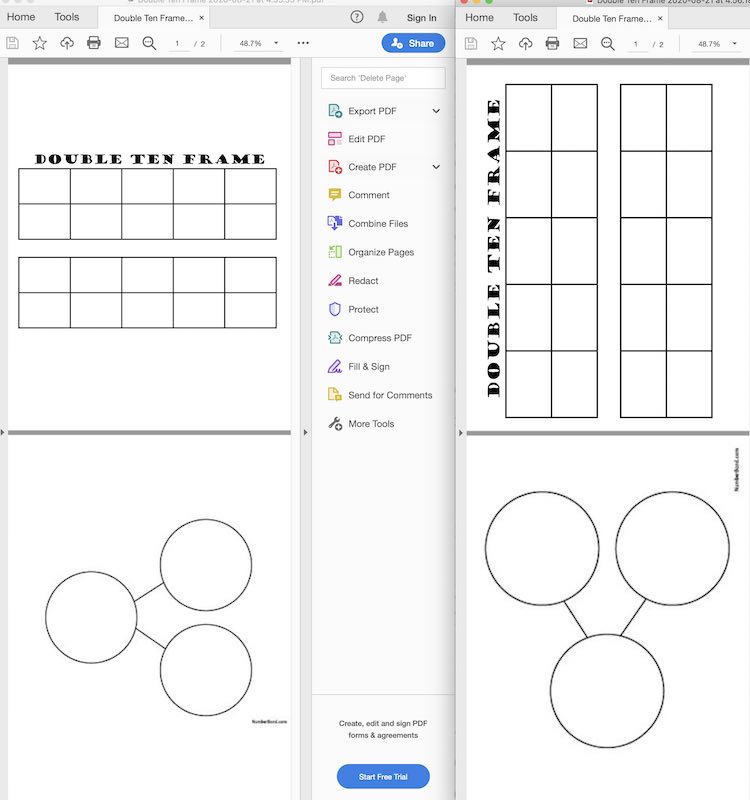
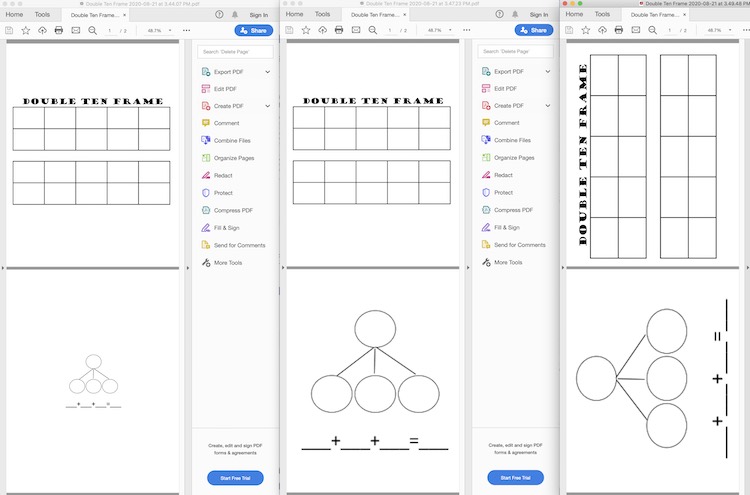
Once you have the PDF file all you have to do is print it now. I went through all these steps because I wanted to print a double sided page and this seemed easier than feeding the paper back through the printer and worrying which side should be up.
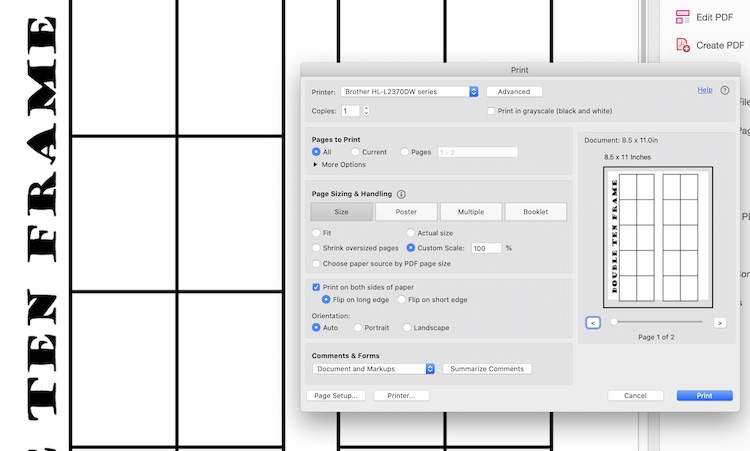
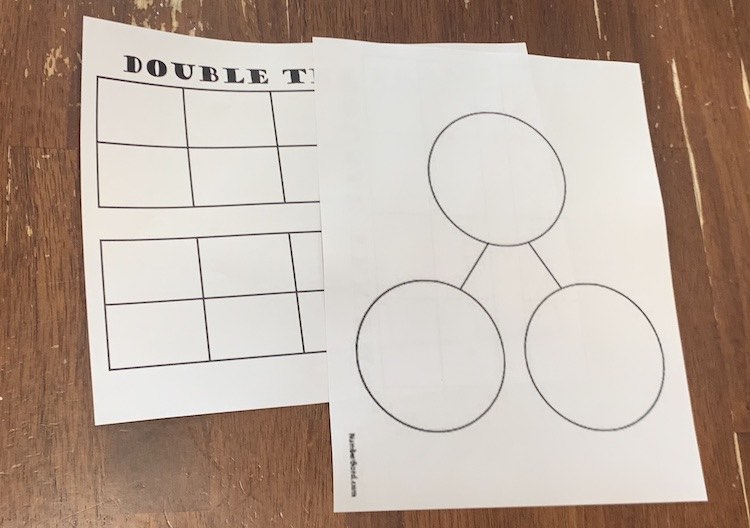
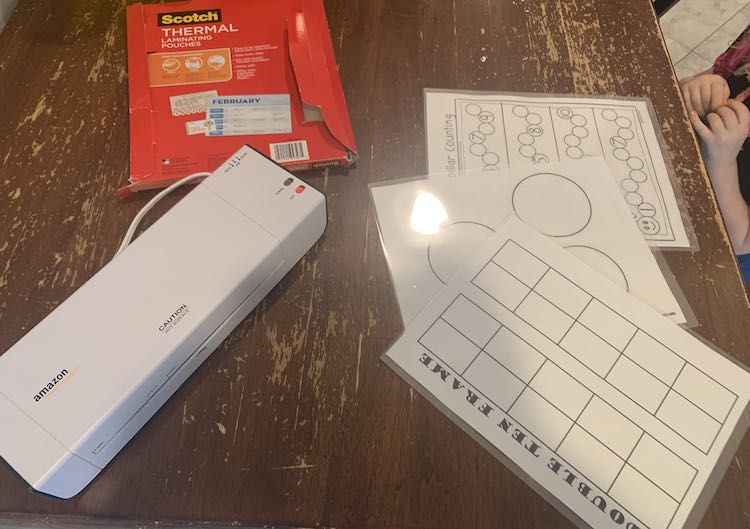
Once you print these out you can either have your kids fill them out directly and print the PDF whenever you want a new one or you could find someway to make them reusable. Ada’s school whiteboard is just a protective binder sheet which could easily be used for this. A couple years ago; however, I bought a laminator and a pack of thermal laminating pouches so I took this a step further and laminated the sheets. This way I don’t have to worry about a protective binder sheet ripping and the kids can use the sheets again and again with either chalk markers or dry erase markers. We’re still using the laminated plain sheet of paper from last year as Ada’s second whiteboard for school and it only has a bit of color staining from heavy chalk marker use.
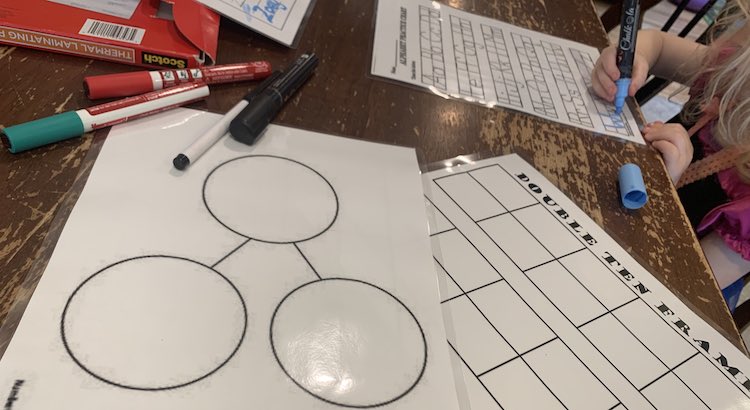
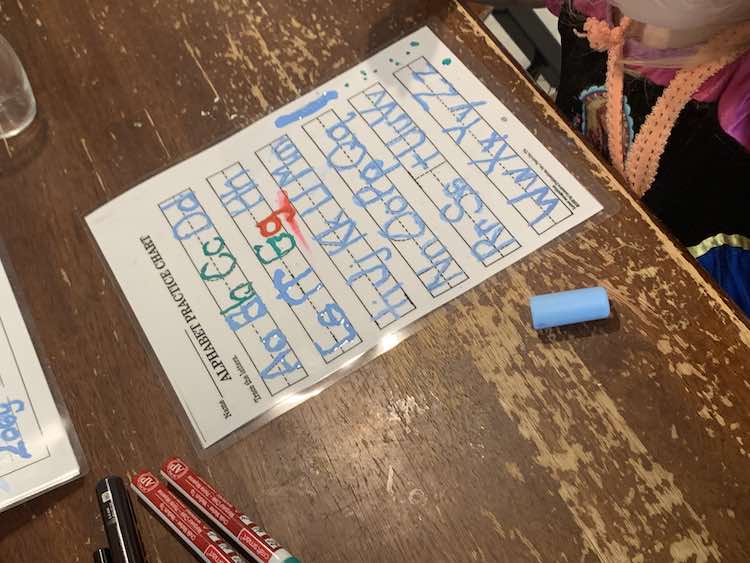
The process to create a PDF from images ended up being a much simpler process than I had expected yet was still more complicated than manually printing each image on a single sheet of paper. I wanted to share how I did it with you though in case you were also looking at generating your own PDF from simple images for your kids. I’d love to hear if you have any tricks or tips with your printables. Feel free to share them in the comments below if you do as I’d love to hear about them. I hope you’re having a great day.
If you’re interested in getting any of my future blog updates I currently come out with a new one every Wednesday and share them to my Facebook page and Instagram account. You’re also more than welcome to join my email list located right under the search bar or underneath this very post.
Did this save you time?

