
Create a Simple Cardboard Changing Pad for Dolly
I’ve recently been going through some of the old ideas I’ve had for my blog and figured I’d share some of them with you now. Years ago I attempted to make a custom-sized diaper for Ada’s crocheted doll which was never completed and was then set aside and forgotten when Ada temporarily lost interest in her dolls. Attempting to use that first iteration; however, resulted in us making an incredible cardboard changing pad so the doll would have something to lay on while Ada changed her. This changing pad was made from leftover cardboard and could be as simple as you want it to be. That said after we took markers to the cardboard we took it a step further by decorating it with confetti, tissue paper, and sealing it all in with clear con-tact paper. Since the changing pad was essentially just a decorated sheet of cardboard it was easy enough to tuck away whenever the kids weren’t playing with it and over the next several years it joined in with the kids’ pretend play. Eventually, once it got too bent out of shape, we got rid of it but looking back I’m so glad we made it.
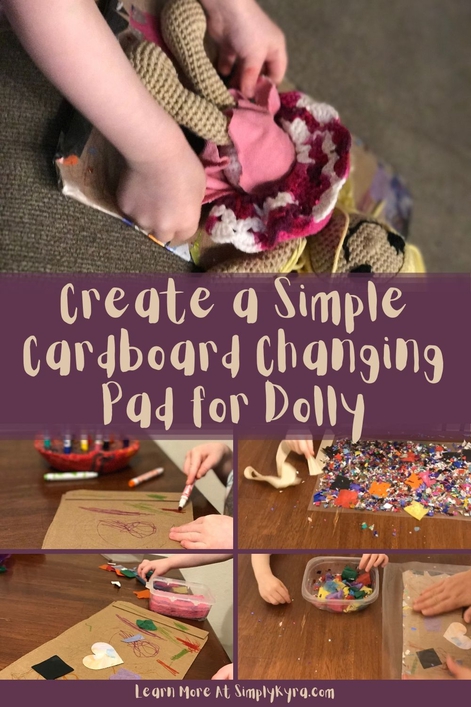
Before making the changing pad Ada had been moving a stool over to our changing table so she could hang out with Zoey and I while watching how I changed Zoey’s diaper. I decided I needed to make her her own doll diaper so I quickly fashioned one using a thin washcloth I cut to the proper size and some sew-on Velcro®. I had planned on using the washcloth created diaper as a pattern to later make fabric diapers but Ada lost interest and I never spent the time to upgrade it. I’m mentioning the doll diaper now as creating that diaper made me also have Ada create a quick changing pad that was portable into whichever room she chose to play in. The changing pad worked perfectly for various ideas and both kids have played with it, on and off, over the next several years.
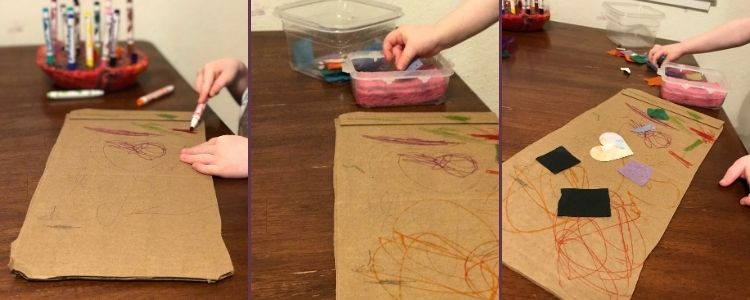
To create the changing pad I grabbed some cardboard we had laying around, cut off one of it’s sides so the piece itself would be rectangular, and then curved the corners so it was smoother. This was a quick and roughly done job. And with that you technically now have a simple changing pad. I decided to this a step further, as I was creating the washcloth diaper, and gave Ada agency over the changing pad by letting her use markers to decorate it. I decided to stick to only markers as they were washable and this way there wouldn’t be any chance of getting crayon wax or something on the doll. At this point we could’ve easily stopped and Ada would’ve had the choice to add more colors and designs at a later time. This didn’t happen. Instead I had gotten started working on upcycling the washcloth to become a dolly diaper and I was on a roll. Ada had decided she was done coloring the cardboard but I wanted her to continue crafting so I could keep working on the diaper. I saw a container of tissue squares and some cut out paper shapes we had made earlier and realized she could glue them down to further decorate the changing pad. I only had white glue on hand and didn’t want an incredible mess but had recently seen a hack where you could use a sponge to make it easier for a toddler to use glue. I quickly grabbed a cheap plastic container I had bought from the local Dollar Tree, added a sponge, and poured some of the white liquid glue on top of it. As a quick aside once we were done I put the lid back on over the sponge and it stayed damp ready to be used the next time Ada needed to glue. We still have this glue filled sponge container in our art trolley and whenever it starts getting dry I pour more glue on it. This is also a perfect way to use the last of the liquid glue in the bottle as you can remove the lid and leave it upside down over the sponge letting it dribble in without wasting any.
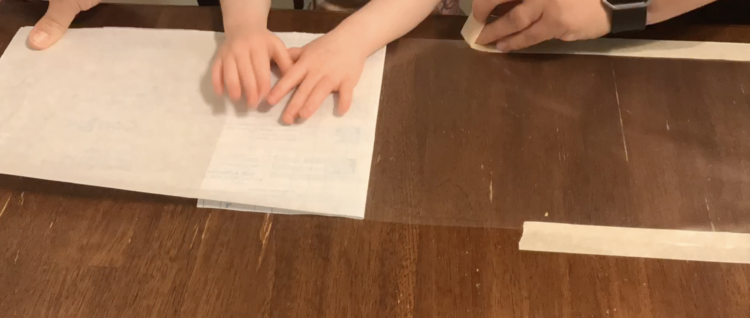
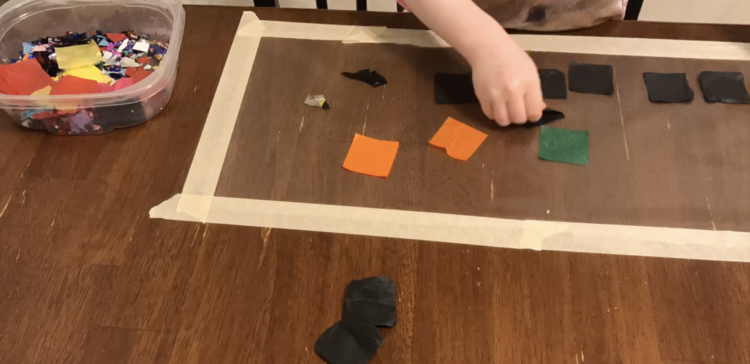
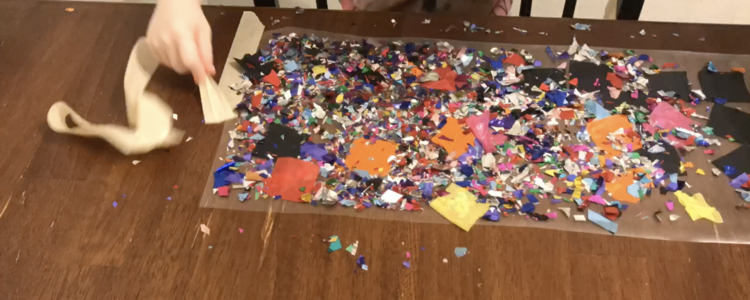
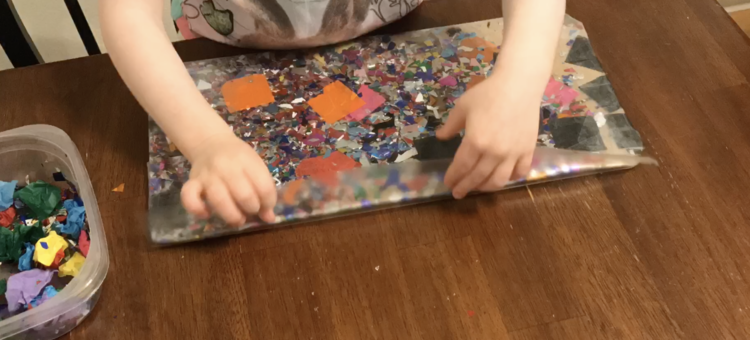
At this point I was able to get back to work on the diaper but I also started worrying that the glued on pieces may fall off over time. I decided to grab a roll of clear con-tact paper I had recently bought and decided to seal the changing pad so it would be secure and, bonus, it could easily be wiped down if needed in the future. I could’ve easily sealed this changing pad at this point using the clear con-tact paper but I decided to let Ada decorate it even more. I had bought the clear sticky paper so we could make window art by attaching tissue squares to the paper and sealing it before hanging it in the window. An example of this can be found at Fun-A-Day. I hadn’t gotten a chance to do this with Ada yet so I figured why not do it now and use it on the changing pad instead. The con-tact paper was a bit wider than my cardboard so I peeled enough off and cut it so it would also be longer than the cardboard too. Then, instead of immediately sealing it, I taped the paper sticky side up to the table using masking tape. Ada was then able to stick the tissue paper and some confetti I pulled out to the con-tact paper without needing to use the white glue. And I was able to finish the diaper muslin.
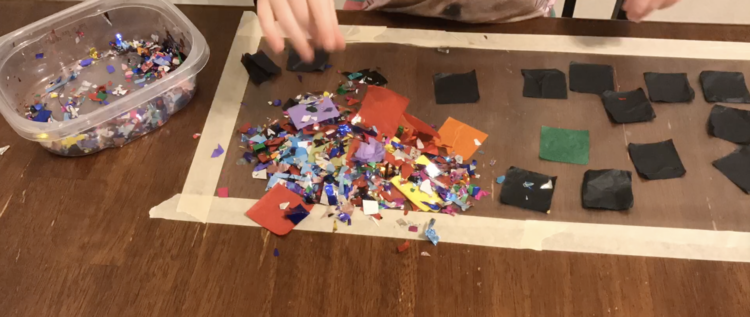
Once she was done I removed the masking tape along the outer edge and went to attach the decorated con-tact paper to the less colored side of the changing pad. I quickly realized that the con-tact paper was too decorated to fully stick to that side but I knew that the edges would stick as they weren’t as decorated because masking tape covered them up earlier. I carefully went along the edges of the overlapping contact paper and clipped it so I could easily fold over sections of the sticky paper and thus hold it in place and seal the edges of the cardboard. Once all the pieces were folded over I cut another sheet of con-tact paper from the roll, removed the backing, and covered the second side with the clear paper. I then flipped it over and, like before, clipped the edges so I could fold it over and completely seal the whole changing pad and help keep the first layer of decorated con-tact paper fully attached.
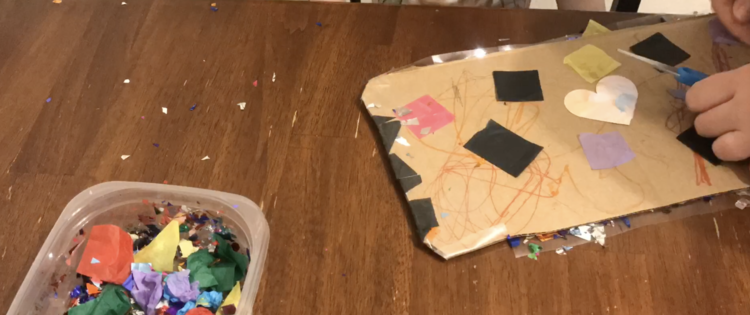
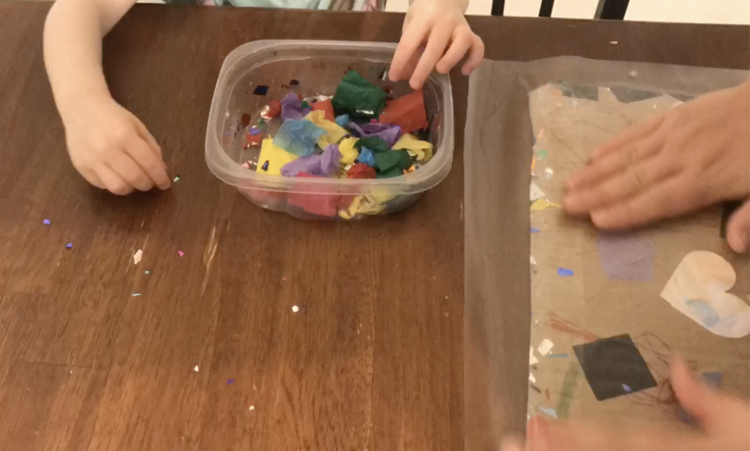
And with that the changing pad was finally done! Within that time I managed to finish the first, and only, iteration of the crocheted doll’s diaper so we went over to the couch to try out the new changing pad and diaper. Ada had a bit of difficulty putting it on her the first time but overall it was a success!
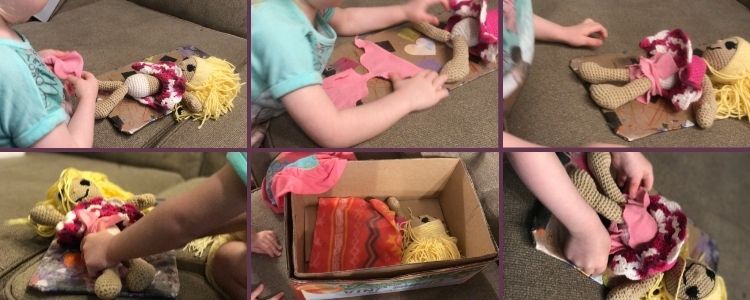
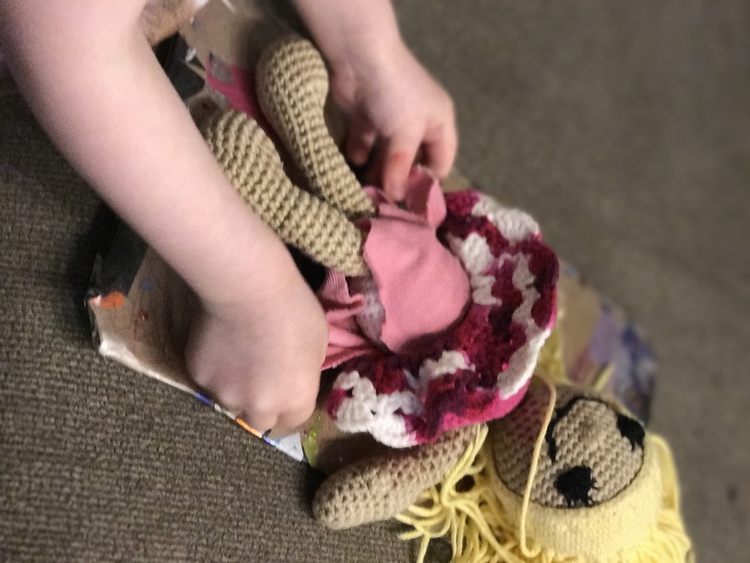
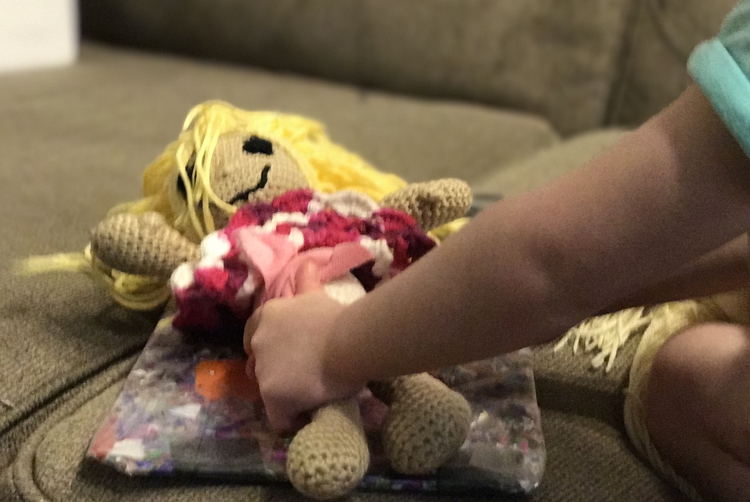
Although this changing pad was eventually thrown out after being folded a bit too many times I’m so glad we made it. Even though the girls were more into dinosaurs and vehicles rather than dolls this did get used on and off over the years. Plus this was a fun crafting project for Ada and I to work on together while Zoey napped too. Although the girls have started being interested in dolls again they don’t have a baby doll with diapers. If that happens I could definitely see pulling out this idea again and seeing how their age and independence changes how they make the changing pad and what it ends up looking like.
Are your kid(s) playing with dolls with diapers? Are you looking at making a doll change pad for them? I’d love to hear if you try this out. If so how did it go? What did you use to decorate the changing pad? And do they love it and use it? I’d love to hear about it so feel free to share what you did in the comments below. I truly hope your week is going well.
If you’re interested in getting any of my future blog updates I currently come out with a new one every Wednesday and share them to my Facebook page and Instagram account. You’re also more than welcome to join my email list located right under the search bar or underneath this post.

