
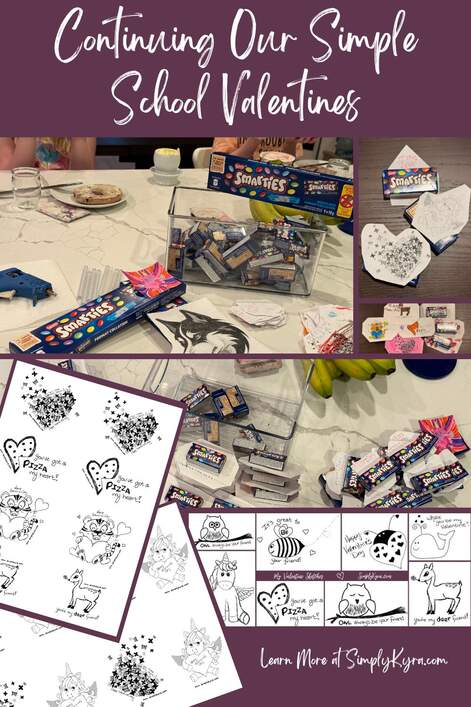
Continuing Our Simple School Valentines

For the last couple years I started making the kids Valentine's Day cards using my reMarkable. Both times around I asked for the kids' input before laying out the final images onto a simple two page printable so each kid has their own page. This means I can easily print out any multiple of that page for either kids' Valentine's Day cards that year without worrying about the class size as much. Last year I shared the previous year's cards and then made sure to take photos of my process that year to share again with you now. Let me know if you want me to continue to make a post of this years in the comments below!
TLDR: Too Long Didn't Read
If you're looking for printable valentines I've created our own. Here's a direct downloadable link to last year's:
... and here's a link to the previous year's post along with its direct downloadable link immediately following it:
Designing the Cards
Drawing
The previous year I started with sketches of what I pictured for the Valentine's Day cards, showed the girls, took feedback, made changes, added more sketches and details, and kept taking feedback until they were happy. This time around it was simpler as I could start with all the sketches from the last year (may have added a couple) before then asking them what else they wanted. This meant we reused several from the previous year but it also meant I was able to take requests. Once the kids were happy with their card choices it was onto the next step.
Laying Out The Images
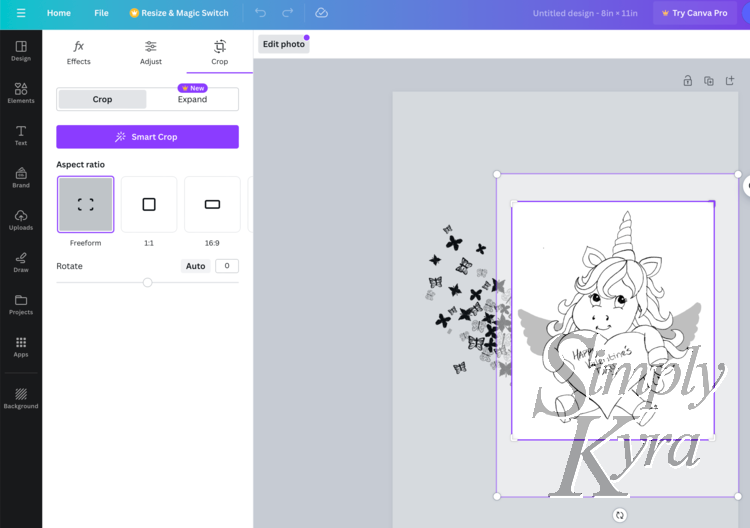
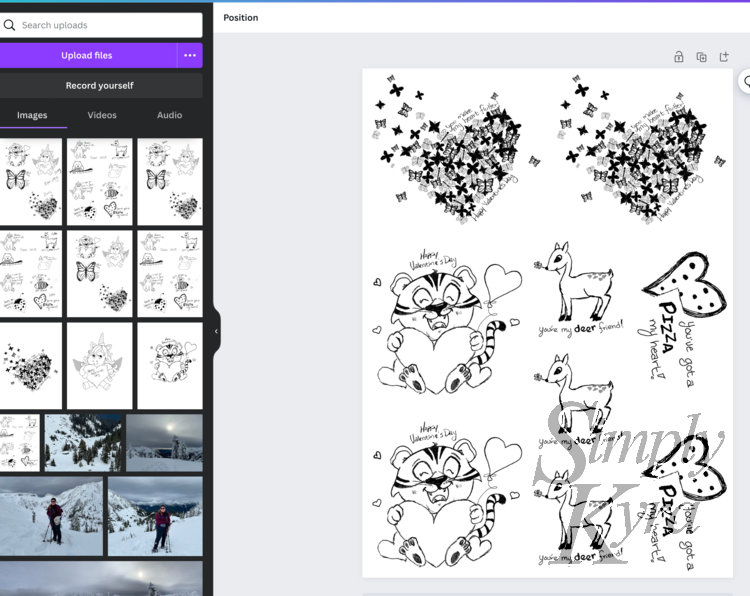
Two years ago I continued to use my reMarkable to reorganize the sketches onto their own pages. The last years; however, I had issue with the reMarkable getting stuck in the loading screen as, I'm assuming, I had too many pen strokes. As such, I changed up my process and instead exported each individual image via email, downloaded them to my computer, and then uploaded each image into a new Canva project with two pages (one page for either girl) where I organized the images so each girl had their own cards organized onto a single easily printable page.
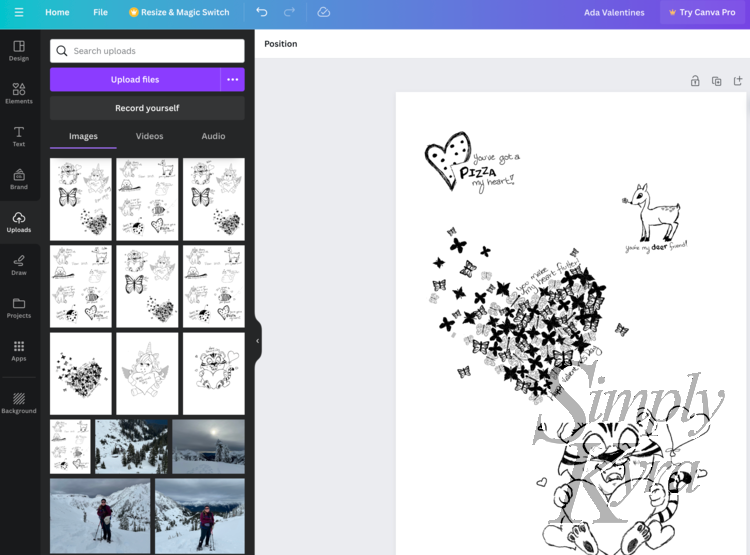

Final Printable
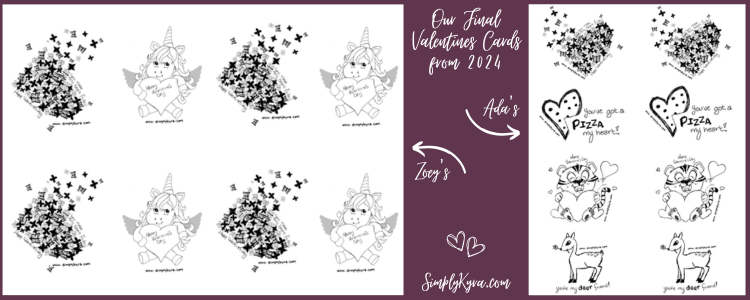
Both final pages have eight images to the page and only need straight cuts. The one has four unique images included twice each while the other one has only two unique images but four of each. Here's the final look:
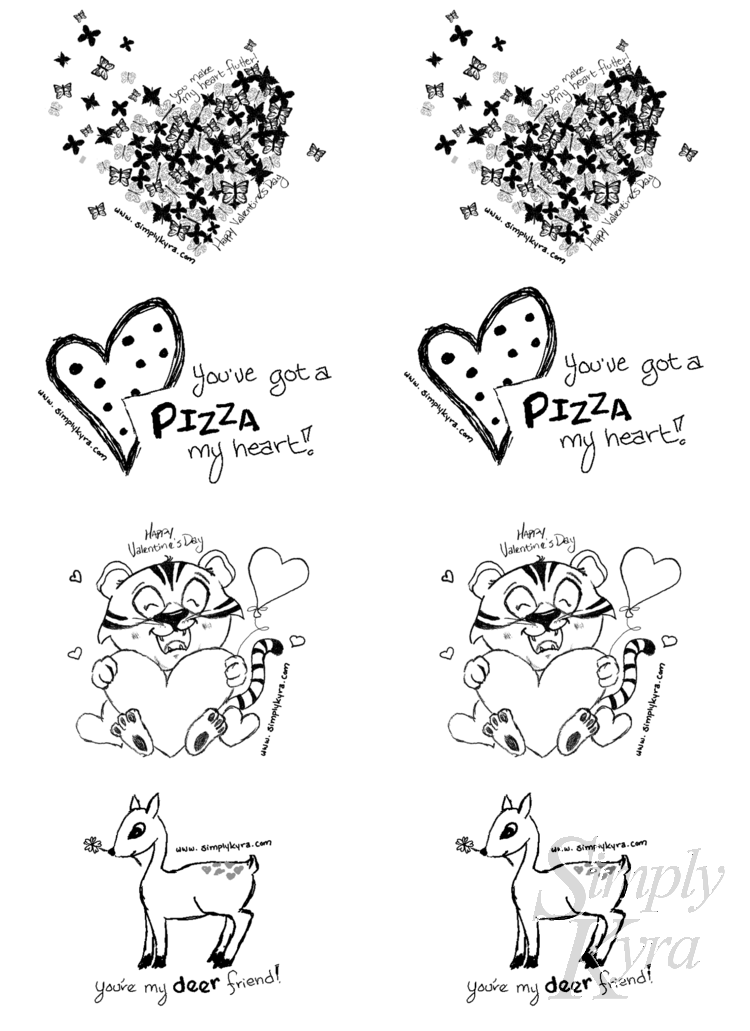
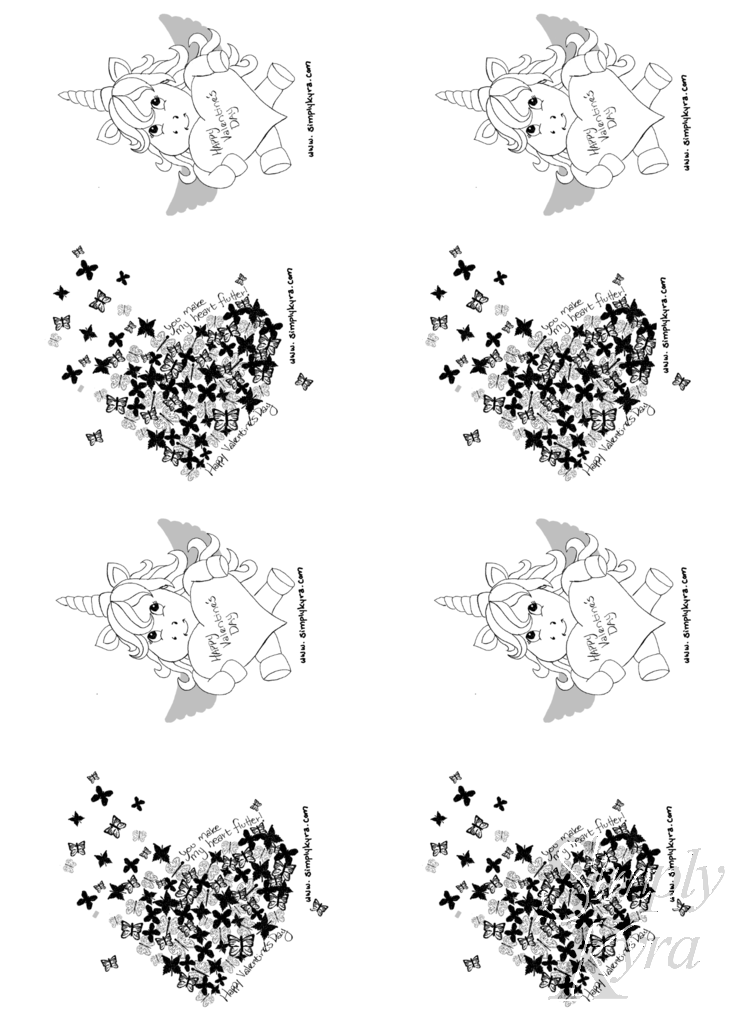
Both printable pages have eight images. The left one has four designs with two copies of each to a page while the other one has two designs repeated for four times each.
Printing
Once you download the printable you can change up your Valentine's Day cards by deciding what paper to print them on. Both years I chose white cardstock as I liked how this paper was thicker and would be more sturdy to add the treats to it. If your kid doesn't want to color the cards I could see getting colored paper too.
I absolutely love that if I print too many cards out it doesn't matter that much and if the kids need more I can simply print off another sheet. At this point they're now they're ready for the kids.
Finishing the Cards
Kids' Time
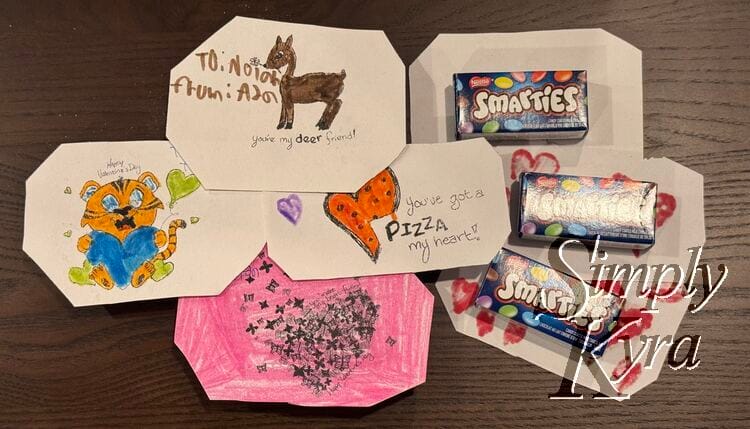
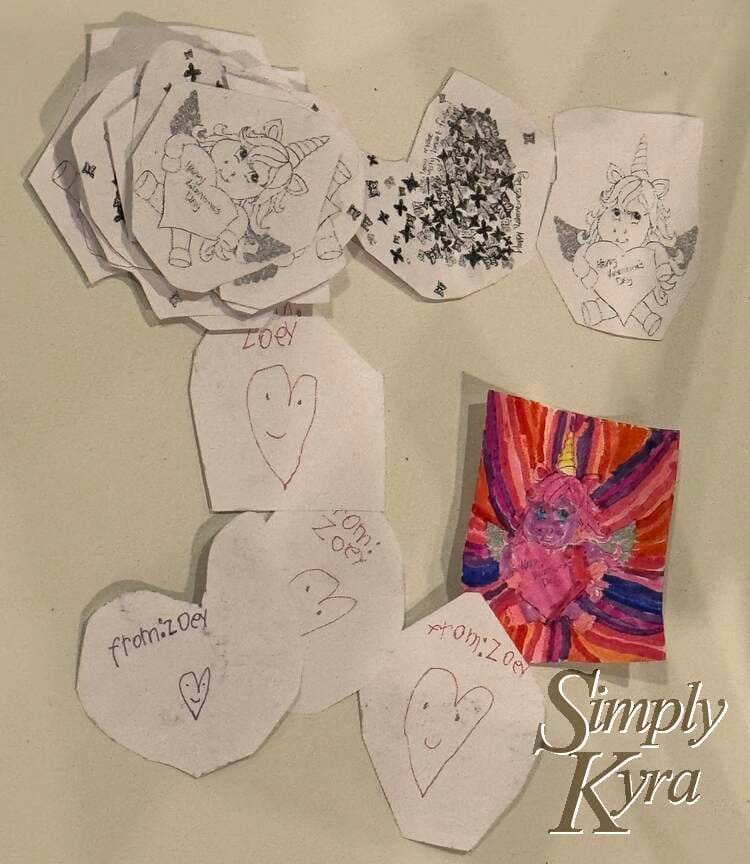
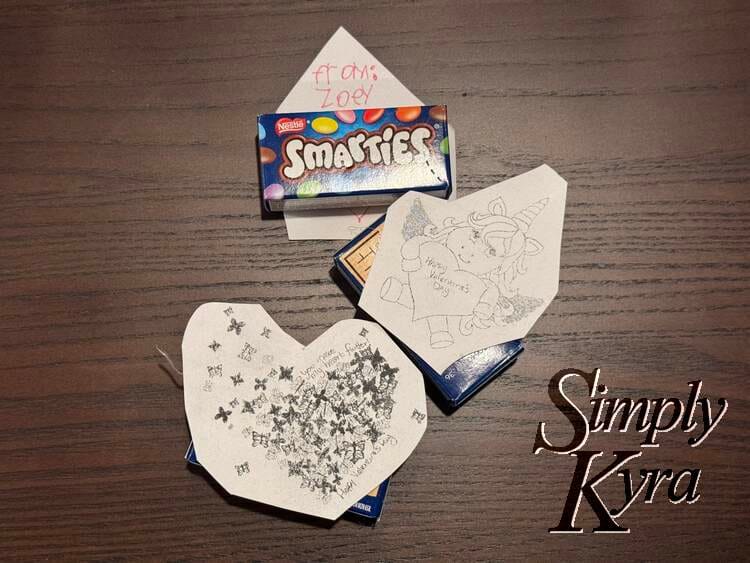
Now comes, maybe, the hardest part. It's time to get the kids to cut, label, and maybe color the cards. I had planned to hot glue a treat to the back of each card so I told the girls to add who the card was from on the front.
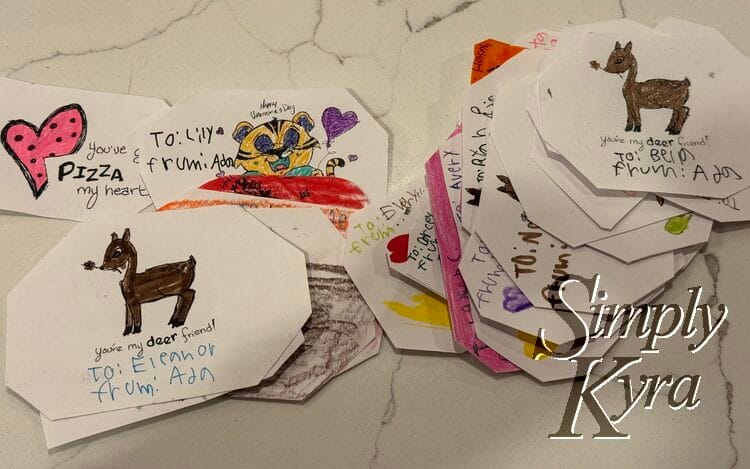
My older daughter asked me for the class list, decided which card went to whom, labeled them with a to and from on the front, and then colored each Valentine. She also pictured something different for her teacher so we went looking online for an image of a husky that we could quickly print and cut. My younger daughter colored one card amazingly before deciding she was done with that. I got her to agree the colored one was for her teacher before telling her she should label who the card was from. She went on and added the most adorable smiley heart to each one too!
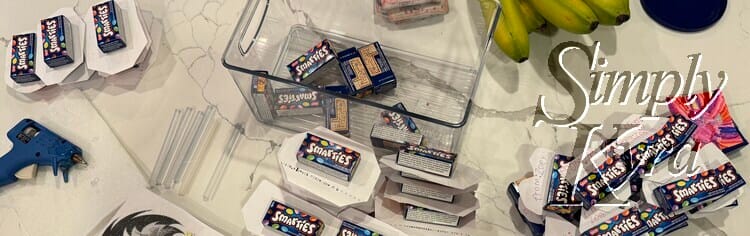
Attach Treats
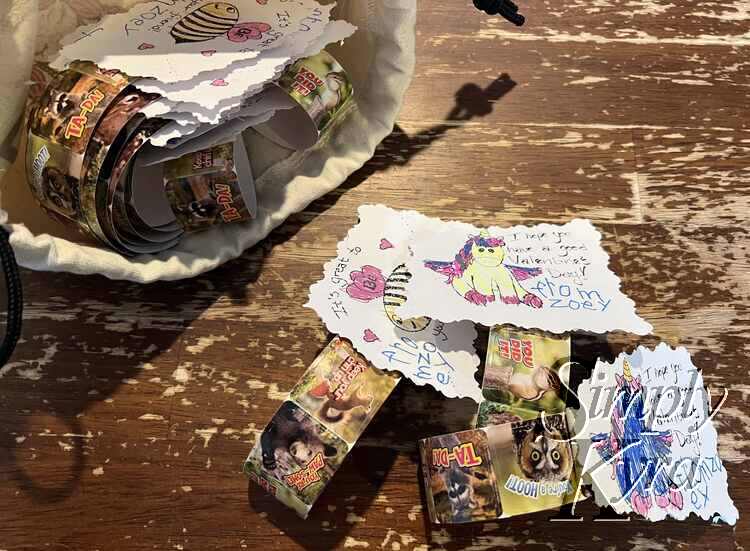
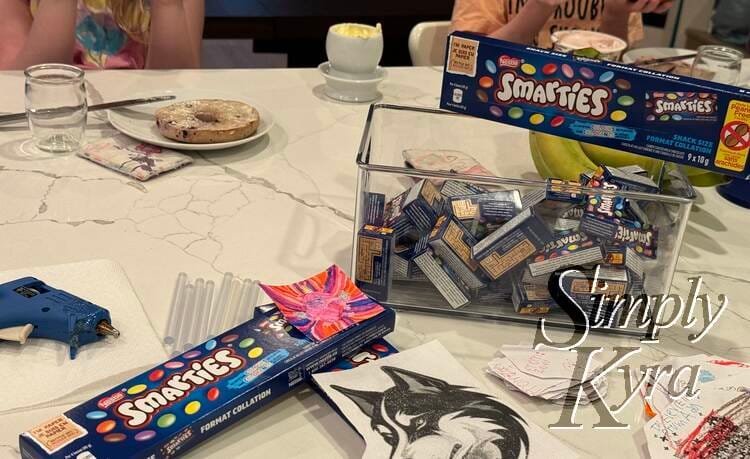
We live in the United States but got grandma to grab some small packages of Smarties the previous time she visited us from Canada. I figured it was a special treat everyone would enjoy, has no nuts, and would be easier to hot glue to each card without the candy coated chocolate potentially melting. While gluing I planned ahead to use gravity to keep the chocolate away from the hot glue by attaching the paper to the top of each box. If you need a different idea, last year, we attached Tootsie Roll Pops (hot glued the cards to the stick) or used masking tape to attach a strip of stickers to each card.
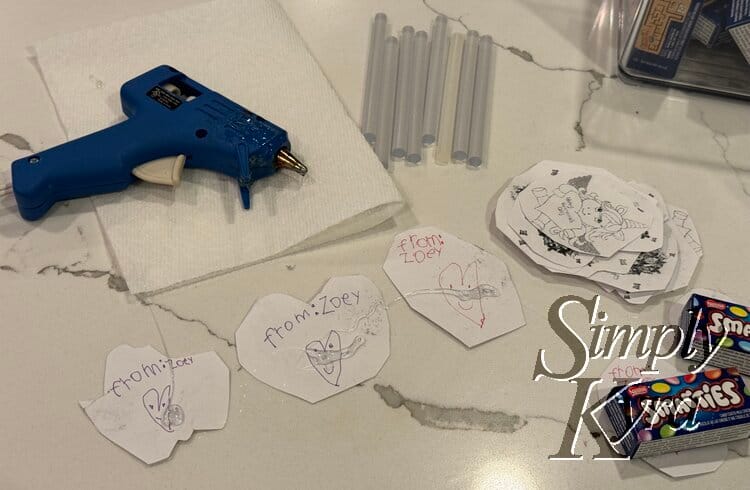
I glued each set of the kids cards in groups of three or four. For each set I laid out the valentines underside up, added glue to each one, and then before glue could dry grabbed the Smarties, flipped a card, and stuck it to the top of the box. I then continued on conveyer style increasing or decreasing the size of each set as I felt confident or noticed the glue cooling too quickly.

Final Valentine's Day Cards
I love how they all turned out!

Downloadable PDFs
2024 (This Post)
Here are the final printable pages with a direct link straight to the download below it:
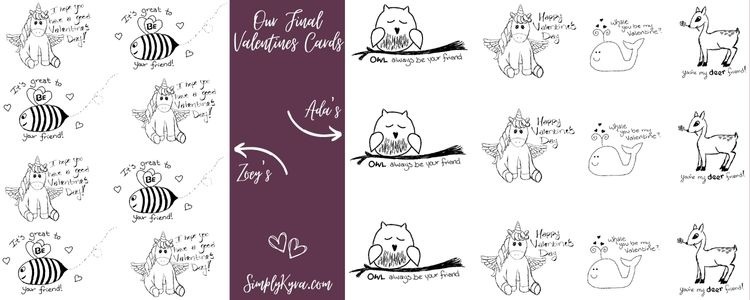
2023 (Previous Year)
If you want potentially different Valentine's I shared the previous year's Valentine's last year. This is what they looked like...
...And here's the link to the post with a direct link straight to the download:
Let me know if you used these and how they turned out in the comments below. I hope it went amazing and you have an amazing Valentine's Day!
If you’re interested in getting any of my future blog updates I normally share them to my Facebook page and Instagram account. You’re also more than welcome to join my email list located right under the search bar or underneath this post.