
Check Out Ada's Amazing "Pretty Pink Princess" Halloween Costume
Back in September I asked the girls what they wanted to be for Halloween as I wasn’t sure how long it would take to create whatever they pictured or even if they’d need time to decide. Ada quickly told me that she wanted to be a Pink Princess for Halloween and since then hasn’t changed her mind once. When I got her to define what a Pink Princess entails she replied that it included a pink dress and then listed three items she already owned including her flower crown headband, a pink necklace, and her sparkly running shoes. Over time some things were altered from her original vision but I’d like to think it turned out pretty awesome.
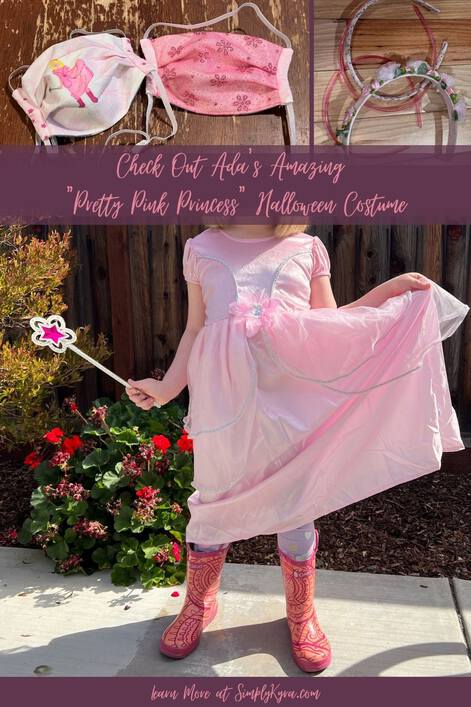
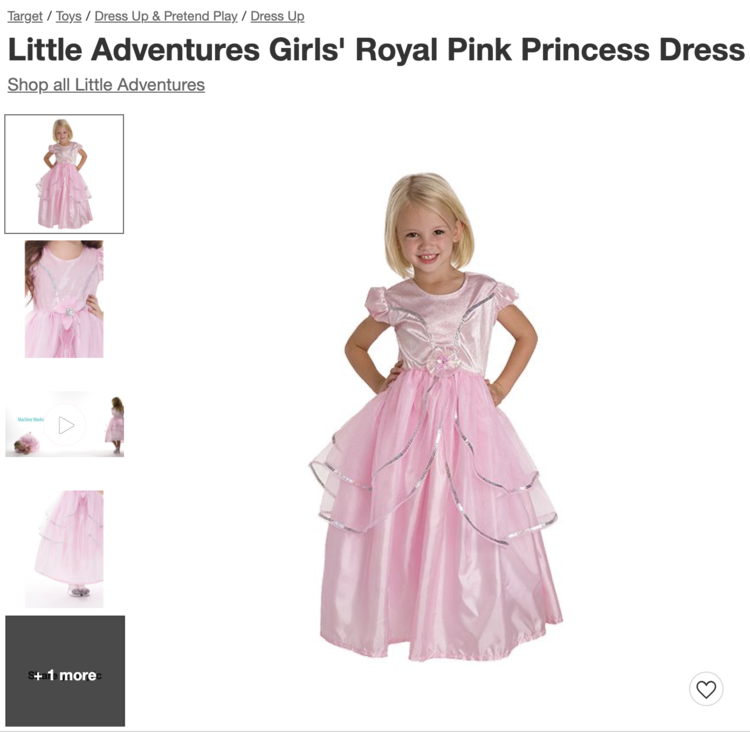
At first, once Ada told me her choice, Zoey immediately said she wanted to be a rainbow princess to match her, but over time that changed to Princess Skateboarder. Between Zoey’s costume and the fact that I have no desire to make a sparkly, tulled, and/or flouncy costume I decided to hop online to look for store-bought options for Ada’s pink princess dress. This way it would be simpler for me and make Ada feel spoiled. I had originally hoped to find something through Costco as we absolutely loved our previous costumes from there including a fire fighter costume (that generated a matching homemade firetruck), Ada’s Wonder Woman costume last year, and a rainbow unicorn dress up costume. At first I was excited by Costco offers as they had several pink fairy costumes which would’ve been perfect as Ada wanted to include her flower headband in her costume as a crown and so a new flowered crown would’ve been perfect to go with the dress. That said I like to buy my costumes a bit big so they can be enjoyed as a whole or in parts after Halloween and Ada had just about sized out of their selection. As such, I debated making her dress myself for a hot second and then found the perfect dress on Target’s website that Ada absolutely loved for $32. And with that the dress was decided, ordered, tried on, and hung up for Halloween.
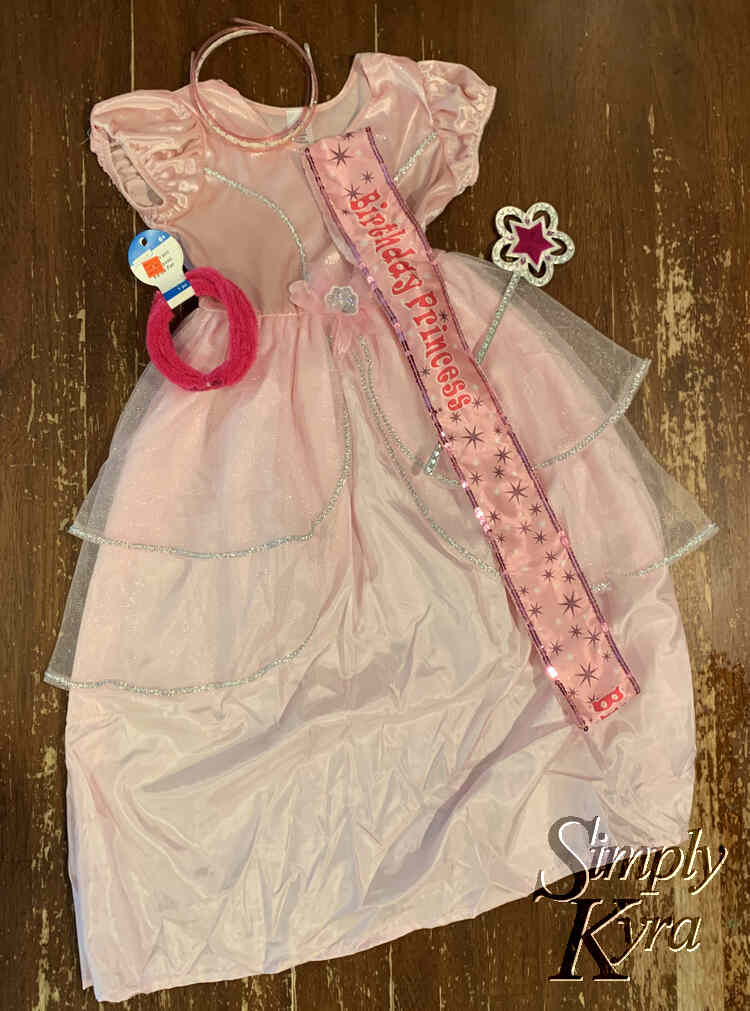
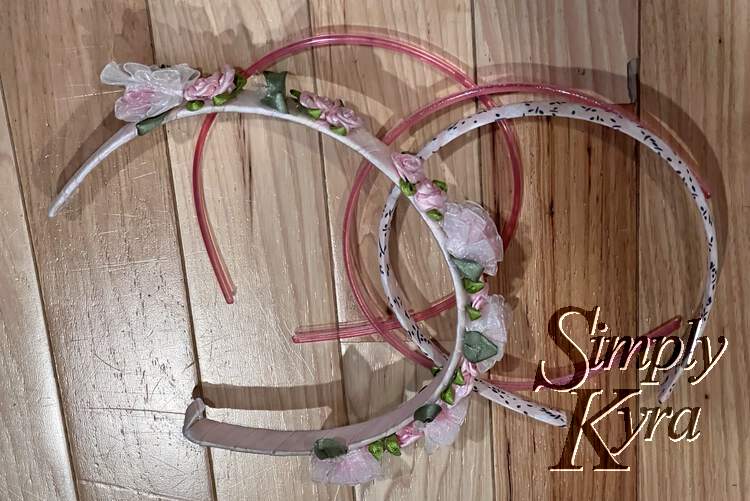
I wanted to add something to her outfit so I went to the Dollar Tree but couldn’t find anything that would work in the required pink color. That said at Michael’s I found a long wired chenille strand that I bought in case Ada wanted to craft something to go with her costume. I next went through the girls’ room and dress-up drawer and found several pink headbands, a sequined pink sash saying Birthday Princess, and a pink and silver wand. Ada absolutely loved the wand and kept it with her costume although we may have forgotten it on Halloween night. We then considered altering the sash to say “Pink Princess” but then, over time, decided to just leave it off. If Ada had wanted to I did offer to cut the center of the sash off and glue/tie it to the wand so there would be glittery strands hanging down… she declined. As to the headbands we kept them on hand which was perfect when Ada lost the flowered headband right before she needed it. Overall this was a super simple costume to assemble and Ada loved it.
As Halloween approached we realized we needed to submit a photo to her school for a virtual parade slideshow. As such I was able to get Ada to agree to wear the entire costume for some photos. She looked amazing as a pink princess!
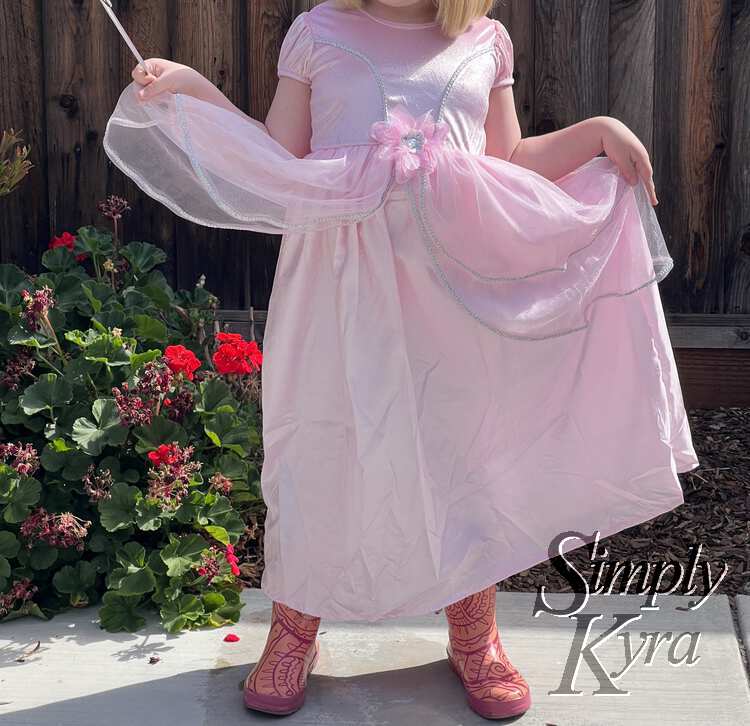
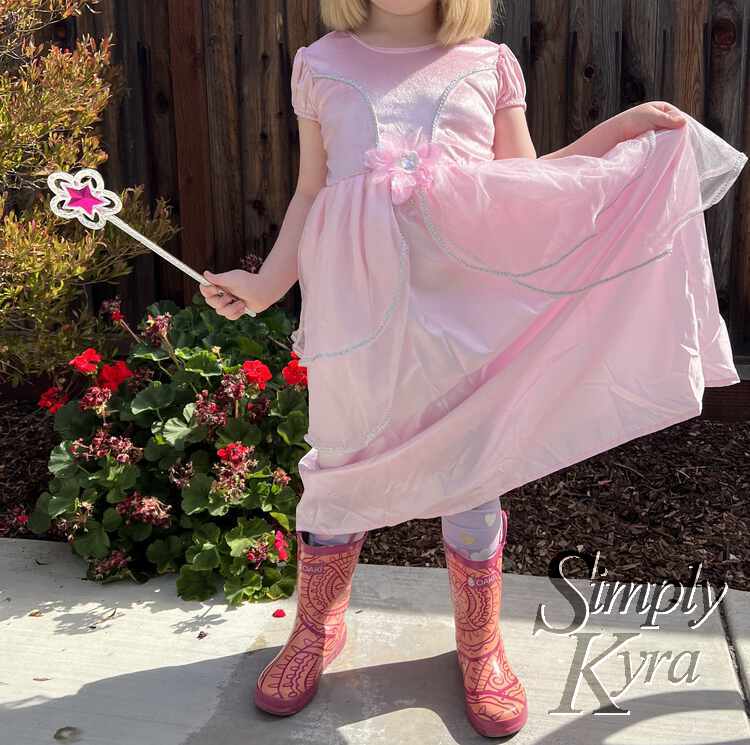
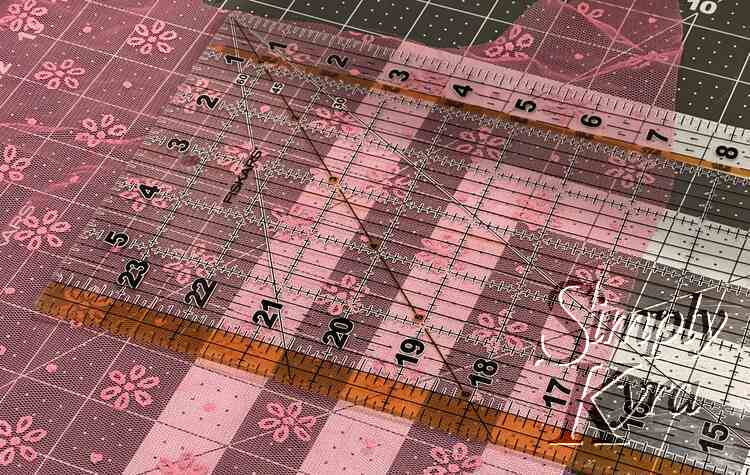
Ada was excited to dress-up as a pink princess at school the Friday before Halloween even though she couldn’t bring her wand along with the costume. As the girls wear masks to school I decided to make Ada a new Iris Luckhaus mask to go with her costume but I didn’t have any pink woven fabric. Rather than buying fabric for just a simple mask I decided to go through my fabric stash with Ada to see what she’d want. Ada absolutely adored the two glittery pink tulles I had, remnants from Joann’s years ago, and chose that over decorating a mask herself. As there were two different pink tulles we first decided to make her two masks using a white woven layer as the outer layer with the pink tulle overtop so the mask would be as safe as the other ones I’ve previously made.
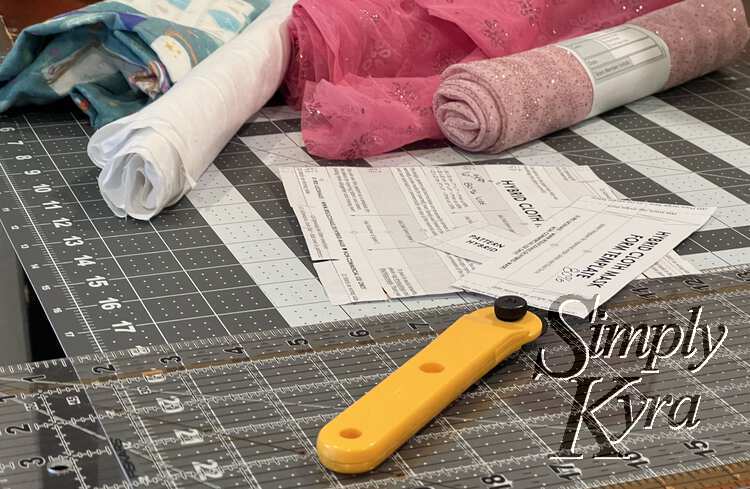
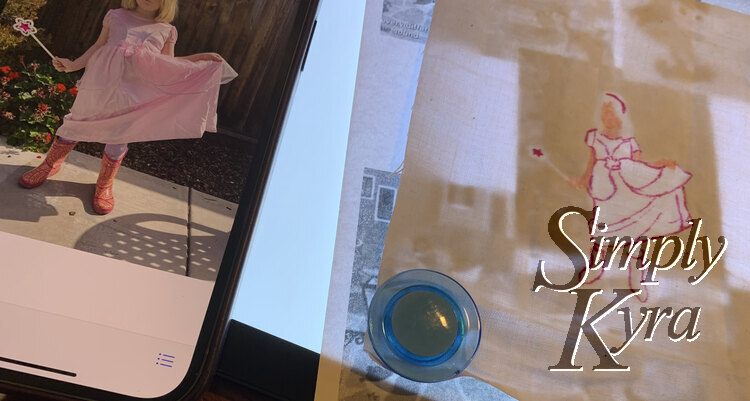
Once I decided to go all in with Zoey’s face masks I decided Ada also needed a mom-drawn mask as well. At this point I had already taken the school photos of their costumes and so I took Ada’s favorite photo and printed it off so I could trace it onto her mask using fabric markers. After setting myself up with the fabric pinned to the paper and light box, so I could trace, and the photo laid out to refer to it was time to get started. I grabbed a bright pink fine-tipped fabric marker and drew out the dress’s outline and details along with her headband, boots, and the center of her wand. I then switched from lines to shading and did Ada’s skin, hair, wand, and then removed the fabric to add the extra details and background. I kept Ada’s pink theme and other than her silhouette itself I only used pink markers for her mask. Once I was happy with how the pieces looked I used my iron to set the ink to the fabric.
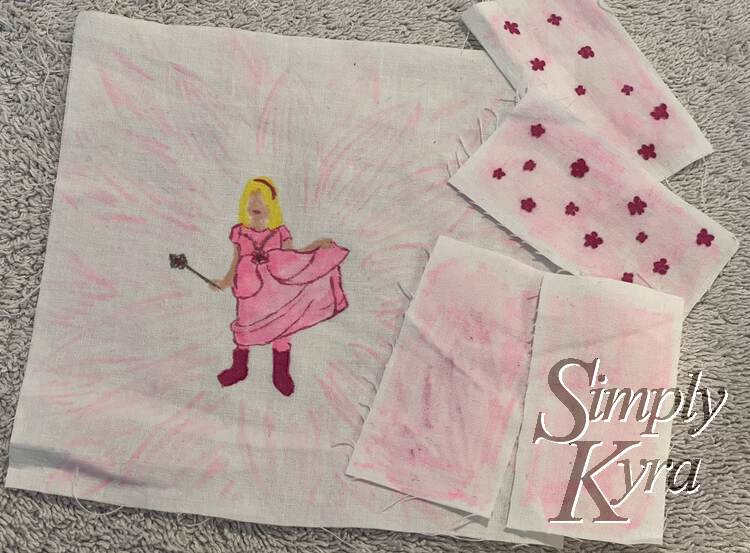
With the one mask decorated with fabric marker it was time to decide what to do with the two pieces of tulle I had cut out earlier. I debated laying one over Ada’s silhouette but there was no point hiding it after drawing it out so I decided instead to layer both of the tulles over each other to make a single mask.
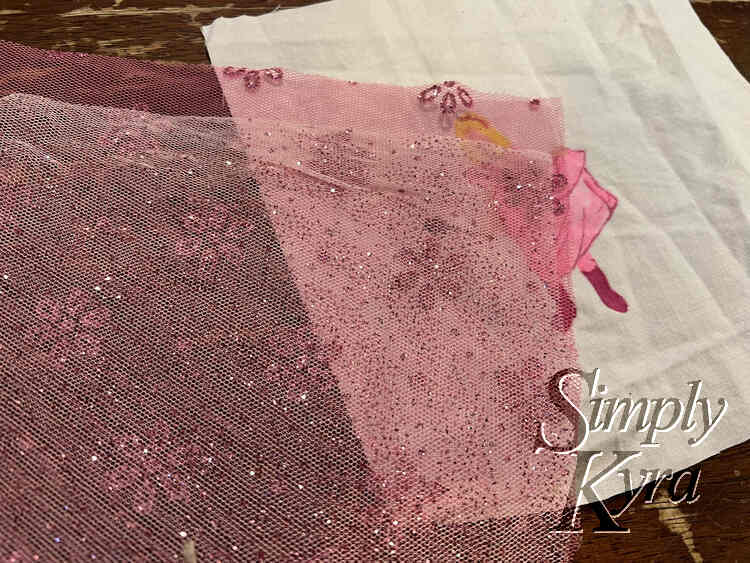
With the fabrics figured out and the drawings made it was time to finish the masks. I absolutely love how they turned out and love that Ada chose to use my hand-drawn one to school over the sparkly one.
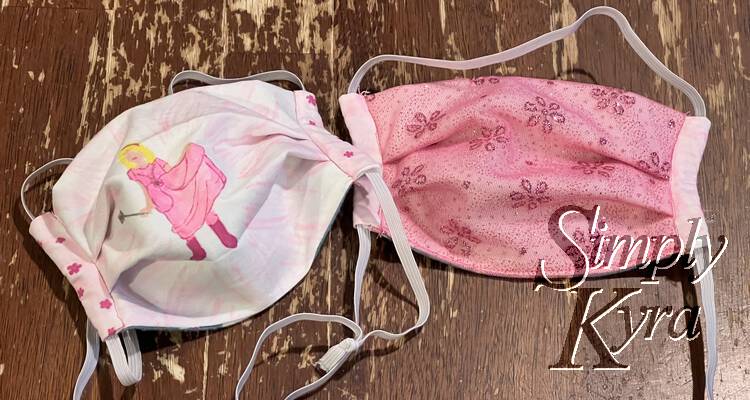
I can’t tell you how the tulle one worked as Ada still hasn’t worn it. That said I did try to use plain woven on the sides in the hope that the mask isn’t itchy since the tulle is just on the outer layer and not against her face. Also since the tulle is hole-y I didn’t count it as a layer until they were laid overtop of a plain white square of woven fabric. This way the mask has extra layers instead of replacing a tighter fabric with a looser one. I’m also kind of curious how long the glitter will hold up in the laundry and whether it will still look good as a pink mask without the glitter once it all comes off.
I love how the combination of store-bought, already owned, and homemade items came together to make Ada the perfect Halloween costume. I loved seeing Ada get excited for her costume and can’t wait to see how often she wears the masks and the dress in the future.
I hope this post helps you come up with your own costume. If so I’d love to hear about it in the comments below. Hope you’re having a great week.
If you’re interested in getting any of my future blog updates I currently come out with a new one every Wednesday and share them to my Facebook page and Instagram account. You’re also more than welcome to join my email list located right under the search bar or underneath this post.
Did this save you time?

