
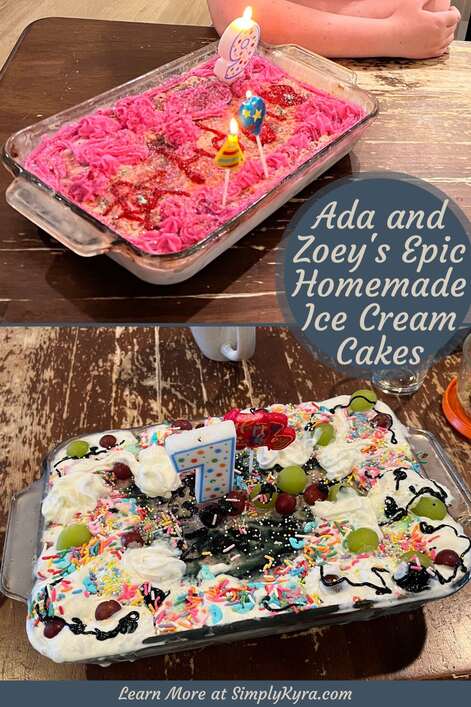
Ada and Zoey's Epic Homemade Ice Cream Cakes

Two summers ago we made an awesome ice cream cake for Ada’s birthday and the kids loved it enough that both wanted it for their birthday this last summer. We started Zoey’s together but I went on to finish the cake itself when she was at school to her disappointment. This then led to both girls decorating their cakes all by themselves which I had to share for both memories and in case your kid(s) do the same.
The summer before Ada wanted an ice cream cake and, long story short, we made our own using the Copycat Dairy Queen Ice Cream Cake found through Princess Pinky Girl. That year she helped me create the cake and although we increased the ingredients substantially we still followed the original recipe. I adored how it turned out, loved making it with them, enjoyed the process of decorating it by myself, had tons of leftovers, and the girls loved it. You can read about it here.
This last summer both girls decided to have an ice cream cake on their birthday (separate from the shared party dessert) and the cakes ended up drastically different from each other. Here I’ll start with an overview of either cake before going into how exactly we made them.
Overview of the Cakes
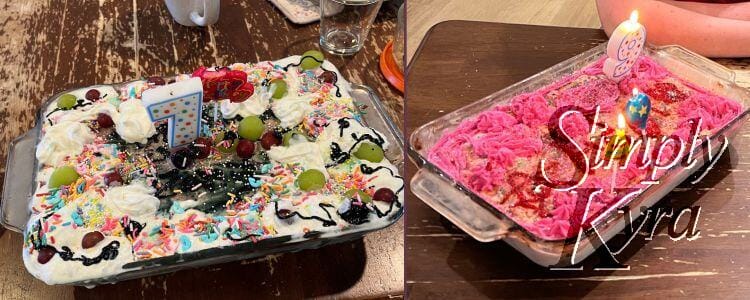
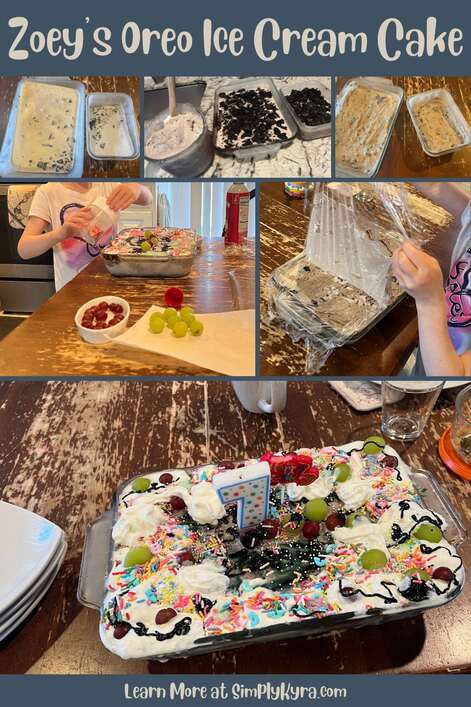
Zoey's Oreo Ice Cream Cake
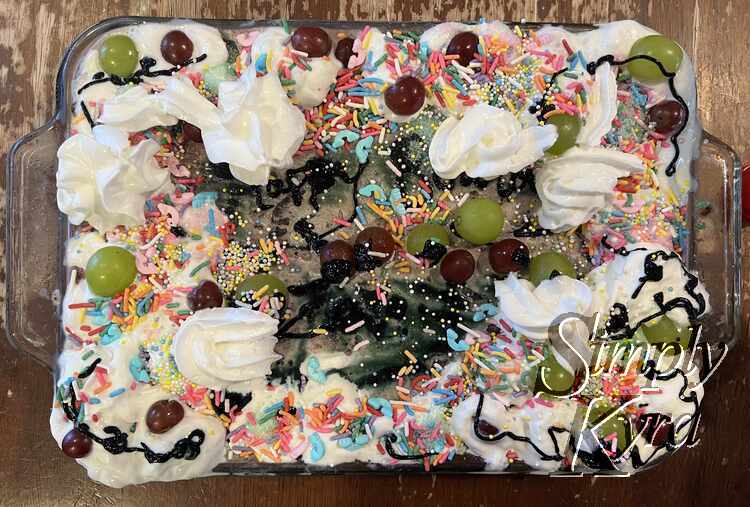
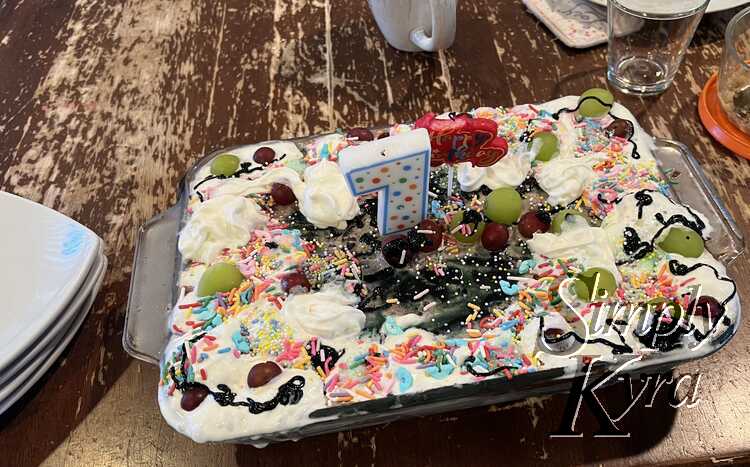
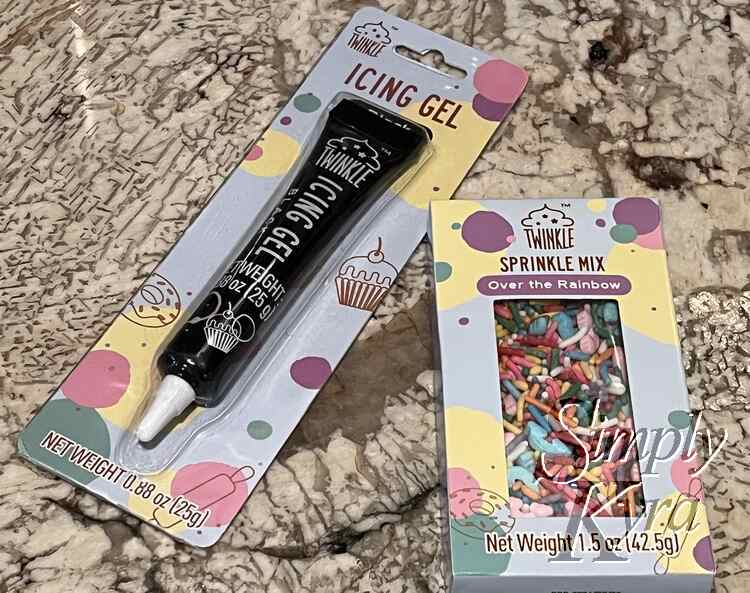
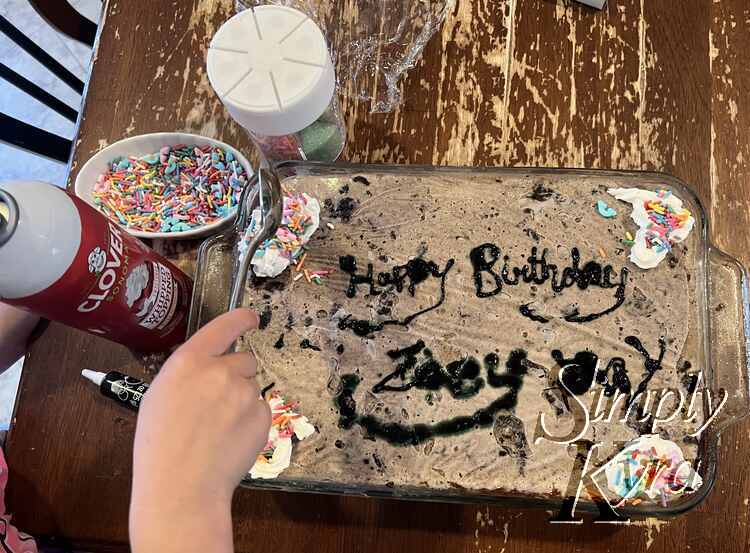
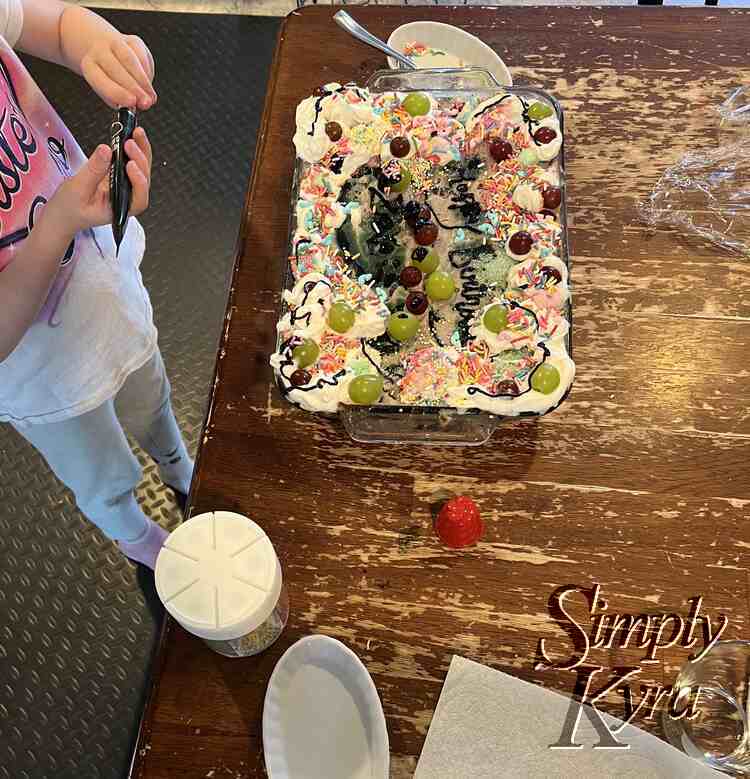
Since we were planning on moving after her birthday I made sure to point out to Zoey just how many Oreos we had on hand, from buying a large Costco pack, which led to an Oreo vanilla cake for the base. To make it we baked so many more Oreos in butter, kept some back for the center fudge layer, and then mixed the rest with the slightly thawed vanilla ice cream to become both the top and bottom layer of the cake. With the cake base complete she next went to town on the top with a black icing writer, canned whipped cream, sprinkles, and, by request, the red and green grapes we had in the fridge.
Ada's Birthday Ice Cream Cake
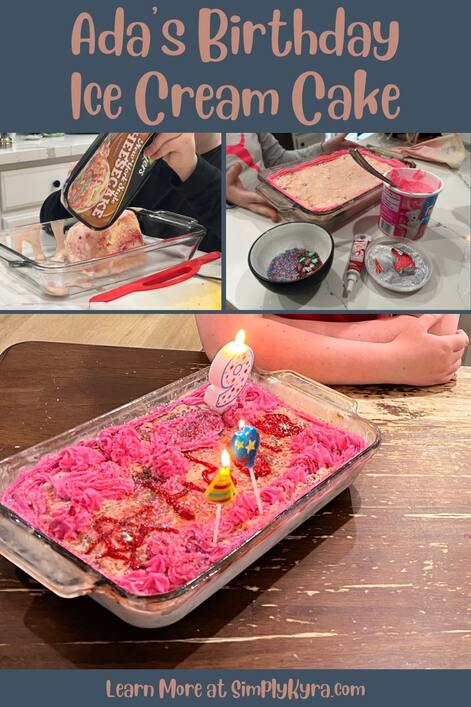
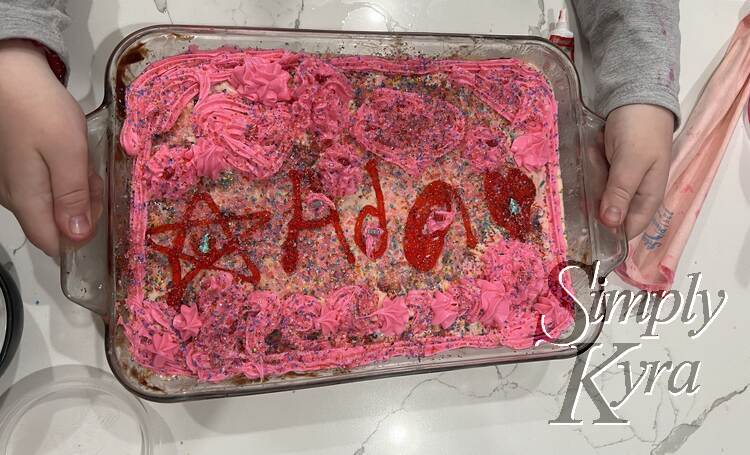
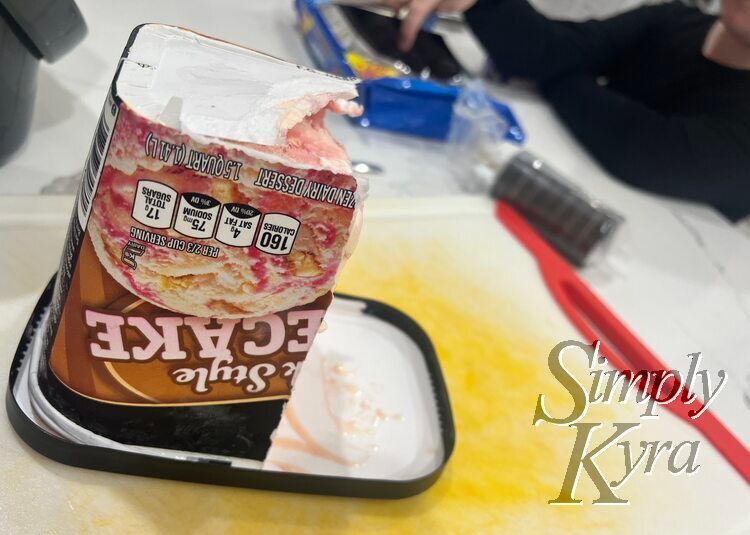
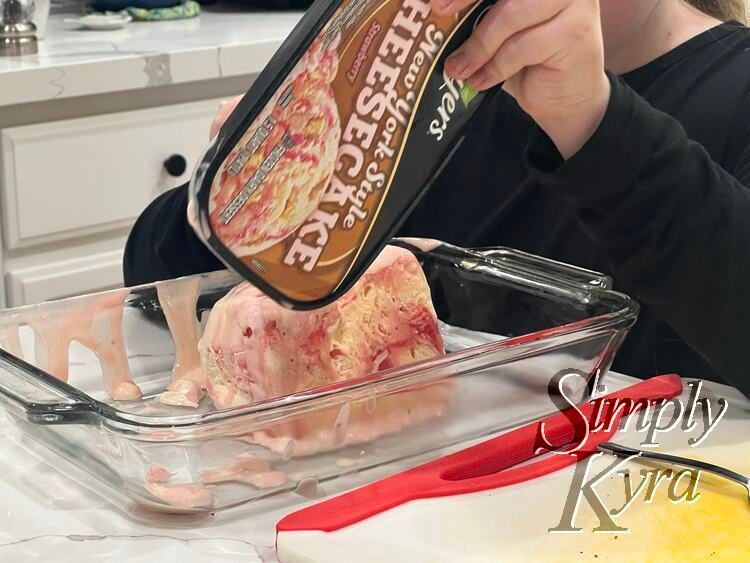
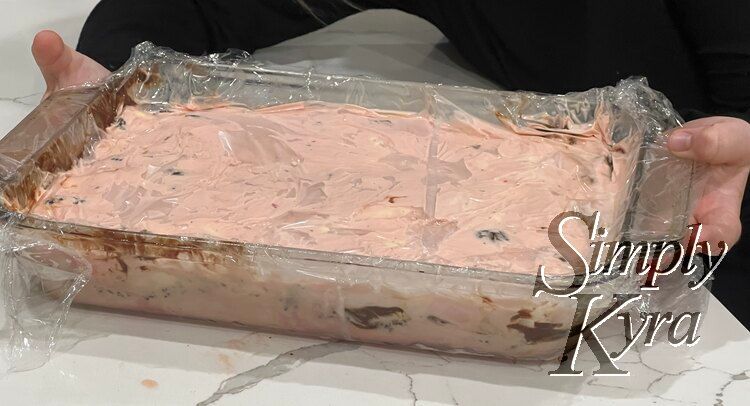
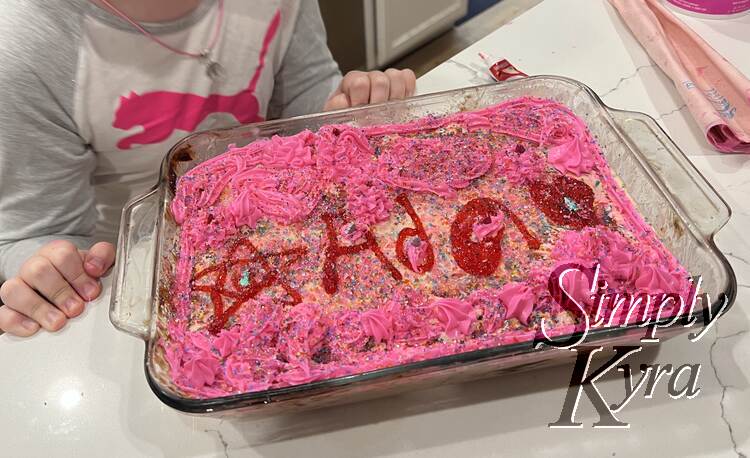
Ada, by contrast, wanted to go to the grocery store and originally wanted conflicting flavors of everything. After a bit of discussion on how they may taste together she ended up choosing a single carton of New York style cheesecake ice cream that, like Zoey, we used for both the top and bottom layer. She also paired it with toffee flavored Oreos for the center fudge layer and insisted on pink icing rather than whipped cream.
How We Made It
Ice Cream Prep
All you essentially need for the ice cream is to buy and thaw enough that you can spread it in a pan... twice. Since Ada wanted the same flavor for the top and bottom I simply took her carton of ice cream and cut it down the middle. Half went back into the freezer so it didn't thaw too much while the other half sat out to thaw while we started the cookie process.
Oreo Cookies & Cream Ice Cream Creation
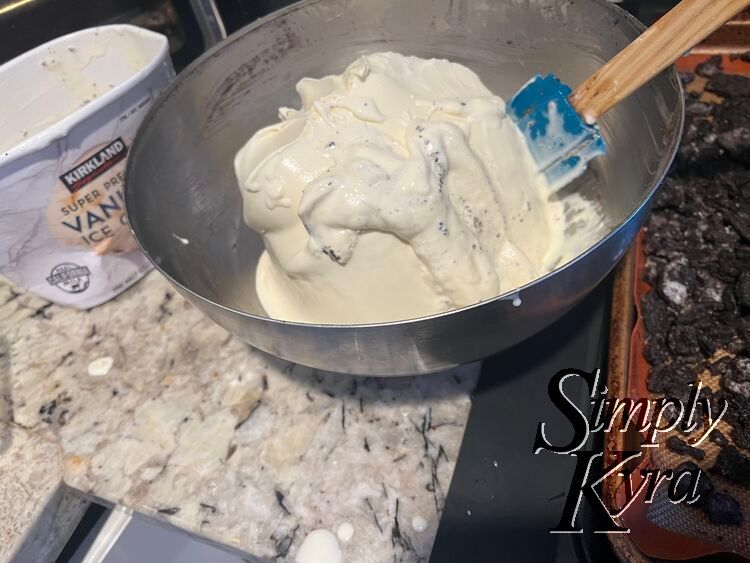
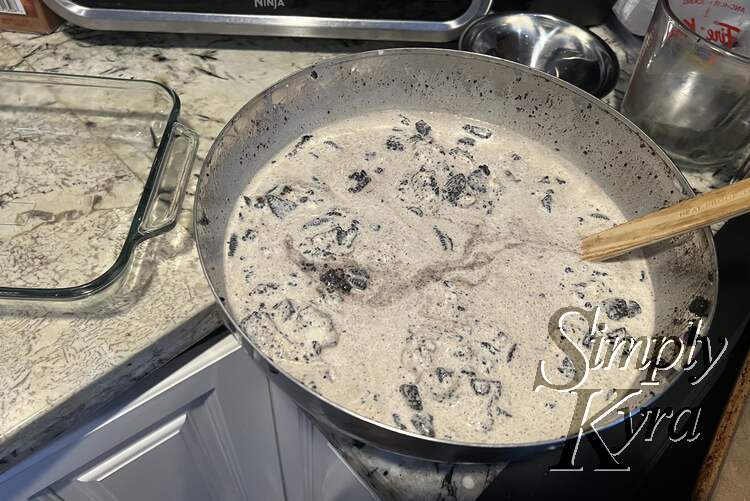
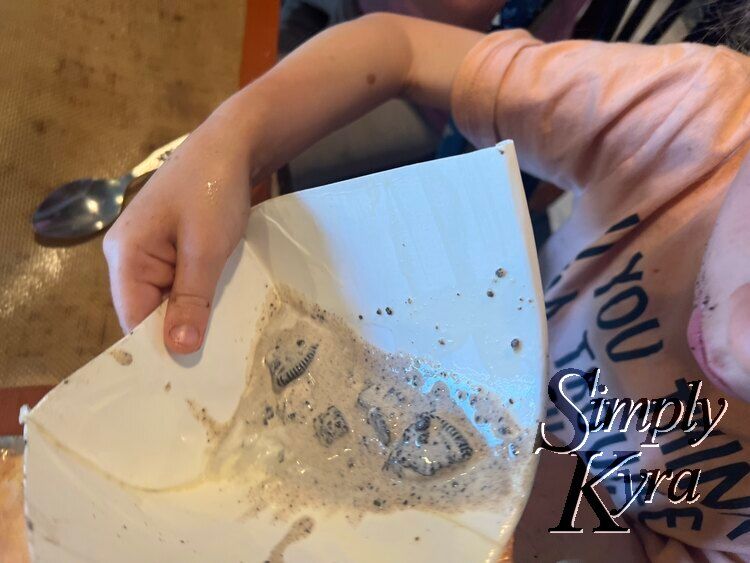
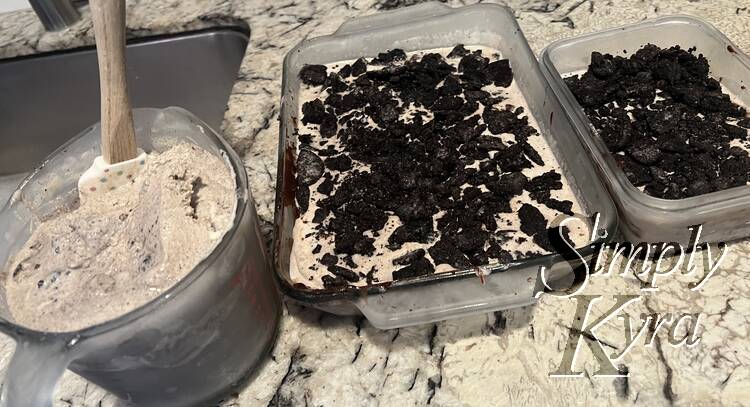
For Zoey’s we wanted to use up tons of Oreo cookies so we dumped the entire vanilla ice cream container into a bowl to thaw. After the cookies were ready, and after removing the ones we’d need for the center layer, we dumped them into the ice cream and attempted to start mixing it. Somehow the ice cream was magically still firm enough to break my spatula while still being a liquid mess too. Once the cookies were mixed in I moved half to the pan to freeze and the other half into a jug to wait in the freezer before later thawing it again for the final layer. Additionally we also ended up with a lot so I made a small side cake for myself and let the kids clean out the leftovers in the carton.
Oreo Center Prep
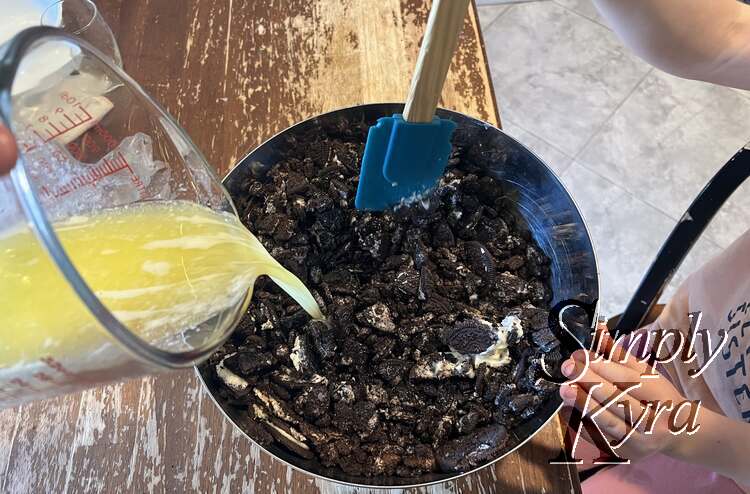
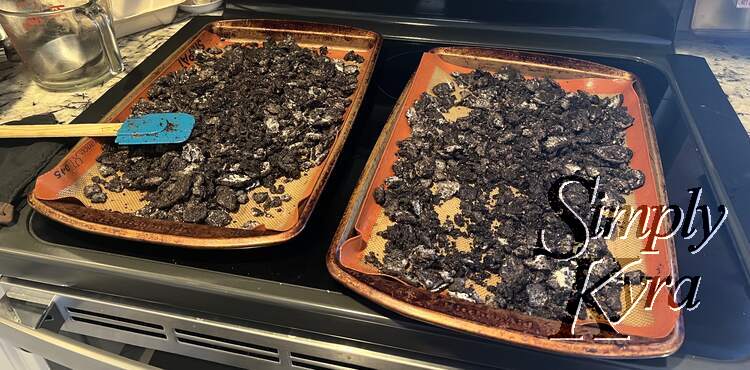
As the Oreo cookies for the center take time to bake and cool we normally start that at the same time as thawing the above ice cream. These photos are from the Oreo cake where we baked a lot of cookies while normally you’d use much less for just the center layer. To make it you basically crush the Oreos, pour in melted butter, spread it on a cookie sheet, bake it, and cool it. So simple.

Creating the Bottom Layer
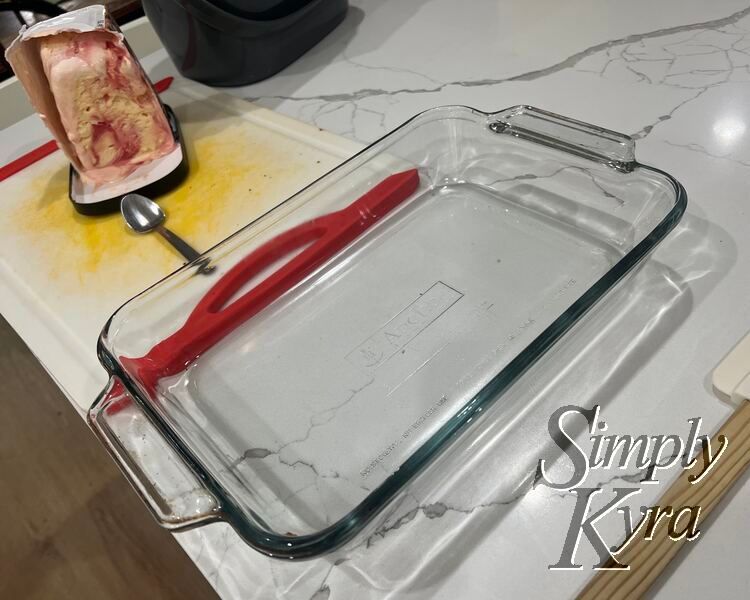
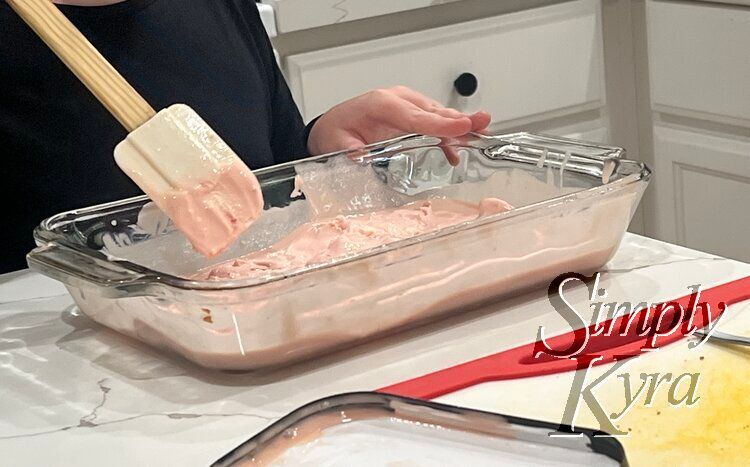
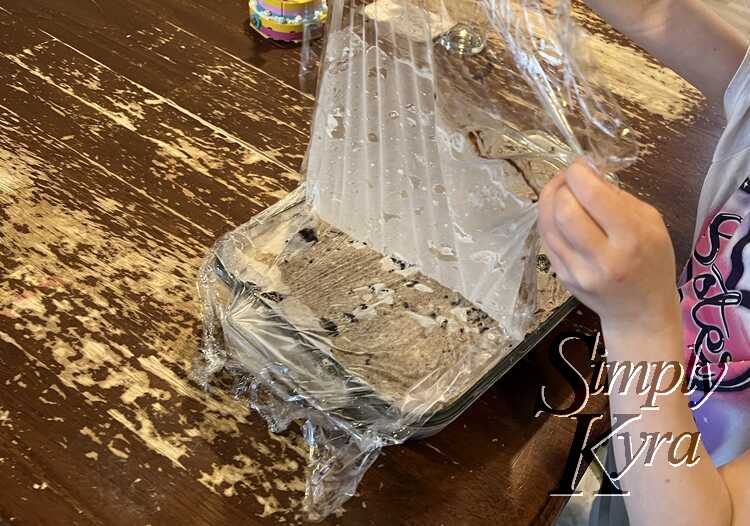
Once the ice cream is thawed enough I dump it into a pan, spread it out, and place the pan carefully into the freezer to set. Depending how thawed the ice cream is be careful setting it flat in the freezer as the contents can tilt and you’d need to flatten it once it's frozen again.
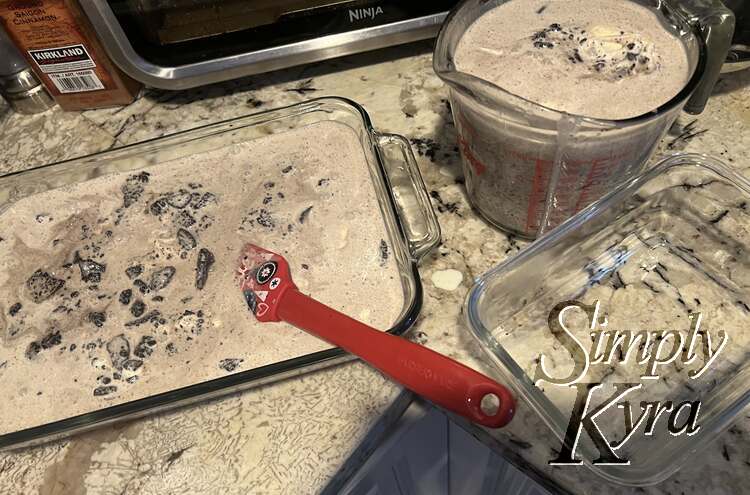
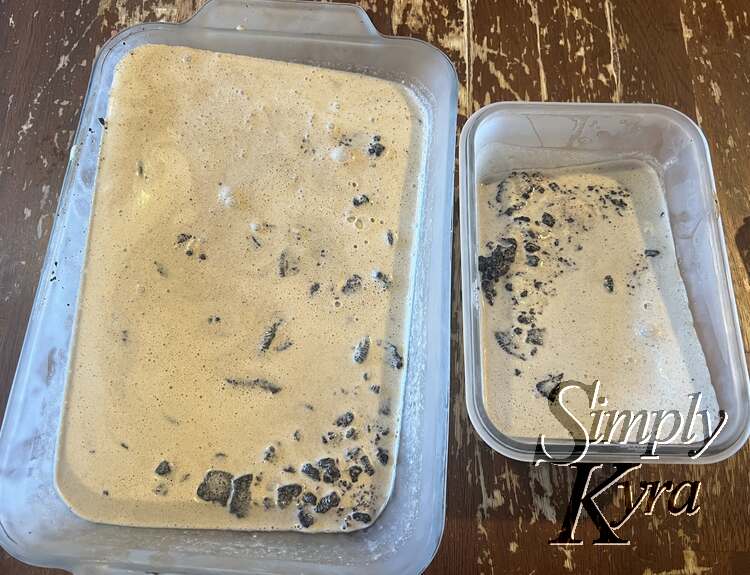
With Zoey's we had thawed the whole container of ice cream at once to mix with the Oreos so we had a lot of it. I ended up using a measuring jug to hold the other half of the ice cream for the top layer and, as there was so much, used another lidded container to make a smaller-sized cake at the same time. The pans in the freezer were tilted so after I pulled them out I needed to flatten the first layer out again.

Assembling the Cookie Layer
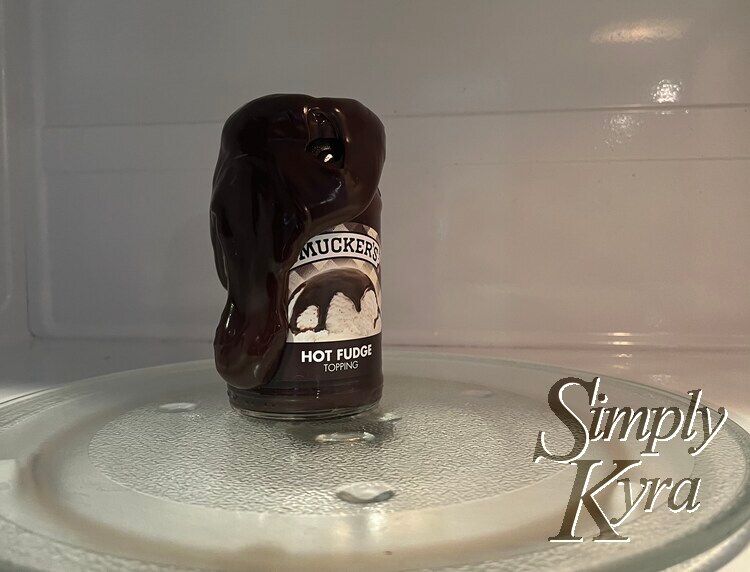
The cookie layer is simple. The hardest part is warming the fudge sauce enough to be pourable but not too much so it doesn’t go everywhere. Then you simple mix it with the cookie bits and carefully spread it over the ice cream base layer. I think I've also mixed the two up directly on the base layer for less dishes. Then back in the freezer it all goes to harden.
Adding the Top Layer
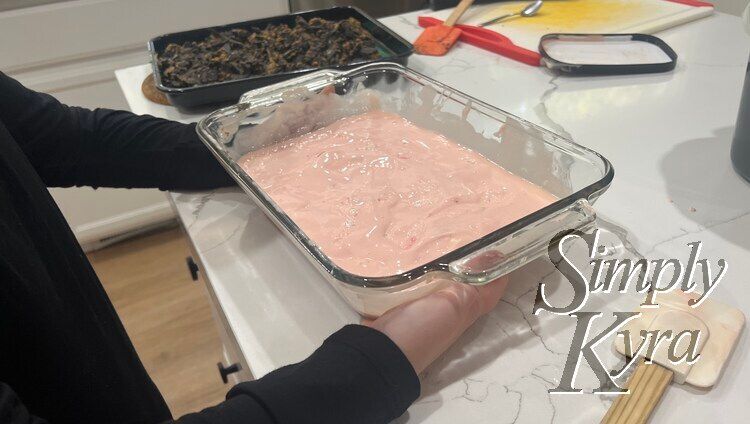
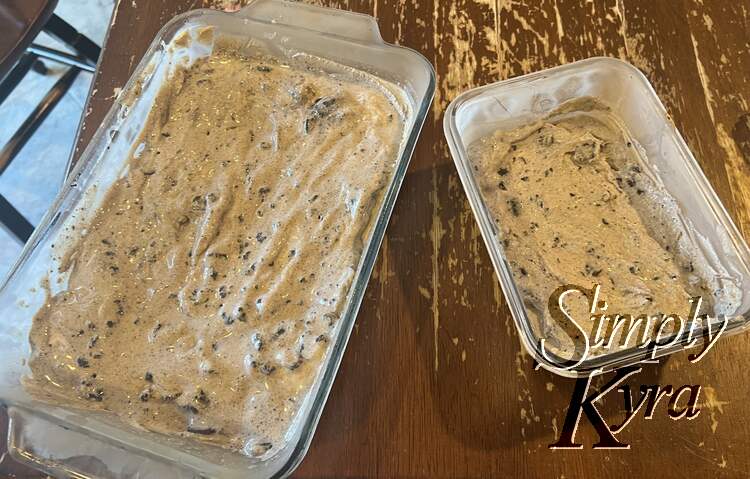
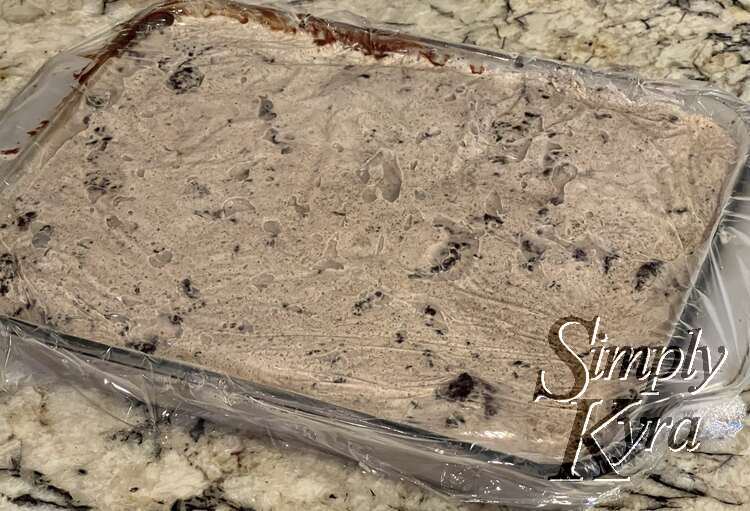
Depending how long this took you may need to thaw the ice cream again. I normally take the ice cream out to thaw when putting the cookie layer in the freezer to set. Once its thawed enough you spread it over the cookie layer and put it back the freezer.
Decorating the Cake
The directions in the original recipe, Copycat Dairy Queen Ice Cream Cake, has you decorate the top with whipped cream and optionally sprinkles. Last year I included an icing writer to add words. This year the kids wanted to decorate it themselves:
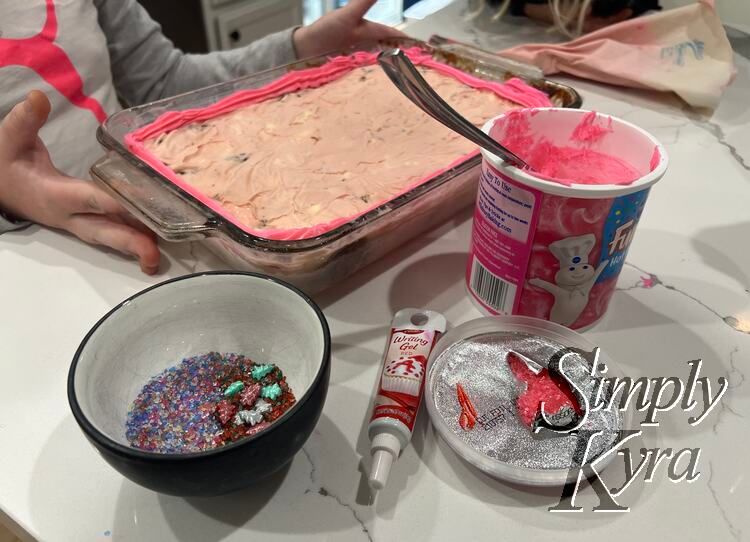
Ada's Icing Heavy Approach
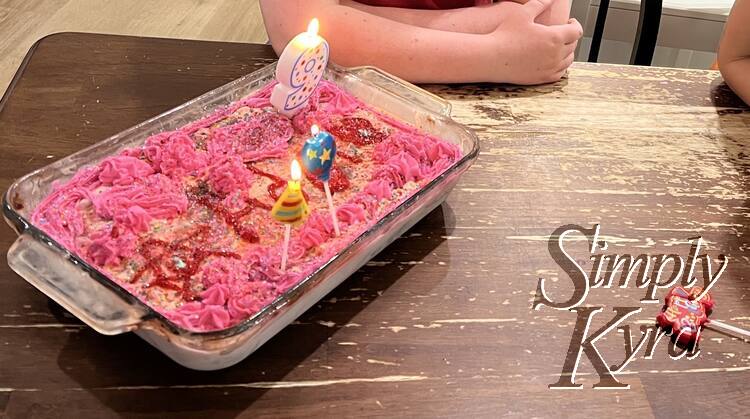
Ada wanted to use a red icing writer, pink icing, and extra sprinkles to decorate her cake.
Zoey's Fruity Version
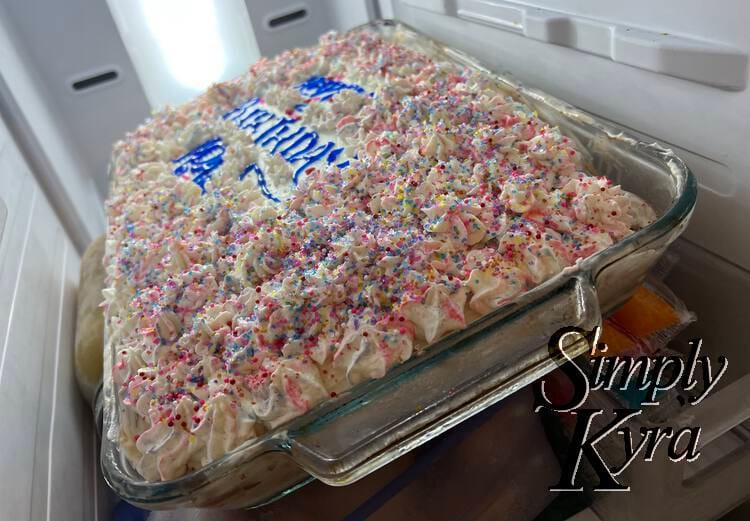
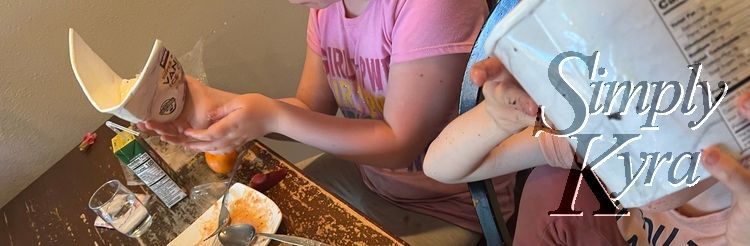
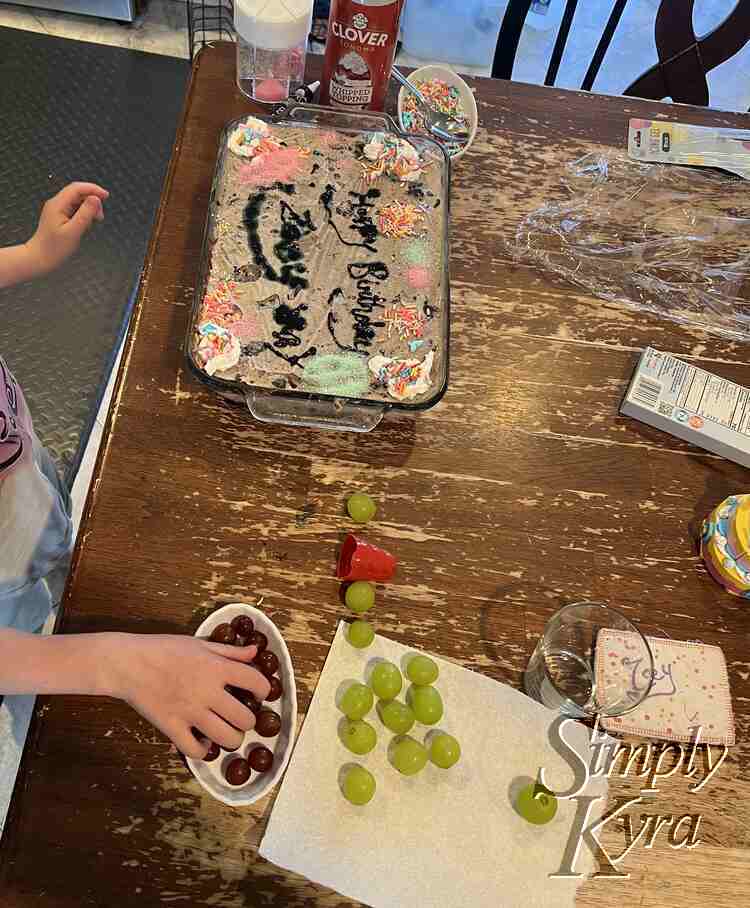
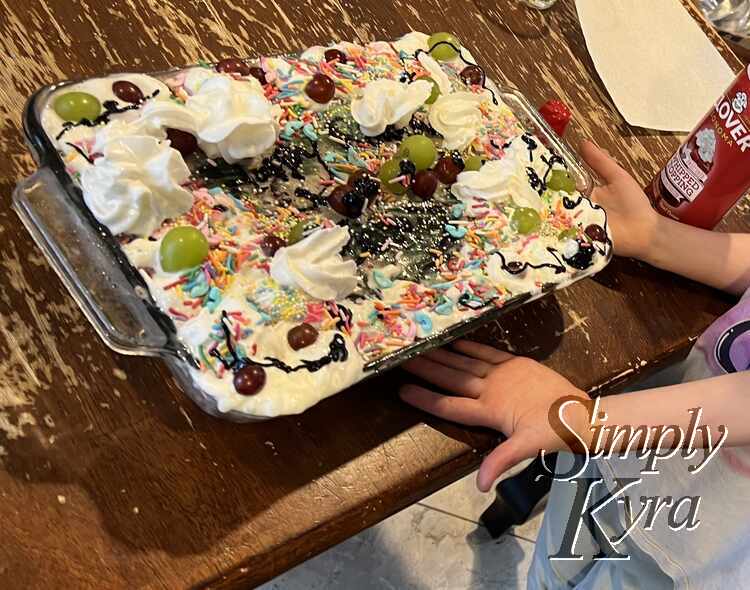
Zoey’s version had unicorn sprinkles and a black icing gel writer along with the canister of whipped cream. I wrote out the Happy Birthday first, it was kind of goopy, before she took it over and, midway through, asked for the grapes in our fridge to add to the main vision she was going with.
Voila
With another trip into the freezer to set and have a meal the cakes were ready to be eaten! Luckily they were made several months apart from each other. Here they are right before going back into the freezer.
And with that I hope you have an amazing day and week! I’d love to know if you make your own and how it goes!
If you’re interested in getting any of my future blog updates I normally share them to my Facebook page and Instagram account. You’re also more than welcome to join my email list located right under the search bar or underneath this post.
Did this save you time?