

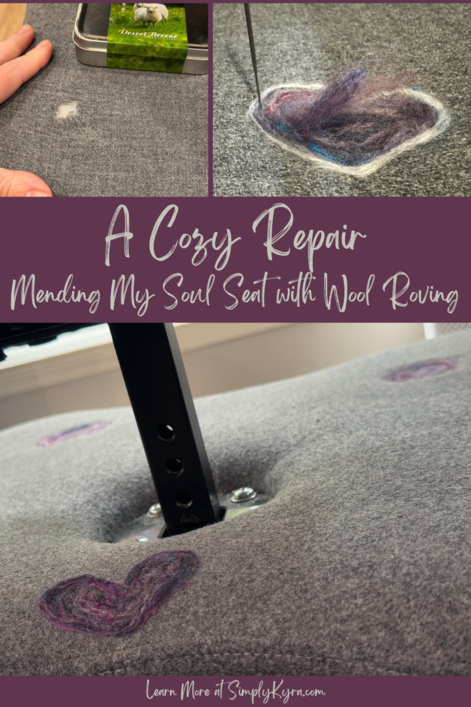
A Cozy Repair: Mending My Soul Seat with Wool Roving

Back in 2020 I made an impulse purchase that changed the way I sit... literally. Fast forward several years to recently and I've noticed some troubling wear and tear in the most-used spot where my knee or foot often rests. The wool was thinning and small holes had begun to form. I knew I needed to act to fix the holes before the damage got worse, but I wasn’t sure how. Here’s how I decided to tackle the repair with needle felting and wool roving while also sharing what I learned along the way in the hopes that this simple fix might work for you too.
My Soul Seat
How Did I Find This?
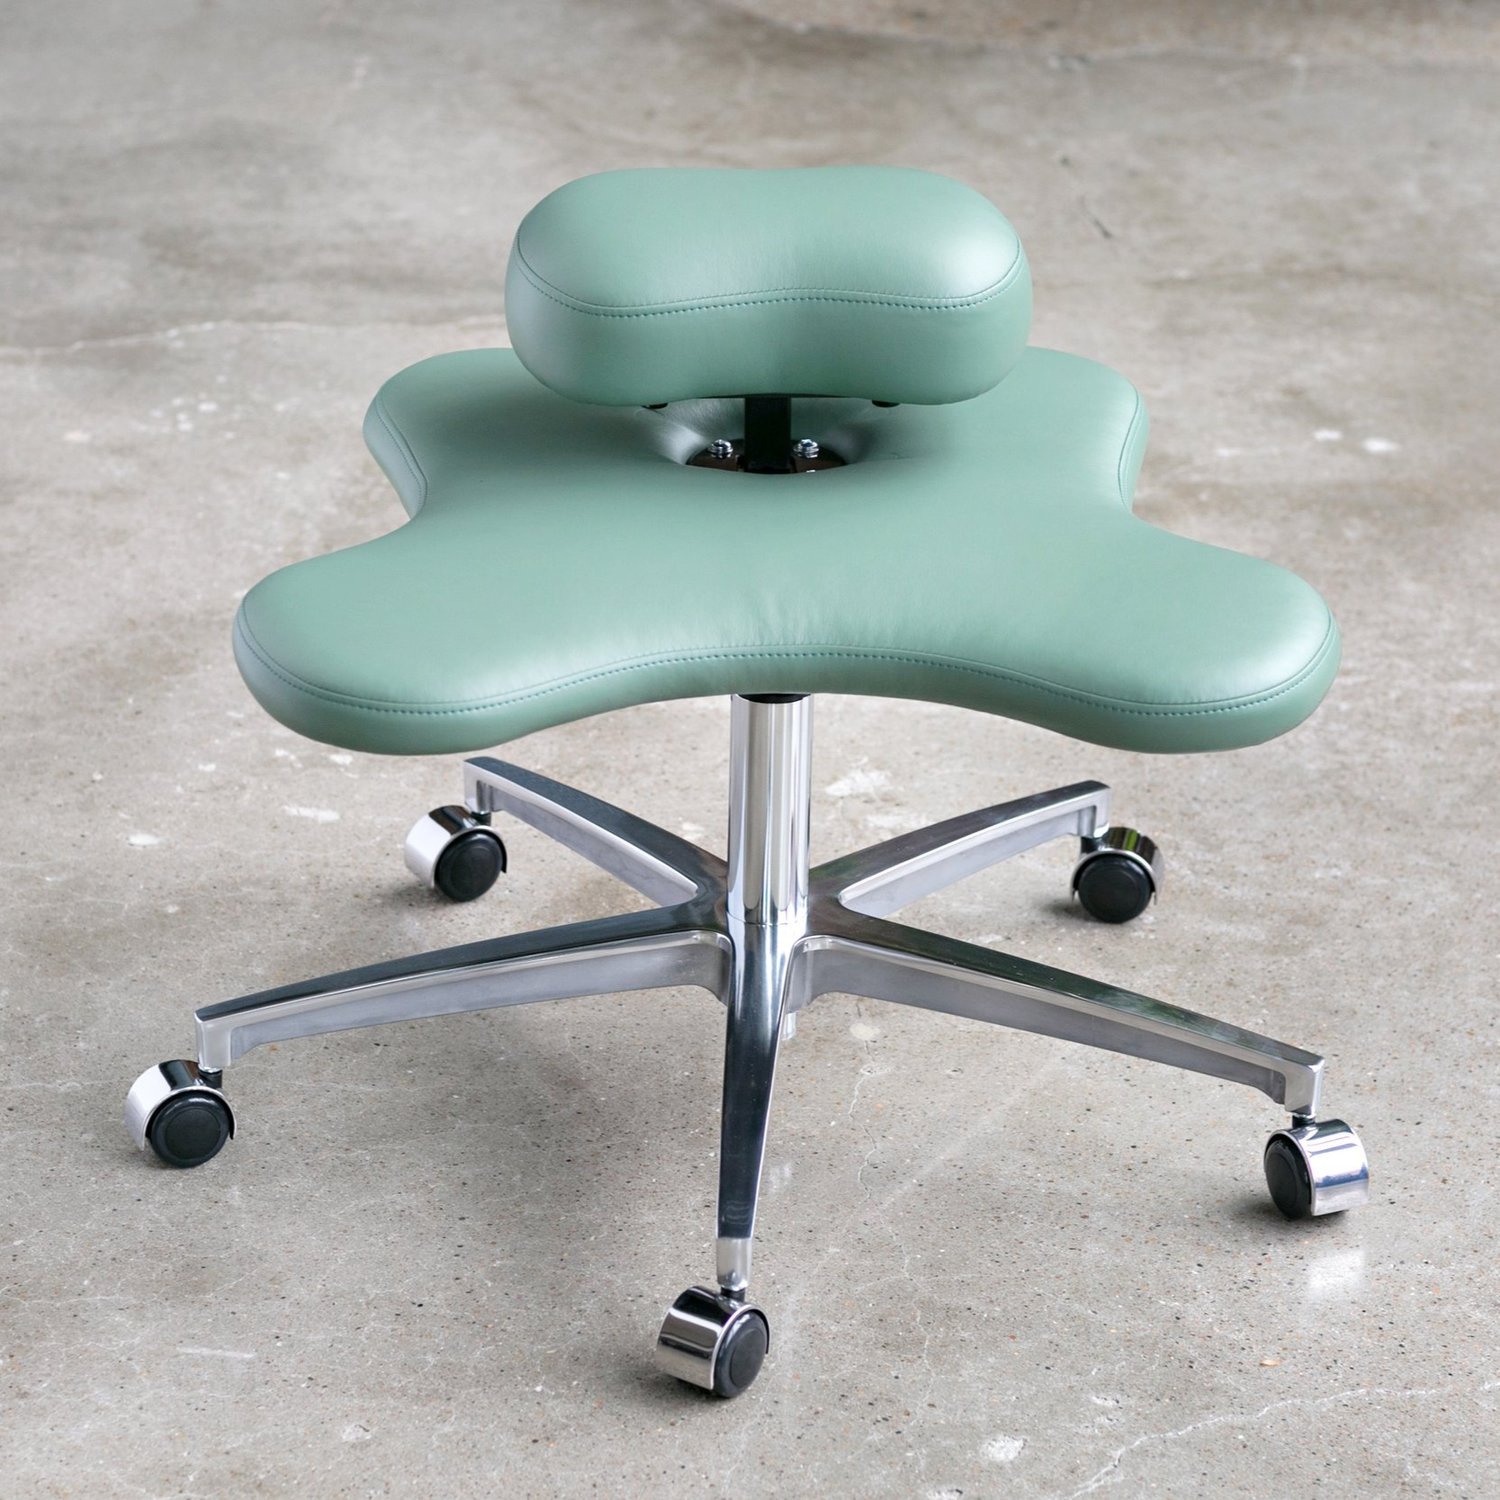
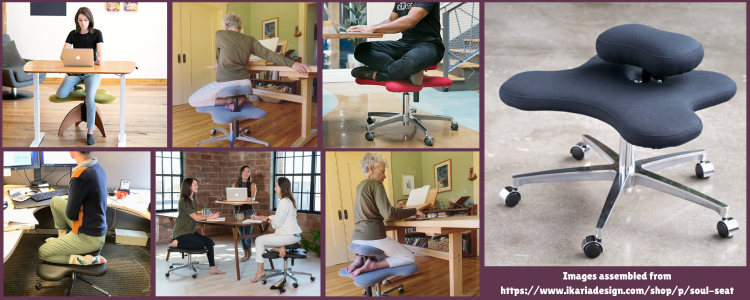
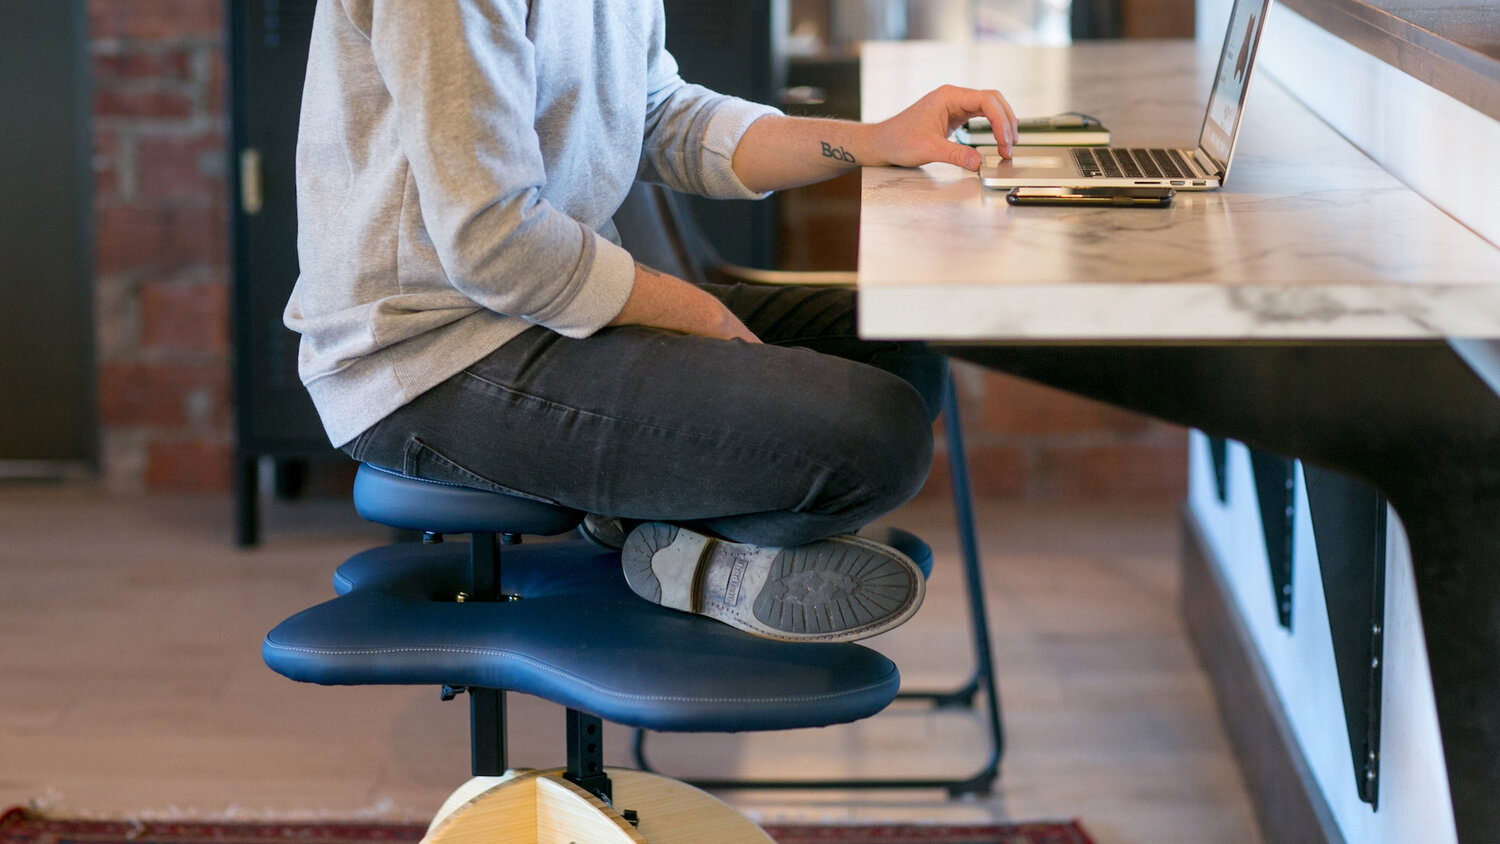
Back in 2020 I saw an ad for a new to me computer chair called the Soul Seat that, unlike traditional designs, allows for multiple positions making it easy to switch between cross-legged sitting, kneeling, or perching without disrupting my workflow. Looking back I don't know what made me buy it but I'm so glad I did as I absolutely adore it!
What Magic Is This?
My favorite part of the chair is just how many different ways I can sit. Even after years of use I still prefer it over any other chairs even my husband's more traditional high-end one. It just works for me.
Customer Service
Another bonus? Ikaria Design's customer service is amazing. I once reached out about an issue with the perch mechanism and they replaced the spring system free of charge and provided clear instructions for the swap. This time around when I contacted them about repairing the wool upholstery they responded quickly and even followed up a month later to see if I had found a solution. This level of service made me love the company even more.
The Problem
Wear and Tear on My Chair
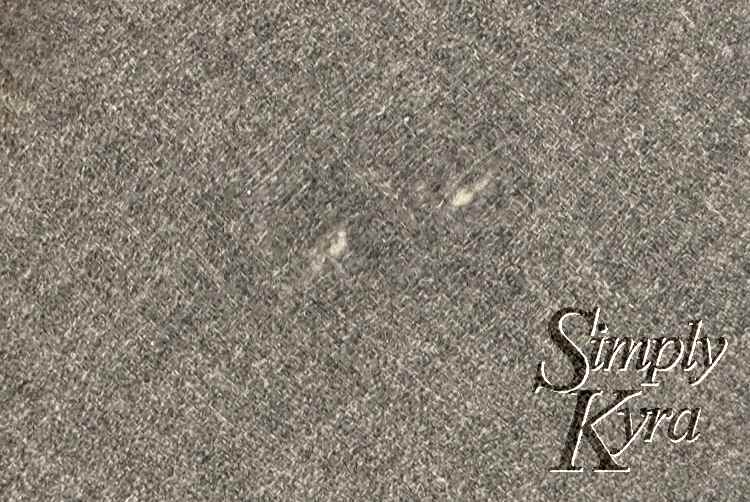
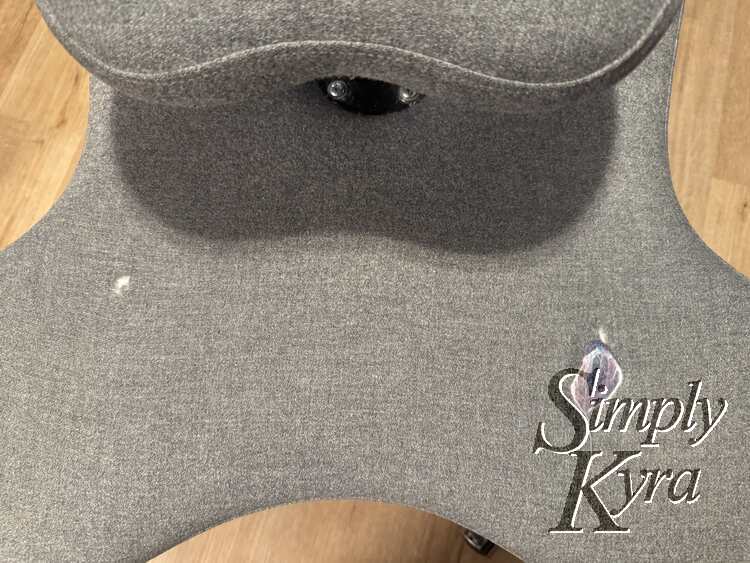
At the end of 2024 I realized the wool upholstery on my Soul Seat had not just thinned in its most used spot where I often rested my foot or knee but that this thinning had turned into small holes exposing the lighter material underneath.
I wasn’t ready to give up on my chair, but I also didn’t want the damage to get worse. I needed a solution that would:
- Prevent further wear
- Maintain the wool feel
- Blend in or look intentional
I started exploring my options.
Go to the Source: Ikaria Design
I started by going to the Ikaria Design website and seeing what they offered. There were unfortunately no patching kits but I did find their accessories section where they listed slip covers which I briefly considered before realizing they weren't offered in wool. I didn't want to lose how my current chair felt so that wasn't a solution for me. I next realized rather than looking up solutions online I should go straight to the source and emailed their support to see if they had any expert idea on how to fix the problem so it didn't get worse. The following Monday, first business day, they got back to me saying that their upholsterer recommended I find a professional felt artist or worker to repair the wool upholstery or, alternatively, if I just wanted to prevent it I could put my own patch over it.
Potential Idea: Attaching a Wool Patch
I browsed Etsy hoping to find a high-quality wool patch that could be attached to the chair in someway. I found nothing that seemed to match my needs plus anything that came close I worried would feel wrong once it arrived.
Potential Idea: Needle Felting
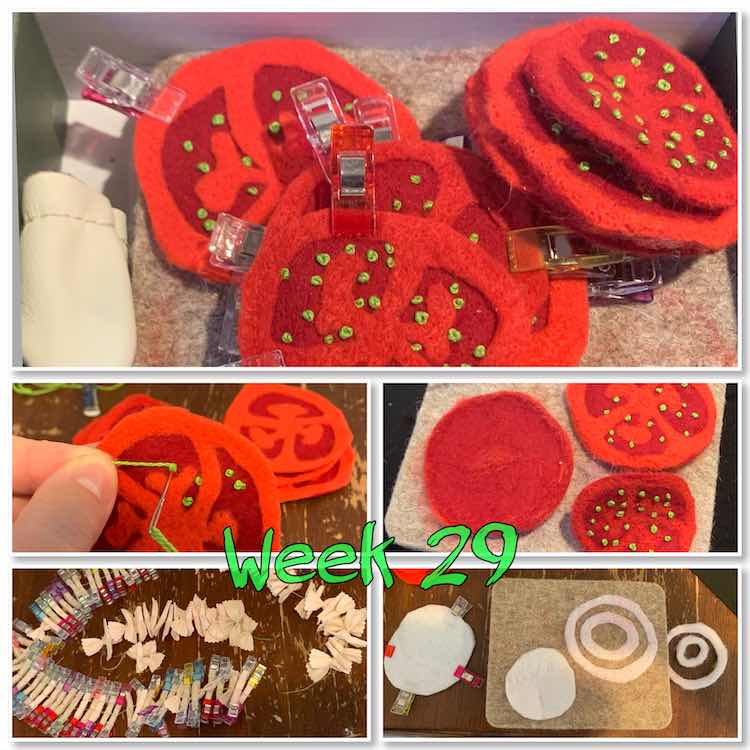
Looking for a wool patch idea reminded me of the felt needling set I bought years ago to make the kids' custom play kitchen ingredients. At that time I had even gone as far as ordering some wool roving from a craft store but didn't like how it felt when it arrived and I ended up setting it aside when I switched to other projects.
Potential Idea: Wool Roving
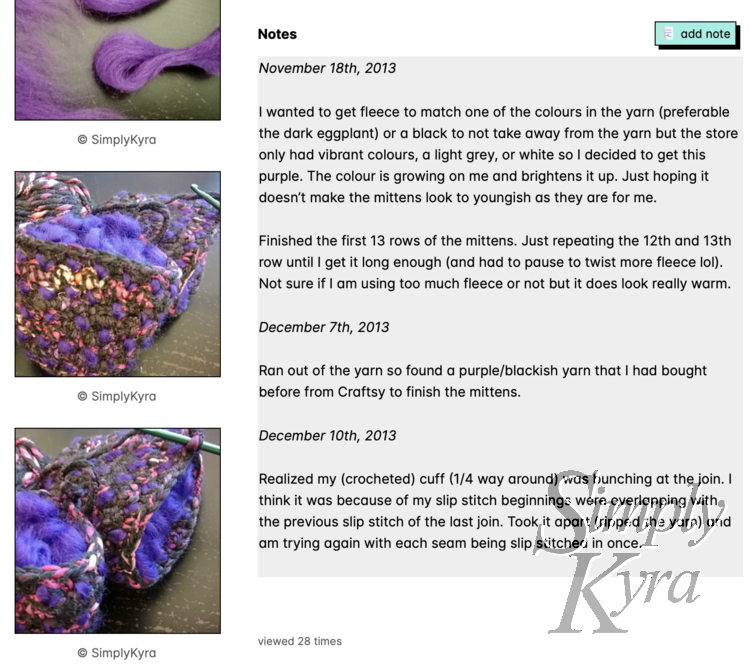
With the patch idea a bust but needle felting remembered I decided to look for wool roving. I had worked with it in a different capacity years ago when making cozy thrummed crochet mittens.
Final Idea: Needle Felting with Wool Roving
It suddenly clicked:
- Wool roving would blend seamlessly into the existing fabric
- Needle felting would secure it without glue or sewing
- I could customize the design however I liked
This felt like the perfect solution... so I set out to find the right materials.
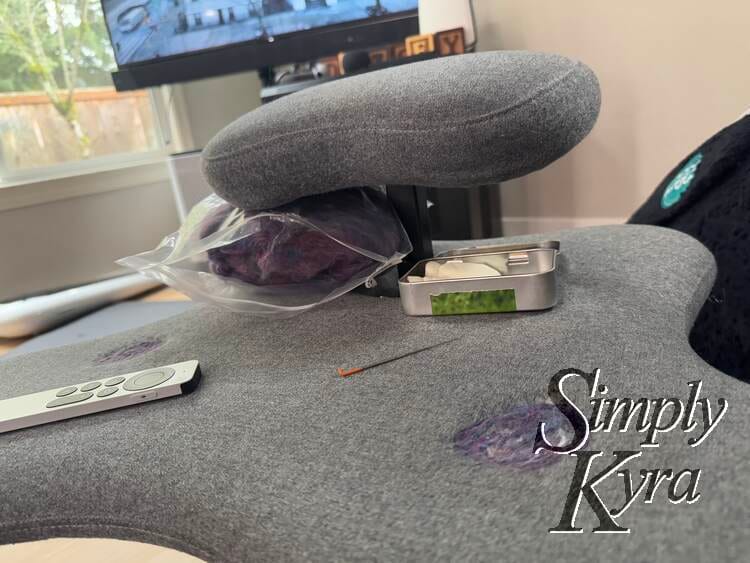
Gathering Materials
In addition to the chair (or thing) you're patching you'll need wool roving and felting needles to stick the two together. And that's it!
Wool Roving
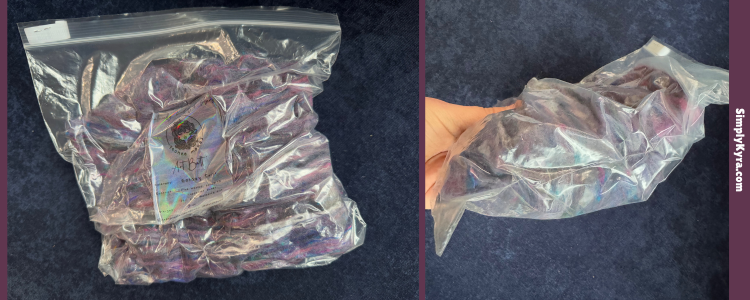
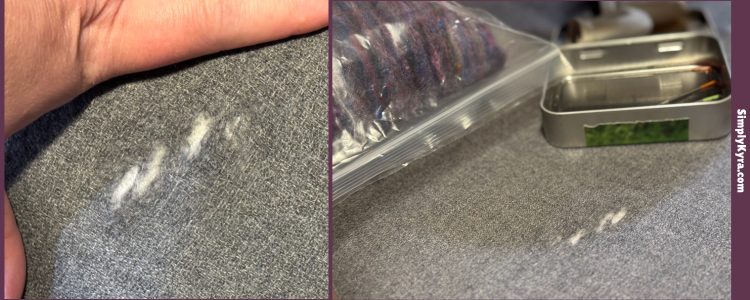
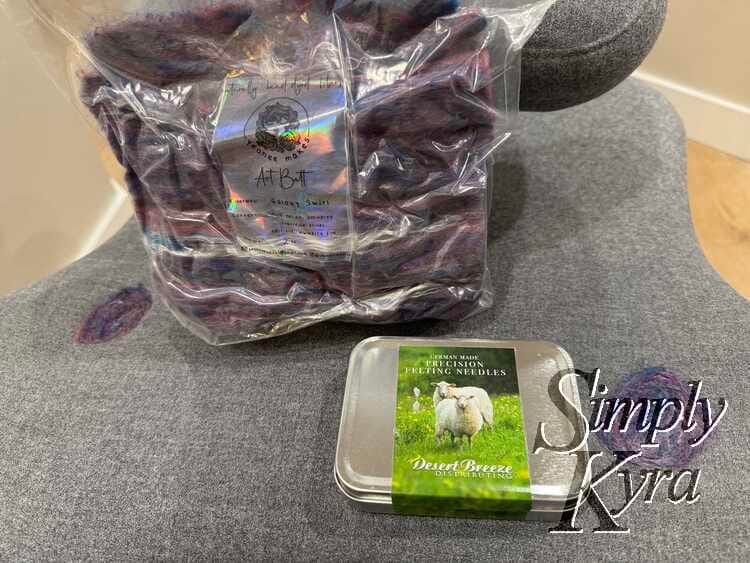
Since texture was a big concern with this project I knew I wanted to feel the wool roving before buying. As such I turned to my local Facebook group for recommendations on stores in my area that might carry wool roving. I got several yarn store recommendations and lucked out when I chose to check out the local store, Nifty Knitter, first and found a bag of wool roving in variants of purple and blue which, when I remembered to feel it at the cash register, felt cozy and not at all like the scratchy cheap roving I had at home.

In case you find yourself in the Seattle Seastside I wanted to share where I went. Unfortunately... fortunately... I was on a time constraint and only looked at the roving. Could definitely see going back to browse though.
When I was there they only had wool roving in shades of white or the color I bought called Galaxy Swirl. At $40 it was pricier than I expected but once I saw how much was truly in the bag I realized I’d have enough for many future patching needs over the years. Looking online I see they have six color choices listed and, although biased, I think I bought the best color!
I was curious about the name on the bag and figured I'd look it up in case there were other ways to get it for you. I found Yeonee (연이) Makes on both Etsy and Instagram although when checking I don't see any roving currently listed.
Precision Felting Needles
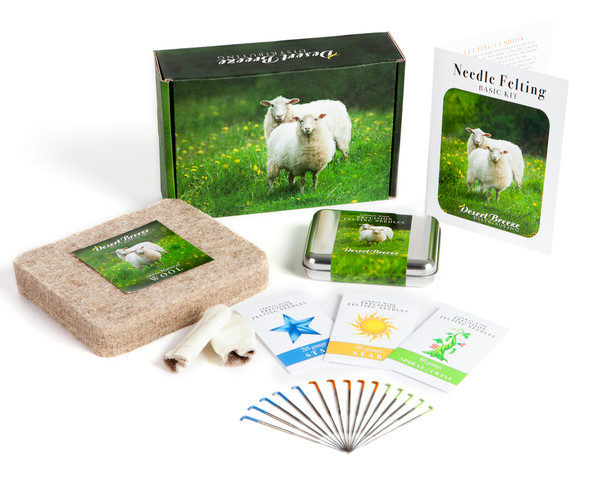
I bought felting needles through Amazon back in the mid-2020s, about the same time I bought the chair, for another project with felt. Looking the kit up online I found what I bought on Desert Breeze Distributing though if you're purchasing this for only this project I only used a single needle this time around and nothing else from the kit. I see they also sell roving but I haven't tried any of their other products.
I bought mine through Amazon in 2020 but found it listed here too.
The Repair Process
December 2024
Back in early December I noticed a small puckering in the Pendleton wool covering on my chair near the front. By mid-December the puckering had turned into several small holes showing the white interior of the chair.
Early January 2025
Near the beginning of January I bought the wool roving and realized I couldn't put the project off any longer. It was time to patch these holes.
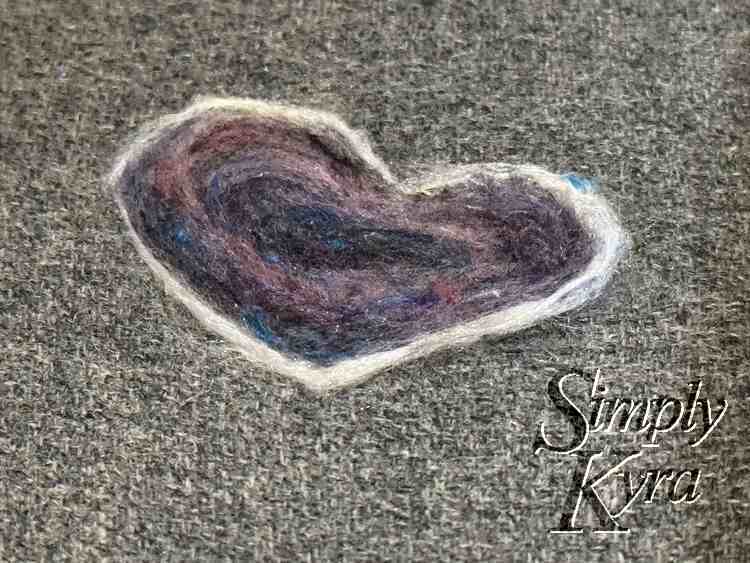
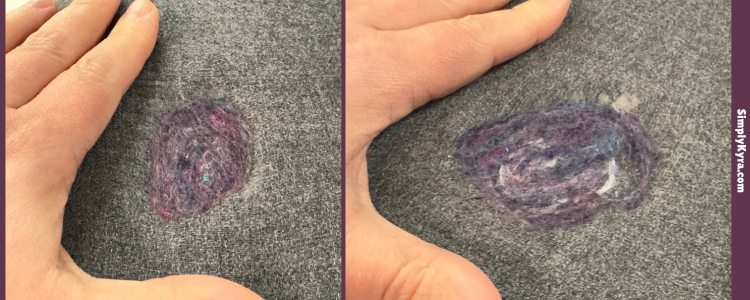
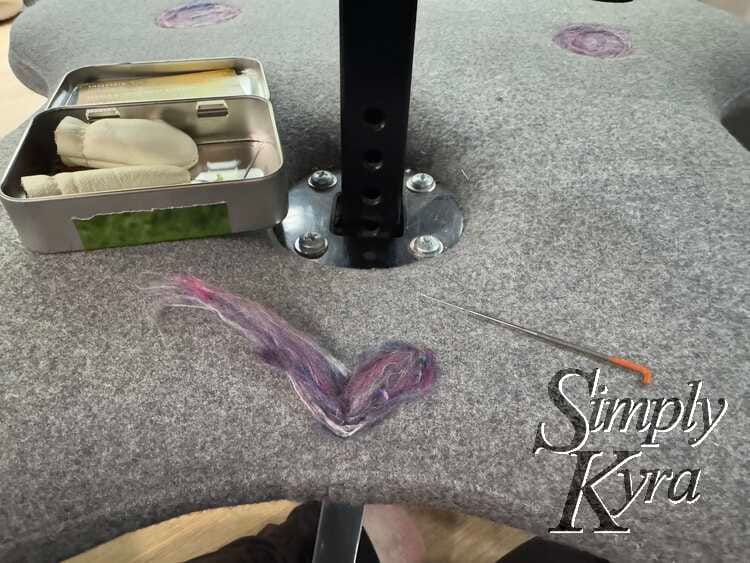
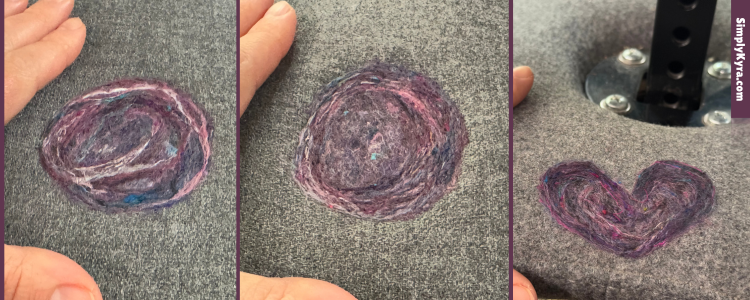
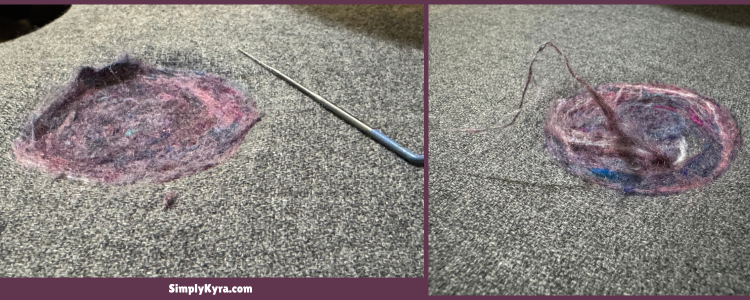
I started out by laying out the wool roving on the worn area then using the needle to stick it in place. I tried to cover not just the hole but also a bit of the surrounding fabric. Feeling creative and optimistic I decided to take it a step further by outlining what I did with a small heart in white before filling it in with the purple and blue roving. The heart looked cute… at first.

Late January 2025
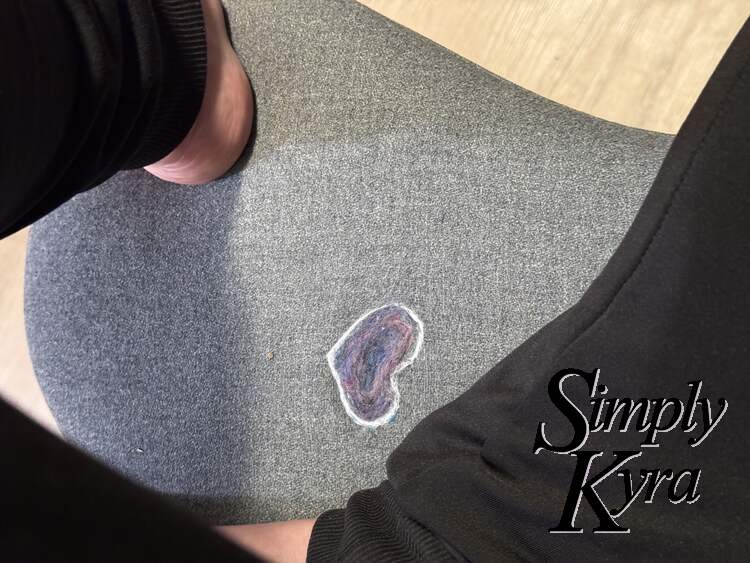
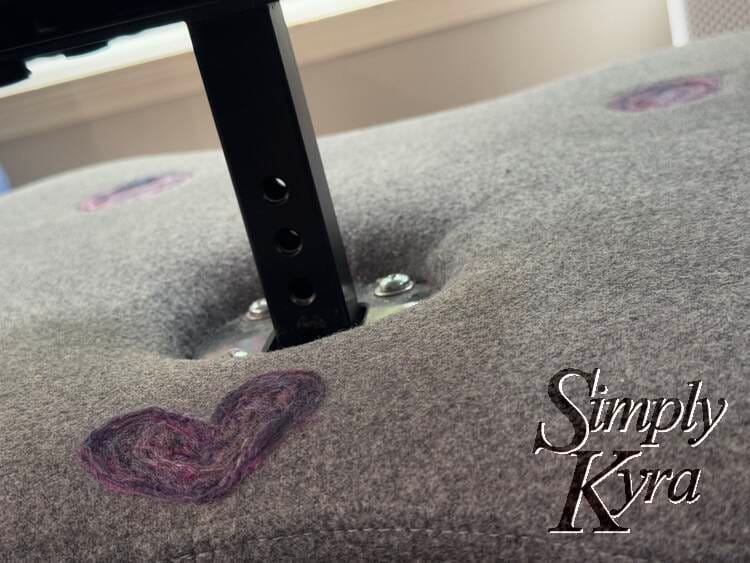
Soon after I noticed a new hole forming beside my heart patch. Additionally, over the next few weeks, the border had also shifted, making the shape look more oval-like than heart-shaped. I decided I'd need to:
- Cover all surrounding weak spots to prevent further wear
- Blend in the white outline to better avoid stark contrast
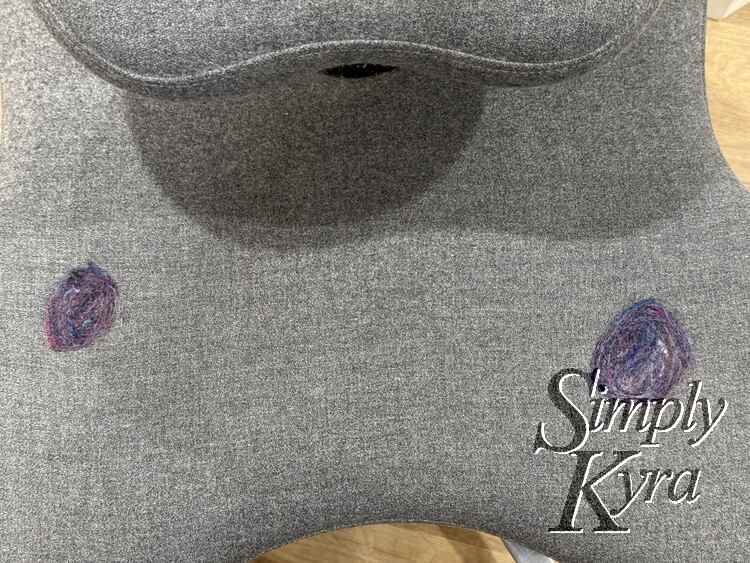
Closer to the end of the month I realized I also had some high-wear spots on the opposite side of my chair. As such, on the 31st, I patched both sections making sure to carefully cover up all the white used on the heart and not go for any specific shape.
February 2025
Near the end of the next month I decided to fix both patches again as over the last month the white outline from the attempted heart bugged me as I wasn't sure if it was stuffing or the original boarder showing through. As such, to the original heart, I carefully added threads of white to help blend it in while leaving white off of the other side.
I missed my original idea of the heart and had just started a second episode of my show so I chose the most un-used section of my chair and created another heart making sure to not to border it or use white just in case it smudged.
By the end, I had three patches in different spots which made the repairs look more intentional... almost like an artistic detail instead of just a fix.
March 2025
Since the last patch job a small string had come up which was bugging me but I also didn't think it needed more patching. Instead I simply grabbed a needle and stabbed both it and the rolled edge back into place.
Lessons Learned
If you’re thinking about trying this method, here are a few takeaways:
- Match the roving color to your fabric, NOT the inner stuffing. I originally used white in my design, which made it difficult to tell if new holes were forming.
- Extend the patch farther than you think you need to. My first patch was too small, and I had to go back and add more later.
- Felting shifts over time. If you’re making a decorative shape, expect some softening of the edges as you use the chair.
Would I Do This Again?
Absolutely! Not only was this a cheap and effective fix but it was also oddly satisfying. Now my Soul Seat is back to being fully functional while also having a bit of personality. Plus, I have plenty of wool roving left for any future touch-ups.
If you have a wool-upholstered chair showing signs of wear, this method is an easy, hands-on way to extend its life with no sewing or upholstery skills required!
Have you ever tried needle felting for repairs? Let me know in the comments! And overall I hope you’re having a great day.
If you’re interested in getting any of my future blog updates I normally share them to my Facebook page and Instagram account. You’re also more than welcome to join my email list located right under the search bar or underneath this post.