
An Upgrade on My Girls’ Home Sewn Swimsuits
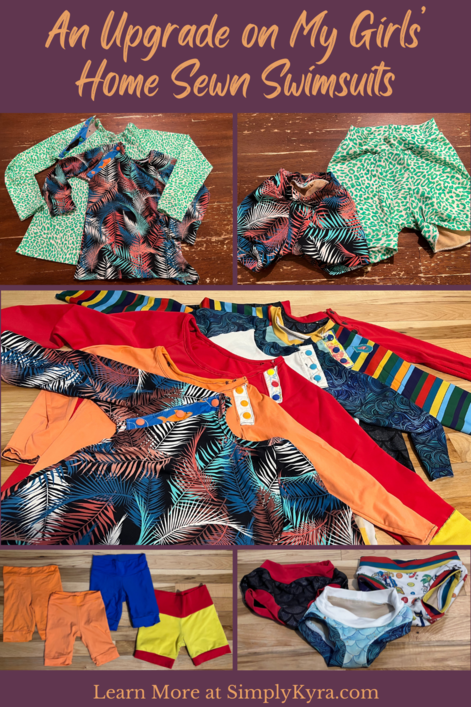
Over the years I keep sewing up raglan tops for my girls’ swimming suits and pair them with a variety of bottoms ranging from underwear to leggings. I realized that although I keep changing how I attach the neckband to the top of the raglan overall not much really changes. Thus, once seeing all the swimming suits in one place, figured I’d give you a comparison in case you’re thinking of making the same. Looking back I love them all and I’m so glad I made them.
Past Swimming Suits
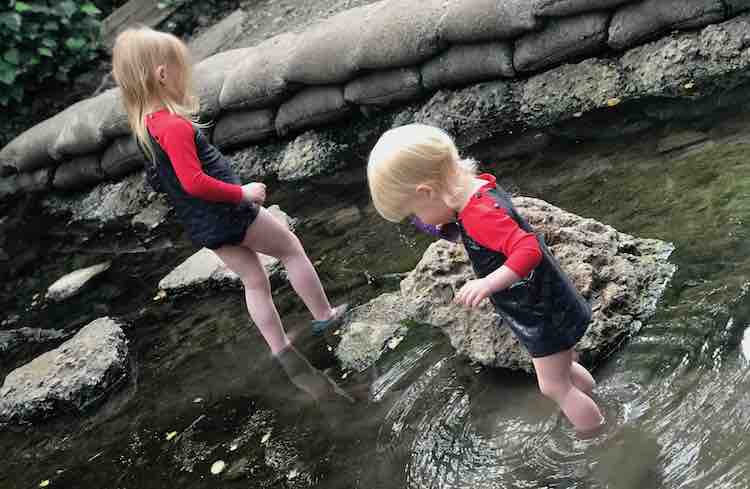
In the past I shared, over two posts, my first version of our swimming suit (in Sew a Rash Guard Swimsuit Top Using your Favorite Raglan Pattern and The Lead Up to Sewing My Raglan Swimsuit) which included a quick test with a magnetic enclosure. I loved their swimming suits but had trouble doing the placket and noticed the snaps kept trying to slip out of the slippery swim fabric.
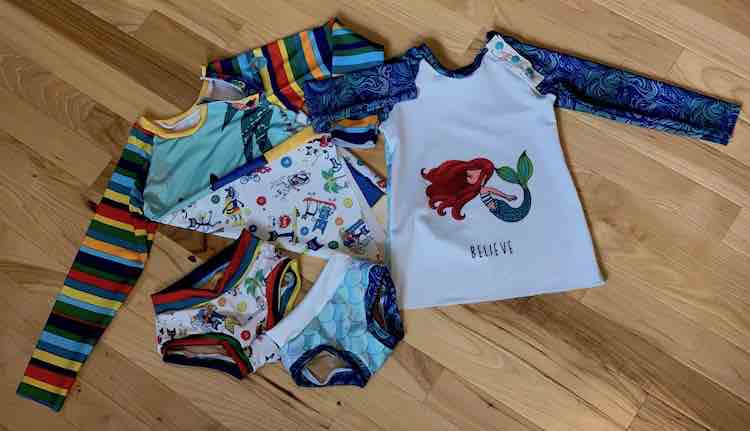
The next year I bought custom swim fabric through Whimsy Baby Customs for the girls and knew I needed to up my game. Using a tutorial through Made For Mermaids, How to Add a Snap Placket to a Romper, I upgraded the placket while using the same sewing patterns as last time – a knit raglan shirt pattern (through Ellie and Mac) and an underwear pattern (through Stitch Upon a Time). I shared my upgraded process here: Kids’ Swimming Suits – Second round with an extra year of experience.
Since those posts went live I’ve since made the girls two new swim tops and three new swim bottoms. The next set was another raglan (temporarily switched to the Ragamuffin one) but, this time, paired with swim shorts using the Apostrophe Pattern’s MyFit Leggings. I was especially proud of these as they copied the girls Halloween costumes that year with a pumpkin and Wonder Woman.
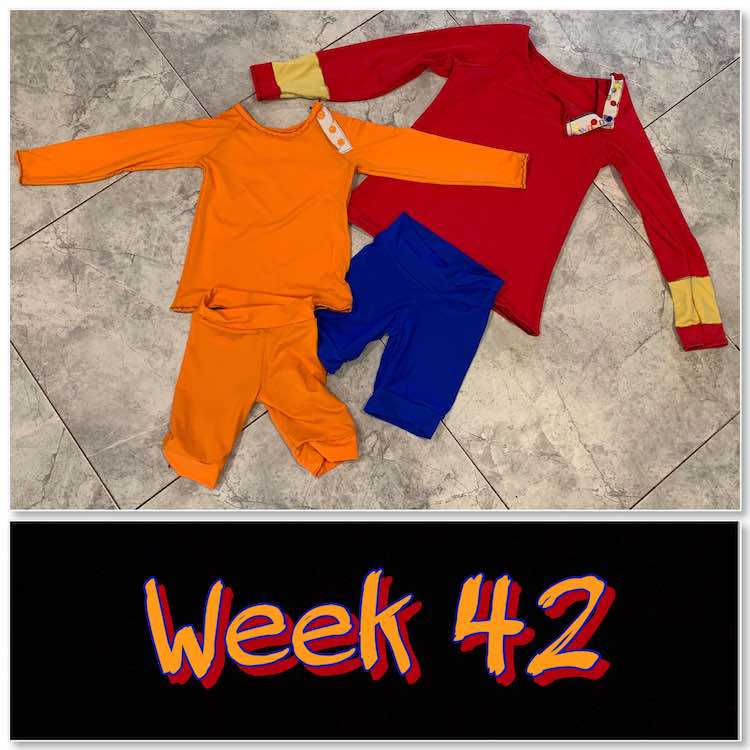
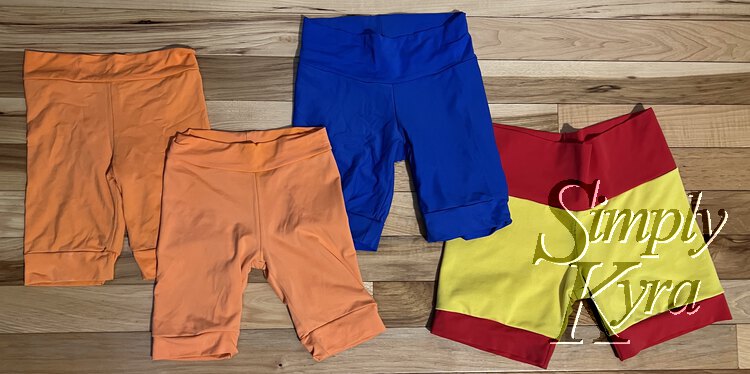
The next year the swim tops still fit but the bottoms were a bit too small so I resized them in the MyFit Leggings generator and made them a new pair to go with their old top. It was kind of funny to see how faded Zoey’s suit had gotten as the new shorts were darker in comparison. Ada took advantage of the opportunity and requested red and yellow swim bottoms instead of the original blue. I had just enough left to make it a reality for her!
This year I knew they needed new swimming suits again and so I let them pick out their own fabric through Boho Fabrics. I kept my go to raglan pattern but extended the placket and changed the neckband once again. I also switched to the Stitch Upon A Time kids’ boxerwear pattern for the swim bottoms.
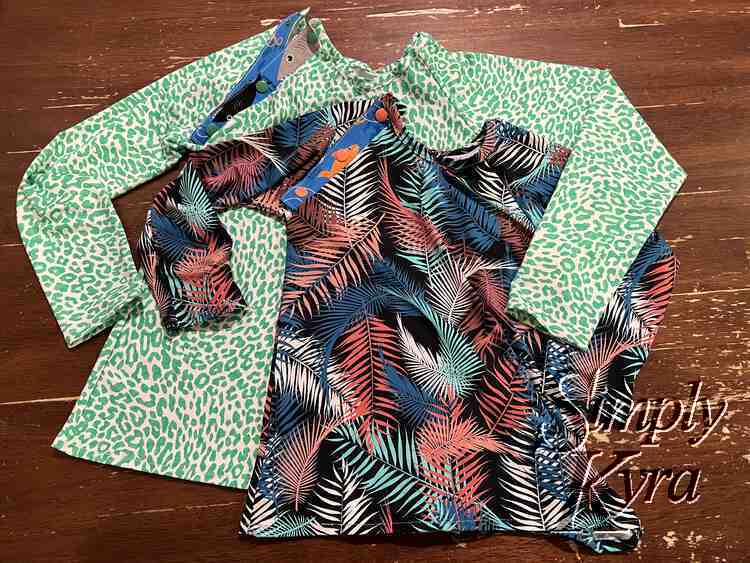
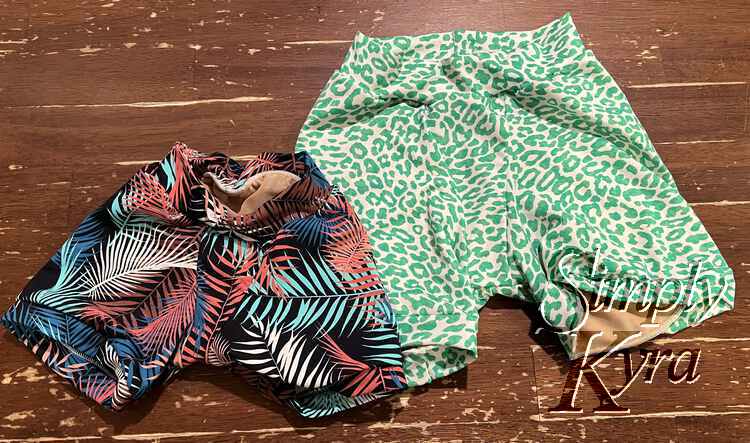
In case you’re looking at making your own swimming suit I figured I’d share a comparison over the years before going over how I specifically changed the suit this time around.
Quick Note: I wanted to mention that each of these times I either used a pattern I sized the girls in recently or sewed up a new muslin, a wearable garment, in cotton Lycra to confirm the pattern size fit before going ahead with the swim fabric. This way you can check if the sleeves need to be lengthened (I did and then forgot to do so this time) or make other needed changes.
Comparing the Swimming Suits by Pattern
The first years I used the Stitch Upon a Time Scrundlewear pattern and, as mentioned in the previous photo, hacked it to create a lining inside the underwear. As such I skipped the official liner piece as it wasn’t needed. I followed this same idea for all the swim bottoms I made over the years regardless of the sewing pattern used.
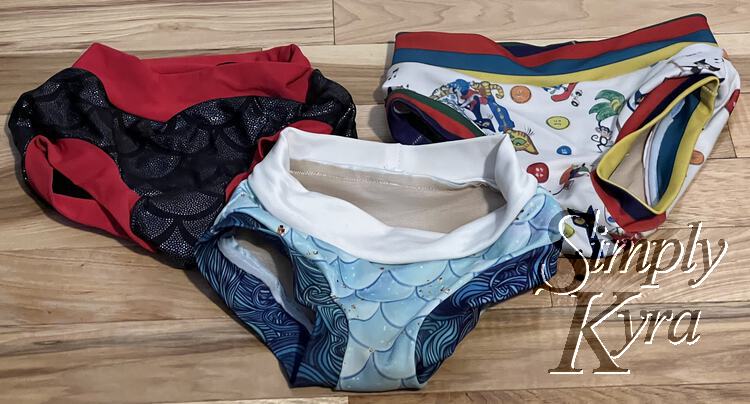
I then switched the bottoms to Apostrophe Pattern’s MyFit Leggings so I could generate a custom set of shorts based on my girls’ measurements, the fabric they wanted, how high they wanted the waistband, and where the short bottoms should end up. The girls loved being able to dictate the custom fit but I found they grew out of them quicker as they fit so perfectly to their current size.
This year I went back to Stitch Upon A Time but switched up the pattern to use their kids’ boxerwear. It fits perfectly. I love that I have options based on what they want and I can make them a truly custom fitting swimming suit.

In contrast with the swim bottoms I found their swim suit top hardly changed over the years. Though I guess I did do a few changes like upgrading to a woven placket after the first year, continuously changing the neckband, and somehow switched the side of the placket this year along with extending it.
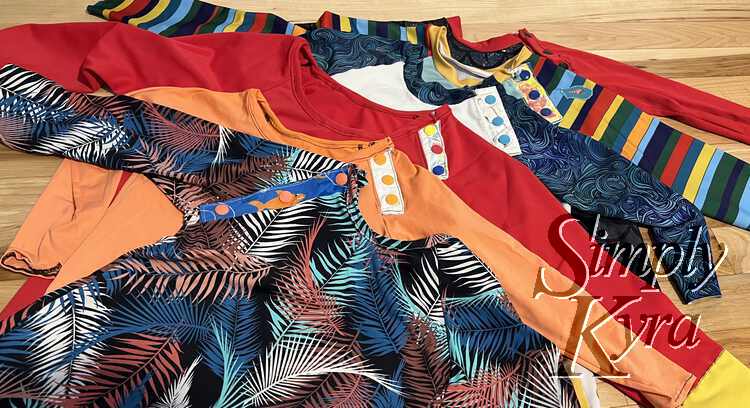
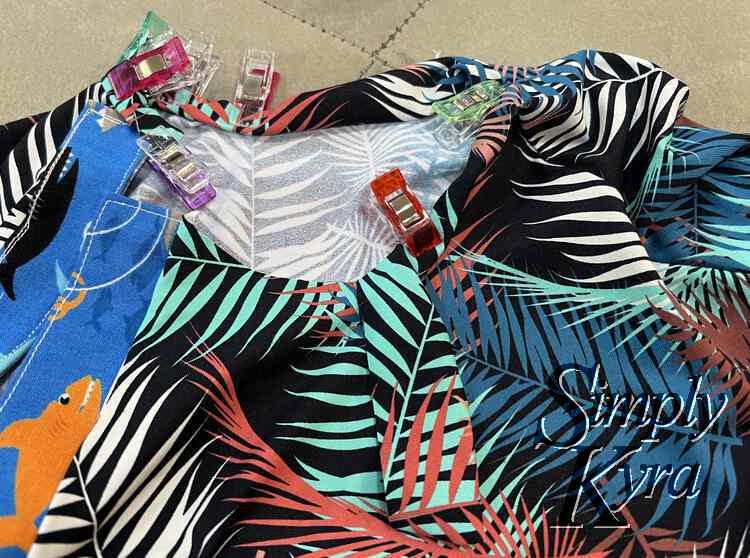
For the neckbands themselves I used to simply sew them on meaning the neckband easily flipped down and the ends of the seam were visible (shown in the blue and white top below). The next year I used the Ragamuffin raglan which told me how to bind the neckline (red swim top below) which I liked compared to the previous version yet still didn’t like the look of the ends. This year (palm frond top) I encased the neckline inside the folded neckband and topstitched it together. It’s not perfect but I like how it turned out compared to the other years.
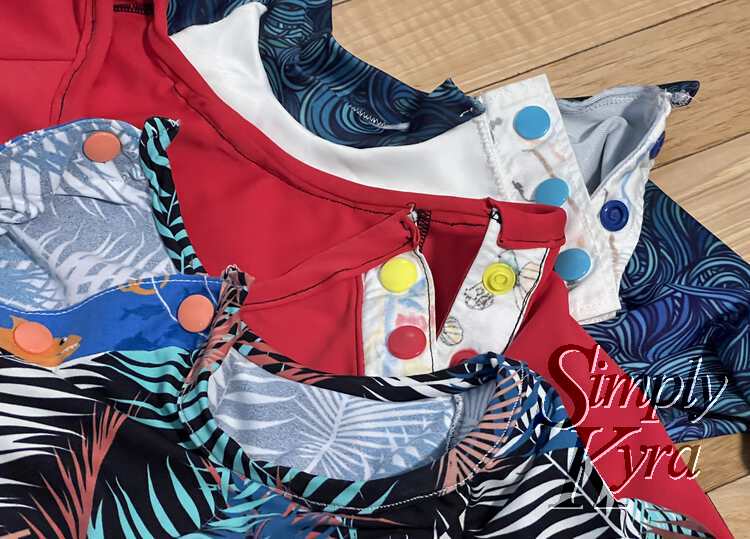
This Years
Like the previous years I sewed up the swim bottoms by making an outer and inner layer and then nested them together, to be treated as one piece, before sewing the bands on. That was the only hack I made to the swim bottoms. For the swim top; however, I hacked the placket and changed up the neckband since the neckline was now open. As such that’s what I’ll go over here:
Placket
I followed the same steps I used before but this time cut the placket longer. I’m not sure if I like the entire seam becoming a placket but we’ll see how it goes this year.
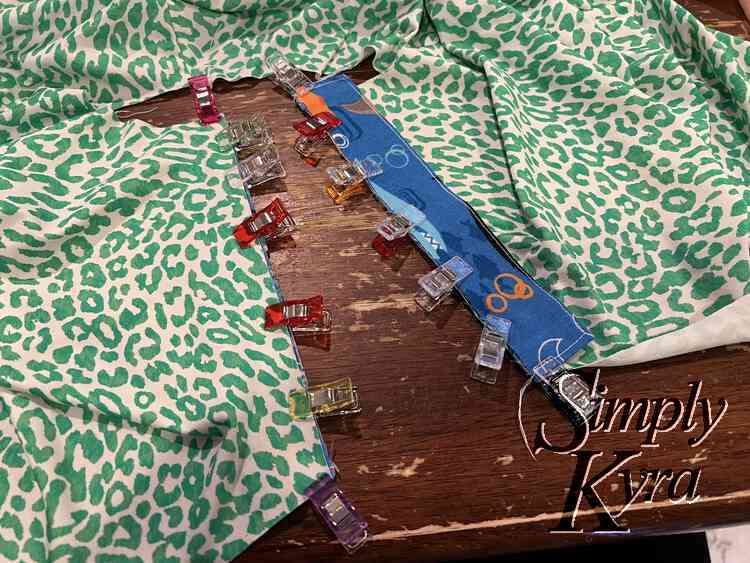
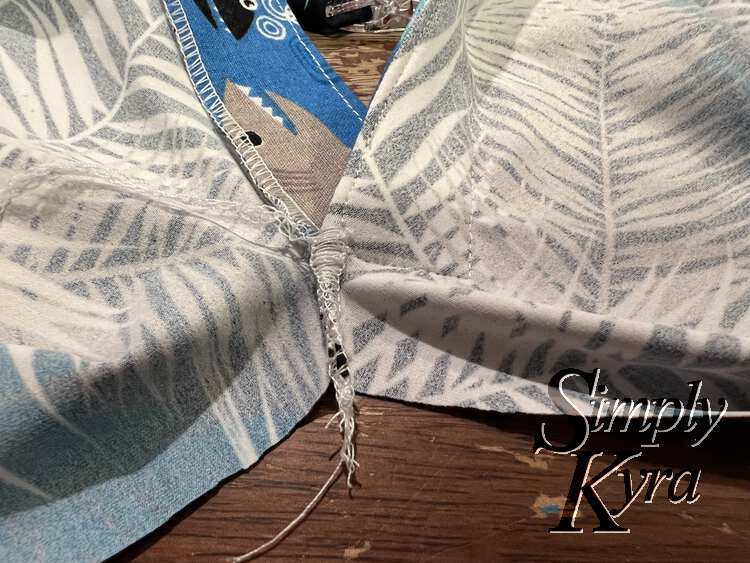
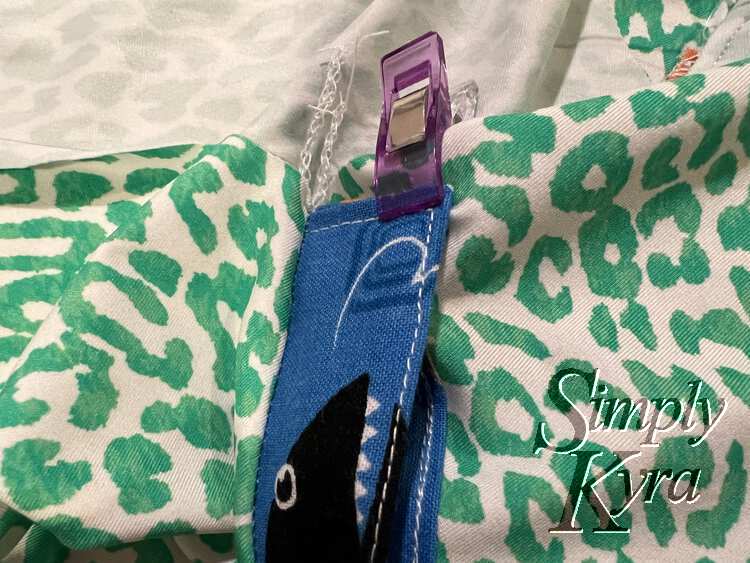
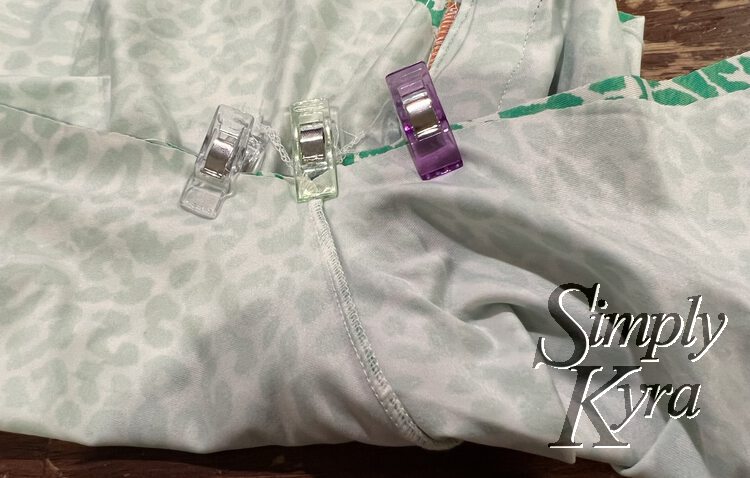
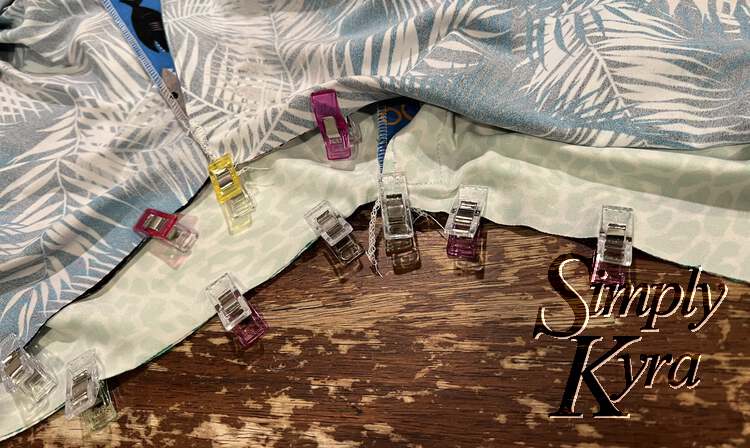
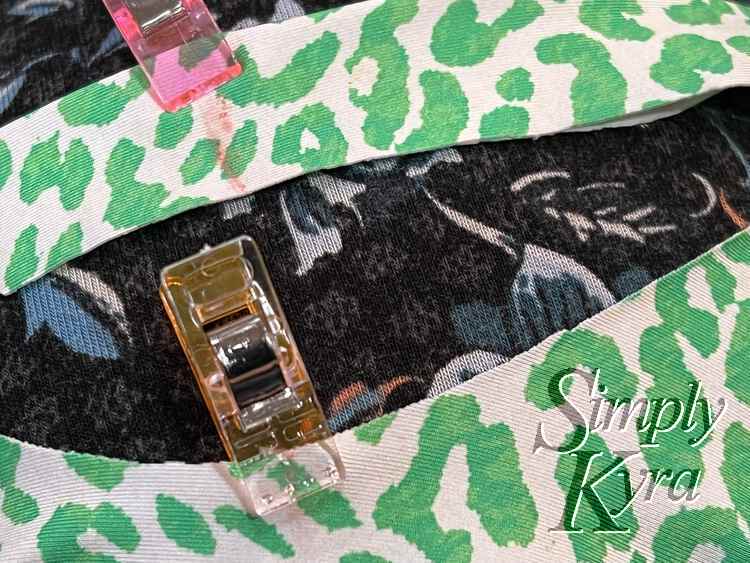
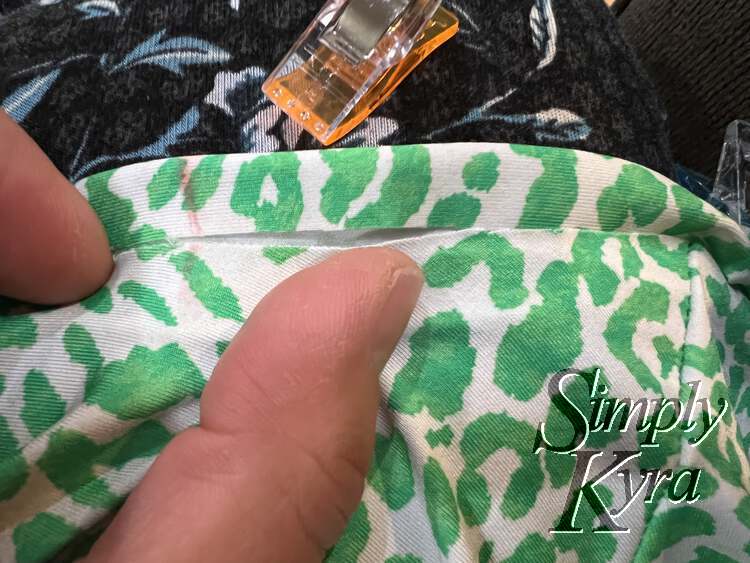
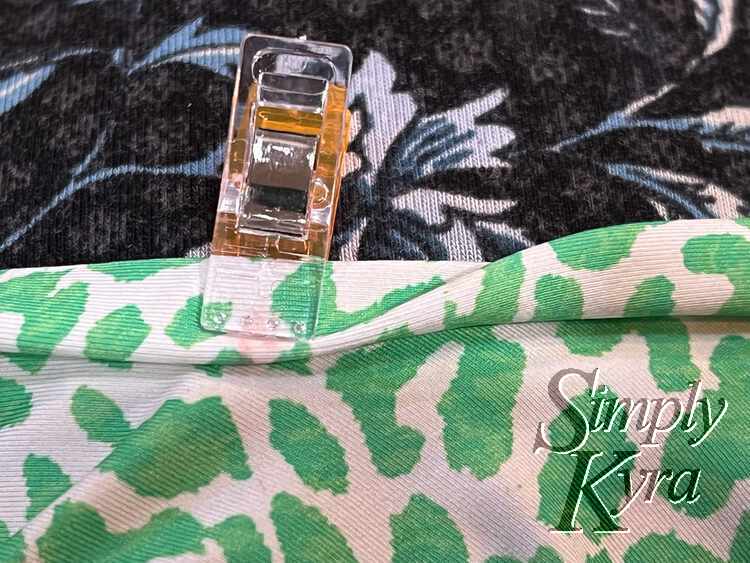
While lining up the raw edges I realized that Ada’s cheetah print suit had the placket go to the end of the seam while Zoey’s palm frond suit had excess fabric at the end. For Ada’s cheetah I overlapped the plackets, clipped them in place, and lined up the side seam making sure that the placket didn’t shift while it was sewn. The side seam sewed over the placket edge so it’s covered up a bit with the seam allowance. For Zoey’s palm fronds I laid out the rest of the raw edge of the remaining fabric right sides together and serged it from the edge of the woven placket to the armpit of the shirt. This is how it was with the earlier raglans as they had shorter plackets. To keep it doubly secure I then unraveled the serger tail and carefully tied it tight before clipping the side of the shirt together and serging the side seam together.
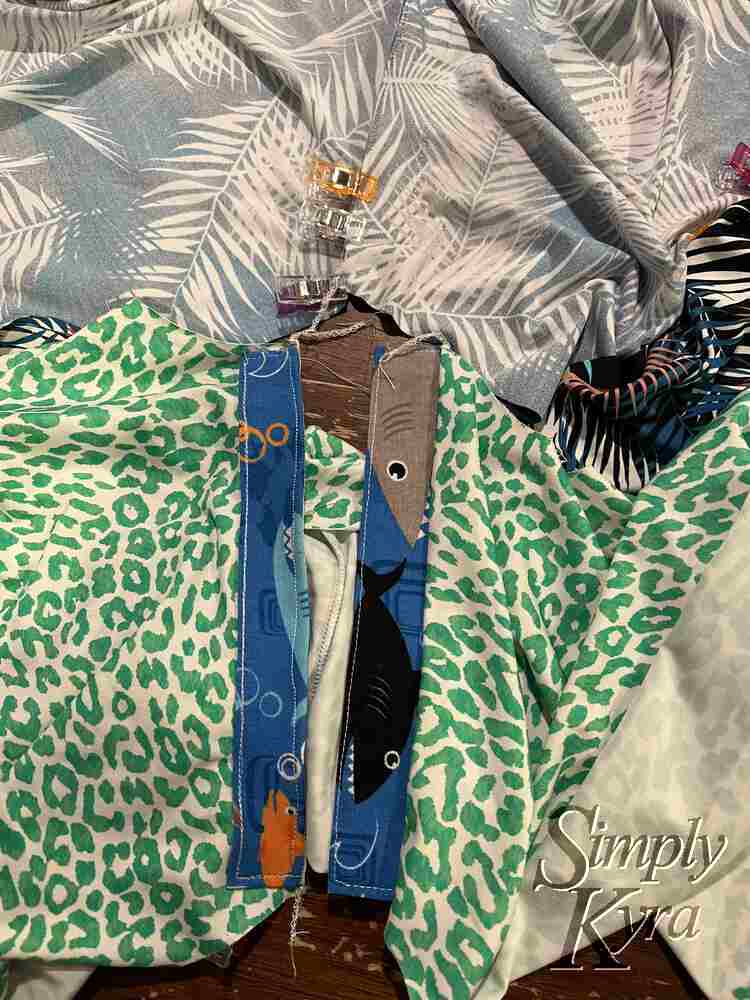
If you want more photos showing the placket creation you can check out my earlier post: Kids’ Swimming Suits – Second round with an extra year of experience.
Neckband
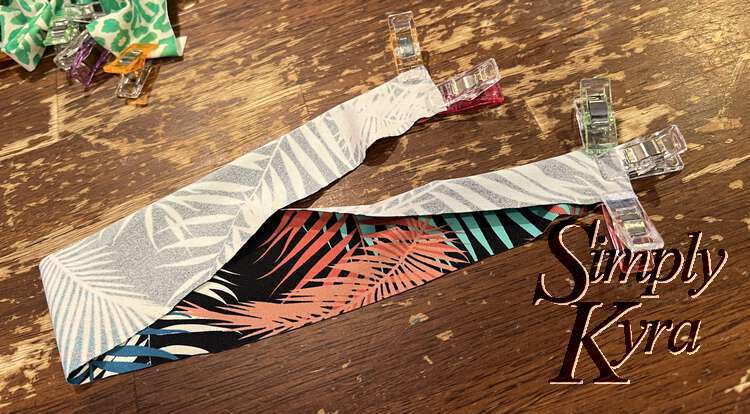
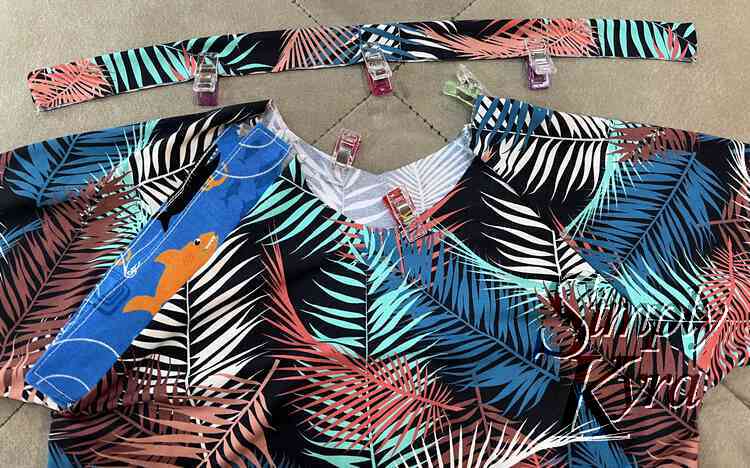
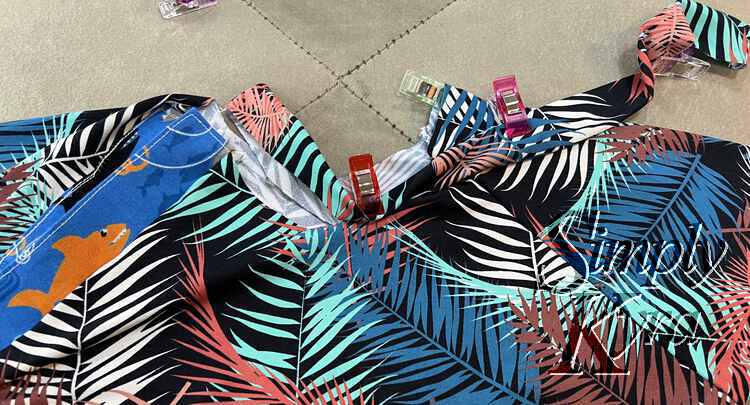
Since the neckline was open, with the placket, I couldn’t follow the normal neckband directions. I also remembered how much I disliked the ends of the neckband the previous years so I decided to change it up once again. This time around I started by folding the neckband in half lengthwise, right sides together, so I could serge the ends closed and, hopefully, use it to hide the top of the placket. I then quartered the neckband and neckline so I would better know where to start attaching the two together. Before proceeding I next flipped the edges of the neckband inside itself, so it was halved in height, and ready to go. I then attached the folded neckband to the neckline making sure that the neckline was fully enclosed within the neckband before replacing the clips. Once those points were attached I stretched the fabric between them, while checking that the neckline was fully in the neckband, and clipped them some more. Once secured I used the lightening stitch on my sewing machine to topstitch along the edge and hold it all together.
Final Step – KamSnaps
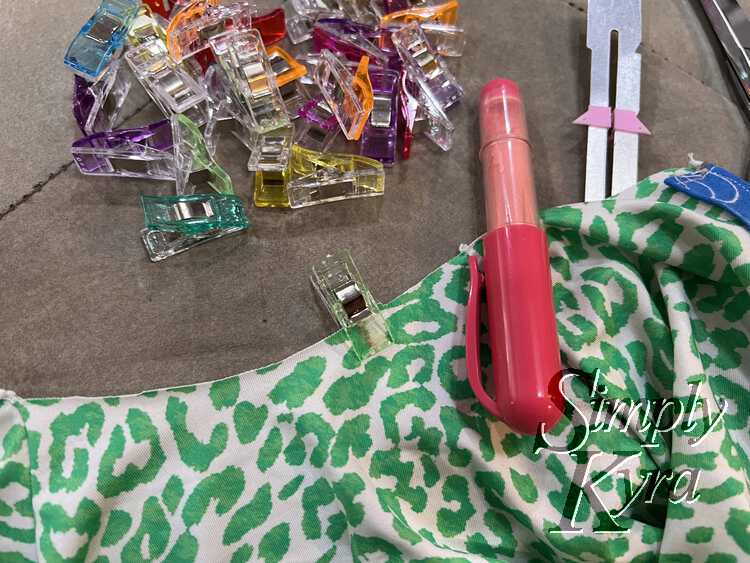
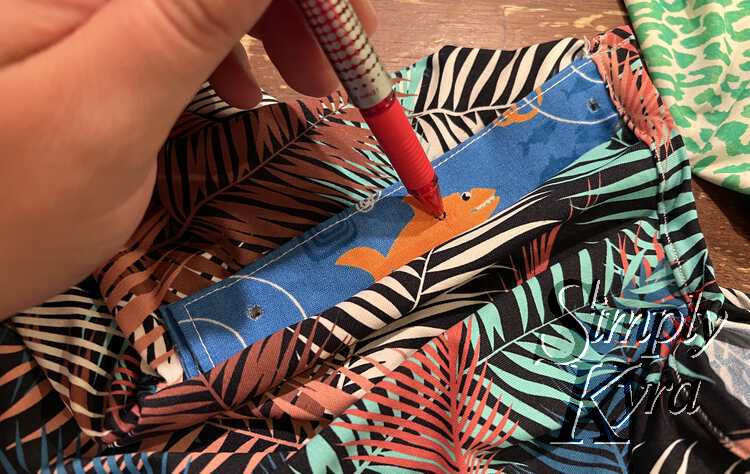
All that was left to do was the KamSnaps. Like before I choose to use only three with the idea I could add more if there were gaping areas. I used my Crop-a-dile II to punch a hole at the top and bottom of the top placket before folding it in half to find the center and punching a third hole there. For the bottom placket I first lined up the plackets as if it were closed and used my disappearing ink pen to mark where the top holes lined up. I then punch three more holes at those marked locations. With that done I inserted the snaps… and, only lost three pieces as I made a few mistakes, thanks Matt for removing the one I inserted backwards.
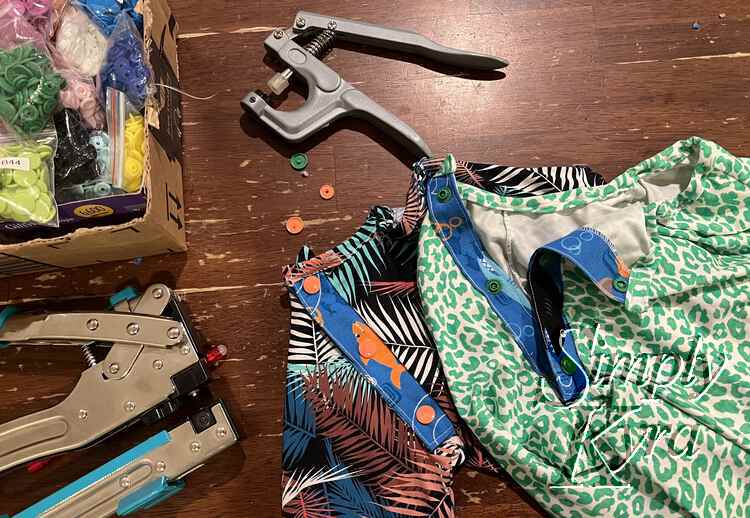
And with that they were done for another year! The kids absolutely love them and have already switched to these without any regret about their old suits!
Whether you’re looking to sew your first swimming suit or looking to adjust your current setup I hope this post helps you. If you do use it to sew your swimming suit I’d love to hear how it goes in the comments below.
Hope your week is going great!
If you’re interested in getting any of my future blog updates I currently come out with a new one every second Wednesday and share them to my Facebook page and Instagram account. You’re also more than welcome to join my email list located right under the search bar or underneath this post.

