
How I Easily Altered a Too Small Peppermint Swirl Dress by Converting It Into a Skirt
Over the last year my eldest daughter, to her dismay, grew out of all of her Peppermint Swirl Dresses. Although the dresses no longer fit I knew I wanted to allow her to keep wearing the skirt portion so I jumped onto the Candy Castle Patterns’ website and found a free tutorial on how to add a flat front elastic waistband to the skirt portion of the Peppermint Swirl Dress. As this tutorial assumed I was creating the skirt from scratch I decided to go ahead and post what I did when upcycling the dress since there were some deviations from the tutorial. If you’re interested in the original Peppermint Swirl Dress, from Candy Castle Patterns, you can check it out here. And if you want the adult size check it out here!
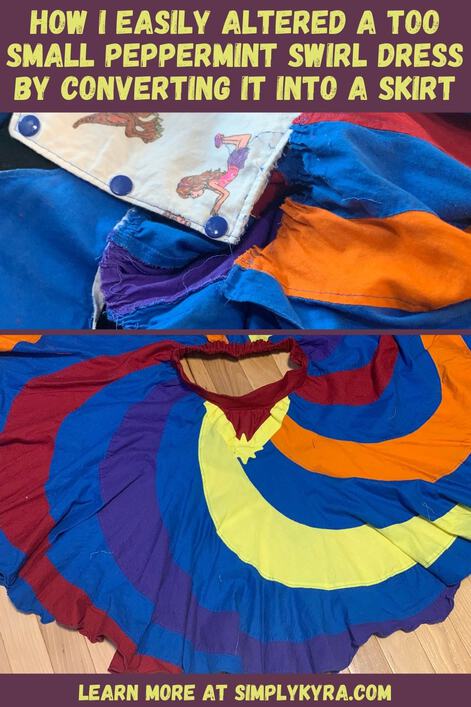
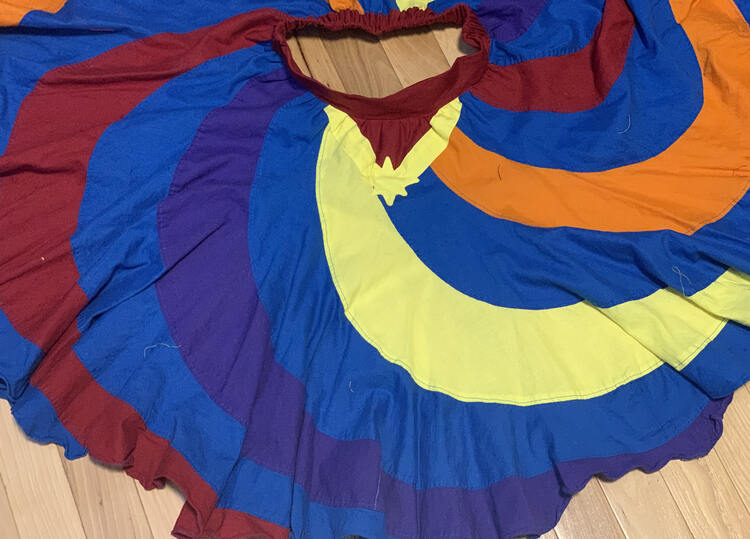
Since I was working with an already made peppermint swirl dress rather than making the skirt from scratch I knew I’d need to deviate from the first couple steps in the instructions before I could follow along with them. The instruction’s first step officially asked me to choose the Peppermint Swirl flounce size that was at least two sizes smaller than the size my child measures into. I ignored that and instead grabbed the largest of the dresses that Ada had grown out of figuring that was close enough as I had made it a year or two ago.
Rather than making the skirt fresh I then used my seam ripper to detach the skirt from the bodice and set the bodice aside for now. At this point I was grateful that there were only two seams attaching the two pieces as I had sewn them together with my sewing machine and then topstitched the seam down. By the time the bodice was free I knew I also needed to deal with the slit in the back of the skirt. I quickly scanned over the instructions again confirming that her skirt didn’t include the slit before coming up with a plan to patch it up.
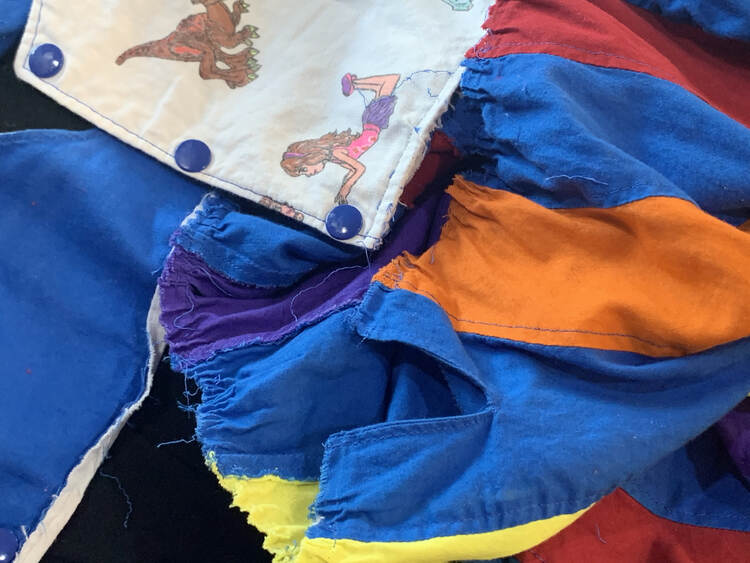
At this time Ada loved Wonder Woman so I quickly hopped online to confirm how her costume looked. One thing led to another and I instead decided to use Captain Marvel’s look to inspire Ada’s new skirt. I took tons of photos of this process so I decided to make this patch step it’s own post in case it can help you with your own garment. I will link to it here when it goes live.
While patching the slit in the skirt I ignored the top ragged edge, from where the seam was before, since that’s going to sewn into the new waistband. Once the sides and bottom of the patch were secured I went back to the instructions and followed along making a matching red waistband to go with the old skirt.
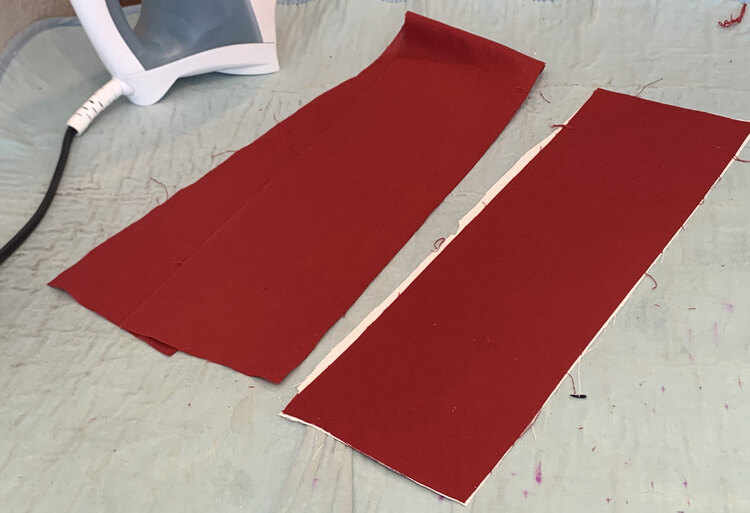
I then altered the waistband’s side seam instructions to use a French seam so rather than sewing the two pieces together with the right sides facing using a half inch seam allowance I instead put the waistband together with the wrong sides facing together. I then sewed up the two sides with a quarter inch seam allowance, trimmed the seam allowance in half, pressed it to the side, turned the waistband around so the seams are folded the other way and are right sides together, pressed the new fold flat, and sewed the sides again with a quarter inch seam allowance so the original seam is hidden within. If you haven’t sewn a French seam before here’s a link to a WikiHow post with directions, photos, video snippets, and a comment section to go into much more detail.
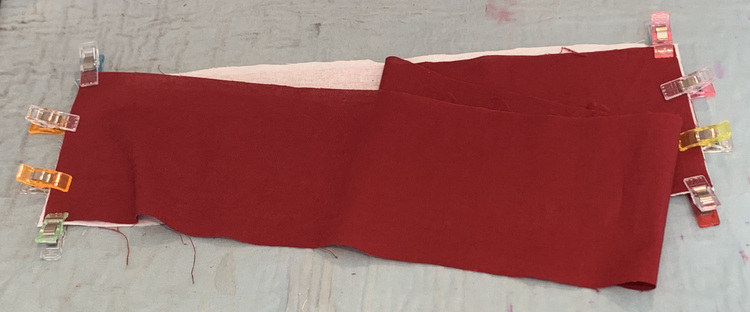
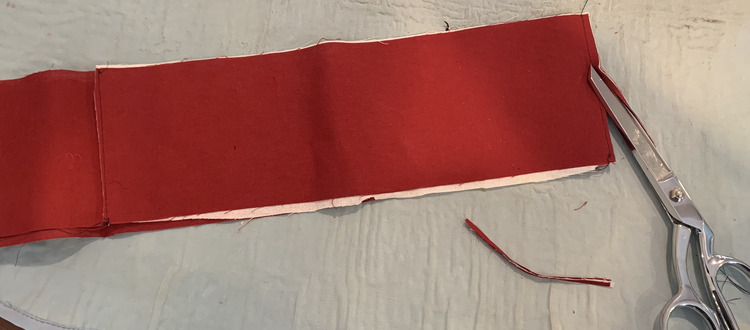
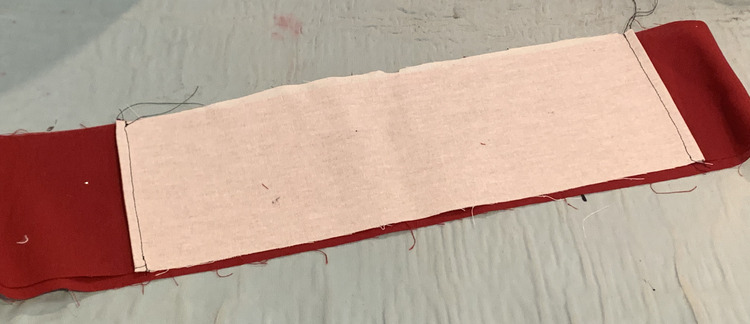
After the diversion of the waistband’s side seams I went back to the remaining instructions to once again follow along.
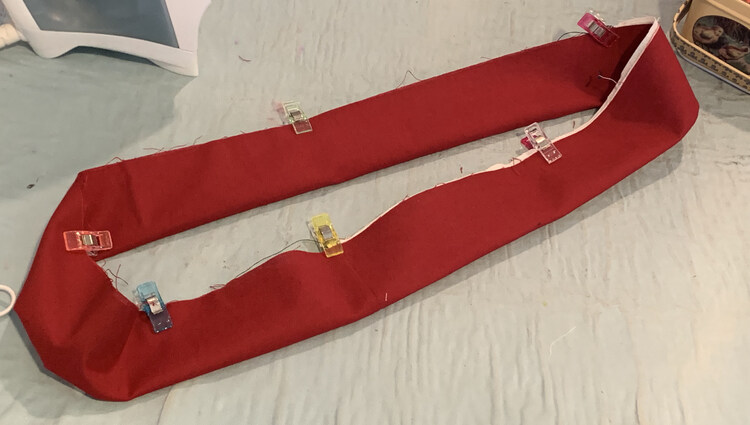
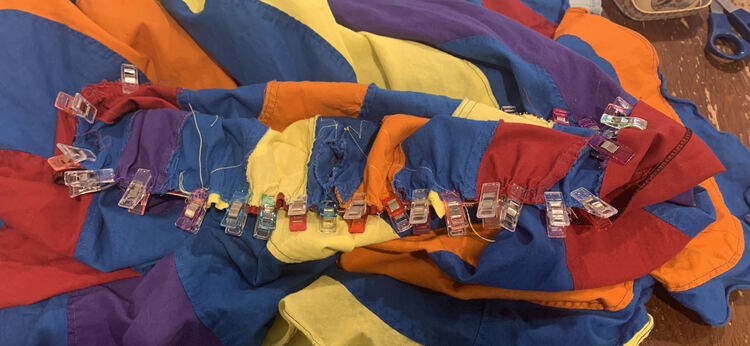
Before starting the waistband I had added a Captain Marvel inspired patch over the skirt’s slit. As such I decided the back of the dress, where the slit was, should now be the front of the skirt. The tutorial has you only gather the front of the skirt as the rest of the waistband will be cinched with the elastic. Since the top of my skirt is differently sized than the tutorial expects and as I was lazy I instead decided where the side seams of the dress should be and then clipped it in portions so the skirt was cinched and I didn’t need to gather it. Once the skirt was fully attached to the waistband, via the clips, I then sewed it together.
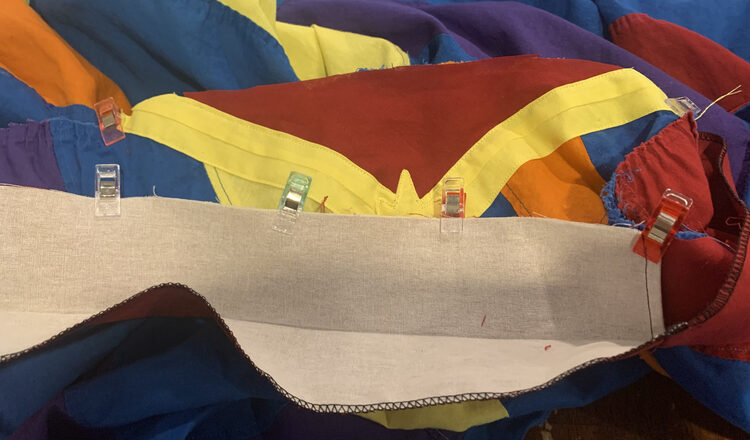
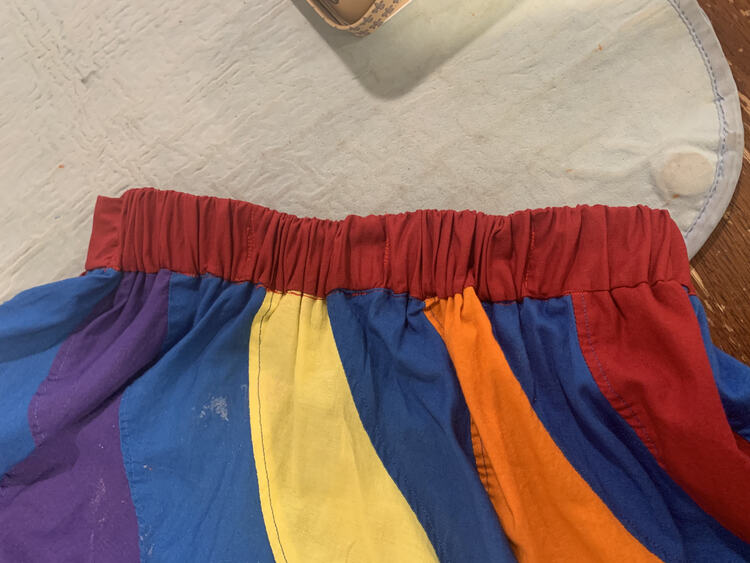
I finished up the waistband according to the instructions and loved how the final skirt looked.
A Few Mistakes
I may have been rushing a bit as I wasn’t totally feeling the project. As such I made several rather silly mistakes. Figured I’d share them here to help you not make the same ones.
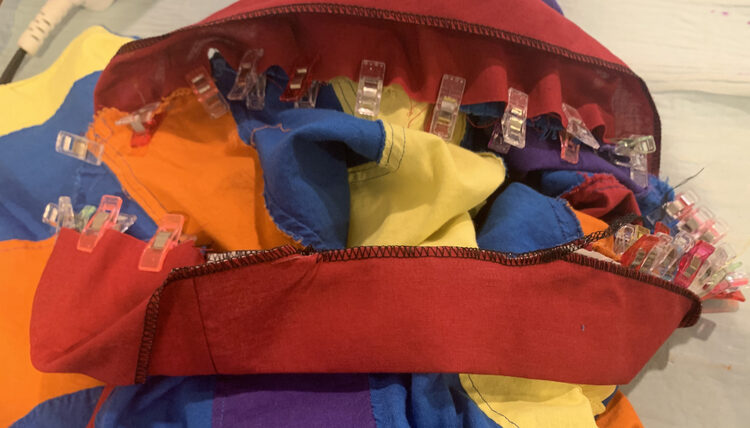
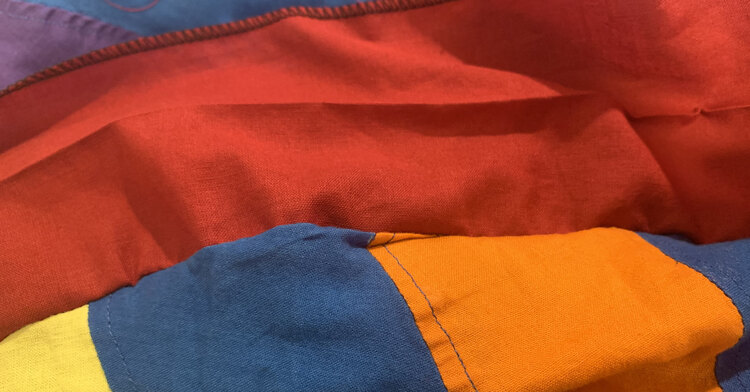
Looking back I wonder if most/all of this mistakes would’ve been solved by gathering the skirt properly and taking it slower. Anyway that’s what happened.
And with that the skirt was complete. I absolutely adored how it turned out.
Ada loved that the skirt fit her again! That said she hasn’t worn it that much since and I’ve kind of lost my sewjo recently so her other dresses are still sitting in a pile waiting to be decided on.
I hope this post helps you out whether you have a too small peppermint swirl dress you’re debating what to do with, have some other skirt you’re upcycling, or just planning ahead for a sew. The only issue with this is that I now have a Peppermint Swirl bodice sitting in one of my drawers as it seems wrong to just throw it out especially with all of those LEGO-inspired people and dinosaurs drawn onto it. If you have any idea how I should upcycle the bodice or if you have a different way to upcycle an outgrown Peppermint Swirl Dress feel free to share in the comments below! I’d love to hear from you and I really hope you’re doing great and having an awesome week!
If you’re interested in getting any of my future blog updates I currently come out with a new one every Wednesday and share them to my Facebook page and Instagram account. You’re also more than welcome to join my email list located right under the search bar or underneath this post.
Did this save you time?

