
Easily Unravel and Tie off Your Serger Ends
If you’re new to using a serger, also called an overlock depending where you live, one catch is that the thread tails can unravel once you’re done serging a seam. Unlike a sewing machine there is no backstitching to lock the stitches in place. Over time there have been numerous ways used to lock in these stitches which include serging over the ends, threading the tail into a needle so it can be weaved back through all the stitches, or simply trusting something like a liquid seam sealant to keep the ends in place. Over all the methods I’ve tried or read about, my absolute favorite one is simply unraveling the serger tails and tying the ends off. I figured I’d share this method with you, while using a three thread narrow stitch, in case you haven’t come across it yet.

I just wanted to start out by letting you know that these photos show a three thread narrow stitch rather than the more traditional four thread one. Ever since listening to the SewHere podcast about the three thread narrow overlock stitch I’ve been using it whenever serging knit fabric as it is more stable and thus offers more stretch to my garments. The difference between these two stitches is that one of the needles, and accompanying thread, is removed when going from a four thread stitch to a three thread one. In my case I use a three thread narrow which means I kept the needle closest to my serger blade in and removed the one furthest away. If I was sewing with a three thread wide stitch instead I would have then removed the needle closest to the blade and kept the one furthest away threaded. If you want to learn more about the mechanics of a three thread narrow stitch I found this post by Andrea Schewe. That said, since I untangle the stitch by pulling on one of the looper threads, which is consistent between the two types of stitches, I figured these accompanying photos would work regardless of which stitch you use. Also, according to Really Handmade, the four thread stitch “is the easiest thread chain to knot off” furthering my justification.
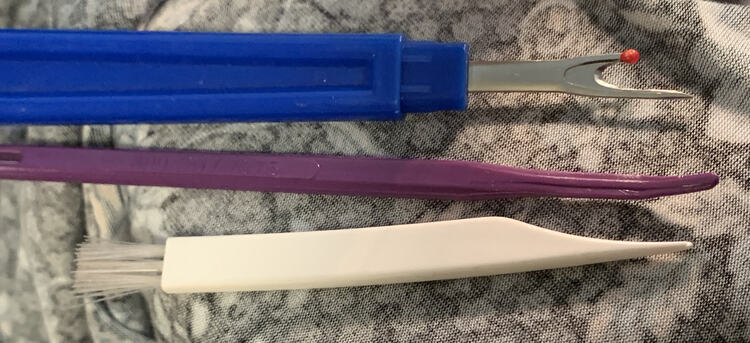
To unravel your serger tail all you need handy is something with a narrow tip, to get into the stitches, and something to cut the threads with once you’ve knotted the freed and loose ends. Ideally, I use the fine tipped end of the lint brush that came with my machine or That Purple Thang which is perfect for this. In a pinch, if both tools are currently lost, I grab my seam ripper to get into the stitches but then I need to be extremely careful not to accidentally cut my threads. If you don’t have these a sewing needle could also be used in a pinch. The seam ripper is further handy if you’ve misplaced your scissors and you need to trim the excess threads after knotting them in place.
First of all you’re going to need the end of a seam that isn’t going to be enclosed in another seam. For instance, normally there is no reason, unless you’re very thorough, to tie off the tail at either end of your shoulder seam as the ends will be trimmed and serged over when you’re finishing off your neckline with binding and adding a sleeve. So, if we continue the example of a top, you’ll want to use your serger on those seam ends and instead tie off the tails at the bottom of both side seams along with your final tail after serging around your neckline, armscye, and, potential, sleeve ensd.
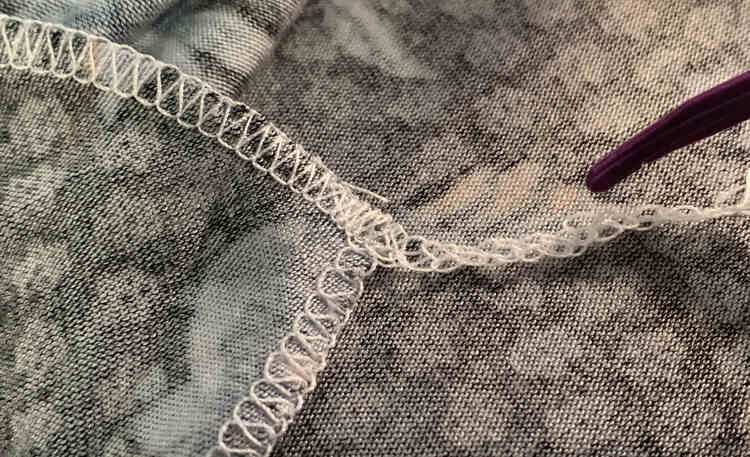
Once the seam is serged and the tail end is cut free from the serger it’s time to lay the tail out and look at it. If there’s a knot already formed at the end of the tail you can trim it off so it’s easier to unravel the rest without needing to untangle the knot itself. Untangling the tail is similar to brushing hair as a longer tail might be easier to unravel in parts, starting closer to the end, than all at once when starting close to the fabric’s edge. To untangle the section I look for the two overlapping loops of thread along the edge. These are the loopers, hence their name, that loop around the fabric’s edge and are consistent between the three and four thread stitch types. It’s also these loopers that cause rolled hems when and if their tension doesn’t t match. I used a rolled hem on purpose with my napkins, coasters, and the hem on my Peppermint Swirl dresses. Anyway, once I found the entwined loops I use my fine tipped tool, in this case That Purple Thang, and poke it into the loop facing down towards the fabric. Once the tool is inside the loop I gently pull on it so the tail slowly unravels down to the end. If there’s a knot stopping it from completely unraveling it’s always better to pause rather than to just keep pulling. If that knot can’t be untangled easily and if it’s far enough away from the fabric that the ends won’t be too short you can just trim it off rather than spending tons of time unraveling it. Once that section is unraveled I then move closer to the fabric and unravel the next section. Just be careful not to unravel the tail right at the fabric’s edge because if it continues unraveling before you can tie it off then the seam will be affected.
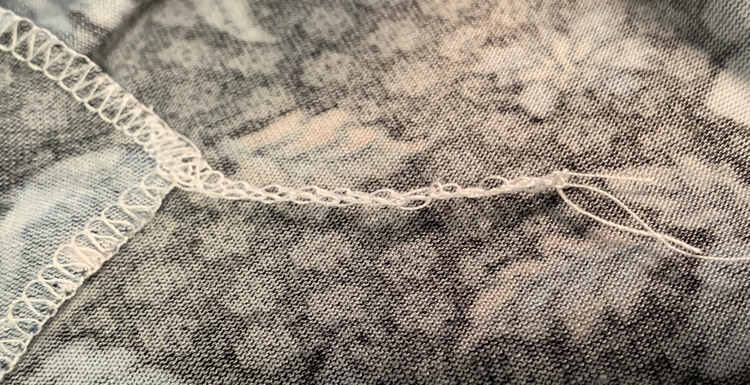
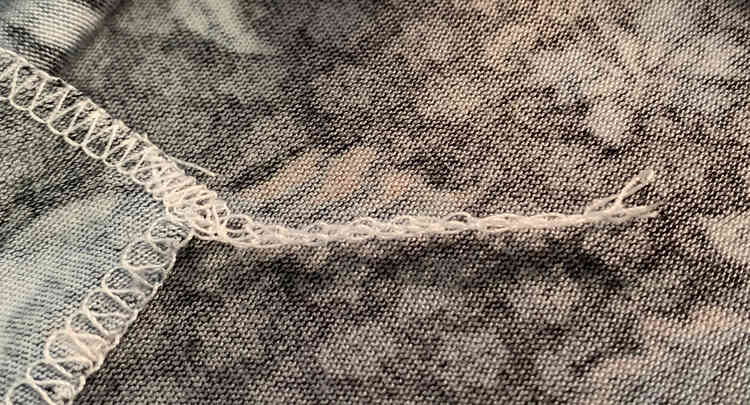
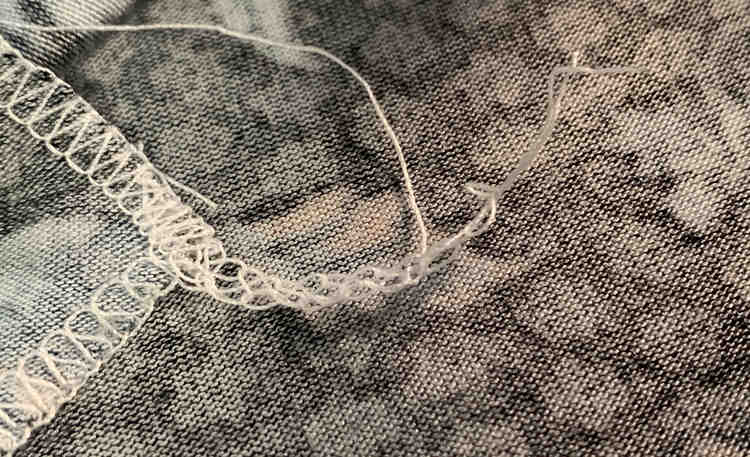
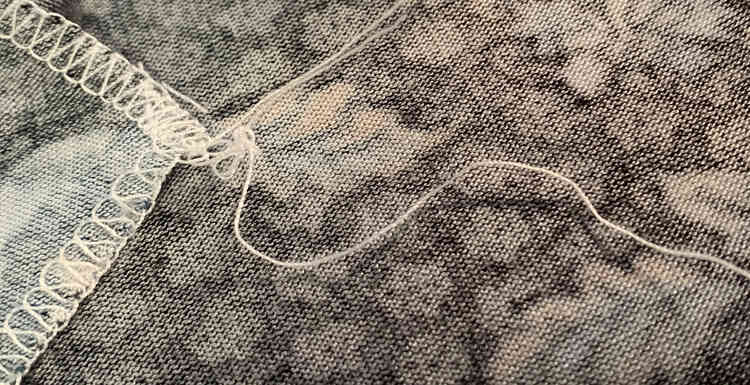
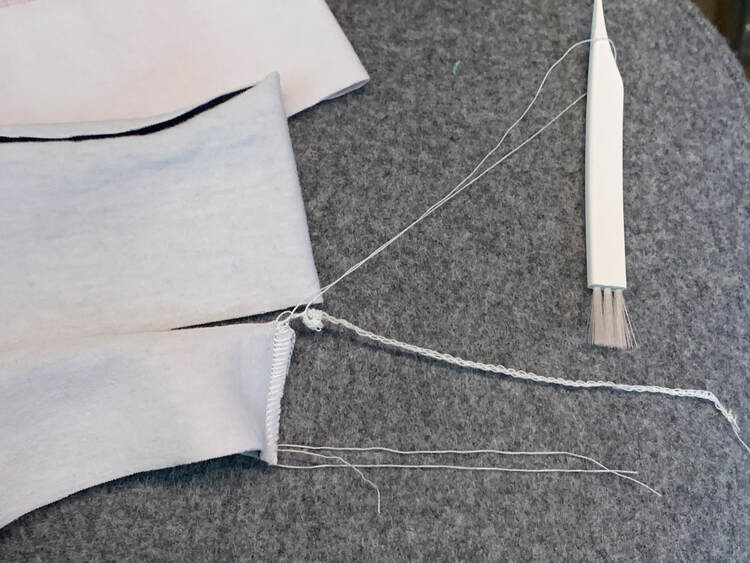
Now that the tail is unraveled there are three individual threads visible coming from the seam’s end. Two of these are long, they’re the two looper threads, and one, the single needle thread, is short. If you’re unraveling a four thread stitch you’d be left with two short threads, from the needles, along with these two longer looper threads. At this point, I’ve been separating the two long tails from the short one and tying it together three or four times so it doesn’t come undone. I’ve had a time or two where the seam unravels during this process so putting the short thread with one of the longer ones might instead be better. Once the knot is in place the thread ends can be trimmed; however, don’t trim too close to the knot or it can still unravel and the threads would be too short to easily tie it once again. I haven’t used it that much but at this point you could always dab a bit of liquid seam sealant, like Fray Check, if you want to be sure that the seam end is truly secure.
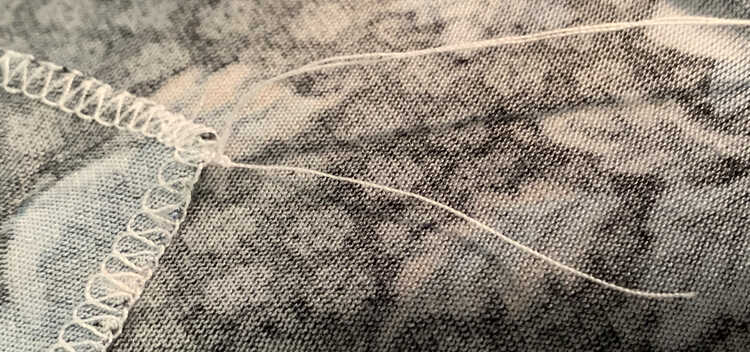
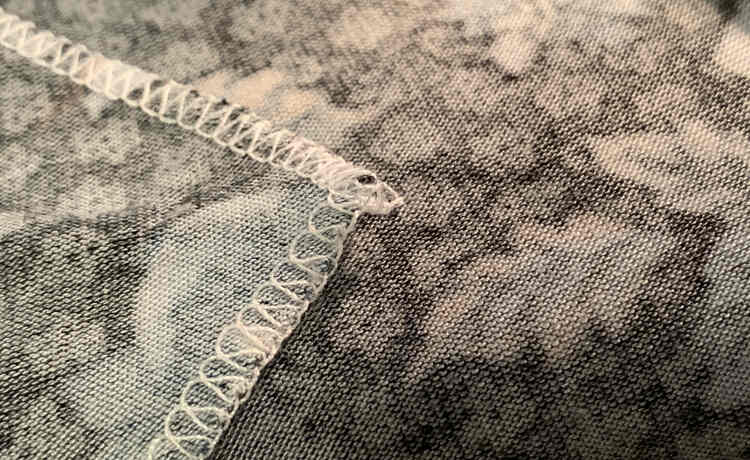
And with that your serger tail is tied off and secure. Now you just need to repeat this with the other serger tails left in your garment. I truly hope your day is going well and this was able to help you out. Feel free to share any questions or comments below.
If you’re interested in getting any of my future blog updates I currently come out with a new one every Wednesday and share them to my Facebook page and Instagram account. You’re also more than welcome to join my email list located right under the search bar or underneath this post.

