

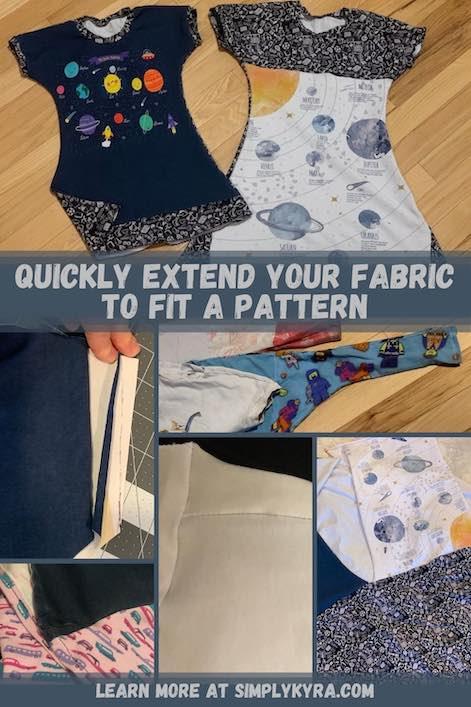
Quickly Extend Your Fabric to Fit a Pattern Piece

A while ago I shared our favorite knit dress, the Stitch Upon a Time Magnolia, with you. Many times I’ve printed and cut out my pattern just to realize, once I lined the fabric panel up with the paper pattern piece, that the fabric isn’t large enough to entirely cover all the paper. In case you might also have this issue I wanted to share how I’ve gone about solving this by extending the fabric. I’m excited to now share how I extend my custom fabric panels to fit larger pattern pieces to solve this problem.
When I sew my Magnolia dresses using the custom fabric I’ve purchased from Whimsy Baby Customs it is often commonly slightly too small for the Magnolia’s pattern pieces. Technically, the proper way to extend pattern pieces, in this case, seems to be through color blocking where you cut a paper pattern piece into two, or more, pieces and then add the missing seam allowance to either side of the cut allowing you to use two pieces of fabric, or more with more cuts, out of that single pattern piece. As a quick aside I just looked up the proper way to color block and found this simple Color Blocking for Beginners tutorial by Christina Rotz on 5 out of 4 Patterns’ website. I also found this color blocking overview on Schwin & Schwin; although, instead of adding seam allowance to each cut pattern piece they instead used a one and a half inch wide strip of fabric to sew each cut pattern piece back together, with a 3/8″ seam allowance to make it up, thus making an incredible sweater. I am much too lazy for this, so far, as the kids grow too quickly to justify recalculating the new pattern pieces each time I might want to sew a new dress for them. I, instead, extend the fabric to meet the pattern piece’s size before cutting it out according to the, original, pattern.
I start by marking the fabric with chalk or disappearing ink where the fabric needs to be extended and then sew a coordinating fabric to that spot. Once all the locations that need it on the fabric have been extended I might press the seams so they’re flatter and maybe topstitch the seams down. I then lay out the fabric and cut out my pattern piece as normal. You will need to be careful of the new seam ends where you just cut the seam off as they no longer have a backstitch to keep it together there. After the pattern pieces have been cut I continue by sewing up my pattern according to the instructions. When the kids were younger I didn’t have to extend the pattern pieces as much but as Ada, and then Zoey, grew this happened more and more frequently.
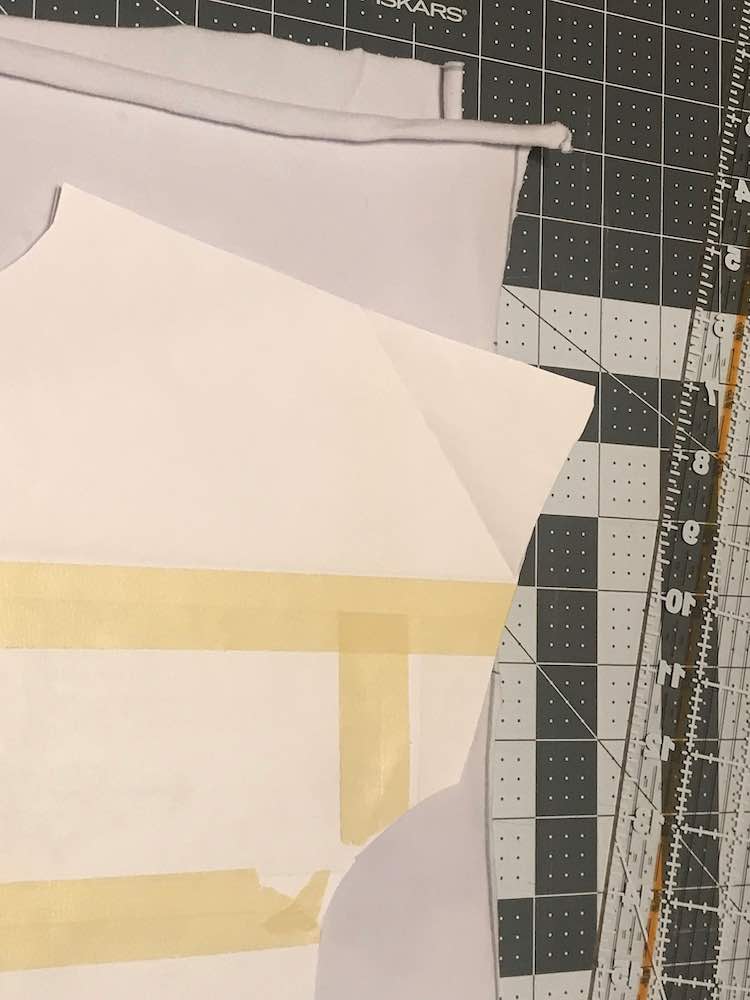
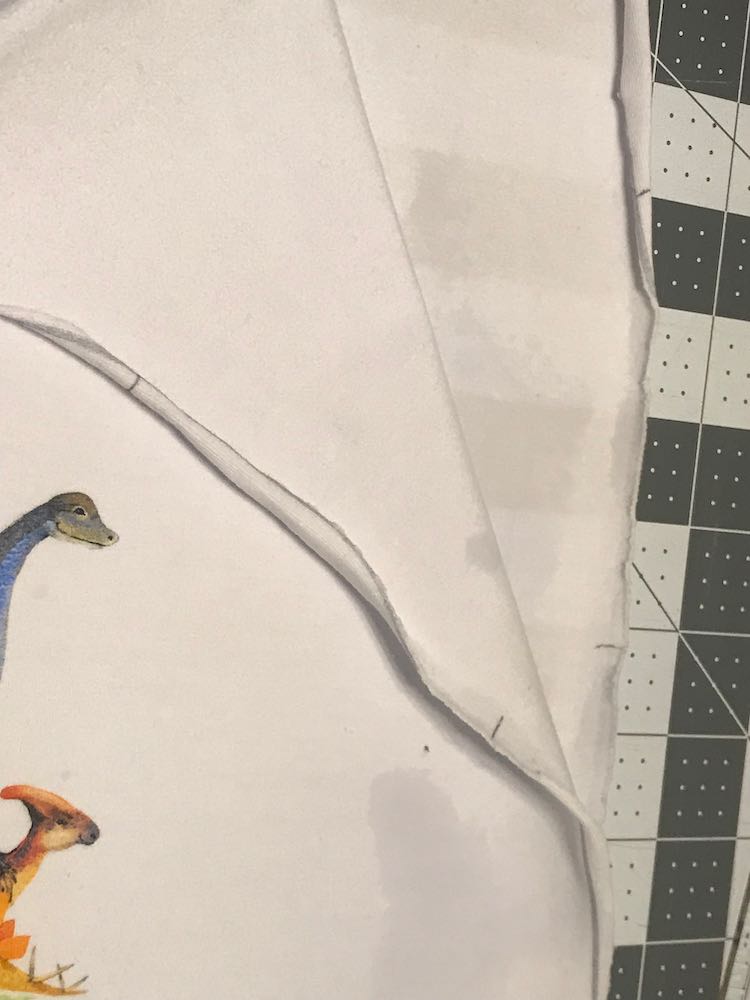
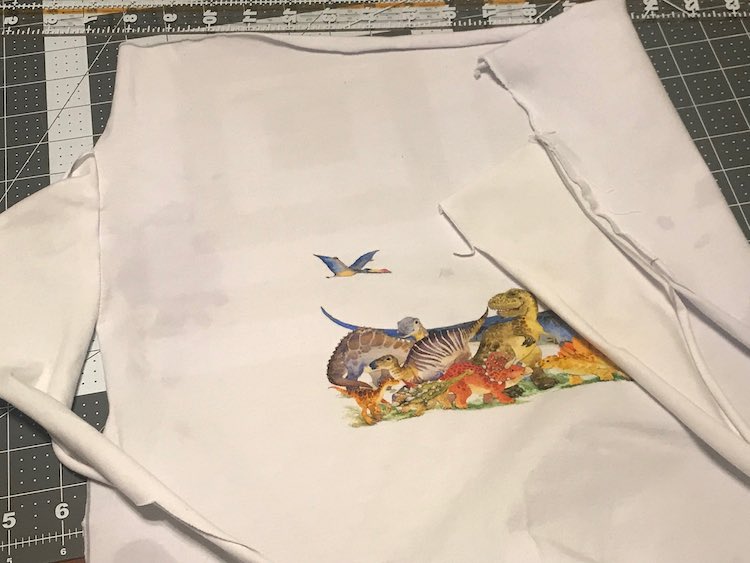
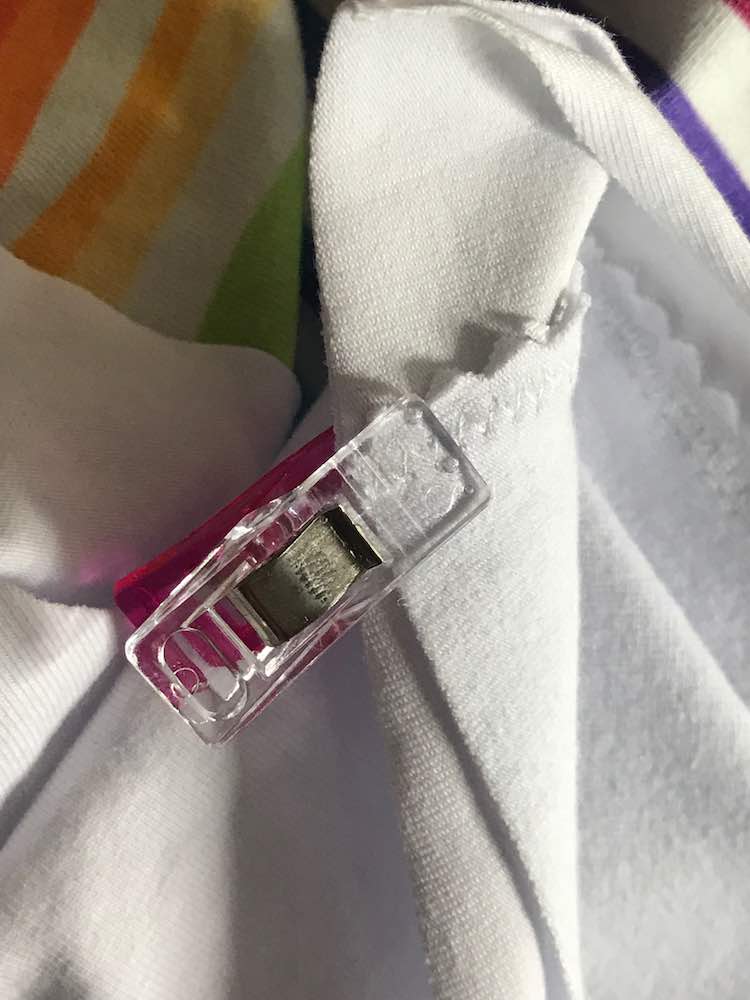
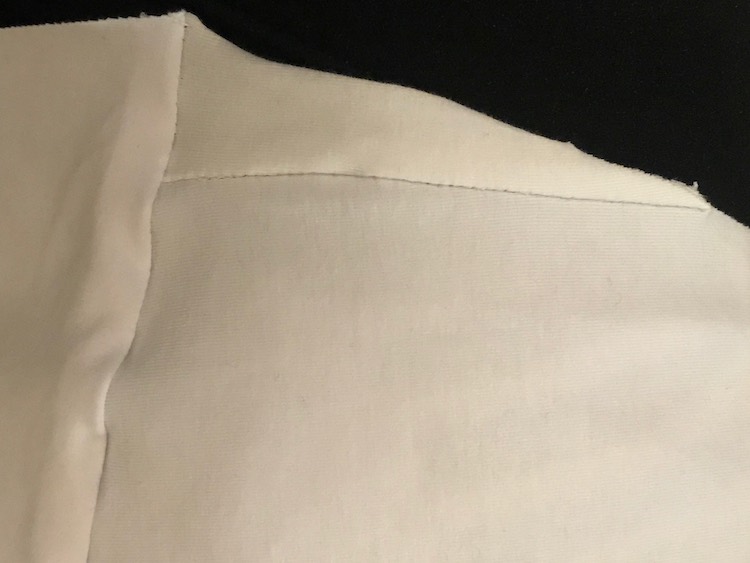
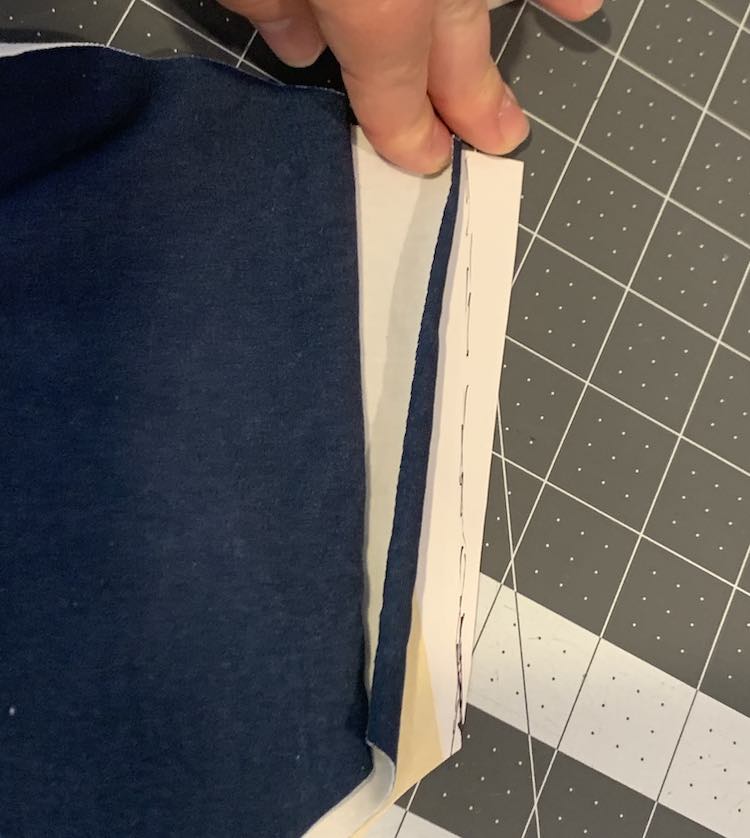
In this example below the fabric panel was a bit too skinny to fit the top of Ada’s bodice’s pattern piece. I had folded the panel in half and lined up the fabric’s fold line with the paper pattern’s marked fold line. I then used my disappearing ink pen to mark the fabric both above and below where the paper pattern extended past the fabric’s edge. I next grabbed some extra fabric, from cutting out Zoey’s bodice earlier, and used my sewing clips to keep the two layers of fabric together, right sides together, covering the marked section. If you have fabric where the horizontal and vertical stretch are different then you’ll want to be careful about which way you line up the extra fabric before sewing them together. If you’re extending the fabric by a lot then having fabric not follow the grainline could change how the pattern fits if that one section is stretching in a way it shouldn’t be or doesn’t stretch as much as the garment needs. Anyway, once the fabric was sewn together I trimmed the excess seam, since I was using my sewing machine at the time, and then pressed the seam down flat. Once I extended the fabric so it stuck out further than the paper pattern piece at all spots I was then able to cut out the pattern piece and continue along following the pattern’s instructions.

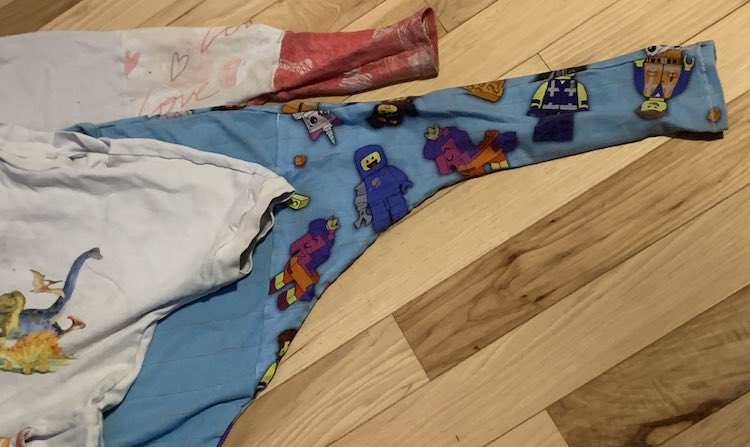
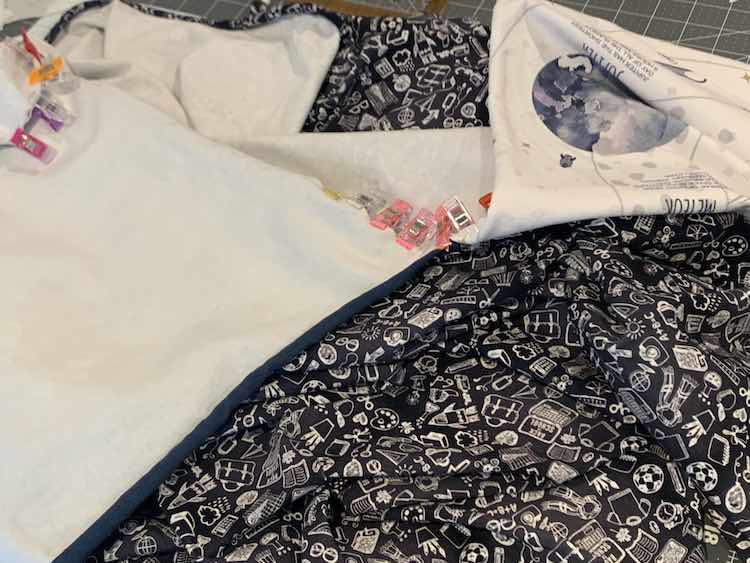
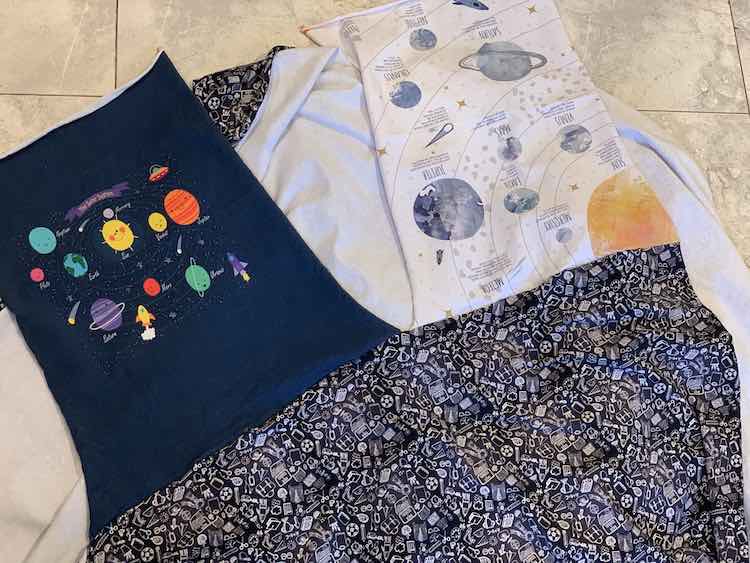
So far I’ve extended several panels to work with my pattern pieces although as time goes on and the kids grow I find I have to extend the panels more and more often. Back in August I sewed two dresses for the girls where Zoey’s panel may have been able to fit, if finagled, while Ada’s panel in contrast took up more space than the pattern piece had. I didn’t want to cut off any of the design so I decided to combine the two front pattern pieces, mentioned in my recent Magnolia post, thus making the pattern piece much larger than my fabric so I found I had to extend the fabric to fit once again. After laying out the larger pattern pieces over the panels I determined where, based on the pattern pieces, the panels should be positioned and thus I could then determine where and by how much the panels needed to be extended with the coordinating fabric. I was using the same meter of cotton Lycra fabric for both dresses so to simplify the process I attached both panels, side by side, to one end of the coordinating fabric, making sure they were right sides facing, before using my sewing clips to keep them in place. Once sewn I didn’t have to trim my seam allowance, since I used my serger, so I quickly pressed the seam down before laying out the fabric, folded in half, lined up against the paper pattern pieces once again.
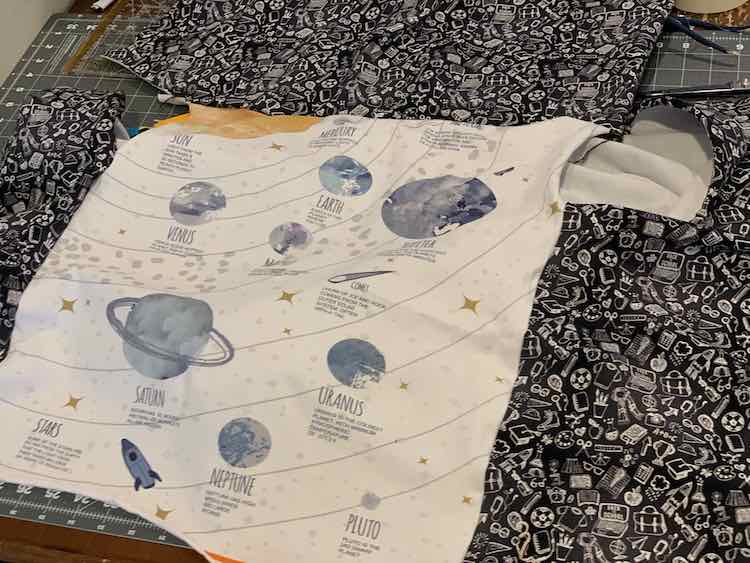
At this point, once I lined up Ada’s fabric and pattern piece together, I found that Ada’s panel still needed to be extended in other locations so I marked again where the paper pattern extended past the fabric and sewed even more coordinating fabric to those spots. Once the fabric extended past the paper pattern it was time to cut out the front of the dress, and the other pattern pieces, before sewing up the dress according to the pattern’s instructions.
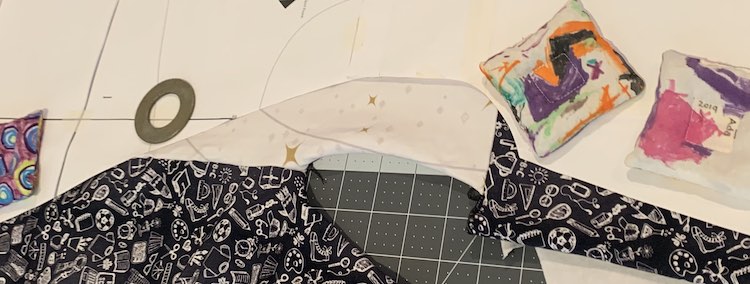
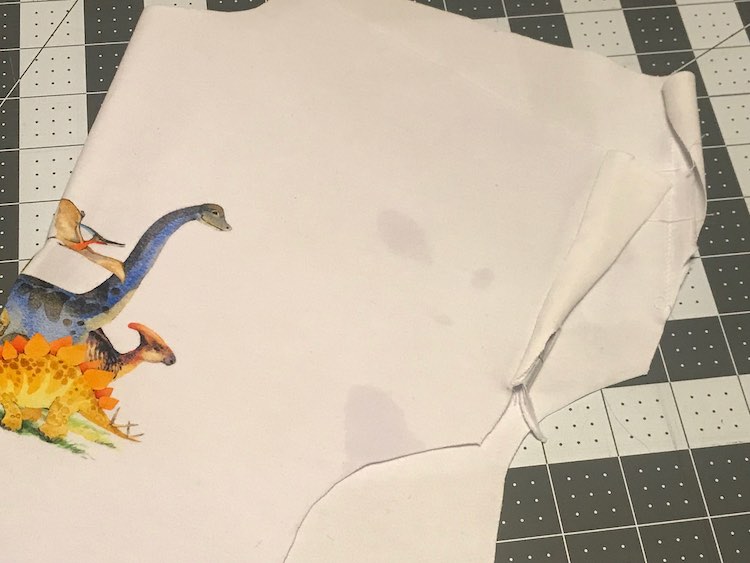
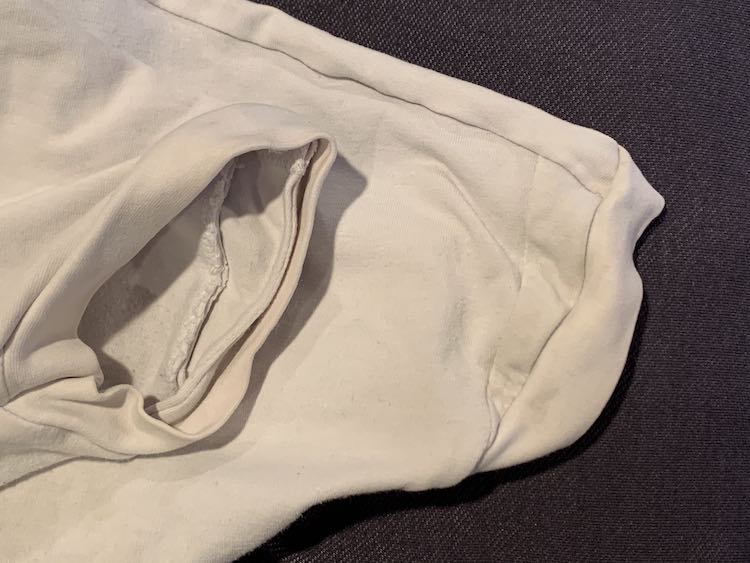
Zoey’s extended panel almost fit the dress pattern piece except for a single little section at the end of the sleeve similar to the white dress, shown first, where I added a little bit of fabric to the panel so it reached the whole way across. Since that dress; however, I’ve gotten a bit lazier so instead of extending the panel some more I instead marked on the paper pattern how far the fabric went and folded it up to create a new capped sleeve ending. After laying out the fabric with the paper pattern piece and confirming that the fabric did indeed reach the marking I then cut out the fabric. Since the change wasn’t too much I kept the sleeve band the same without changing it and didn’t have an issue. If you made a larger change at this point of the pattern you may have to recalculate the new band size.
And that’s how I’ve extended my fabric so it’s large enough for my paper patterns. So far I’ve kept this simple by only doing it with my custom cotton Lycra fabric so all the pieces have the same weight and stretch. I’d imagine it would be more difficult if you’re mixing up different fabric weights or stretches. Whether you’ve done this, are going to try this, or if there’s something related you’d like to share I’d love to hear from you in the comments below. Have you ever extended your fabric to fit your pattern piece and if so did you do it differently? I truly hope your week is going well.
If you’re interested in getting any of my future blog updates I currently come out with a new one every Wednesday and share them to my Facebook page and Instagram account. You’re also more than welcome to join my email list located right under the search bar or underneath this post.