
My Simple Marker Holder - Hardest Part Was Drying The Mod Podge
Years ago I came across this felt pen, or marker, holder in Jean Van’t Hul’s book The Artful Parent. It was geared towards toddlers as it’s easier to pull the marker out of the holder rather than the from a little lid and much simpler to put the marker back. I knew I had to create it for ourselves and made sure to snap some photos of it; however, once finished, I never got around to sharing them with you. I loved the finished product and the kids enjoyed using it but Zoey was still a bit too small to use it by herself and Ada became disinterested in it so once the markers dried out it became simpler to store the new markers in a pencil box so the felt pen holder was set aside. A couple months ago; however, Zoey came across it and asked me about it so I decided to fix it up so they could use it again. Both girls, now four and almost six, have been enjoying using it again. I’m not sure how long they’ll stay interested in using it but I wanted to share it with you, while I still remembered, in case you’re looking for something similar for your kids. Although, I made it when my kids were younger I could see this being a fun project to do with them if I were to make it again now.
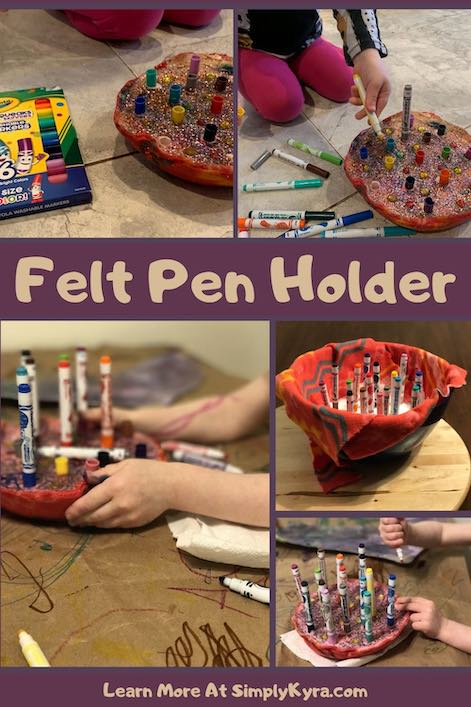
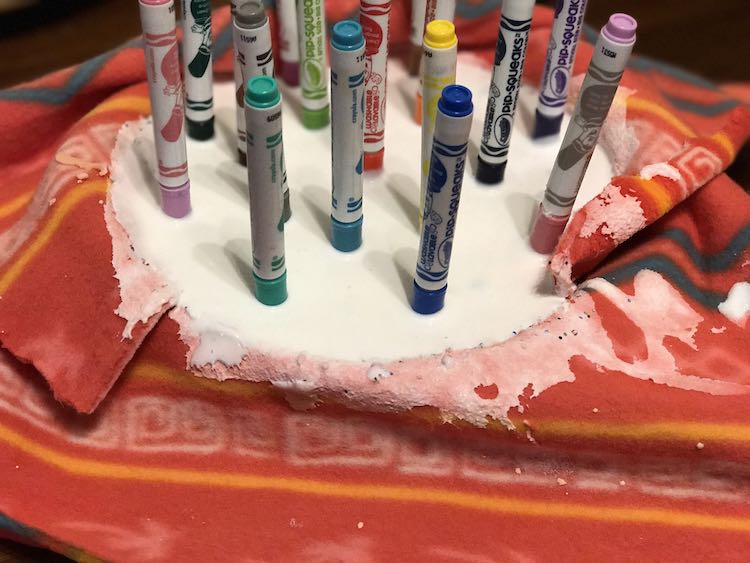
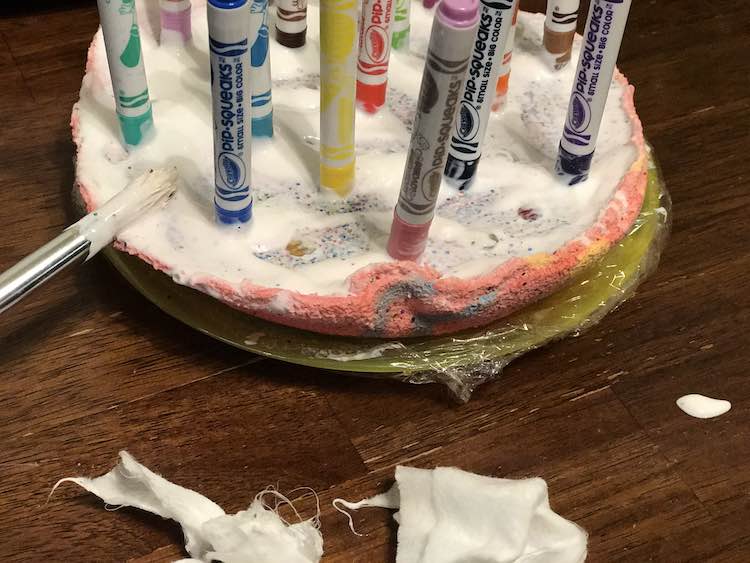
I immediately went out to buy a bucket of plaster of paris and, as the felt pens’ lids would be stuck within the plaster of paris, knew to choose markers that would be simple to find, over the years, so I could easily replace them whenever the old ones dried out. I ended up deciding on the Crayola Pip-Squeeks Skinnies and bought a multi-pack. I actually hoped their size would mean more room for the markers in the holder and more room around each marker for the little fingers to grasp them. After assembling the rest of the supplies, including a bright and colorful thick flannel scrap I got from the first and only time I visited a Fabmo sale, I finally got started making it. I followed the directions listed in the book and and it turned out fabulously…. and then I continued on my own and had a few issues. I had dyed the plaster pink, using red dye, and it didn’t seem as apparent as I expected so I wanted to go on and glam it up by adding plastic Dollar Tree rhinestones and tons of glitter. I also didn’t want that glitter all over the house so I decided to protect it with mod podge. I knew if I brushed the mod podge onto the surface the glitter might also be brushed off or streaked so I, instead, chose to pour it on. This caused a much thicker layer of mod podge than I had wanted but since I was in a hurry to go somewhere, probably a play date, I left it as it was and returned, three hours later, to our home smelling so strongly of mod podge and the mod podge itself still thick and wet. At this point I knew I had to do something so I trimmed the excess flannel around the top edge and, using a brush, moved some of the mod podge to coat the top and sides of the flannel. I made sure to leave the bottom unpainted as I wanted the soft flannel to cushion the felt pen holder and not scrape my table when the kids moved it back and forth. I then grabbed one of the plastic plates we had, wrapped it in plastic wrap, and flipped the felt pen holder upside down on it hoping the excess mod podge would drip off and the remaining mod podge would dry much quicker. I then set it aside for two days before discovering the mod podge was still wet in places. Some of the mod podge had dribbled down the markers and dried so I took all of them off, scrapped the dried mod podge off of them, used a paintbrush to remove any wet patches on the surface, put the markers back, and then left it right side up to dry overnight. Finally it had dried and the kids were so excited to try it out!
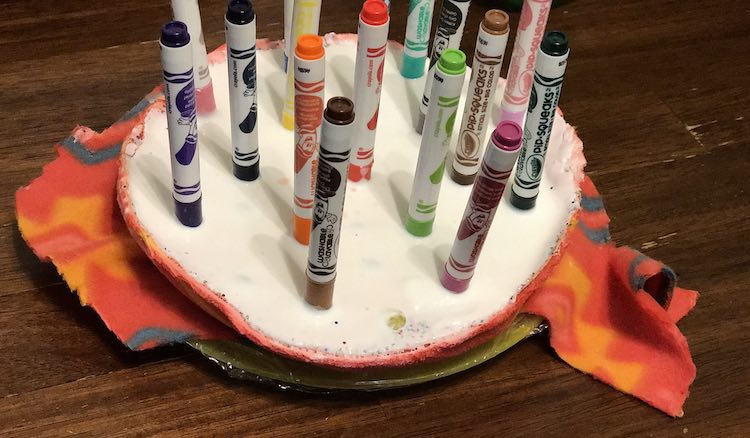
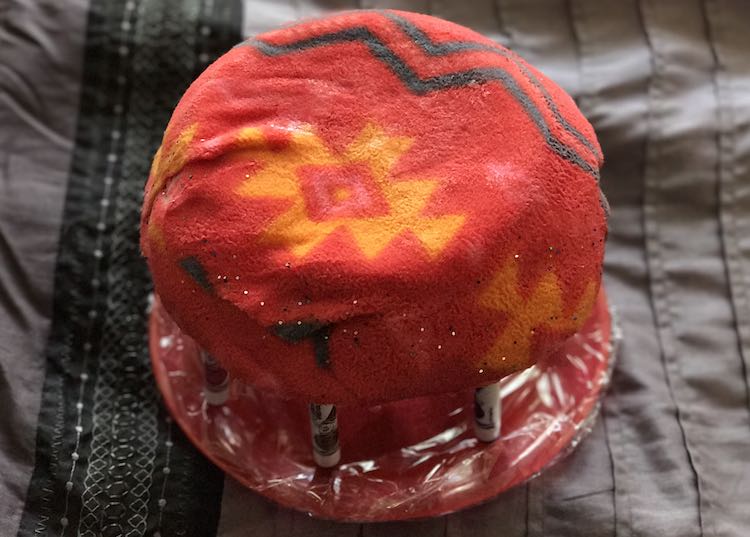
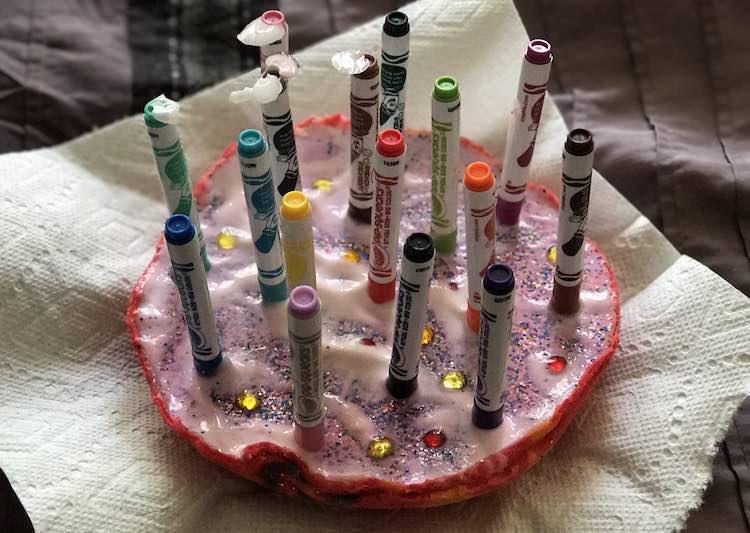
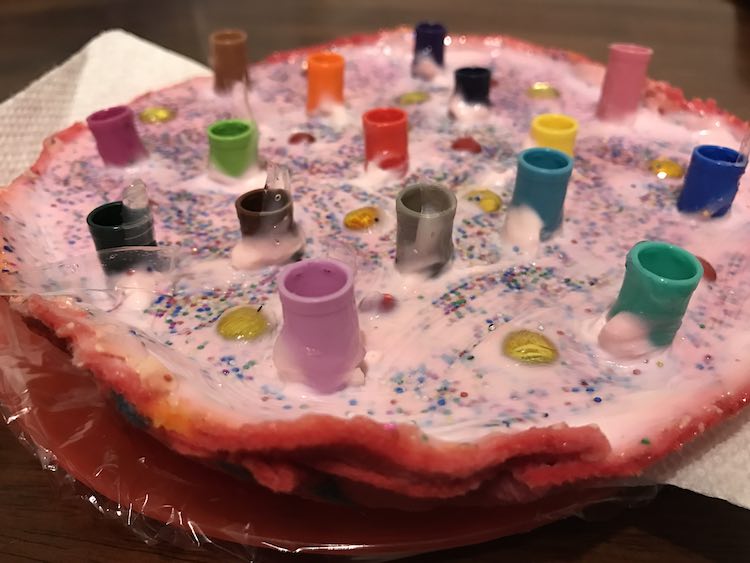
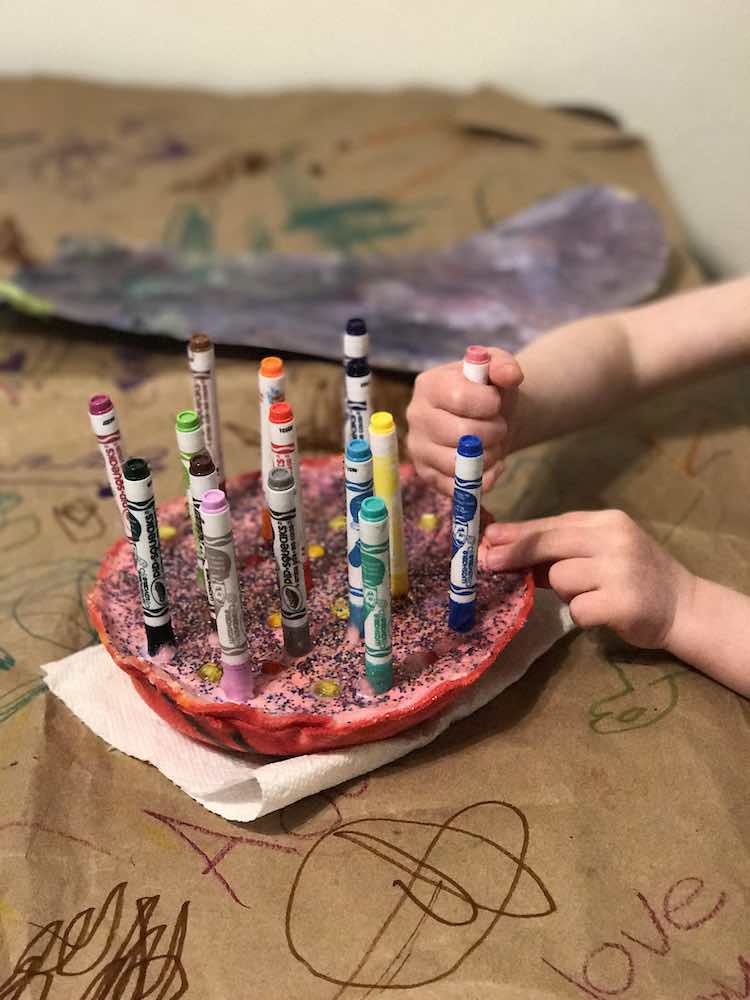
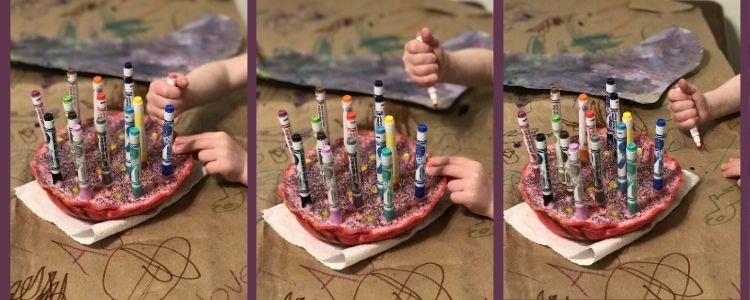
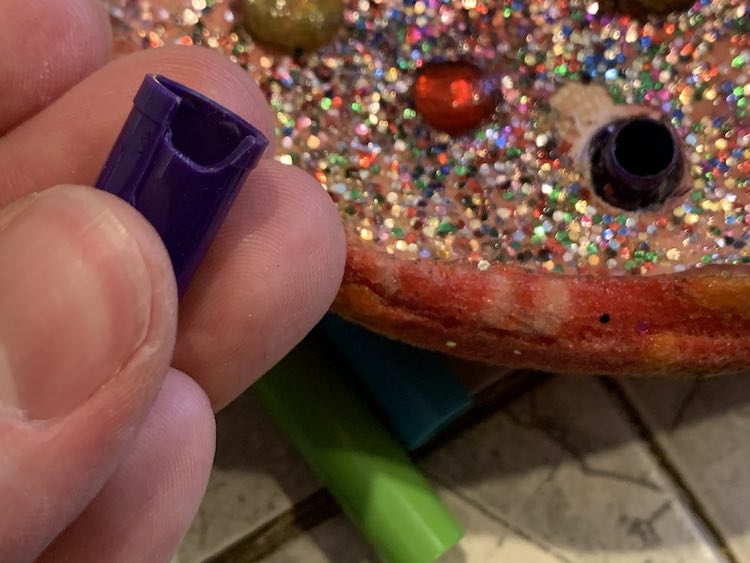
Over the next couple years the holder went through some abuse including having a crayon stuck into one of the marker lids. This meant when Zoey became interested in it I had to fix it up by removing the crayon and used crazy glue to insert a new lid once the force of removing the crayon pulled it out. Other than one cracked lid that I couldn’t remove, it was simple to fix up and let the kids play with it again.

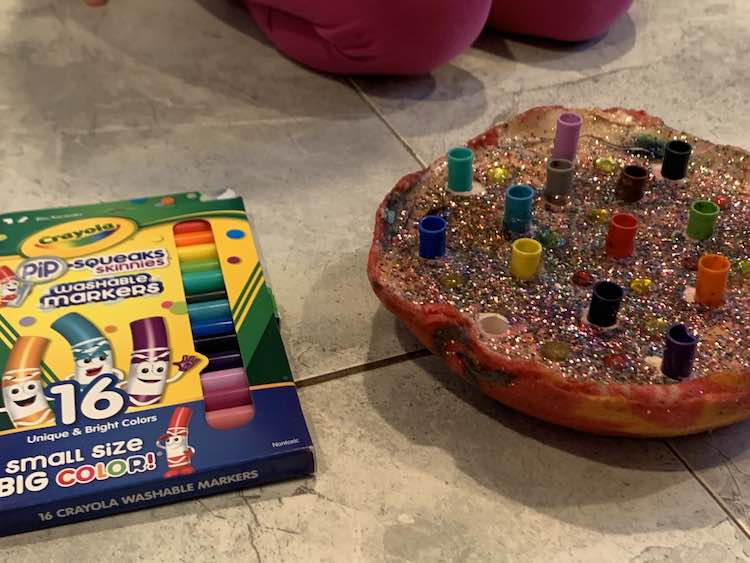
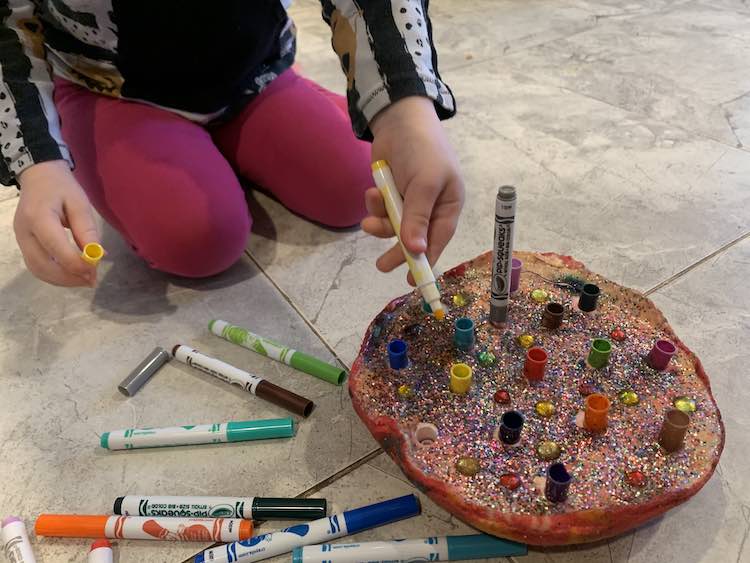
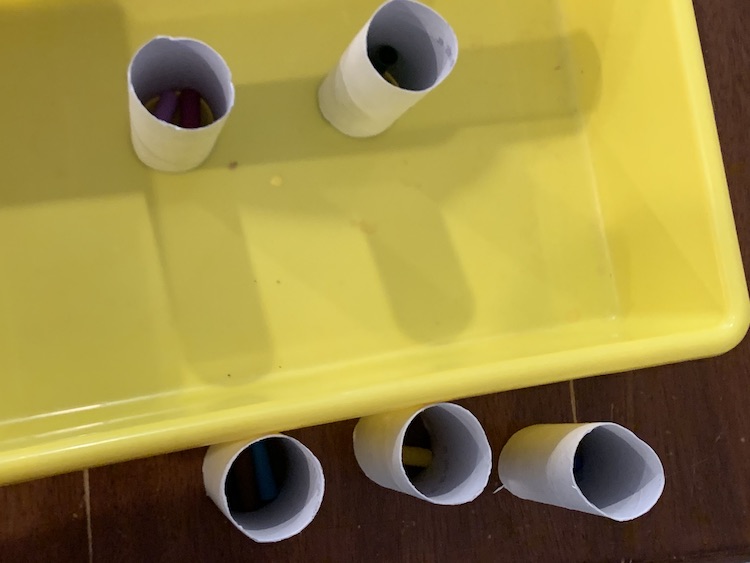
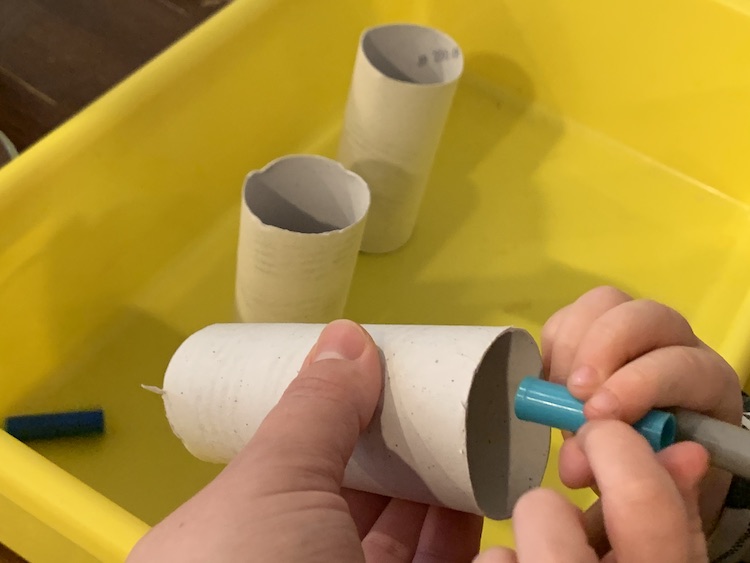
And if you’re refilling the felt pen holder then you’re left with all of the marker lids. Zoey had been rescuing emptied toilet paper rolls from the garbage bins so I grabbed some of them and, along with the lids, set up a temporary sensory bin for her.
Overall I’m so glad I came across this and made the felt pen holder for the girls. That said I haven’t made anything else with my bucket of plaster of paris so do you have any recommendations on what to do with it? Have you come across The Artful Parent before? If so did you try to make the felt pen holder? How did it turn out for you and what would you do differently? I’d love to hear from you in the comments below. I hope your day is going great. And thanks for the awesome idea Jean Van’t Hul.
If you’re interested in getting any of my future blog updates I currently come out with a new one every Wednesday and share them to my Facebook page and Instagram account. You’re also more than welcome to join my email list located right under the search bar or underneath this post.
Did this save you time?

