

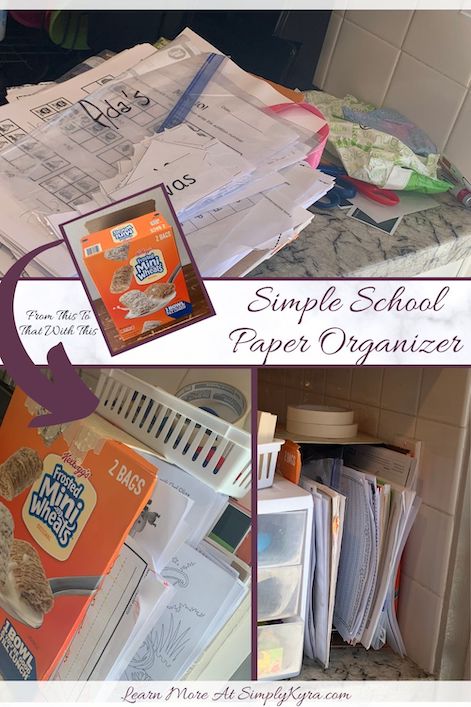
Simple School Paper Organizer

With this school year fast approaching I’ve started seeing discussions online on how full time distance learning might look from our homes. To, hopefully, help I wanted to show we ended up organizing our school paper and booklets while sheltering in place which may make school a bit easier for you. This year I’m planning on starting school at almost the same point we left it on last year with the addition of a couple simple changes up my sleeve that I’m hoping we can make as school progresses to help keep it fresh and interesting for the girls.
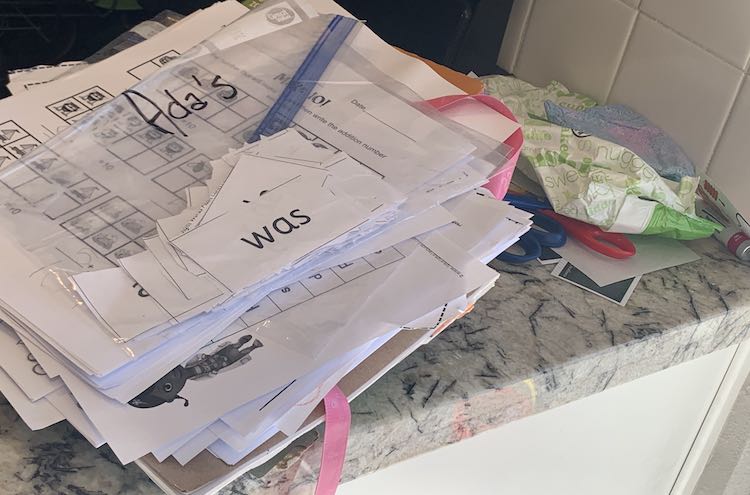
Earlier this year, back when the shelter in place order first went into effect, we were able to print off a bunch of papers for Ada to work on over the first three weeks of her distanced learning. Since I had access to the other packets, including the transitional-kindergarten work, I also printed out a packet for Zoey so she’d have the option of something similar to do when Ada was busy with schoolwork. This, combined with other free printables I found, was a lot of paper I had to keep track of all of a sudden so I grabbed a small cereal box I had just emptied and stuffed the, organized, stack of papers in the top. This kept them all together and each morning, before we started school, I’d pull them out and separate each stacked section, based on if the work was completed and whose it was, and we’d get to work. Once done I’d re-stack the papers and put them back in the top of the cereal box. As the weeks went on the constant pulling out of the papers and the addition of other free entertaining printables, as I came across them, meant the cereal box looked rather ratty and I wasn’t sure how much longer it would last. Eventually the box became so top heavy, or bottom bent, that it started tipping over and I had to, gradually, learn to lean it further back each day against the wall so it wouldn’t topple and spill the papers. The straw that finally broke the camels back came with Easter break and the advent of mandatory distance learning as we were given the opportunity to pick up Ada’s bundle of stuff, including all of her future workbooks and sheets, and I realized my current system wasn’t going to be able to handle the load anymore.
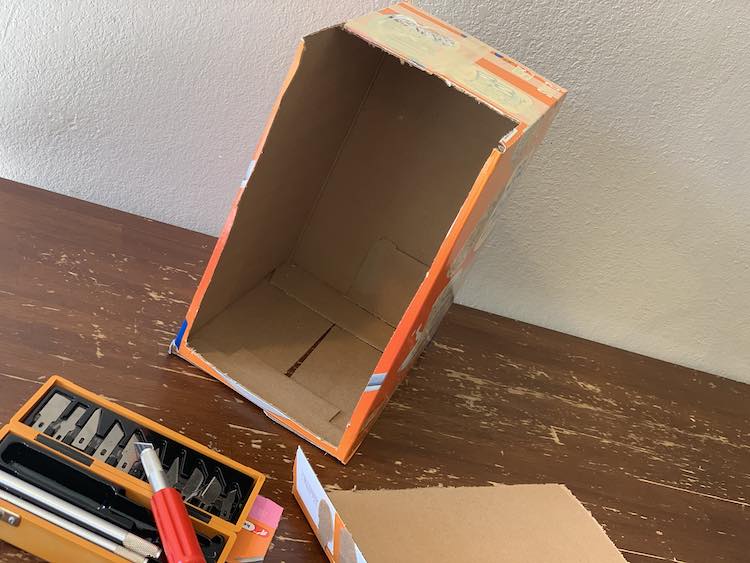
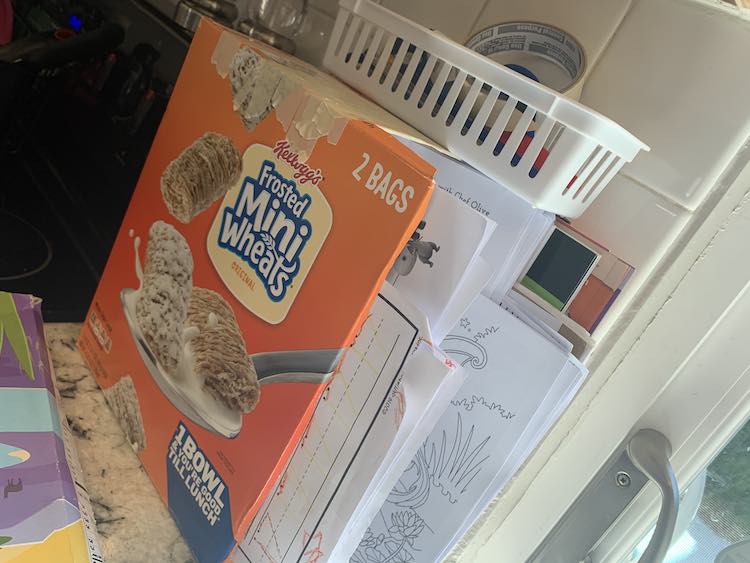
Luckily, I had a giant cereal box on hand so I quickly emptied the last bag of cereal from it and freed the box to make a paper organizer as soon as possible. As this box had held two bags of cereal it was made much wider and sturdier than my older single bag cereal box I had used before.

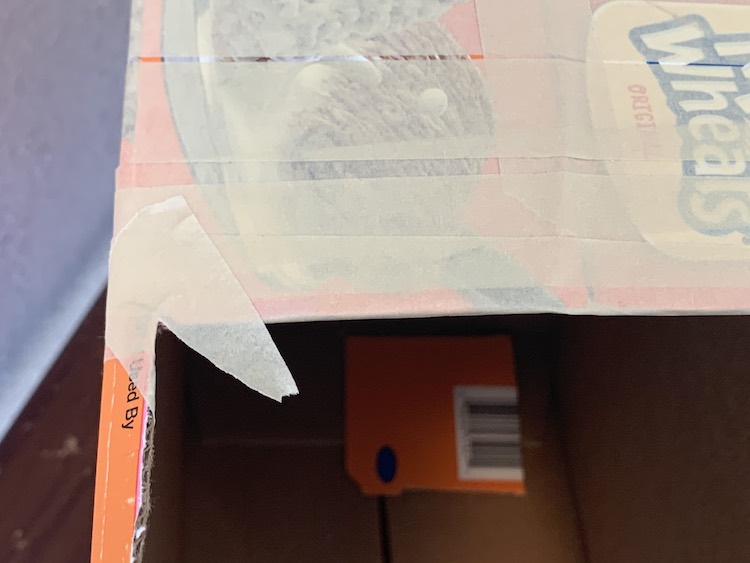
I started out by taping the box closed, keeping it sturdy, before grabbing my X-Acto knife to cut into it. I then cut part of the top and most of the front side open making sure to leave a slight edge on either side.


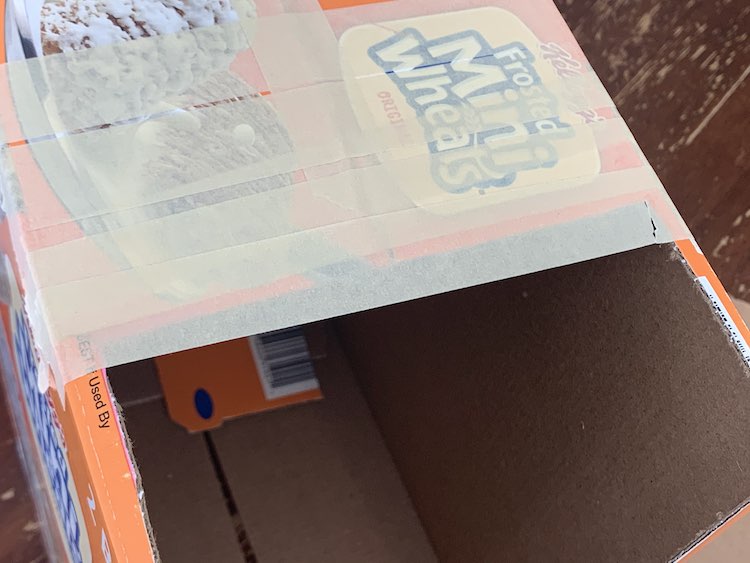
Once I was happy with how the opening looked I taped along the top edge so it would be smoothed down. I then added tape to the inside and outside of the bottom of the box so no smaller items would fall out if I had to move it around.
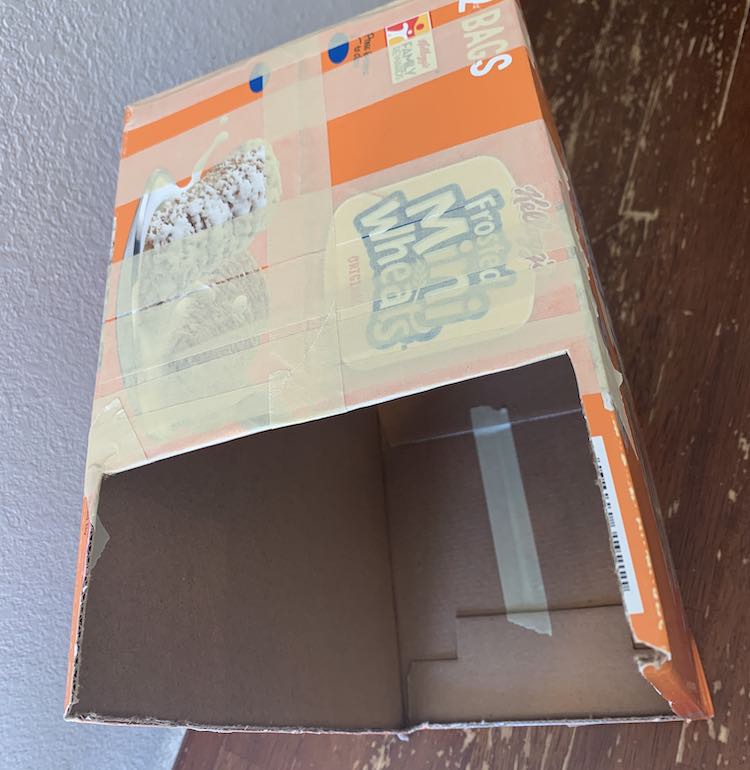
And then you’re done; although at this point you could tape the rest of the edges too. I left it as is at this point and haven’t had an issue yet. Once I was finished with my cereal box paper organizer I placed it on our counter, angled away from the stove, where I could easily access the papers.

A couple weeks later I remembered the plastic drawers I had put together awhile back, as a kid distraction area in my kitchen, that had been moved under the kids art table at some point after we move. I decided to pull them out, reorganized it a bit, and placed it beside the paper organizer so it would be easily accessible when Zoey needed it while Ada was in school. If needed it was simple enough to move the whole thing to the table for Zoey or pull out a single drawer at a time for her. After adding a cup of pens and scissors to the top along with the smaller basket of school-related items I had before the area was completed.

I chose to leave the paper organizer as it was since I wasn’t sure how long we’d be using it. It ended up working beautifully for the rest of the school year and now, still, sits on our counter full with the same papers as the last day of school. I’m planning on going through the papers and reorganizing my kitchen counter before school starts back up so the paper organizer is ready for the school year and placed in a less obstructive spot. I’m probably going to leave the box as is but if not I could definitely see making it prettier by covering it up with paint or taping decorative paper to the outside. I could see even having Ada and Zoey decorate it with paint, stickers, or markers. It could potentially be a great art project that keeps the kids busy, giving you some time to yourself, and contributes to getting that paper clutter organized.
This year I’m going to start the school year at almost the same point I left it at last year, but I’m also coming up with a list of simple changes I could make as school progresses to help keep it fresh and interesting. Last year we organized our art trolley, shown in our quick and simple storage container post, so any crayons, markers, etc Ada needs during the day are easily accessible. We also bought her a wobble cushion and already had an Ikea FLITSAT art table. For this year I just ordered two stools for the table and am thinking we could create different areas, through these items, for Ada to choose to work from, other than main one: the kitchen table, allowing her to have more agency over her schoolwork. Like last year we’ll see how it goes and take the weekends to decide if and how we should change our space or approach for the next week.
I hope this simple way you can throw together a paper organizer with things you probably already have can help you out with school. I’d love to hear what you’ve done to make distance learning easier so feel free to share any in the comments below. If you’re interested in any future updates feel free to follow my Facebook page or Instagram account where I share my new posts; although, if you prefer to stay updated through email, there’s also my email list. I hope, if you need to, you’re able to make a decision, for you, about school. Hope you’re having a good week.
Did this save you time?