

Create Cardboard Shelving For Your Kitchen Set

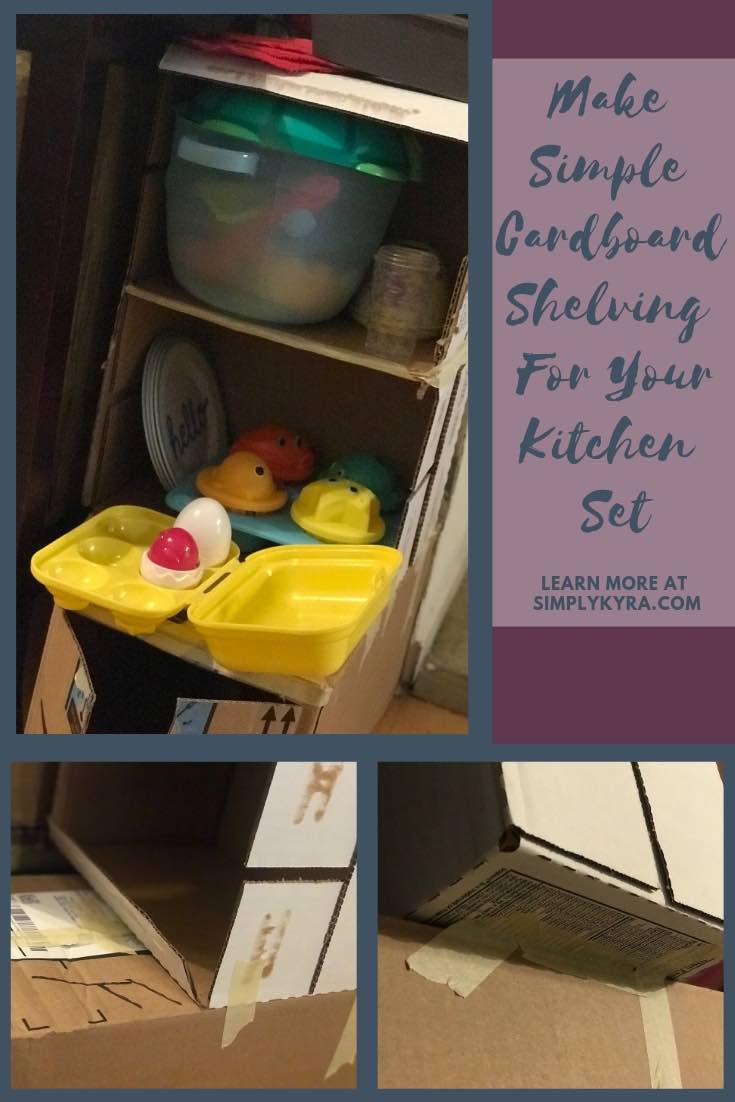
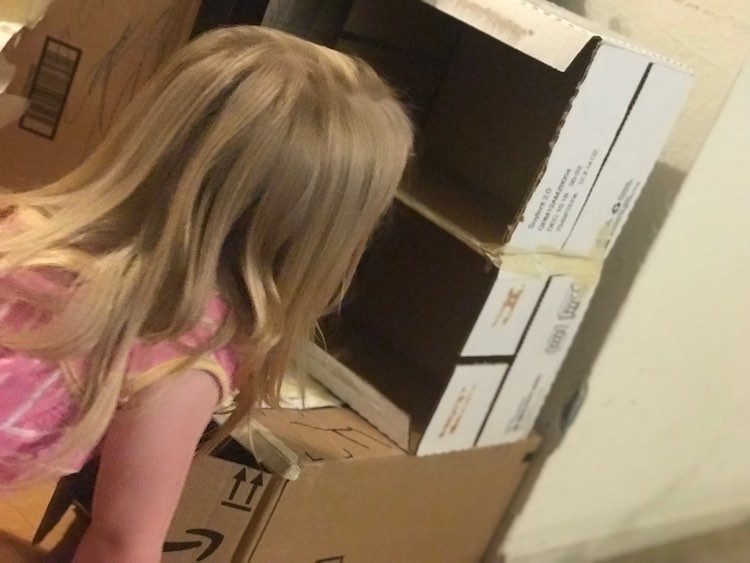
I’ve previously shared a tabletop kitchen set I made out of a cardboard box and then I later created a new play kitchen set by making a fridge, oven, and cupboard out of boxes and put it all in an unused end table. I later updated the end table by adding a fabric stove and sink cover to the top of it. The kids’ loved their kitchen set but I needed someway to store all the kitchen items so the kids could use the fridge, cupboard, and oven when they wanted without having to empty them out first. The issue I had was the kitchen set was placed right by our own kitchen alongside a skinny wall and I didn’t want to move it somewhere else. Since there wasn’t a lot of space and I wasn’t sure if the kids would keep using it I decided to create some temporary shelves out of cardboard boxes we had on hand. It worked perfectly and lasted way longer than I expected. Even now, after the bottom box broke, we separated the top and put it on it’s side for a less picturesque storage area. The best part is when you rearrange or your kids get tired of it you can recycle the boxes and you didn’t lose anything by making it.
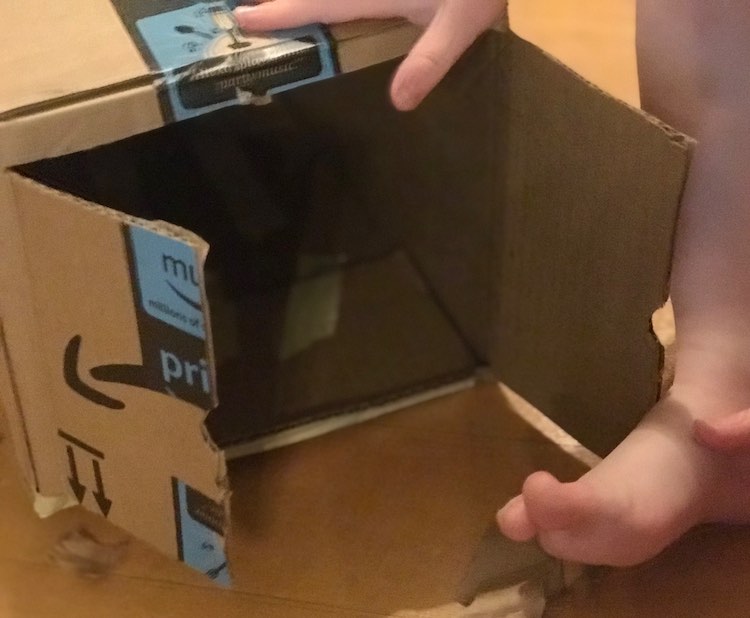
I started by grabbing a short box that was the exact width we needed. I taped the top closed and reinforced the bottom. I then grabbed my X-Acto knife and cut two horizontal lines in the side with a vertical line connecting them in the middle. My cupboard was ready and was able to open and close. If you want to take more time on it you could grab a thinner strip of cardboard, card stock, or ribbon and create a loop for a handle. I instead took the easier way out and cut a circle out of the center so each cupboard door has a half circle cut into it and you can use it to get your finger in and pull the doors open.
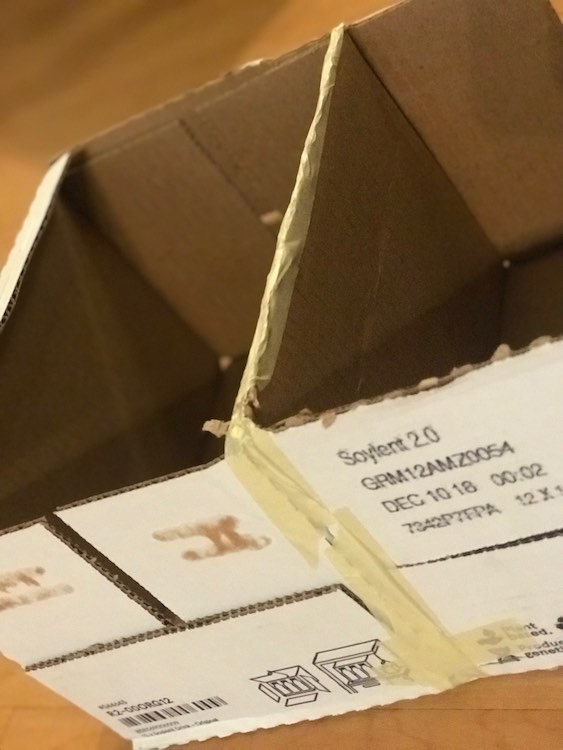
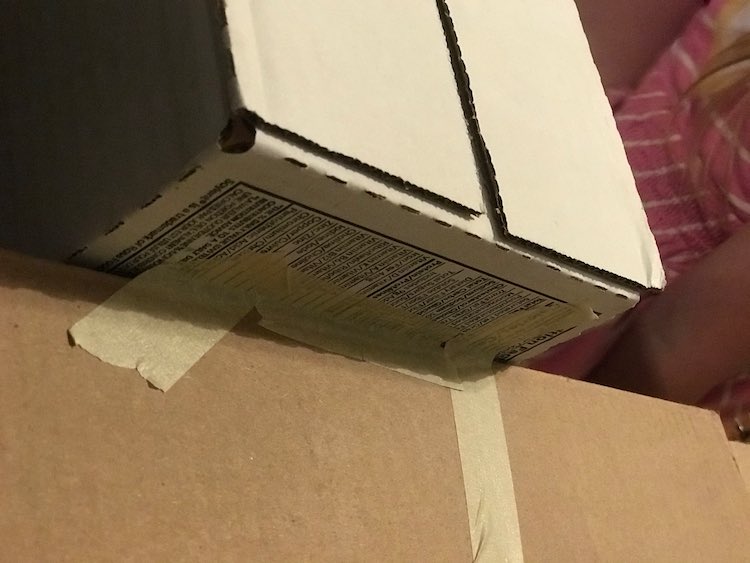
With the base done I decided to add shelving above. I grabbed two empty Soylent boxes, cut the one side off of both of them, and taped them together so their openings where on the same side thus creating a two shelf system.
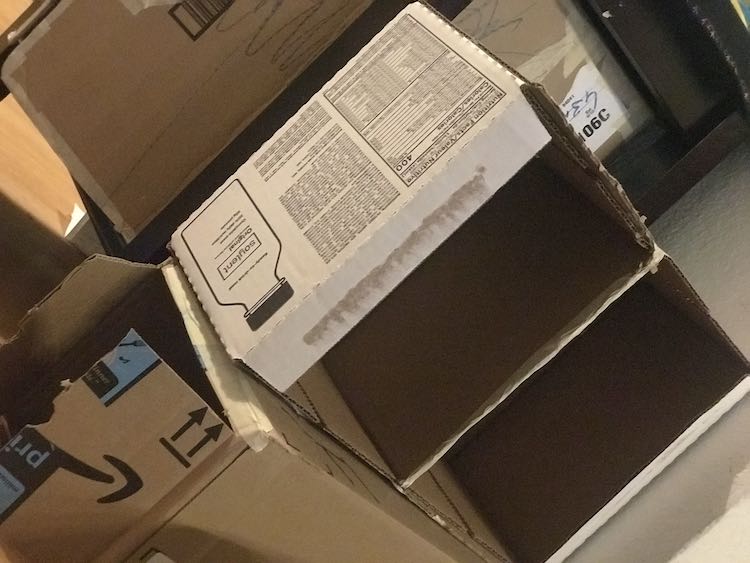
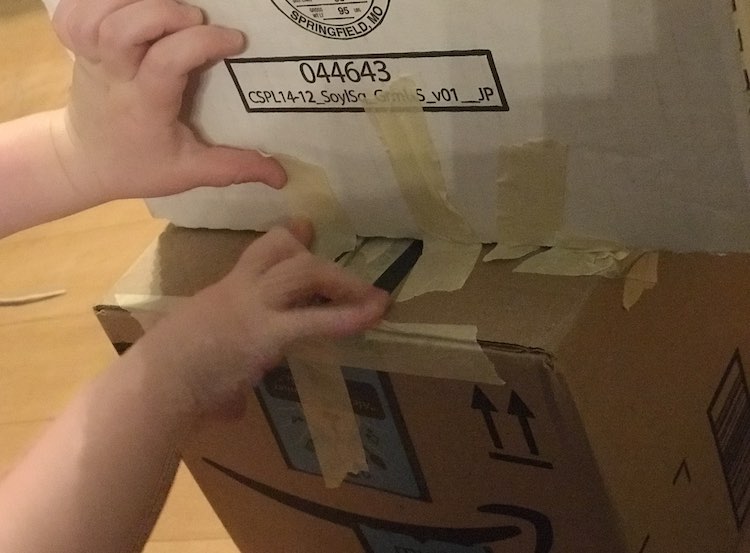
Now all that was left to do was decide how the cupboard and shelves should go together and tape them in place. I realized quickly that the (brown box) cupboard was longer than the white Soylent box shelving so I decided the cupboard would have to be on the bottom. The next step was deciding how the shelving should sit on the cupboard. Once we decided on the placement Ada helped me tape them together by applying vertical stripes of masking tape making sure their join points are secure.
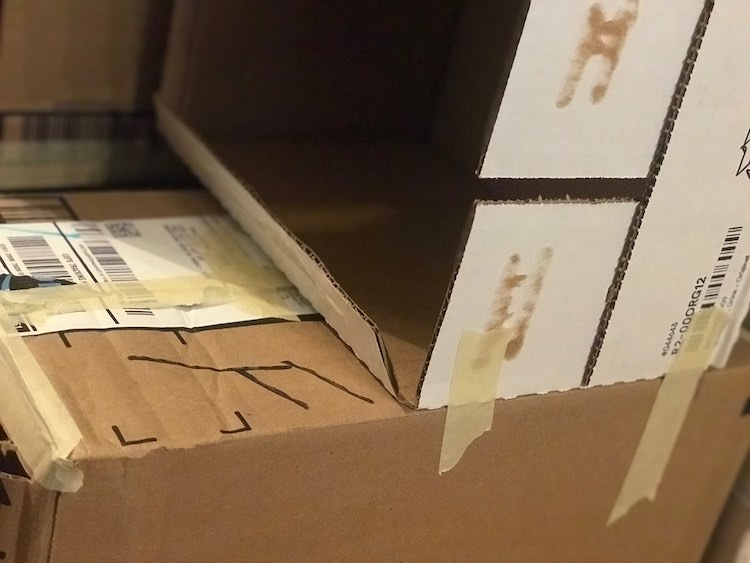
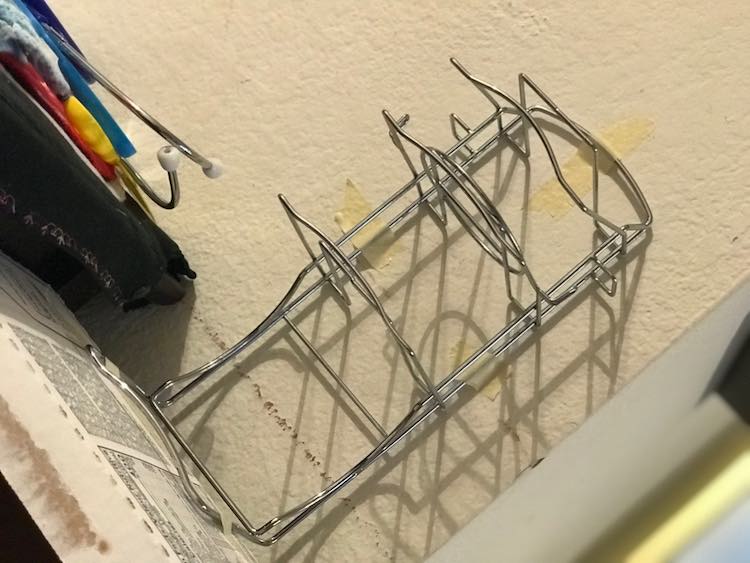
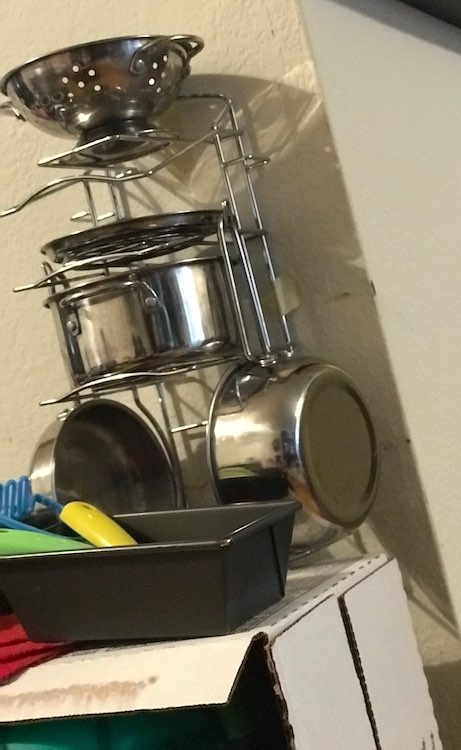
And I was done. It was time to place the kitchen set’s item. We have a Melissa and Doug stand that holds pots and pan so I put it on top of the boxes and used more masking tape to attach it in place to the shelves, below, and wall, behind. I figured this would make it more secure but found every time I vacuumed I had to keep removing the tape and reattaching it until I finally gave up. If you aren’t going to be moving your kitchen set attaching it to the wall would work great and make it easier to clean up since it’s harder to move off.
And then I loaded the shelves and cupboard with all the kitchen supplies. I loved how the main kitchen set suddenly had so much room to play without having to unpack everything each time.
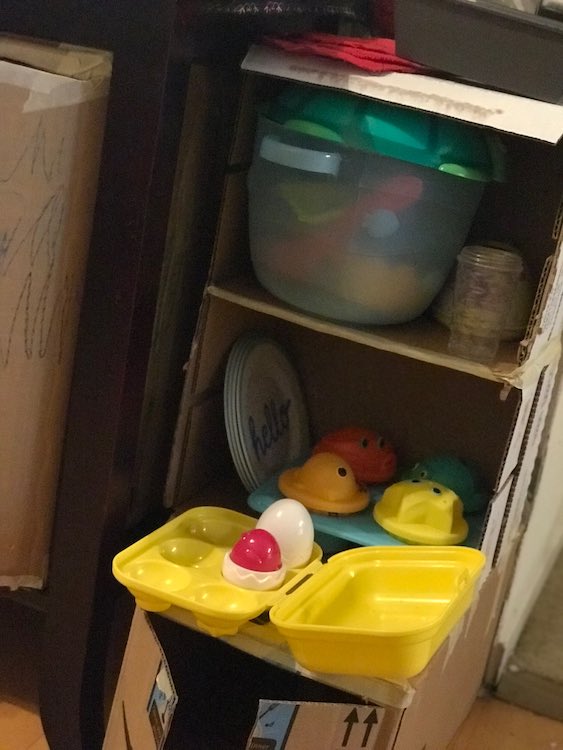
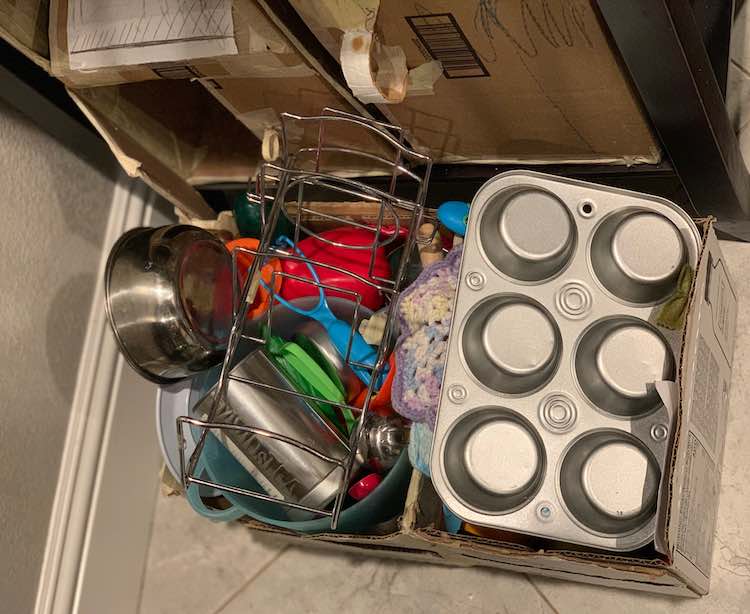
Years later the brown box has been recycled and the white boxes sit on their side holding all the kitchen set’s toys. As the kids sometime go over and play with the kitchen set now I’m debating, once again, improving the food storage but haven’t decided how quite yet.
I loved how simple and quick it was to throw these cupboards together. Are you looking for more storage space for one of your play areas? Let me know if you make your own cupboards or shelving after this and for what. Feel free to share yours in the comments below. You can also check out my Facebook page, Instagram account, or join my email list if you want future updates. I hope you have a great day!
Did this save you time?