
Ragamuffin's Billie Shirt and Dress
For the last year or so I’ve been considering looking into buying, or maybe making, a wrap dress so when I saw that Little Ragamuffin Patterns had put out a testing call for their new Billie Wrap Dress I jumped at the chance to test it and I’m so glad that I did. The pattern is so easy to follow and the end result is so gorgeous! I wore my first version out on a date with my husband and I felt so fancy…. and then I sewed up an even fancier one. I was originally going to post these two dresses when the pattern went live mid-March but decided to first make a couple different versions, as shirts, and so I put off posting it. With Coronavirus affecting life I ended up putting the Billie wraps shirts I started into a time out for awhile, which put off sharing the dresses, until I made myself finish them. I highly recommend this pattern. Since it first came out Little Ragamuffin has since added a kids version, the Evelyn, so you can sew up the adults, kids, or bundle up the two if you want both. I’ve made two tea length dresses and two shirt length tops and it’s definitely still on my make again list.
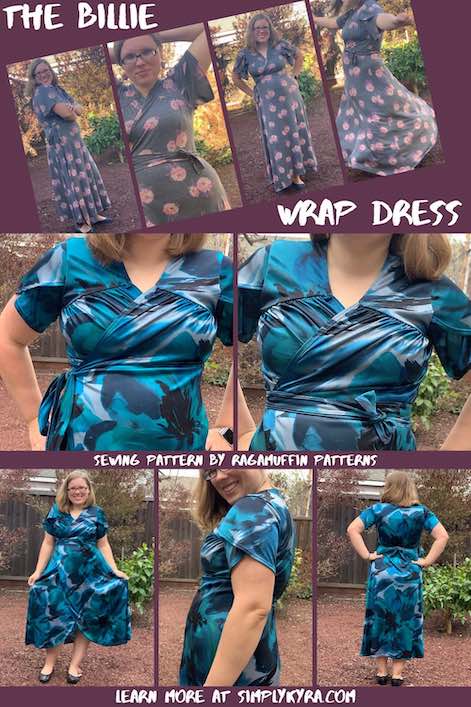
First of all there are so many options with this sewing pattern. There are six lengths (crop top, shortie shirt, shirt, mini, knee, and tea length), four bodice styles (simple or gathered either with or without a collar), six sleeve lengths with four different sleeve styles (basic, bishop, petal, and gathered petal), different skirt styles (A Line, pencil, and tulip), and finally four different wrap styles (half, full, faux, or no wrap faux). If that wasn’t enough if you chose to gather your bodice, which I absolutely love, you can choose different cup sizes from A to H. Woah that’s a lot! The pattern is drafted for size XXS to P3 and needs one to four yards of 60 inch non-directional four-way knit fabric (at least 50% horizontal stretch and 25% vertical) with good recovery. Of course if you choose directional fabric you may need more to get the pattern pieces to lay how you want. I didn’t sew up the kids version for my daughters but it looks like the Evelyn has almost the same options as the adults’ Billie.
For the first two versions I chose to make a gathered bodice, half wrap, tea length dress. Choosing the half wrap meant that one tie was shorter than the other instead of having two long ties around the waist. As I decided to cut the tie the width of my fabric I also ended up having to slightly shorten the longest one for both dresses; although I never had any difficulties tying either up.
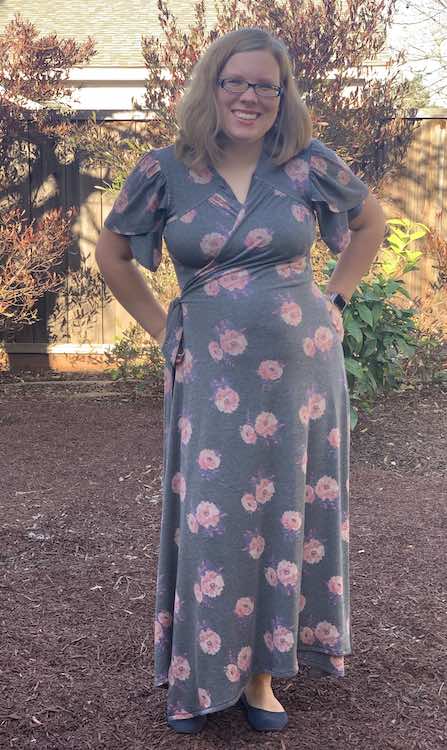
For my first version of the dress I used a light to medium weight (8.5 oz.) cotton spandex rayon blend with a four-way stretch (55%, 35%) that I bought through Girl Charlee Fabrics at the beginning of January (2020). Like I mentioned before I chose to make a tea length half wrap dress with a gathered bodice according to my cup size. In addition I also went with a gathered short petal sleeve and an A line skirt. The pattern was later updated, before the second version below, to fix the hemline and stop the puckering at the top of the bodice gathers but even with those issues I absolutely adore this dress and wore it out on my last date night before the shelter in place order went into effect. I felt so fancy. I love that even using the two different length ties they were long enough to choose to tie the dress with a large bow and draping ends or I could bring the ties to my other side to do a smaller and cute bow. This is actually the first dress I’ve ever sewn that I’ve worn out of the house let alone was proud to show off… unless you count a quick trip to take the garbage out in my favorite TARDIS ‘house dress’.
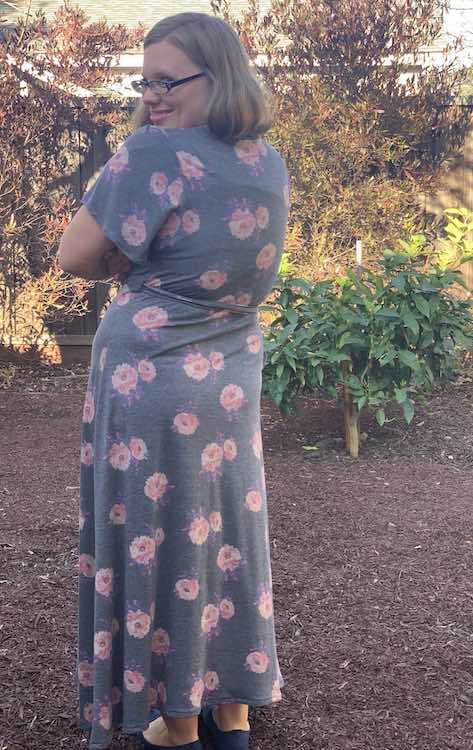
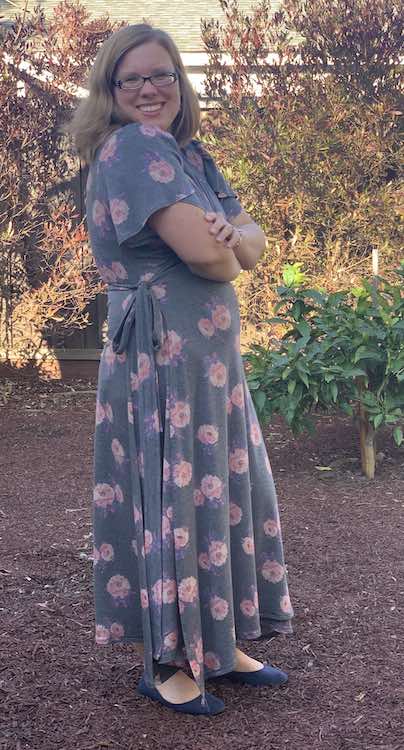
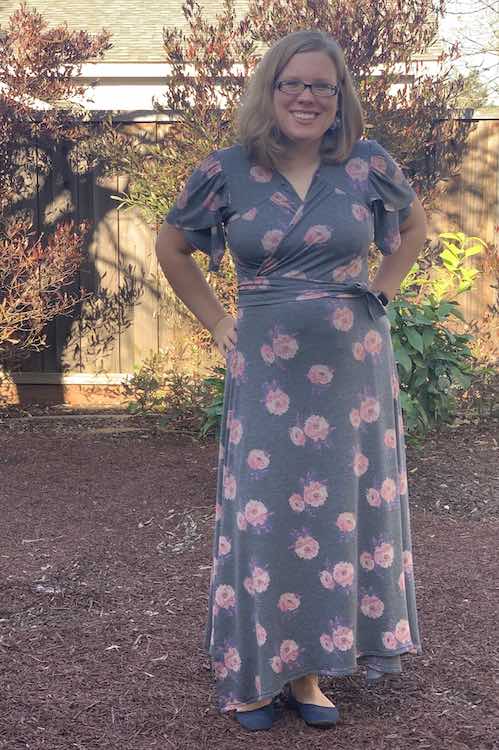
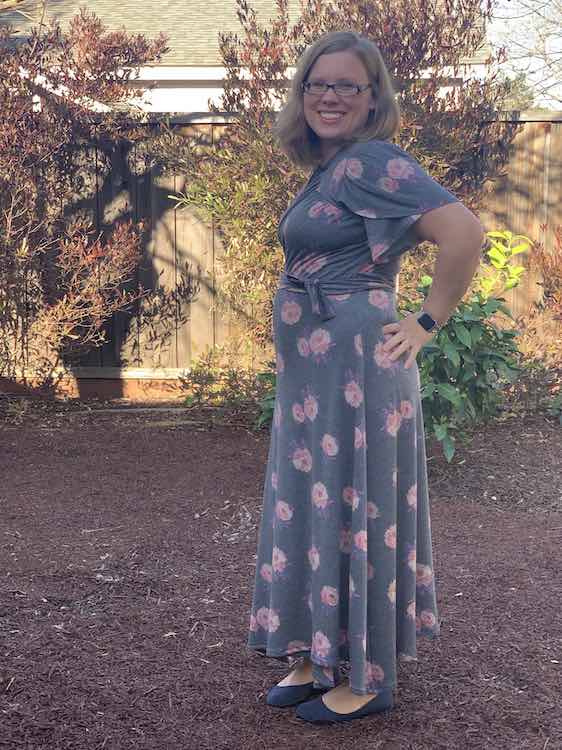
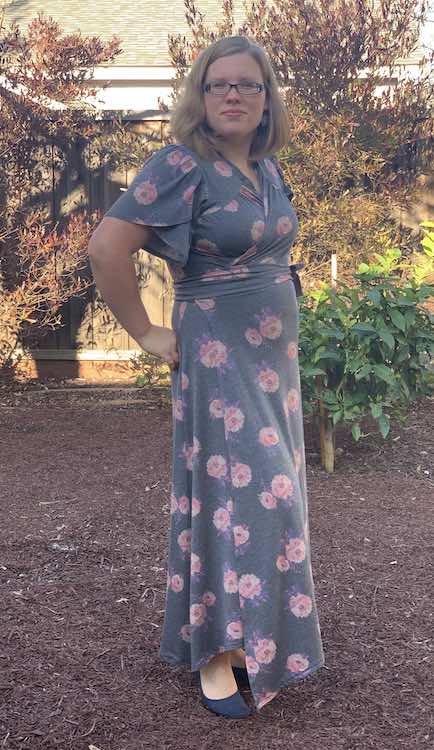
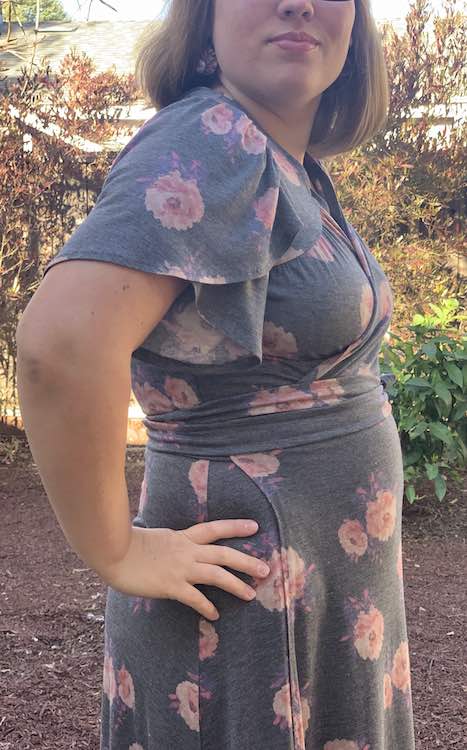
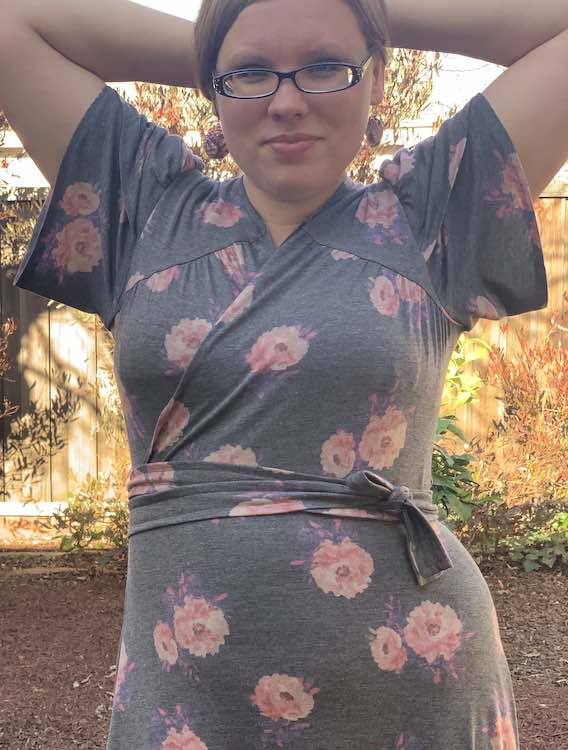
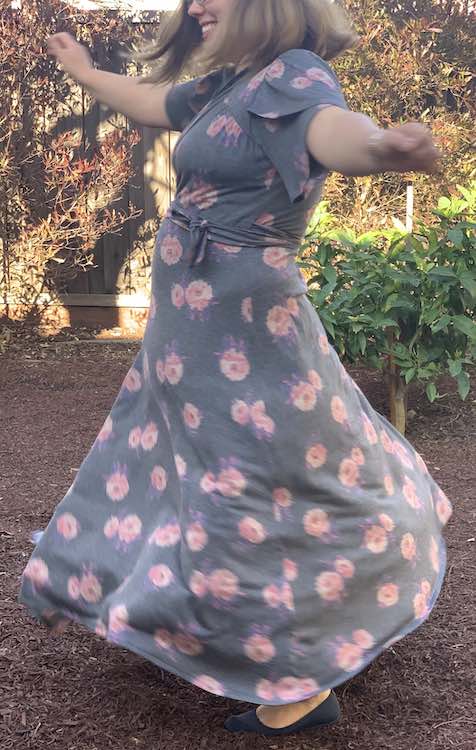
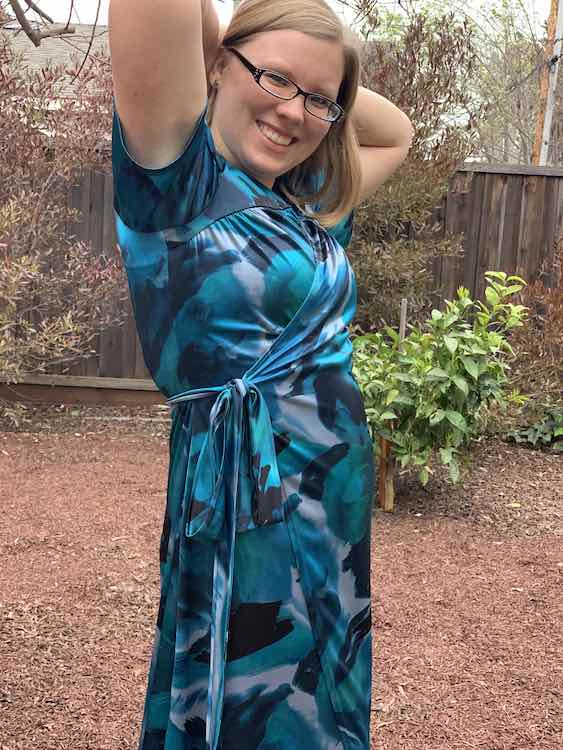
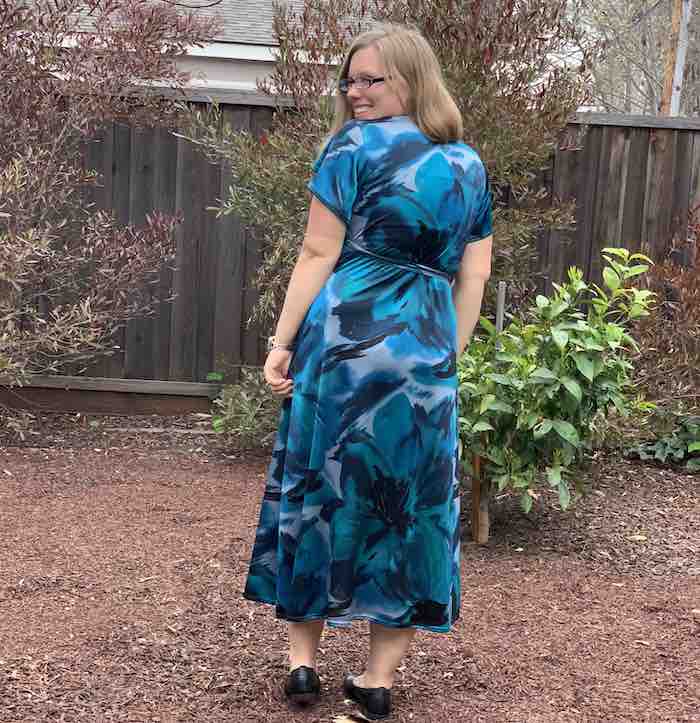
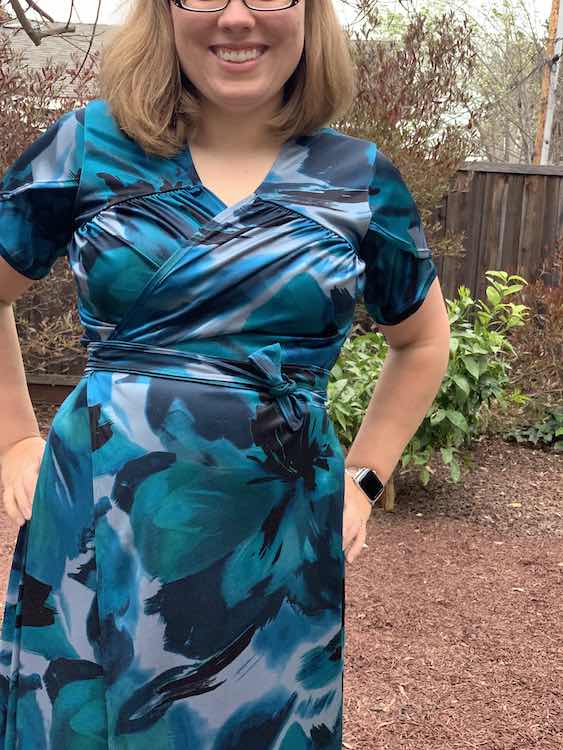
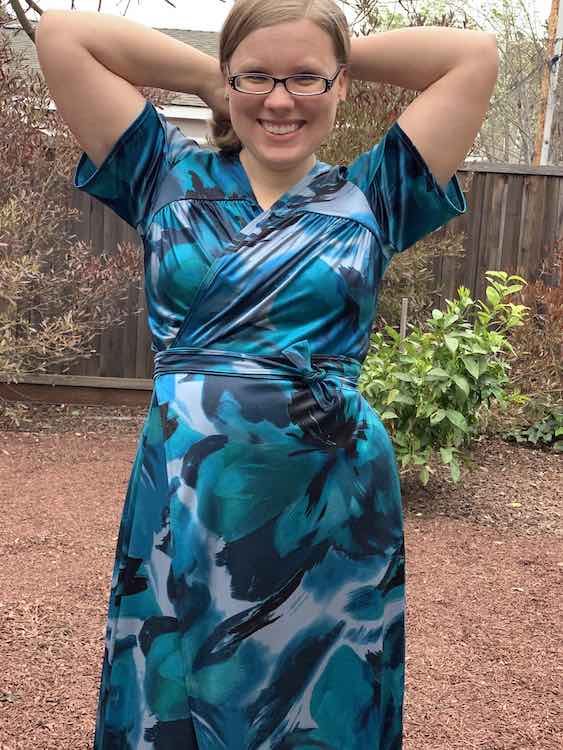
Like I mentioned before both dresses were made at it’s longest length as a half wrap dress with a gathered bodice. For my second version I chose to make a short petal sleeve again but this time chose the version that wasn’t gathered to see how it would look. I also wanted to play with the skirt hemline so I chose the curved front hem for the crossing front pieces but left the side seams with the A line skirt I’d used before. This fabric I used is a cool and slinky ITY I bought previously from BOHO Fabrics (August 2019) that has the right horizontal stretch but no vertical stretch. Since the pattern is designed for a four way stretch (25% vertical) fabric I worried it wouldn’t fit and kept the sleeves loose to hopefully negate that worry. The dress turned out amazingly and whenever the shelter in place lifts I can’t wait to wear it out. The fabric makes the dress pop although the slinkiness made it so much harder to work with compared to the first.
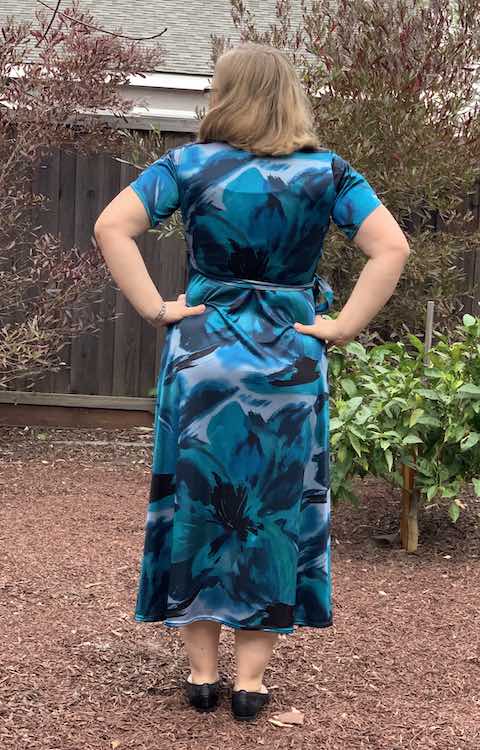
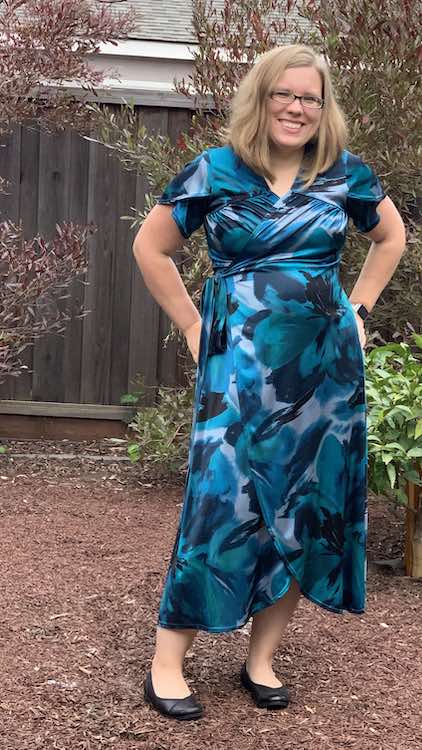
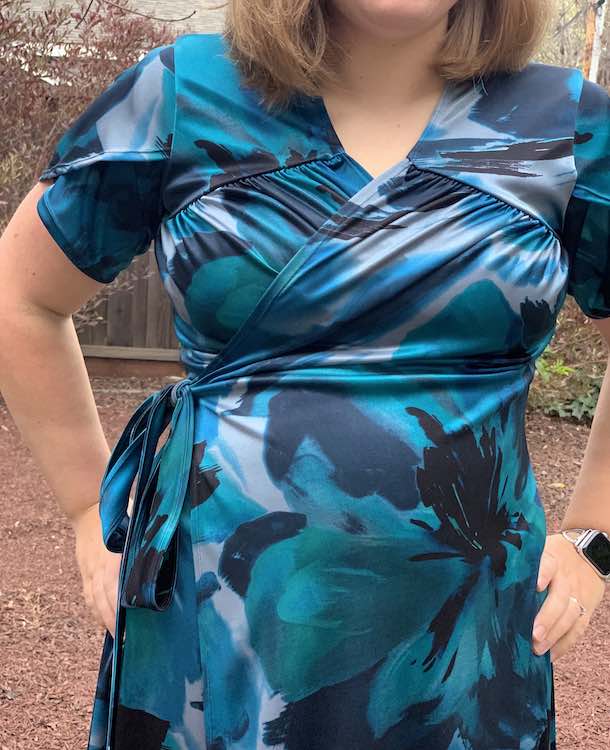
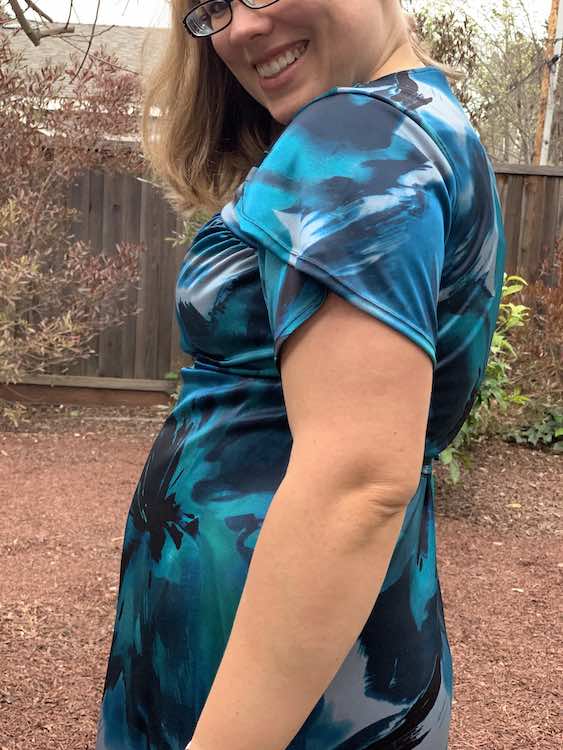
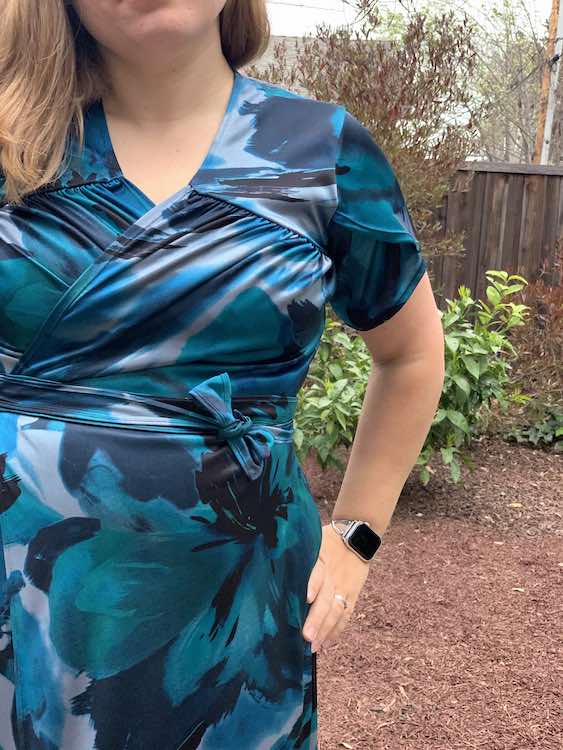
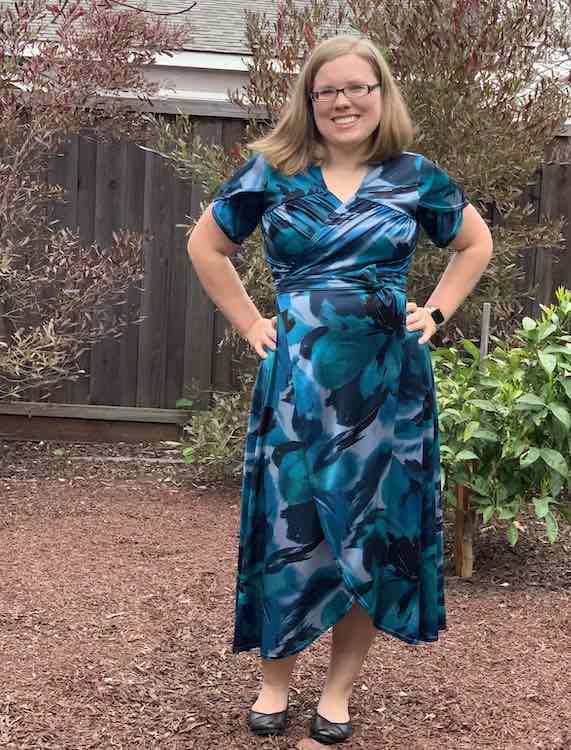
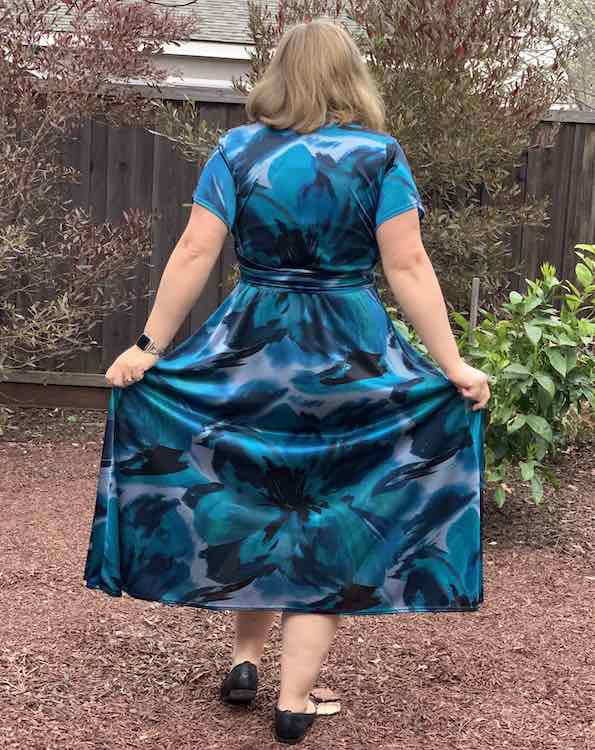
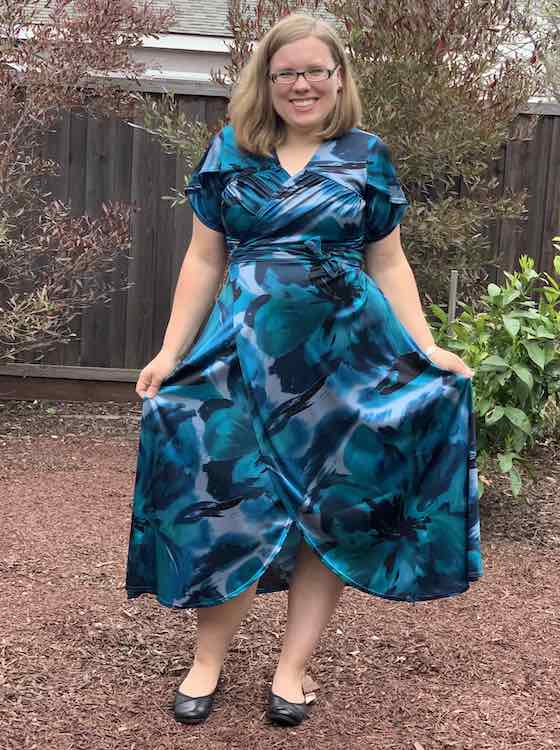
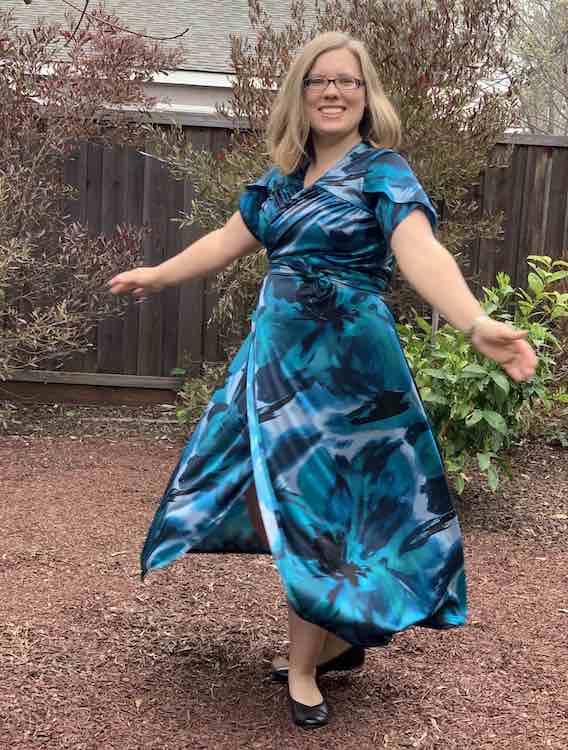
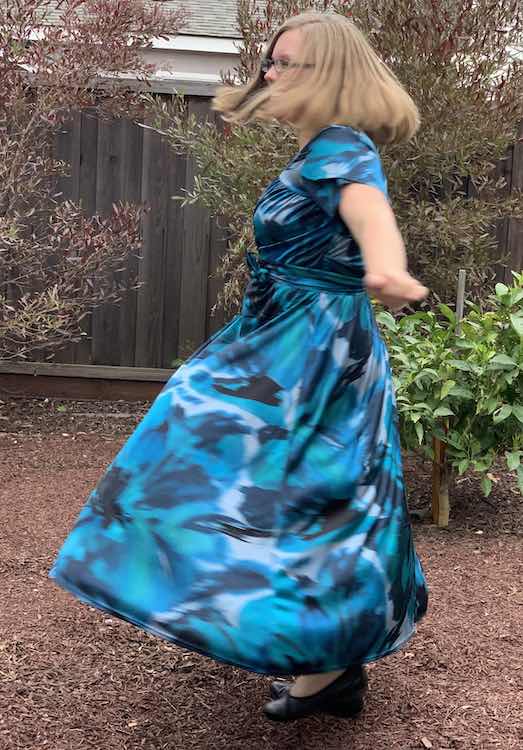
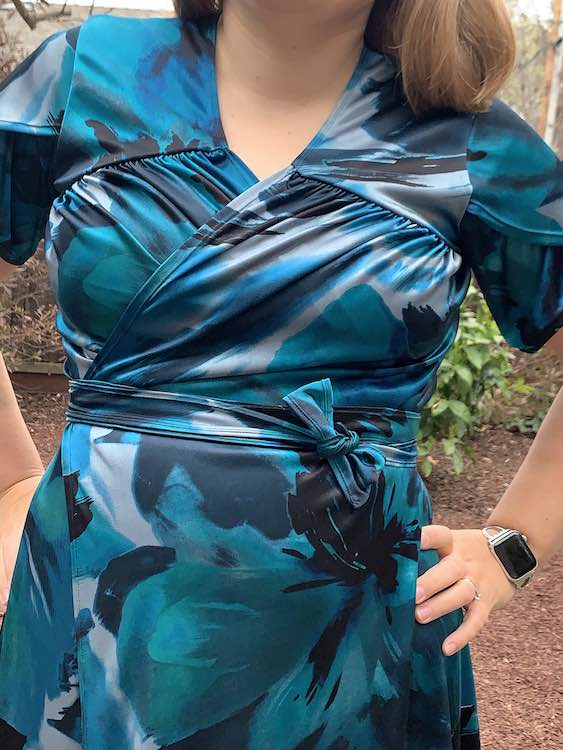
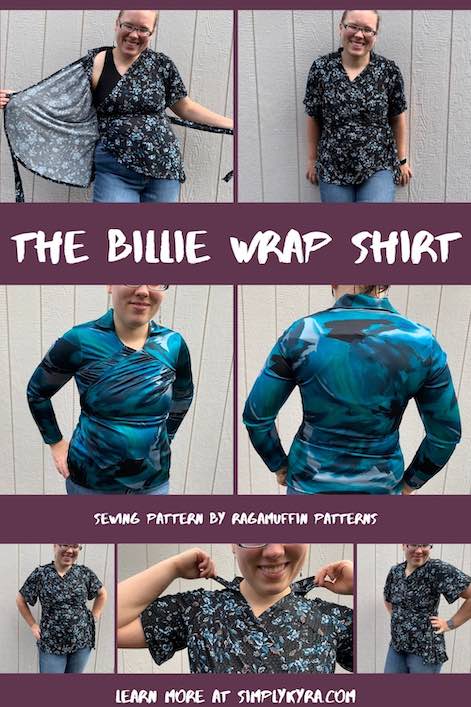
I was originally going to post about the Billie dress after sewing up just the two dresses but I really wanted to show you guys the awesome collar and how versatile the pattern is. I decided to cut out two tops to show off the alternative options. I started sewing these up but then the craziness of the Coronavirus shelter-in-place happened and they were put on hold for a couple weeks. I finally forced myself to finish them even though I wasn’t feeling like sewing them right then and there. The one shirt, using the same fabric with no vertical stretch, is a bit too tight and I had issues sewing it but the other shirt is absolutely amazing. To show you the difference between them and the dresses I’ve included both below.
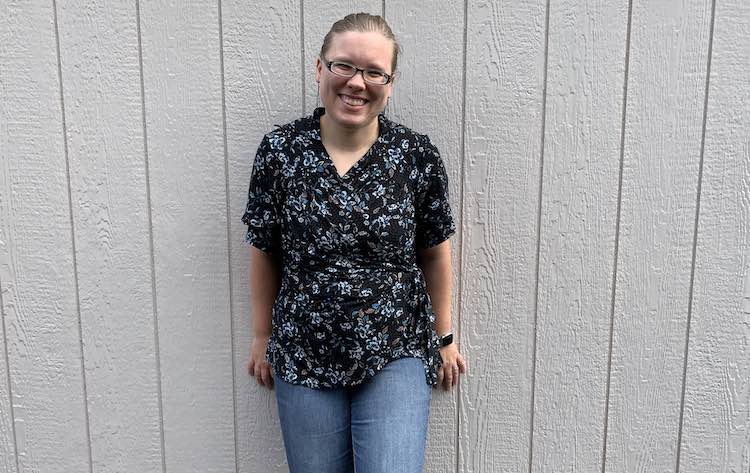
For both tops I decided to make the gathered bodice again as I loved how it turned out. Since I was making shirts that I saw myself potentially wearing mostly to a playground I didn’t want to make a full wrap in case it untied while chasing the kids around. There were two different options if I didn’t want an openable wrap and I decided to make one of each.
Once I knew I was cutting out a shirt I knew I had to use the last of my BOHO Fabrics ITY even though it was lacking the required vertical stretch. Since it worked for the dress I figured why not try. If I had made a looser sleeve and kept the shirt a wrap so the edges weren’t sewn into the side seam it may have worked… that said the shirt is just a bit too tight to lay properly over my bodice and I don’t see myself wearing it too much. That said it’s still gorgeous and I’m also not ready to cut it up or donate it either. I chose to make the gathered bodice (with the same bust cup size) and used the curved tulip hem but from there the similarities with it’s dress version ended. I made the no wrap faux wrap (the front edges are sewn into the side seams like a shirt and there’s no ties), long basic sleeves, shirt length, and a simple collar. Even though this shirt ended up a bit too tight I don’t regret sewing it up… only wish I had, maybe, tried a size larger to combat the lack of stretch. Word of warning with this type of fabric. Since it didn’t have the stretch I noticed, especially after trying it on without sleeves, that my fabric developed runs along the attempted to stretch edges. This meant I ended up with a run in my facing, hidden, and in one of my armpits. Something I didn’t realize I needed to keep in mind with this fabric as I didn’t have this issue making the dress.
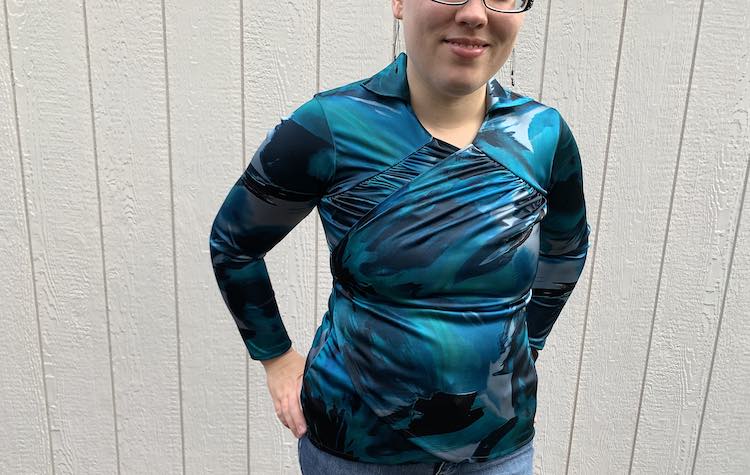
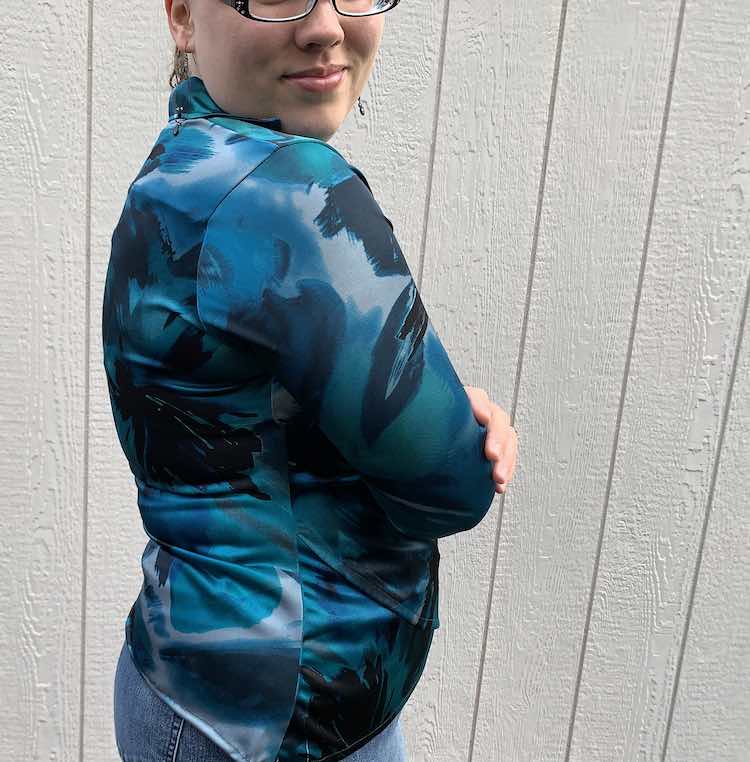
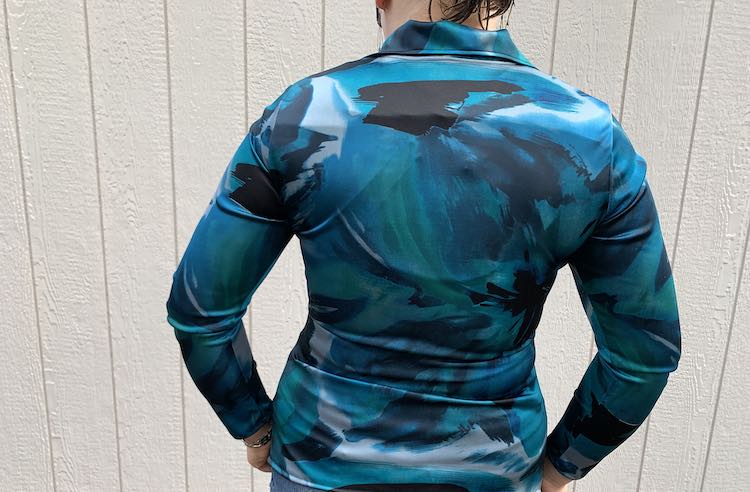
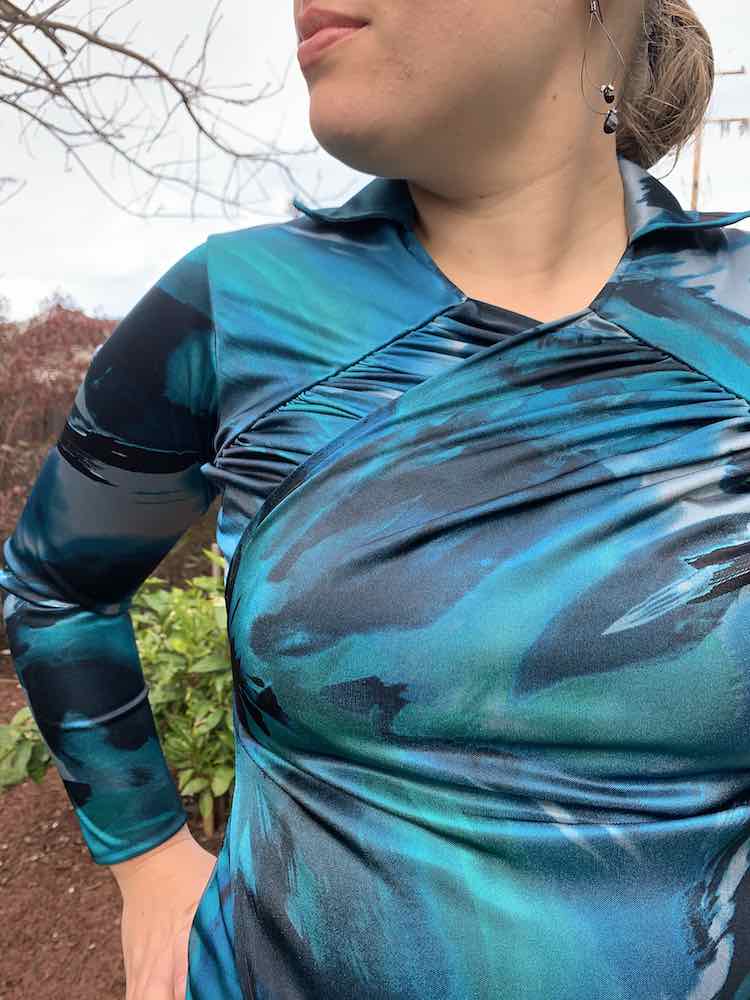
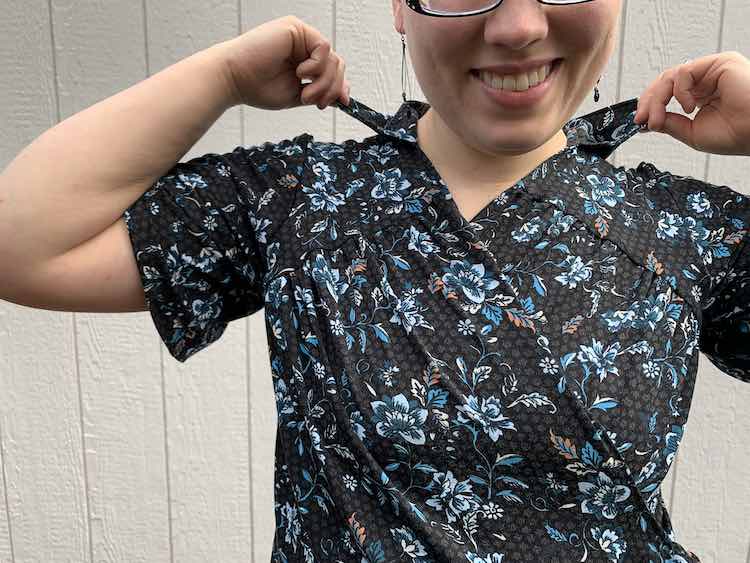
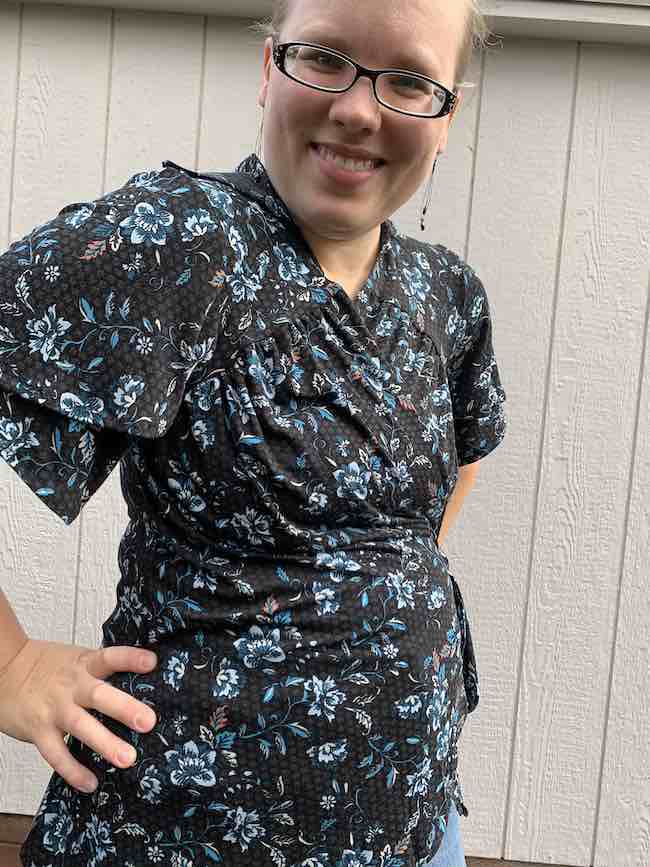
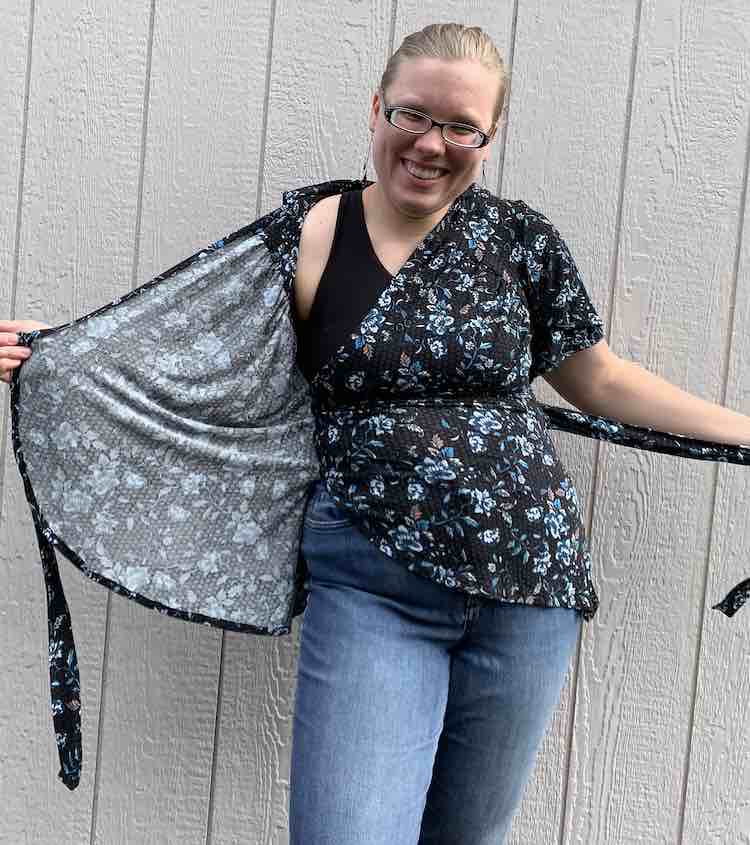
This last shirt is my absolute favorite. It’s so awesome that I’m trying not to wear it during the shelter-in-place so I don’t stain it before I can show it off… although I have given in and worn it once or twice already. For this shirt I used a light to medium weight (8.5 oz.) cotton spandex rayon blend from Girl Charlee with a four-way stretch (55%, 30%) that I bought at the beginning of March (2020). So… basically almost the same fabric specifications as the first dress’s fabric. Like all the Billies before I used a gathered bodice. From there I used a full collar by combining the simple collar and the collar stand (if used alone it makes a mandarin collar) pattern pieces. I think I cut out the gathered short petal sleeve but forgot once I put the pieces on hold so treated it like the un-gathered one making the edges overlap more than the pattern called for. Like the first shirt and second dress I cut the hem on the tulip lines as I loved the way the front looked with the curved hems. Unlike the last shirt I had enough fabric to cut the ties so I went with the simple faux wrap which meant the front was sewn in on the one side seam but left open on the other side. This meant that I cut out two short ties instead of one of each length like the dresses did. So this shirt can still unwrap but offers a bit more coverage if it unties than the half or full wraps would have. I absolutely love this top and can see easily making many more. It has coverage so I can wear it with my favorite Stitch Upon a Time brazi bras yet feels extremely flattering all over.
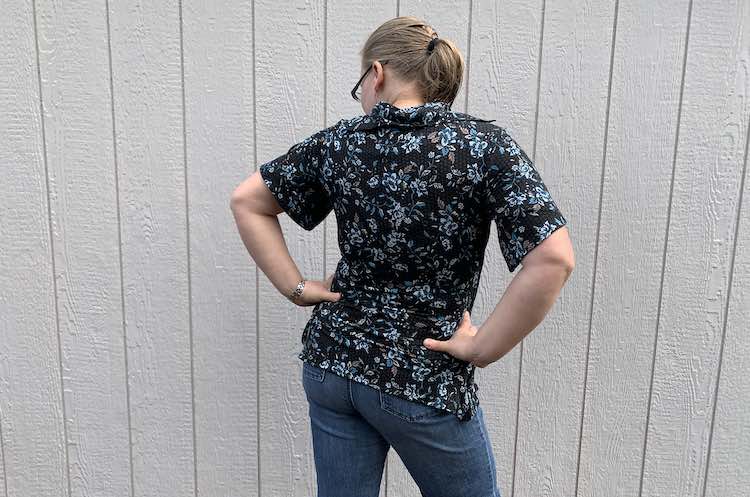
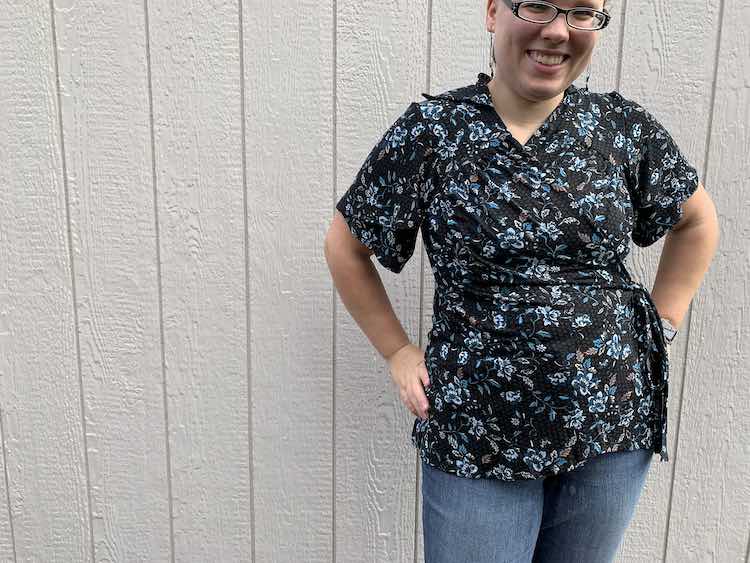
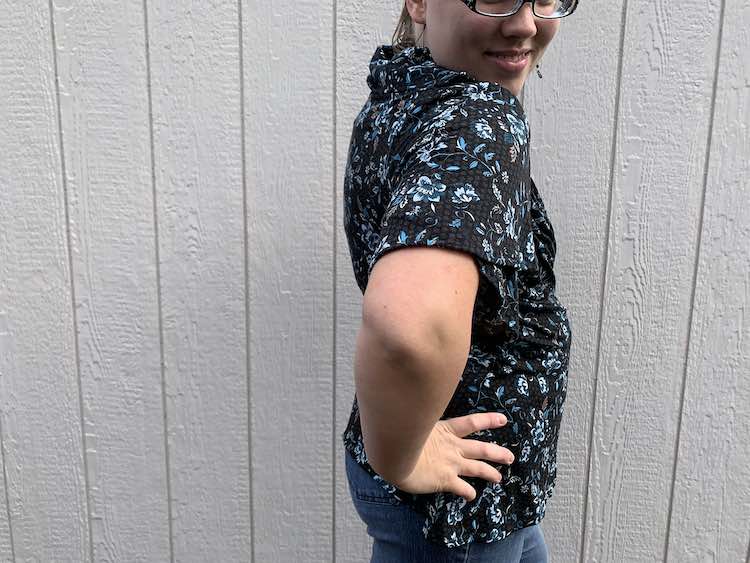
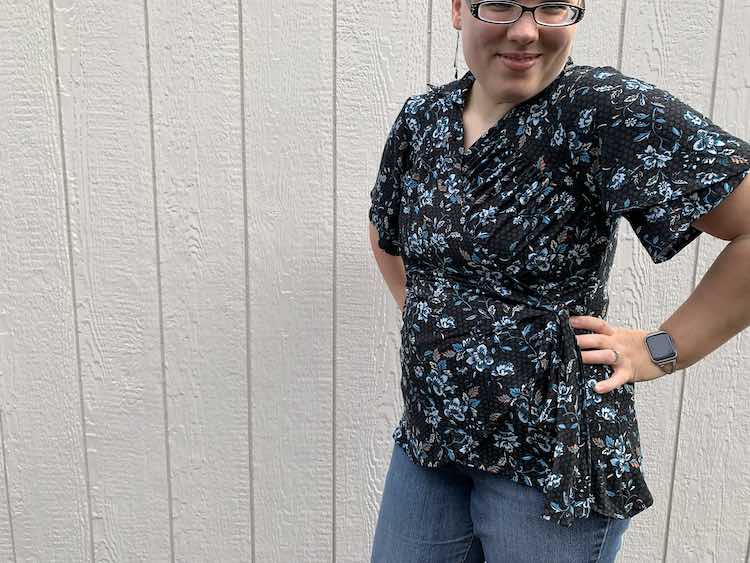
Overall, I’m completely in love with the Billie shirt and dress from Little Ragamuffin Patterns and am so glad I came across it. The instructions are straightforward, the pattern’s forgiving, and it was a fun sew to tackle. I can see making many more of these in the future.
Have you sewn up a Billie for yourself. If you’re planning to I hope you have as much fun as me. Feel free to share your sew in the comments below. If you’re interested in any future posts I always share my updates to my Facebook page and Instagram account in addition to my email list. If you want to sign up to my email list it’s located right under the search bar either to the left-top under the purple arrow, if you’re on a wide screen device, or underneath this post if you’re on your phone. I hope your day is going good.

