

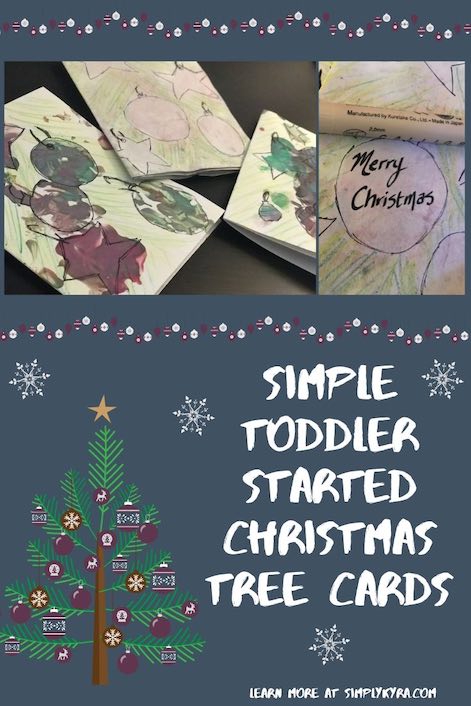
Simple Toddler Started Christmas Tree Cards

With Christmas approaching I started going through all my photos looking for what Christmas-related crafts I might’ve done in the past and forgot to share with you. I came across these Christmas cards that Ada and I made before Zoey started joining in on our crafting sessions. I don’t have any photos of them in progress but it’s a simple way of taking your toddler’s artwork and turning it into awesome Christmas cards from both of you.
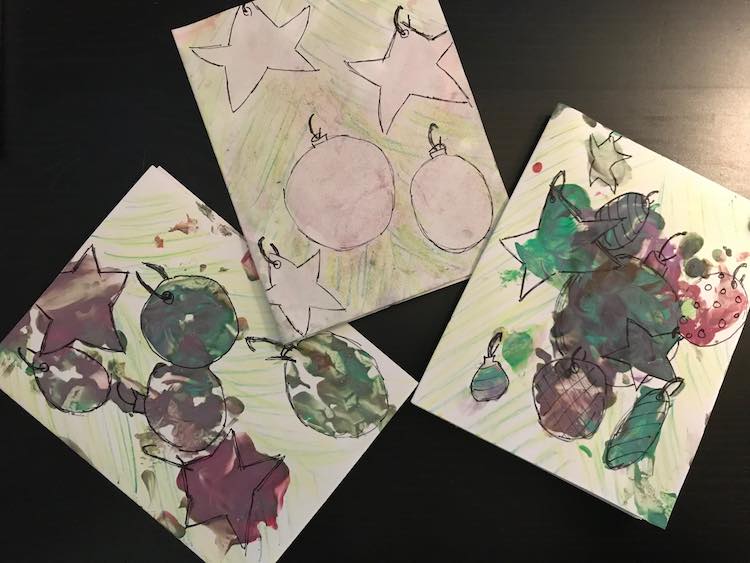
I wish I had more in progress photos but I think these cards were the result of figuring out what to do with their potato stamping using tempera paint. For potato stamping you cut a potato in half (or smaller) and then cut out a design into the cut side of the potato thus turning it into a stamp. I’ve seen this done in the autumn with apples too. I’ve only done this the one time and didn’t take pictures so I looked up some other websites if you’re interested in doing it. The Spruce Crafts used a metal stamp and markers to create their artwork whereas The Best Ideas For Kids used patterned pastry/cookie stamps so the stamped images would include details. Mama, Papa, and Bubba used potato stamps to create leaves and then bundled celery together to make flowers which would be perfect if you’re reading this during the summertime. If you prefer video over blogs you’d love to know that Brooke from What’s Up Moms even covered potato stamping.
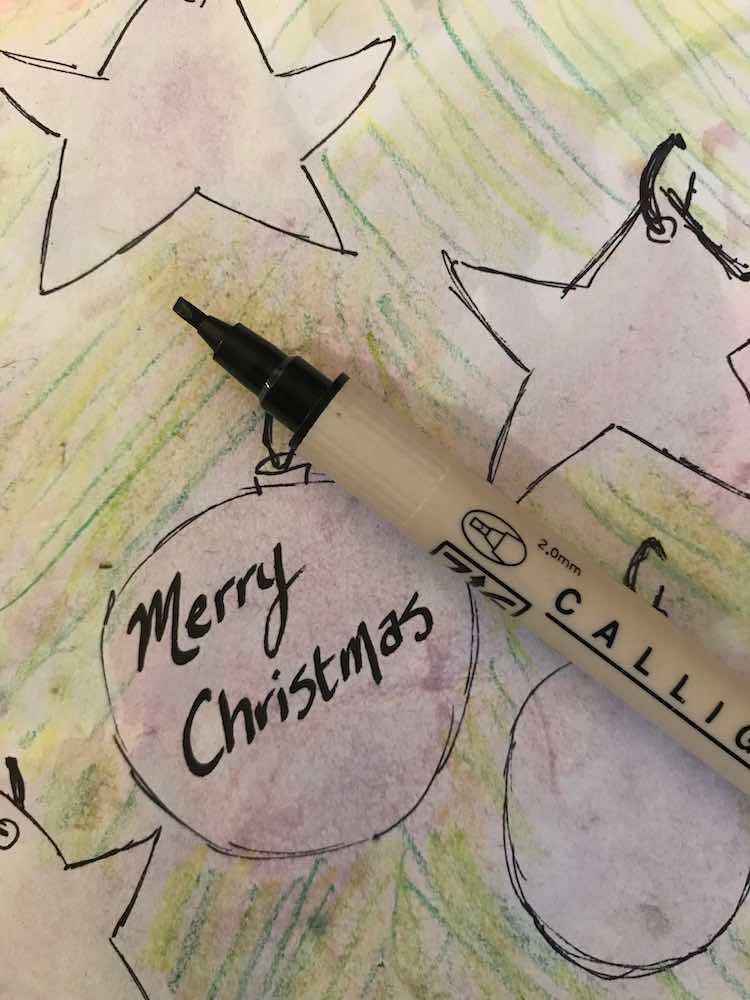
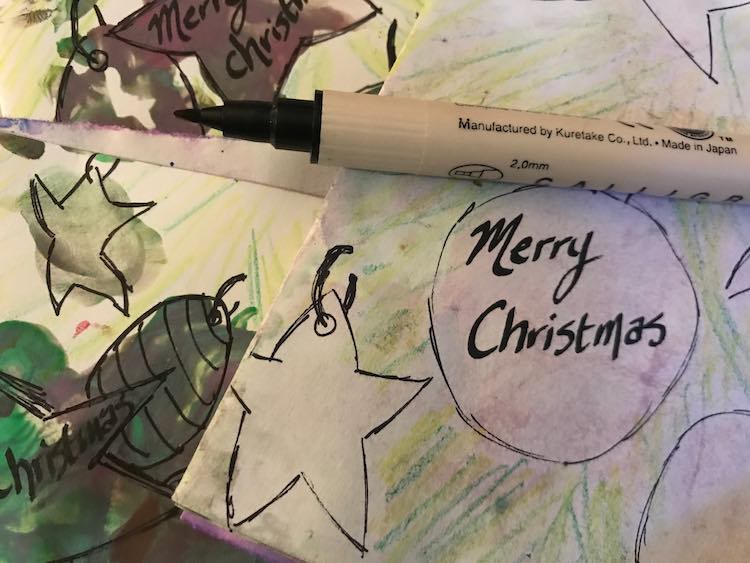
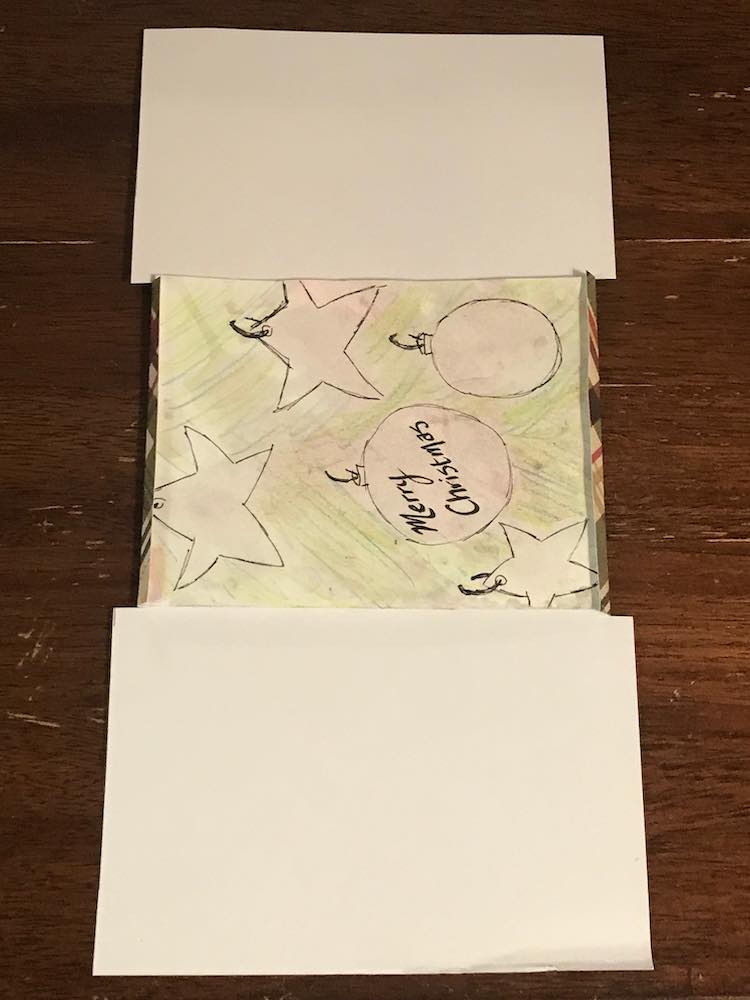
Anyway I wasn’t sure at first what to do with the finished cards after the stamping happened but then I had an idea. I took a black fine-tipped sharpie and drew around each paint spot making the paint look like Christmas tree ornaments. I wanted to make them look legit so I kept the shapes to spheres, stars, and ovals. I made sure the top of each ornament was facing the top of the card so they’d look they were hanging. Once I was happy with the ornaments I grabbed pencil crayons, making sure I had a couple different shades of green, and used them to roughly sketch a tree surrounding the ornaments so the cards would look like they were a close up of a section of a Christmas tree. I didn’t want to take too much away from Ada’s art so I left the cards as is at this point but looking back I could see also adding a string or two of Christmas lights. I could’ve also used Zoey’s fingers to create fingerprint lights on the tree and then used my pen again to add in the string between the fingerprints. This would’ve been a perfect way to include a toddler and a baby in making your cards.
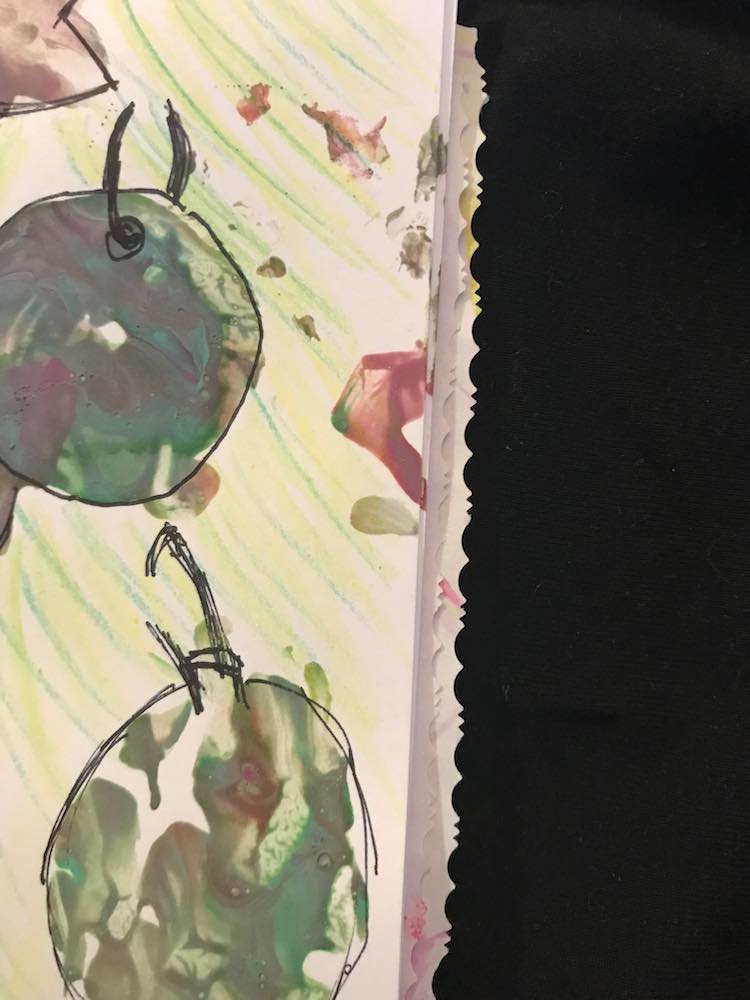
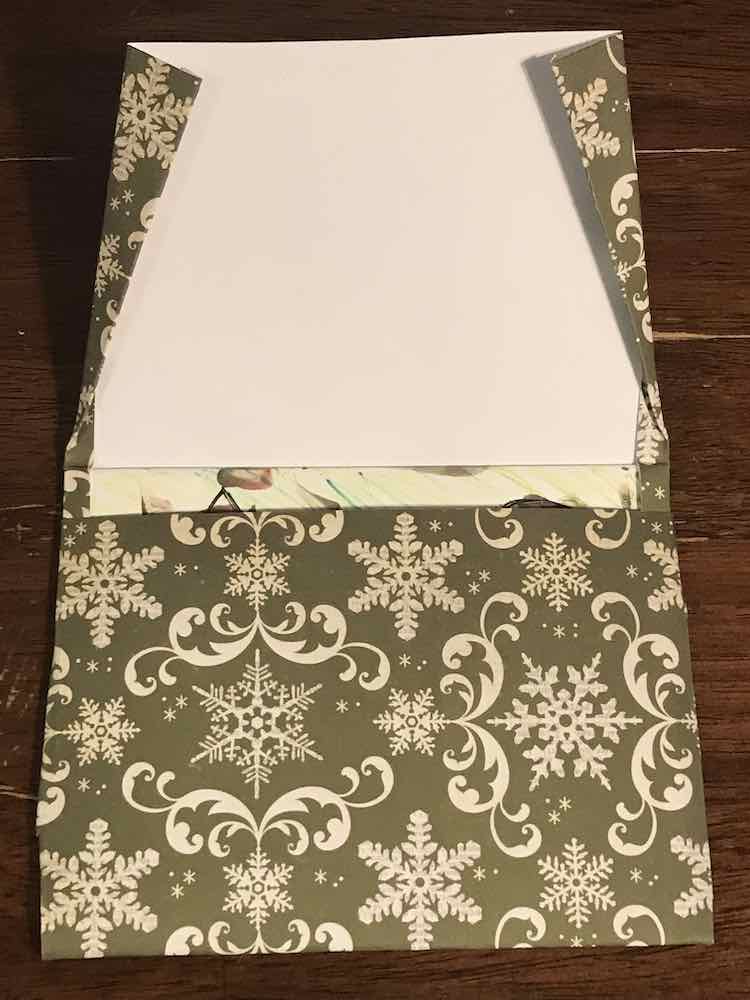
I wanted to add something to the inside of the cards so I grabbed some marbled paper we had made and after tracing the outer edge of the card used decorative scissors to cut the paper slightly smaller than the card itself.

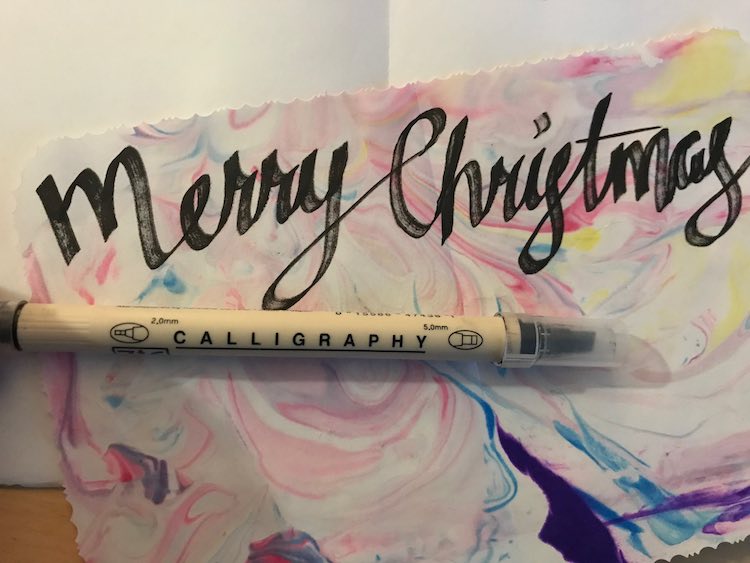
You could choose to write in the card now or wait until after you glue the insert in. I used a felt calligraphy pen, that I bought at either Michael’s or Deserres years ago, to write Merry Christmas on the front of the card (within the ornaments) and in the inside marbled paper.
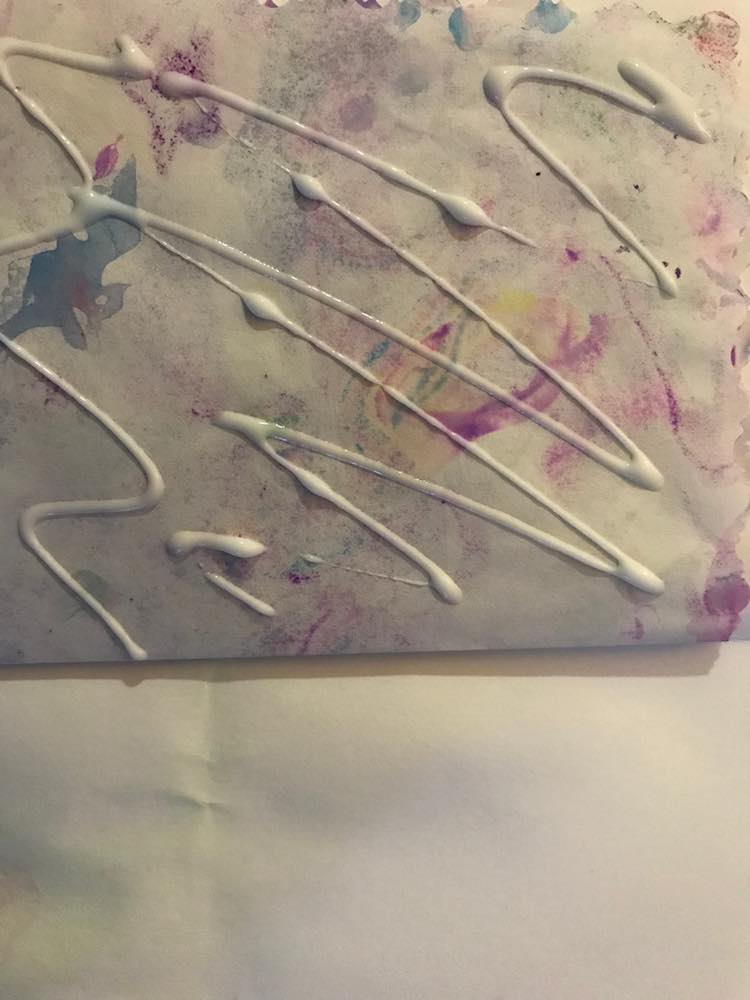
Once I had cut all the marbled paper to size I used white glue on the back of the marbled paper to stick it into the card. Next time I’d wait to buy a glue stick (assuming I didn’t have it here) as the white glue caused a bit of warping from getting the paper wet and then drying. You also have to wait longer for it to dry. I found it easiest if you fold the marbled paper in half, glue the one side, place it carefully into the card lining up the fold, flip the insert over, glue the other side of the marbled paper, and then finally close the card making both sides be glued properly in.
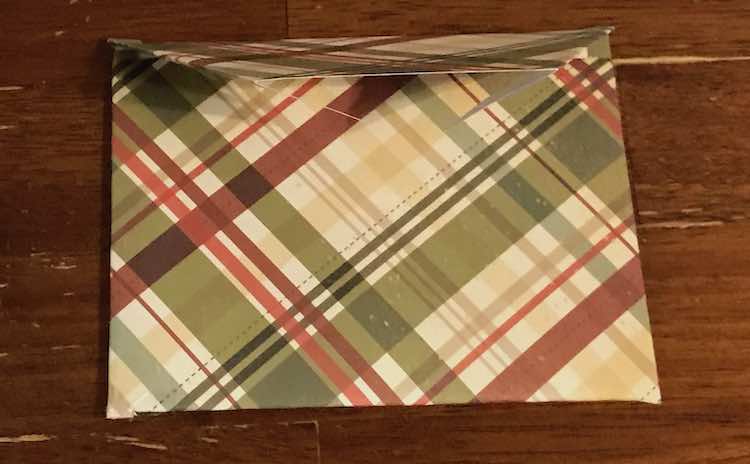
Custom Envelopes For Your Custom Sized Cards
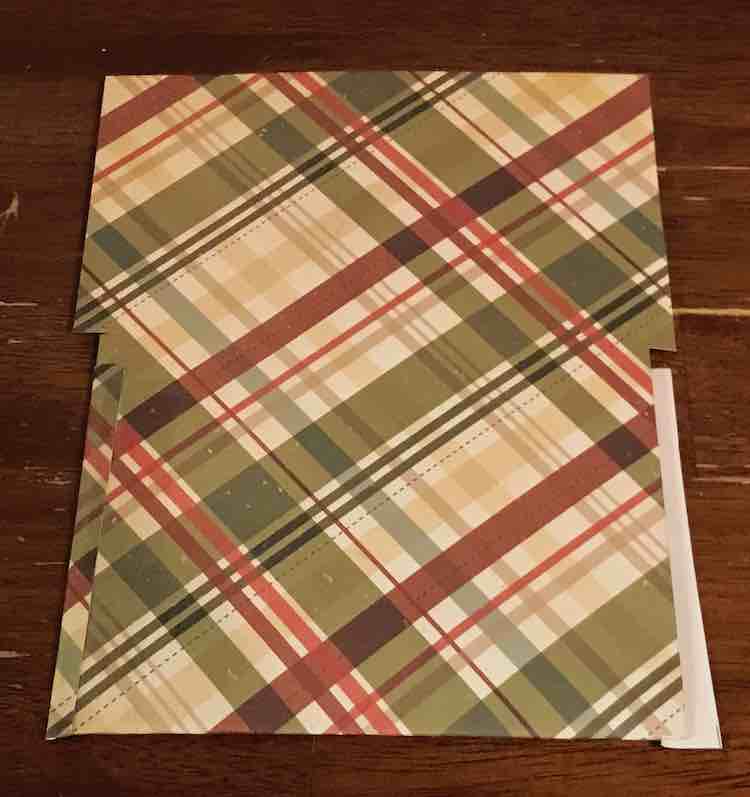
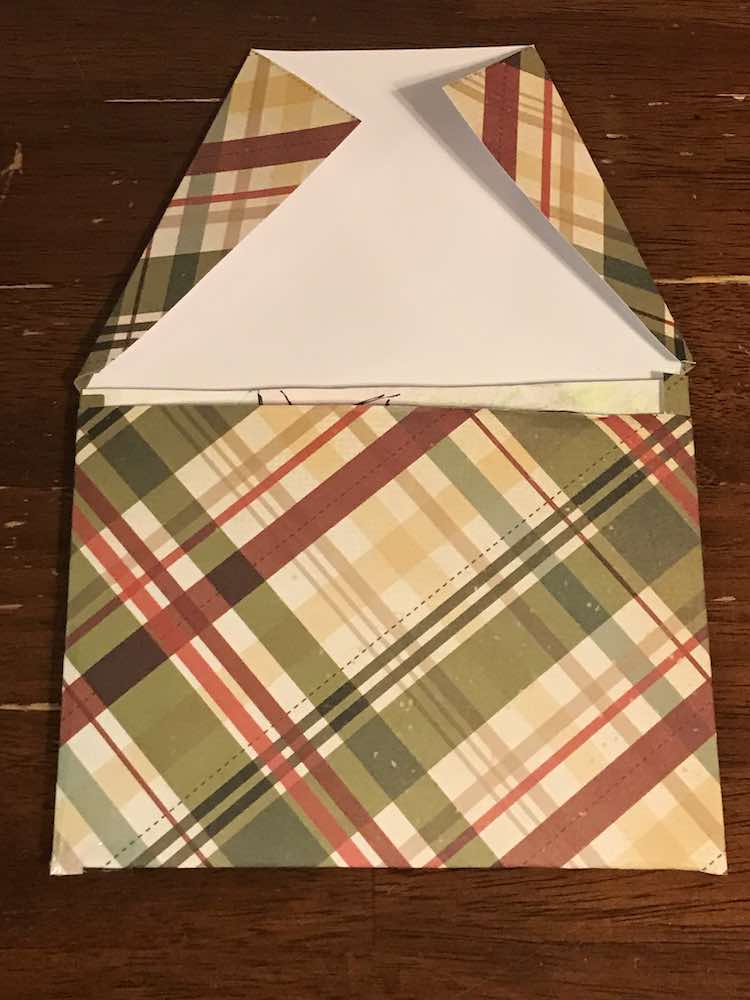
I had some Christmas-themed cardstock I bought on sale at Michael’s Arts and Crafts so I decided to make my own envelopes since my cards were too uniquely shaped to make finding store-bought envelopes simple. I normally lay the card on the paper at an angle before folding up the bottom, sides, then the top, and taping it into place. I did this method for the first one and then decided to change it up. The next times I made the cardstock slightly wider than the height of the card and about two and a half times longer than the width of the card. I laid the card over the center of the cardstock making sure the top was shorter than the bottom. I folded in the sides, then folded the bottom up, angled the sides of the top flap, and then folded the top down. Perfectly sized custom envelopes.

I hope this card and envelope idea helps you out as Christmas approaches. I love how the basic potato stamp idea could work with any holiday, especially if you use Mama, Papa, Bubba’s idea with the celery flowers. Also simply changing up the cardstock makes this envelope works for any holiday too. I’d love to know if this helped you out and hear about your cards so feel free to let me know in the comments below, on my Facebook page, or through Instagram. I hope you have a great day and a very Merry Christmas!