
Toddler Scribble Cards
About two to three years ago while Ada was firmly in the scribble phase of art and Zoey hadn’t quite yet entered the art world I started looking into ways to enable Ada to create cards for the family while also keeping the card defined rather than just random scribbles. I can’t remember what made me think of it but I ended up coming up with a way to use masking tape to create negative space within Ada’s scribbles thus creating a card that came from both of us. I wanted to share this fun way to corral your toddler’s scribbles into something memorable.
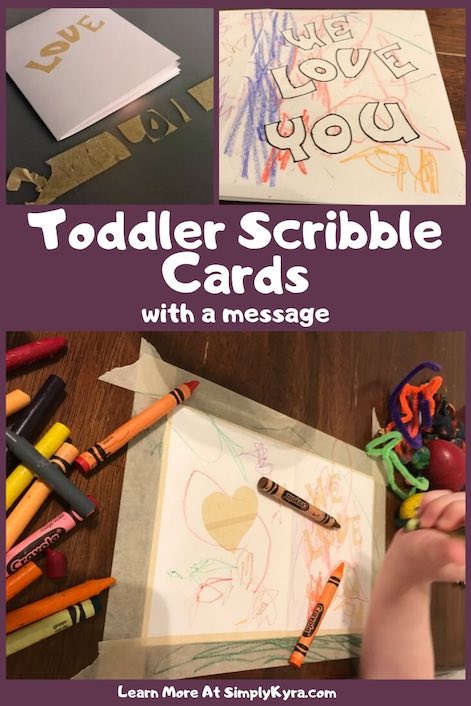
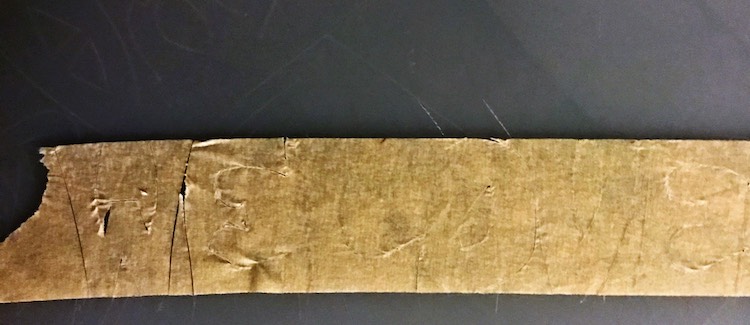
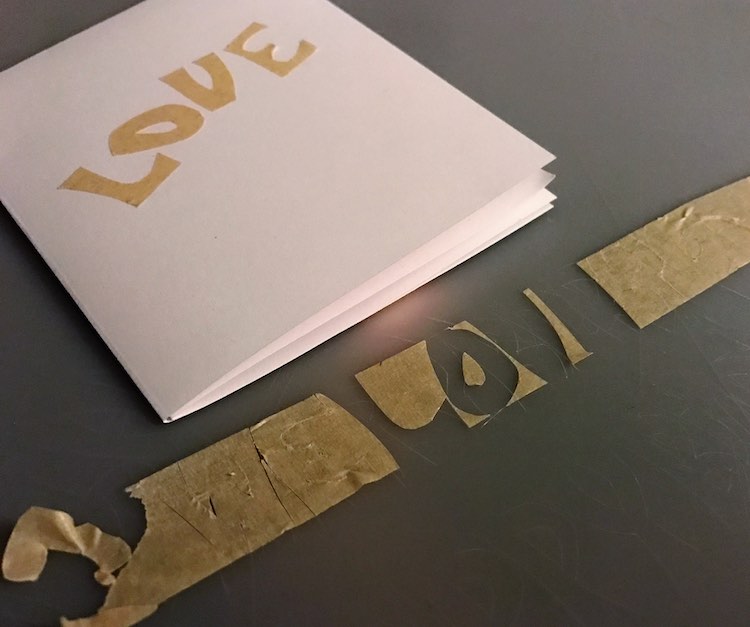
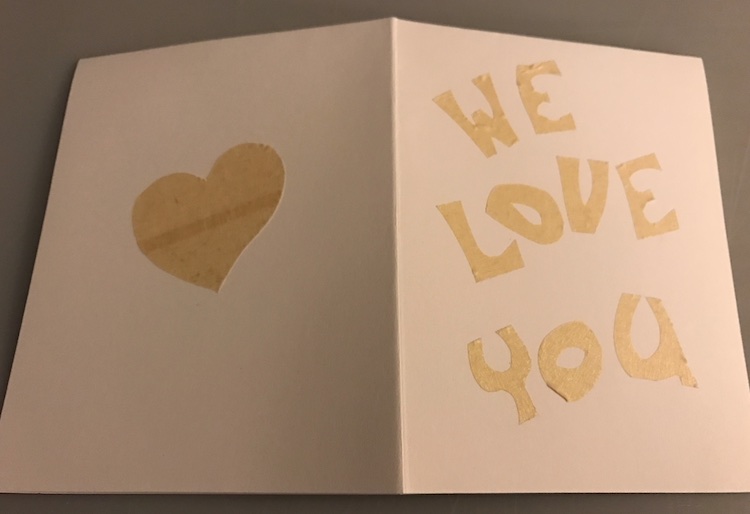
I started by taking a piece of masking tape and sticking it onto a cutting board. I then chose to freehand the letters, but you could also draw out your design first so you know where to cut. I wanted to cut the letters for “we love you” so I only needed a single long piece of masking tape which I then cut out with my X-Acto knife. I then wanted to add a heart, to the back of the card, that needed to be taller and wider than the width of the masking tape I was using so I overlapped two pieces of tape together on the cutting board before using the X-Acto knife, again, to cut the heart out. Once I was done cutting the letters and shapes I grabbed a U.S. letter sized sheet of computer paper and folded it into a greeting card. I then moved each letter and shape over from the cutting board to the card. I made sure to center “LOVE” on the front of the card before moving “WE” and “YOU” over.
Just a heads up. You don’t want the tape to be too sticky as later on it could pull up the outer layer of the paper when you remove it. Later on I discovered it was easier to pull off the paper if you first remove some of the excess stickiness by repeatedly sticking it against your pant leg or something before using the cutting board to cut the letters and adding the masking tape shapes to the card.
Once you have the masking tape set up you’re ready for some scribbles. I wanted to keep the inside of the card blank so I taped the card to the table so Ada wouldn’t be able to flip it over. And then it was time for her to shine.
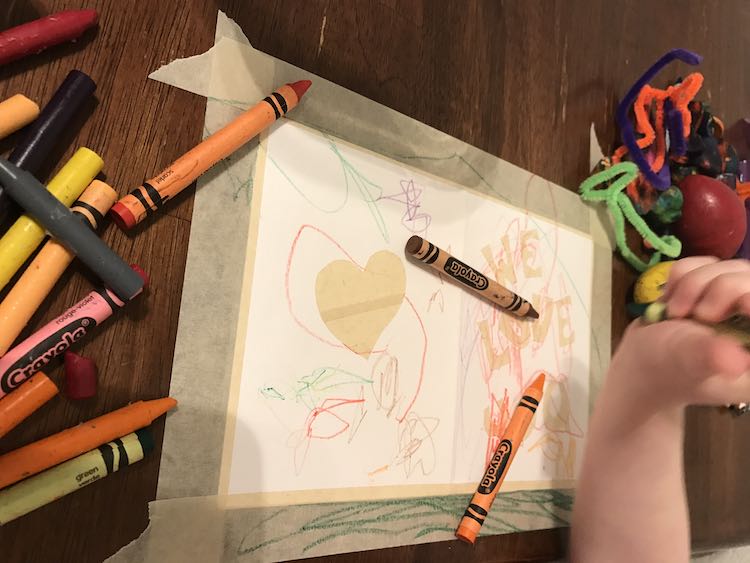
After Ada was all done coloring I slowly removed the tape. The best part of this is you can easily remove the card from the table when needed (for lunch or something) then reattach it later on to let you child finish coloring. The masking tape was a bit stickier than I expected so it did cause a bit of ripping in the paper so next time I tried to de-sticky the tape a bit by touching it to my clothing a couple times before I cut and added the tape to the card.
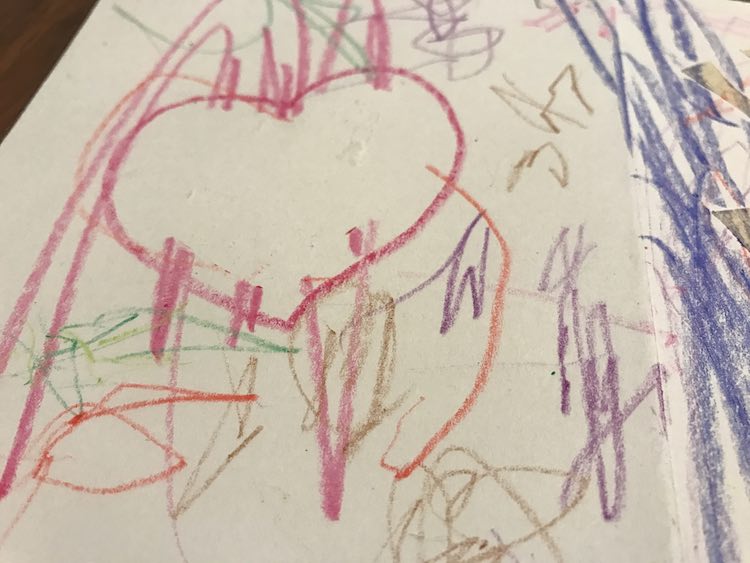
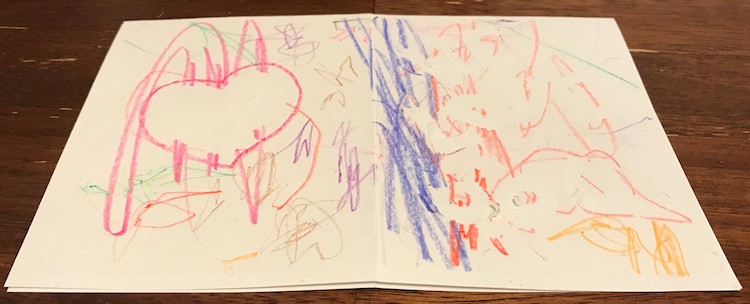
I love how if your child is a heavy-handed coloring fiend this would be all you needed to do as the negative space would stand out from the colored areas making it simple to read. In this case Ada had decided to limit her coloring so I was worried the letters weren’t obvious enough to read. To combat this I decided to outline each letter with a fine-tipped black marker. Looking back I wish I had only highlighted the letters by lining the ‘shadowed’ parts instead of fully outlining the letters. For the heart itself I stuck to highlighting and then added some more details.
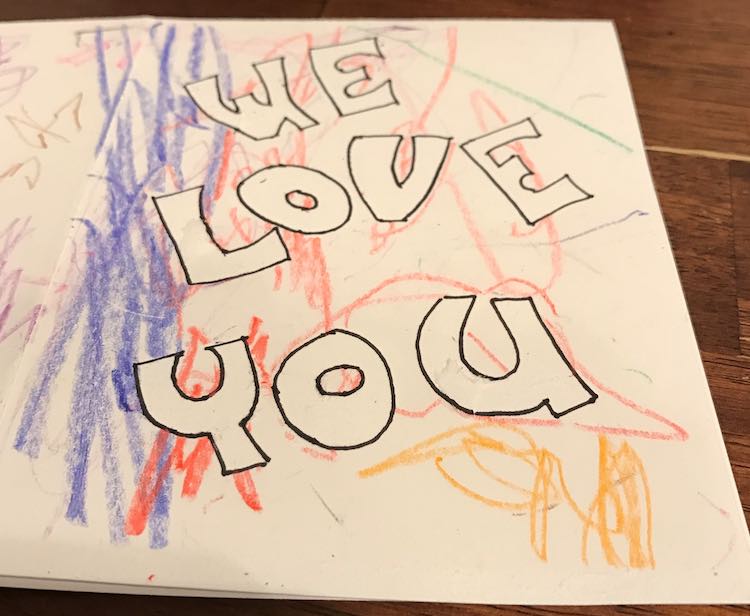
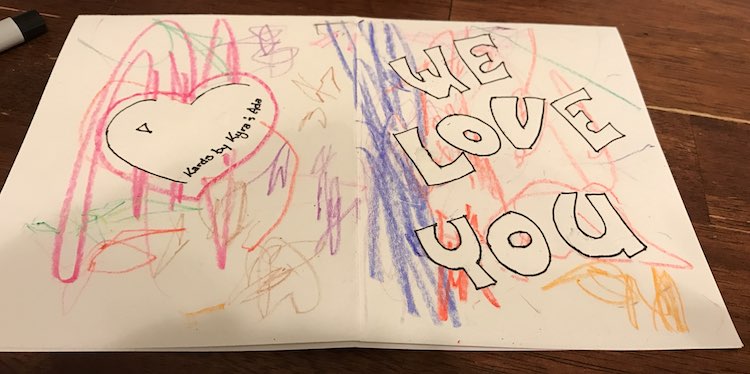
If I recall correctly I think this card was made for a birthday though it may have instead been a Valentine’s card. I love how you can easily change the occasion of the card by simply changing the masking tape making it great for whenever you might need a card. You could also change out the letters to spell “HAPPY BIRTHDAY”, “MERRY CHRISTMAS”, or any other short message so easily. If you have a longer message you want to share you could always put it on the inside of the card so there’s more room for it to fit. I hope this helps you out if you’re trying to come up with your own perfect card. I’d love to hear what you came up with. Feel free to share with us through the comments below, on my Facebook page, or through Instagram. I hope your card turns out amazingly!
Did this save you time?

