
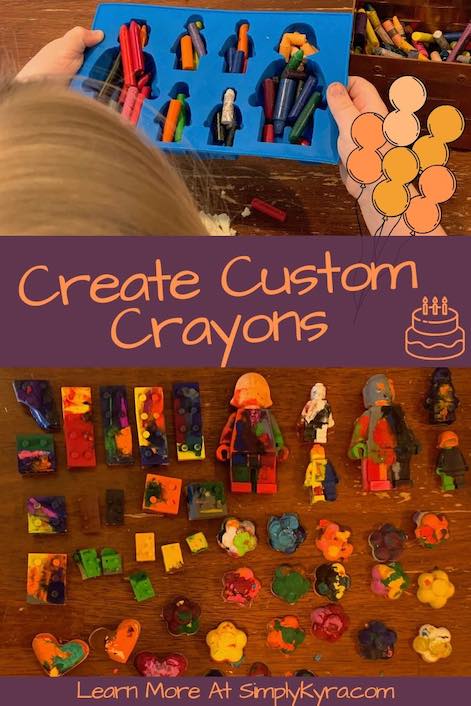
Create Custom Crayons
A couple of years ago we tried to make custom crayons using two silicone moulds from Ikea. The kids loved how the crayons turned out but I was disappointed as the moulds were left with melted crayon coating their insides. I wanted to make crayons again but I kept putting it off time and time again. Recently we reorganized the 3-tier rolling cart art area we have and I realized just how many crayons we truly have. I also wanted to make more LEGO®-centric items for Zoey’s birthday so I started wondering if I should add making crayons to the birthday party prep. I had already bought silicone moulds on Amazon with two brick trays and two robot trays so I had the moulds already on theme. Remembering my first attempt at making crayons I knew I wouldn’t want to reuse the trays for food after making crayons so I kept putting it off. After making sugar characters, ice cubes (we ended up not using), and frozen oobleck characters I finally decided to just make the crayons. Since I wasn’t sure if Ada would also want a LEGO® themed party and I loved the idea of surprising them with fancy ice cubes I decided to only use one of each type of tray so I could still keep a food-safe robot and brick tray for later on.
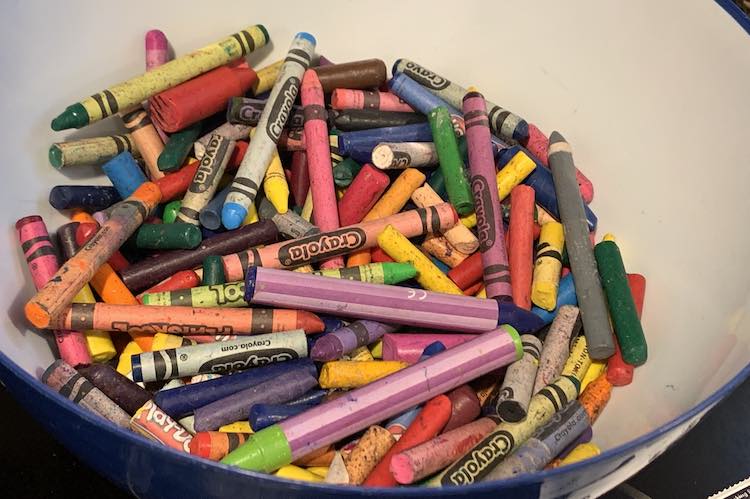
After reorganizing our art trolley I had a lot of extra crayons that I temporarily put in a bowl while I considered whether or not I should make the crayons and if so whether I should wait until after Zoey’s party. There they sat… waiting.
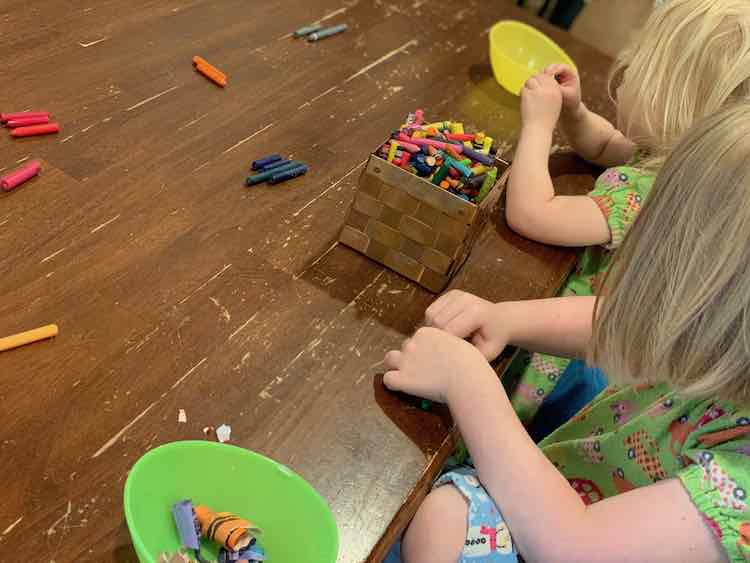
Before you can start melting the crayons you first have to remove the paper wrappers. I used a mix of crayon brands in my bowl but if you’re buying crayons specifically to do this I’d buy a brand since Spruce Crafts says some non-brand crayons may cause the colors to settle on one side of the crayon once they’re melted and reformed. Since I wanted to keep the kids out of the way when making the cupcakes and pizza dough for the birthday party I figured the day before the party was the perfect time to pull out the crayons and have the kids start peeling them. I didn’t think of it in time but years ago I heard that throwing your crayons in the freezer makes it easier to pull the paper off (I think it was in a YouTube video where they stuck crayons together than used a lathe to make a vase???).
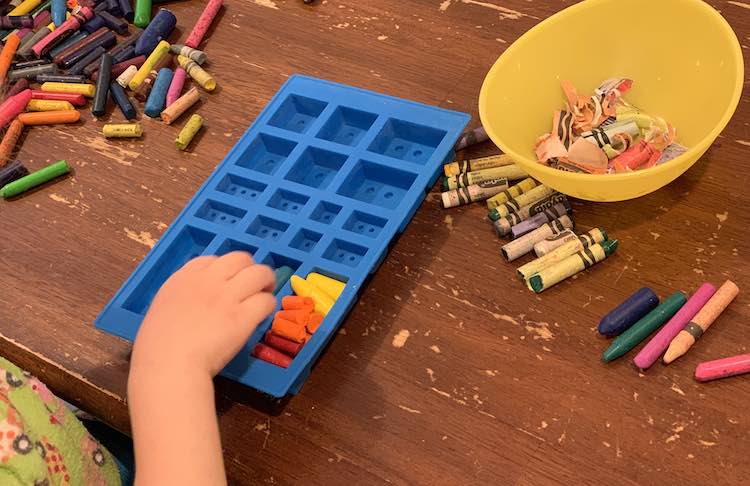
Once Ada and Zoey had almost given up peeling the crayons I then pulled out four silicon trays: included the LEGO®-themed bricks and characters along with the two trays I used previously. I set up the first brick using red, yellow, and orange crayons to show them how to break the crayons smaller and fill the mould. I had hoped for a really cool color-changing crayon in Zoey’s birthday theme color but later on Zoey got bored and started dumping out the crayons and putting them back in the crayons were mixed up. We ended up using a variety of crayon lengths but if you break yours smaller they will melt quicker. Once the crayons start melting they’ll fill in all the empty spaces in the mould and the height will sink. To address this you’ll want to overfill the moulds and even then I had to top them up a couple times once they started melting.
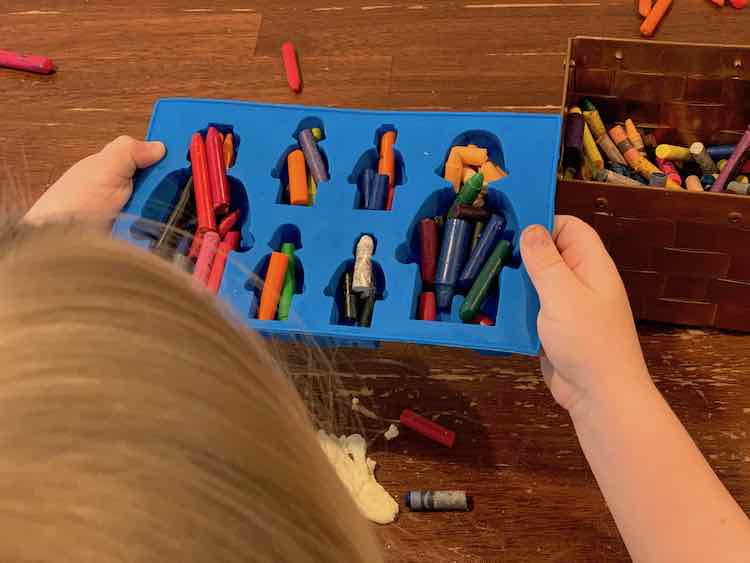
Once the moulds are overfilled I put them on a cookie sheet so it would be easier to carry to and from the oven in addition to catching any crayon spills. I put the cookie sheet in a 250°F preheated oven and the kids spent the first bit of time watching them before giving up and walking away. Between waiting for the crayons to melt, topping up the moulds, and waiting for them to melt again it took awhile so don’t start this when you have more baking to do.
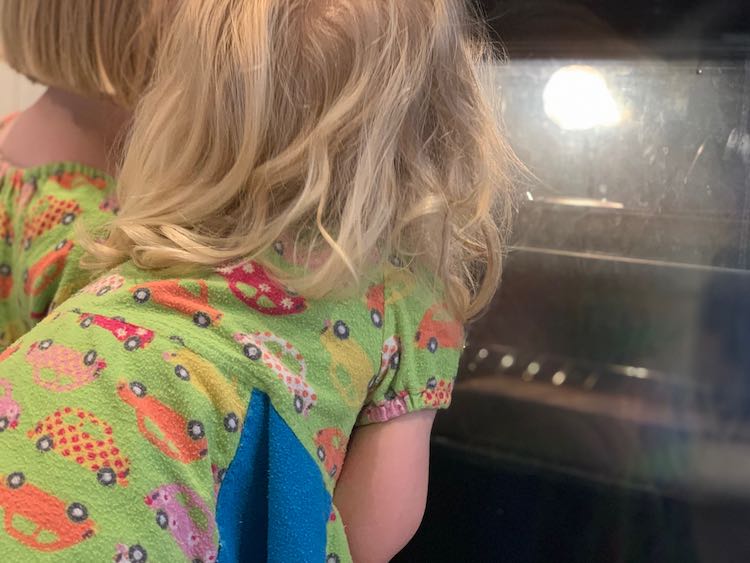
Once I was happy with how melted the crayons were I pulled them out of the oven, let them cool a bit, and then moved them into the freezer so they could solidify quicker.
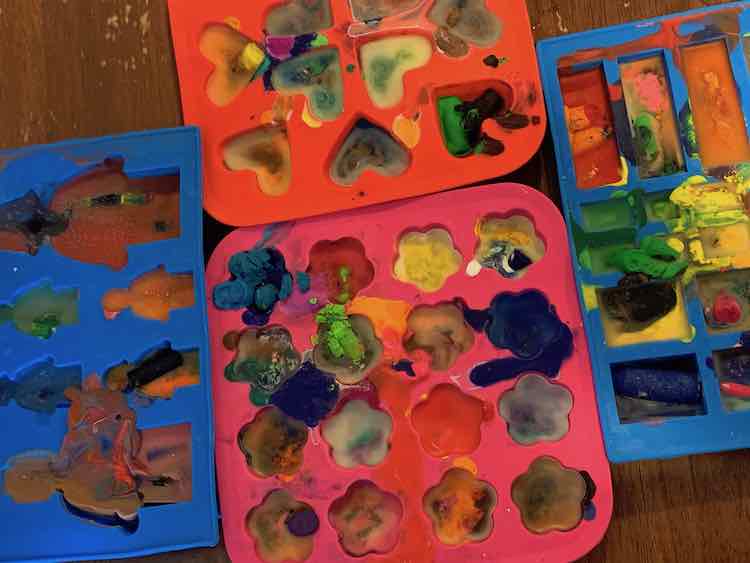
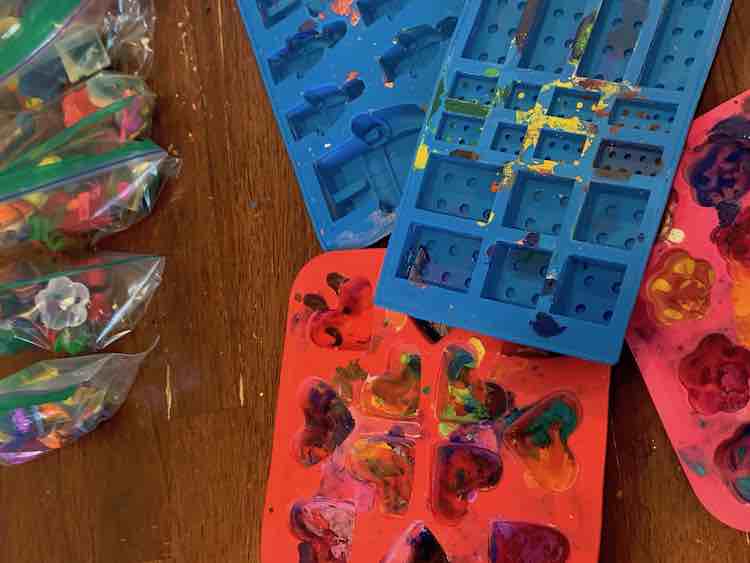
Once you’re sure the crayons have fully resolidified you can pop them out of the moulds. I’m not sure if this is where I had the issue last time or if different moulds might hold crayon remnants more because although there were still crayon bits attached to my LEGO®-themed moulds there was less than with the IKEA moulds. I did notice that some of the prongs on the bricks broke off when pulled out of the moulds so next time I’d try to be more careful taking them out.
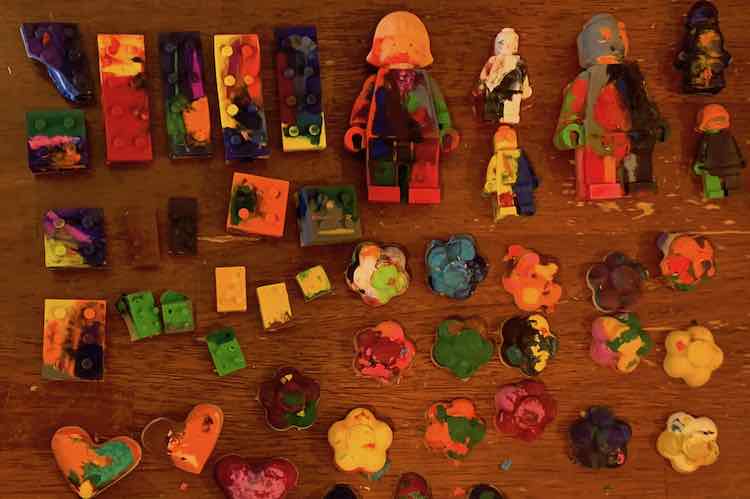
I considered using the crayons to create another sensory station at the party but didn’t want to overwhelm the kids so instead bagged the crayons in snack-sized Ziploc® bags and included them in the favor bags given out at the end of the party. I went over them and used a pen (couldn’t find a Sharpie) to write out “crayons” on the bags so it would be more obvious.
Are you thinking about making crayons? Have you melted crayons before? Let me know how this time goes in the comments below, on my Facebook page, or through Instagram. Did it work out? Can you give me any tips or tricks for the next time? Is the leftover crayon remnants on my moulds going to cause the crayon to stick more next time? Is there a good way to clean the moulds? Hope you’re having a great day and your crayons turn out gorgeously! I’d love to see them.

