
Color Themed Playdough and Oobleck Stations
As Zoey’s third birthday party approached I asked her what she wanted to do for her party. After first telling me she wanted to do dinosaurs because of her friend and me explaining that he wouldn’t be able to attend as he moved too far away Zoey told me she wanted to build DUPLO® and give it to her friends. The DUPLO® and LEGO® party idea kept being repeated so I finally asked if she wanted an orange theme (as it’s her favorite color) and an “Orange DUPLO® and LEGO®” themed birthday party was born. The DUPLO® and LEGO® part of the party was simple to set up as all the LEGO® is set up in their bedroom and the DUPLO® could be placed in the middle of the living room so that only left the outside to find sensory stations for. After talking it over with Zoey our two favorites were chosen to round out the play: playdough and oobleck. It was different to plan compared with the previous birthday parties as we normally start with a theme (which could be decided on the fly in the aisle at the Dollar Tree like when we came across vehicles) and then choose any sensory materials based on the theme or toy. This time around we started with the sensory materials and I had to figure out what to pair them with.
Playdough
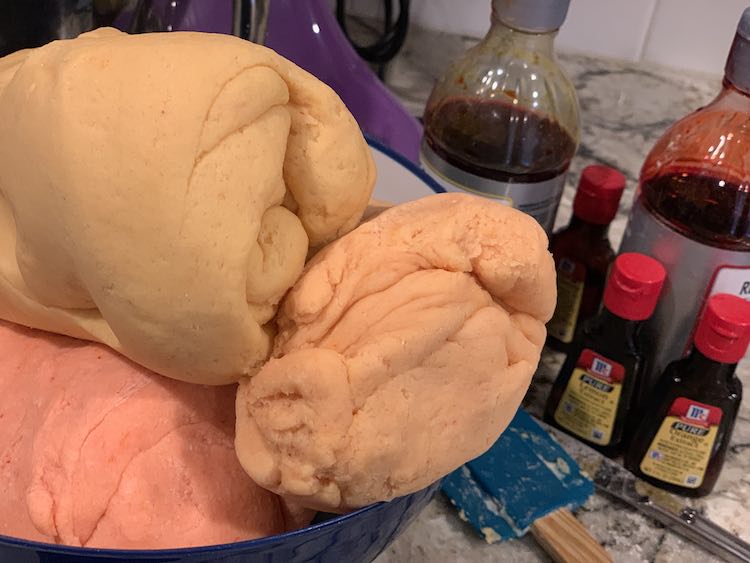
For the playdough I used the same recipe I posted before. I made it two nights before the birthday party so it would be all ready to go but wouldn’t add any stress to the day before the party. At first I was going to make a single batch of red, a single batch of yellow, and two batches of orange so there would be three different colors of playdough to play with and if the kids mixed it all together it would make various shades of orange instead of a neutral brown-ish color (Quora link). I even picked the flavor essence for each batch of playdough based on those colors: lemon for yellow, raspberry for red, and orange for orange. Once I started mixing the playdough I decided to make three shades of orange by changing the ratio of red and yellow food dye each time I mix it up in addition to doubling each batch. I added the lemon scent to the yellower batch, raspberry to the redder batch, and orange to the hue in the middle. I used my stand mixer to make the playdough and wasn’t fully happy with the consistency of it this time around. The first two batches I used the dough hook and then switched to the paddle for the last batch. The playdough made with the paddle had a better consistency than the ones with the dough hook. Normally I make smaller batches of playdough at a time and use a spatula before kneading the dough with my hands. Not sure if this was the reason for the difference in texture or if it was because I bought a cheaper white flour. Once all the playdough was made I put all three colors in a plastic bowl and sealed it with plastic wrap.
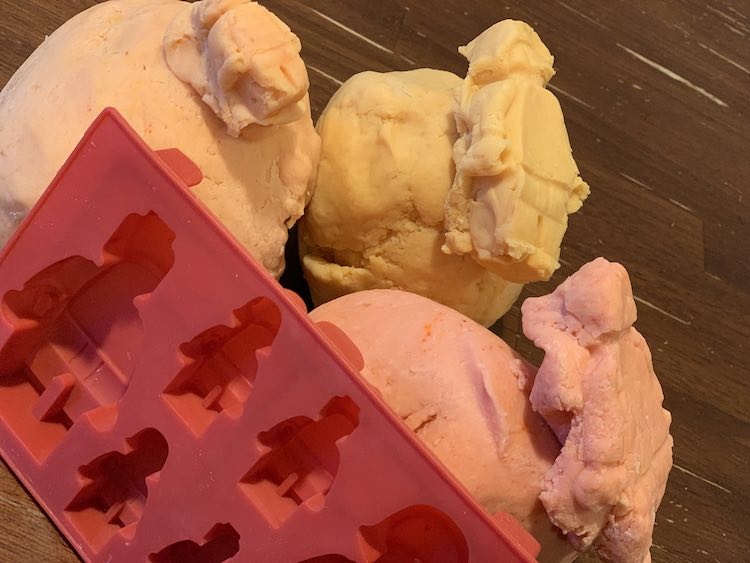
Closer to the birthday party I was wondering how to get the playdough to match with the LEGO® portion of the theme. I had bought some LEGO® looking brick and people solicone moulds to use for the party so decided to add those and a couple of off-theme moulds I had laying around. I quickly carried out a test to make sure filling a mould with playdough and pulling out a moulded figure would work okay for the age group of the party.
The night before the birthday party I went through our playdough tools and grabbed all the common tools. I wanted to have enough tools out so they aren’t fought over, limit the selection to the simpler ones so no one would fight over the favorites (looking at you cake stand and BBQ) while also not being overwhelming in choices. I ended up adding cutting implements (simple rotary blades and scissors), rolling pins, and extruders.
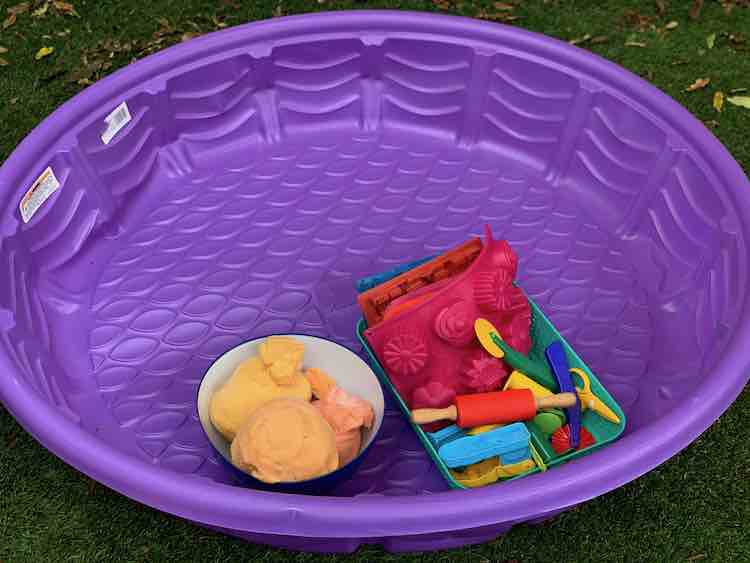
And then it was party time! Although the playdough wasn’t the main attraction in the yard it was still a blast when the kids headed over there.
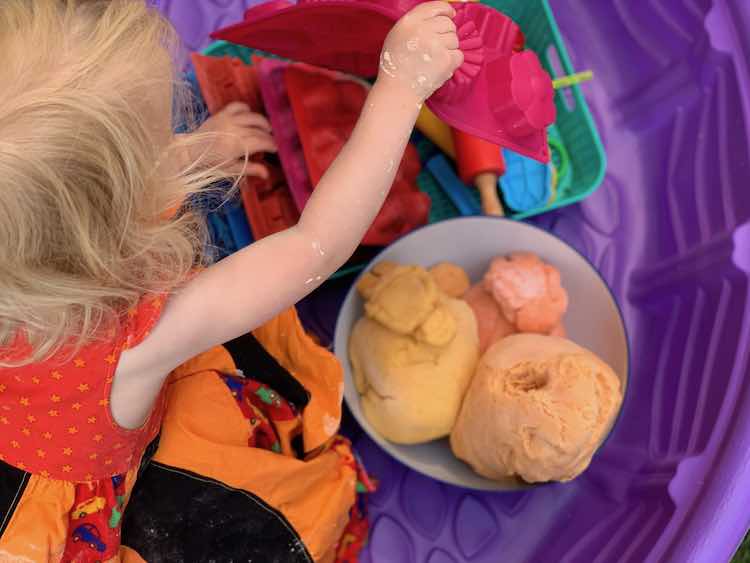
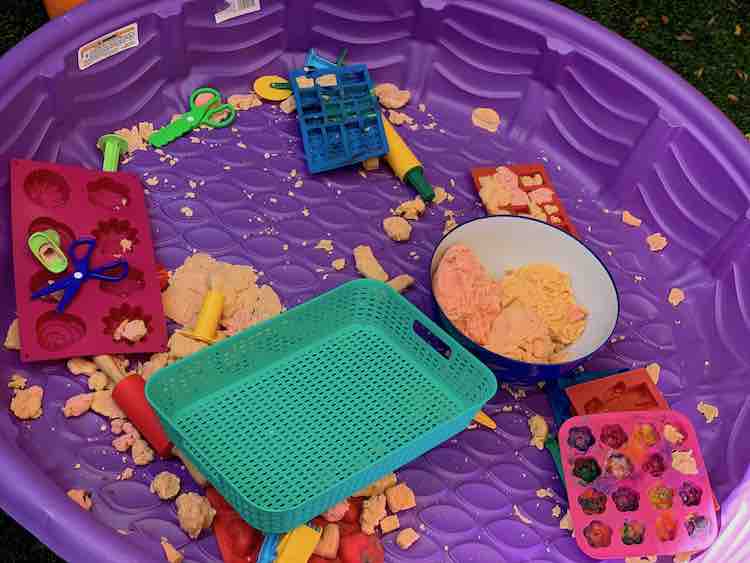
If you’re interested in more information about the playdough itself or other ways you can make this fit your birthday party theme I’ve linked to previous playdough posts below.
- Making your own playdough (includes recipe).
- Coloring alternatives to color playdough using paints.
- Coloring on white playdough with markers.
- Included playdough in Ada’s science themed party favor bags last year.
- Playdough dinosaur footprint sensory bin at Zoey’s party last year.
Oobleck
In our household oobleck is the current favorite. Making the oobleck orange was an easy decision for this birthday party but I also wanted it more LEGO® themed too. The week before the party we were going through a heatwave so I decided to make some frozen oobleck in the shape of LEGO® characters and bricks. I made up a quick batch of oobleck out of cornstarch, water, and food dye before pouring it into the silicone moulds and freezing them in the freezer. Once frozen I popped them out, so I could continue to use the moulds, and put them into a large freezer bag to store in the freezer until the birthday party started.
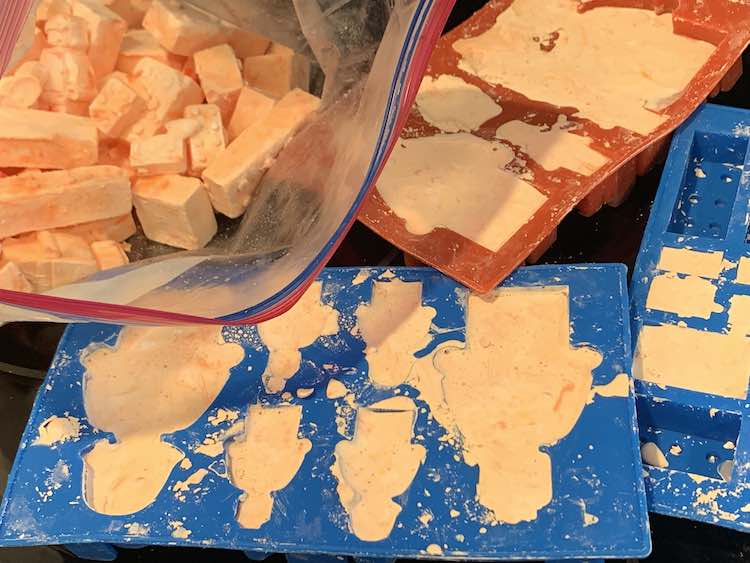
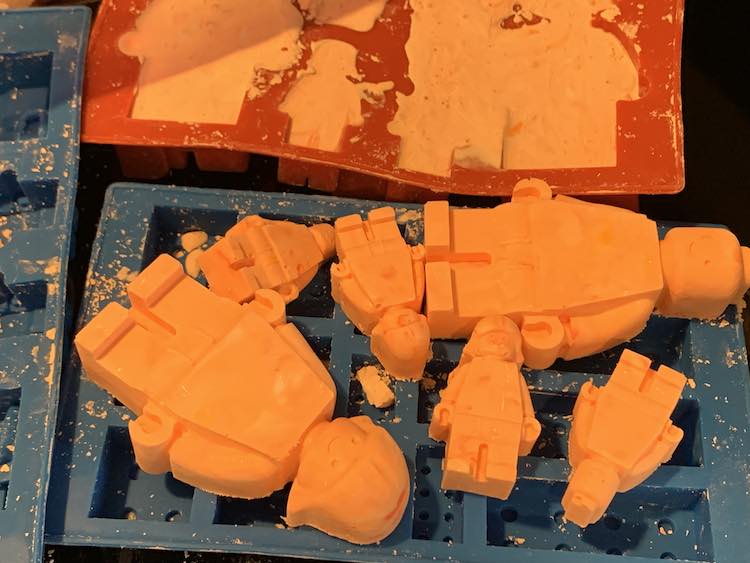
A day or two before the party I set aside my extra measuring cups, measuring spoons, and cupcake liners so the kids could play, scoop, and create cupcakes. I considered adding birthday candles then pictured them slowly sinking into the oobleck cupcakes and changed my mind. The morning of the party I dumped several boxes of cornstarch into a small storage bin, dripped some red and yellow food dye on top, and used my garden hose to add some water. I didn’t want the oobleck to be too watery so I made sure to add less water than I needed as I could always add more if it was too dry once I mixed it up. I kept a box of cornstarch out in case I needed to dry the oobleck a bit but it wasn’t needed. Since different portions of my oobleck got different amounts of food dye my oobleck ended up slightly marbled. If I truly wanted a solid orange I would’ve added the dye to the water before mixing it together so equal amounts of red and yellow were permeated to all of the cornstarch.
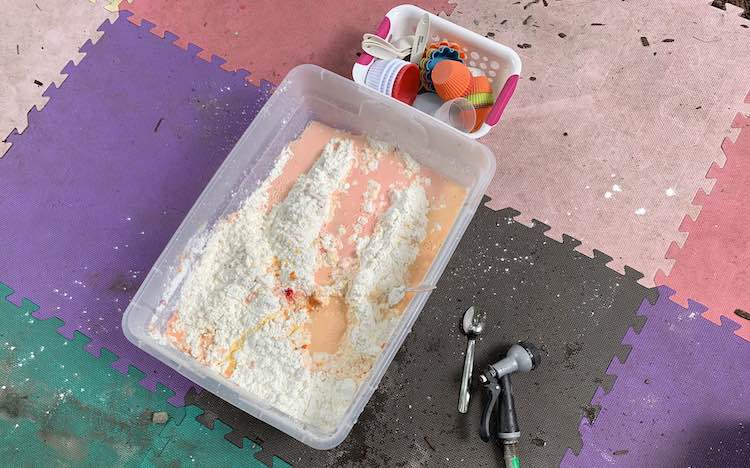
I then mixed it up as best as I could with a large spoon. Be careful as it’s hard to mix as the oobleck (once the cornstarch touches the water) is hard to move with force. I actually was trying to move a portion and when my spoon was released I sprayed myself and the ground with a scattering of cornstarch. Once the oobleck was ready I left it out since the party was almost ready to begin. Previous birthday parties I’ve made the oobleck a couple of hours ahead of time so I then put a lid on the bin so nothing would fall into it. Once the kids started playing with the oobleck I grabbed the frozen people and bricks and gave them the opened freezer bag so they could pull out the frozen pieces on their own time.
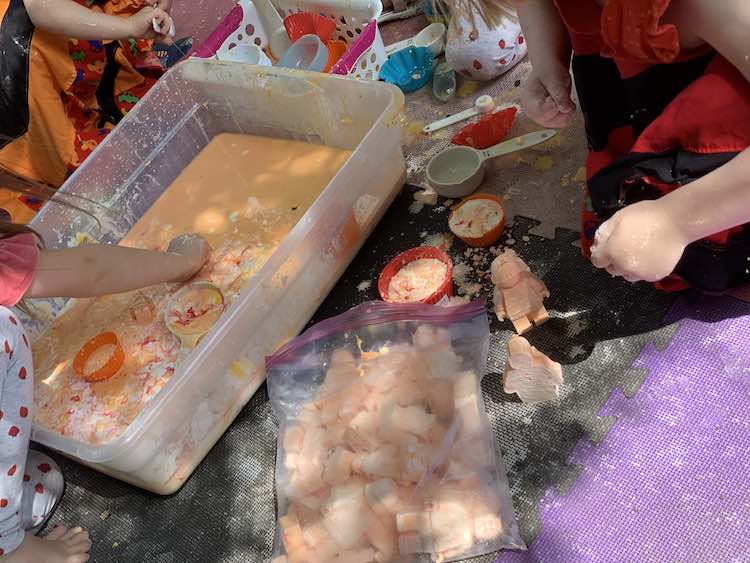
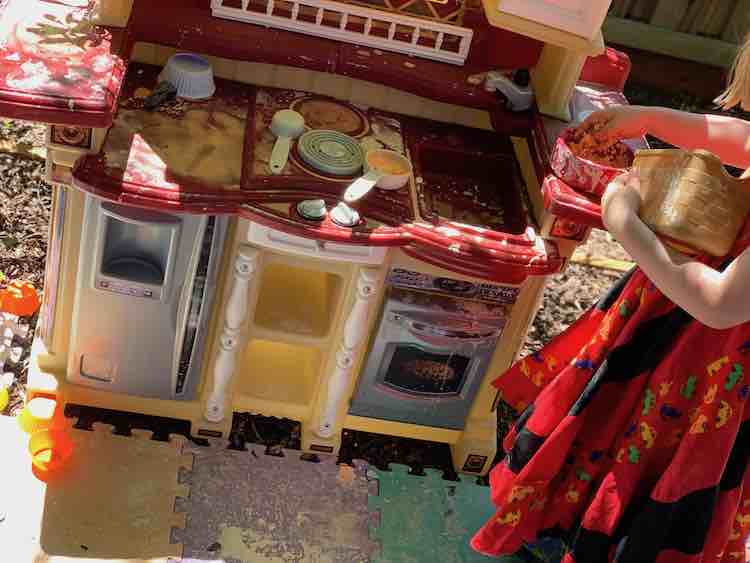
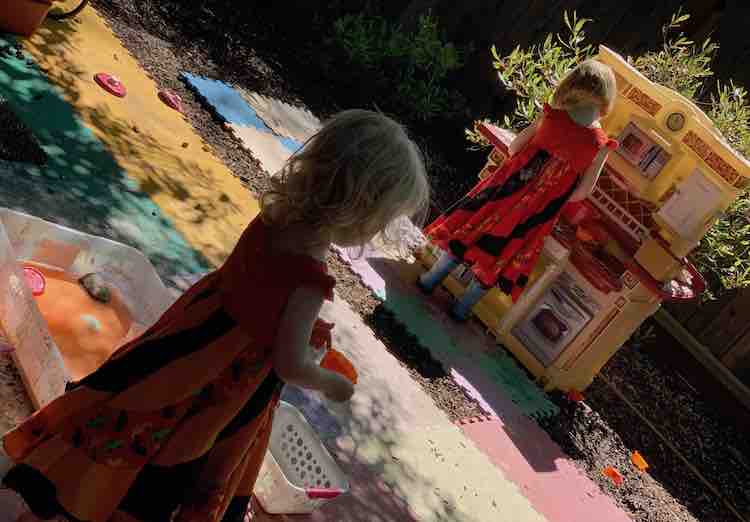
Later on in the birthday party our outside kitchen set became part of the oobleck action. That afternoon and for several days later Ada and Zoey kept making new creations. Normally, if you put a lid on the oobleck, it wouldn’t last for several days as mold can form but since this oobleck was in lid-less bin in the sun it kept drying out, getting crunched into ‘sand’, and, once the kids got bored, water was added to begin the cycle once again. About a week after the party we tossed any remaining dried oobleck into the compost bin since it’s just cornstarch, food dye, and, now, minor amounts of water.
If you love oobleck and want to make your own or see how I’ve used it in the past you can check out my previous posts which I’ve linked below.
- Oobleck a simple two ingredient sensory material (with recipe).
- Making frozen oobleck (with video).
- Using regular and frozen oobleck in Ada’s color mixing sensory bin last year.
- Adding cocoa powder to make a ‘muddy’ oobleck sensory bin.
I love how playdough and oobleck can be fun and works for a general birthday or playdate yet can also be the perfect match for a narrowly themed party whether it’s by dying the playdough or oobleck to match the theme or by adding toys or tools. If you’re interested in hosting a LEGO® themed party I found the silicone moulds on Amazon labeled under “Robot Ice Cube Tray Silicone Mold, Candy Mould… (no affiliate)”. I found the moulds were a bit flimsy compared to the couple I bought previously from Ikea (the smaller flower and heart one used with the playdough) which may have made them easier to remove frozen hard items like the oobleck.
I hope this helps you out if you’re planning a birthday party, playdate, or if you’re planning something fun to do with your kids. If you make this let me know how you altered the playdough or oobleck to fit your party theme. I’d love to hear from you in the comments below, on my Facebook page, or through Instagram. I hope your party, playdate, or general fun day goes amazingly.
Did this save you time?

