
Our Dinosaur Pillows
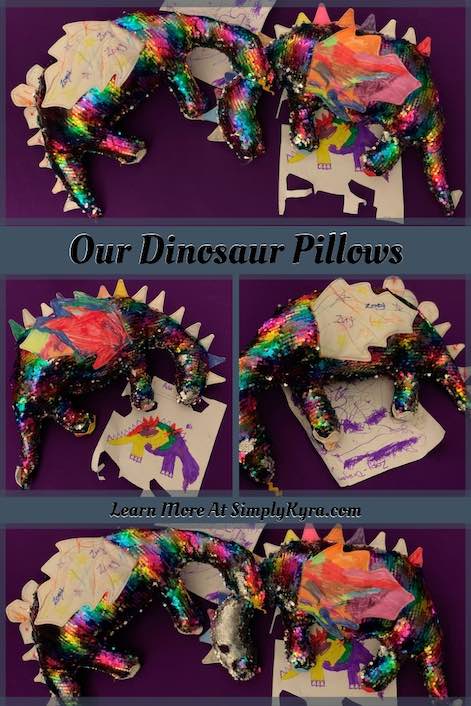
We were in the middle of packing to move out of our apartment when I found Rebecca Page’s amazing dinosaur and dragon pillow. I really wanted to sew it up but had already packed the extra cotton fabric and scraps so I hesitated. This would be an amazing scrap-busting project so I didn’t want to go buy more fabric just for this. I did have some plain white fabric that I had recently bought for another project and finally decided to just go for it. I wanted the kids to have a say and design their own dinosaur from which pieces to use, coloring the fabric, and then finally deciding how and where each piece should be sewn on. I’m so glad I decided to sew these up because they’re incredibly cute and the kids adore their new pillows. I also wonder if these would be amazing to sew up with old baby clothing and receiving blankets as a memory pillow. Also I wanted to share that last month Rebecca Page also released a free unicorn pillow so I could see mixing and matching pieces from either pattern to make something truly unique in the future too.
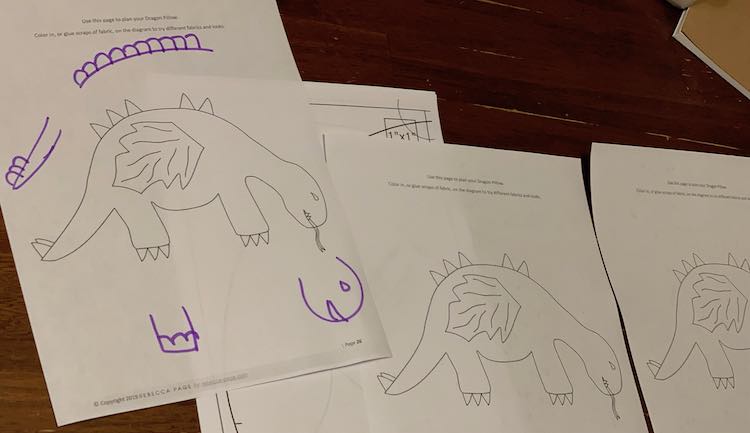
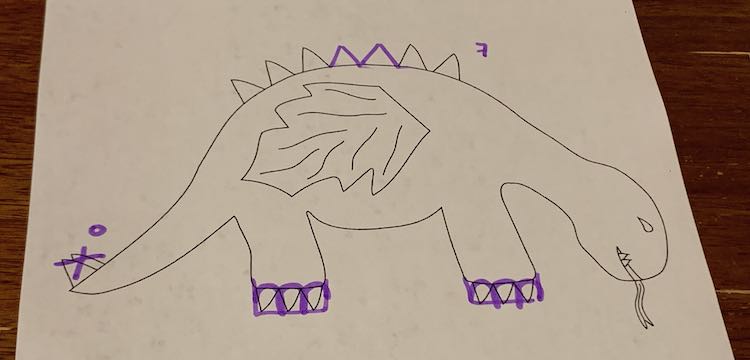
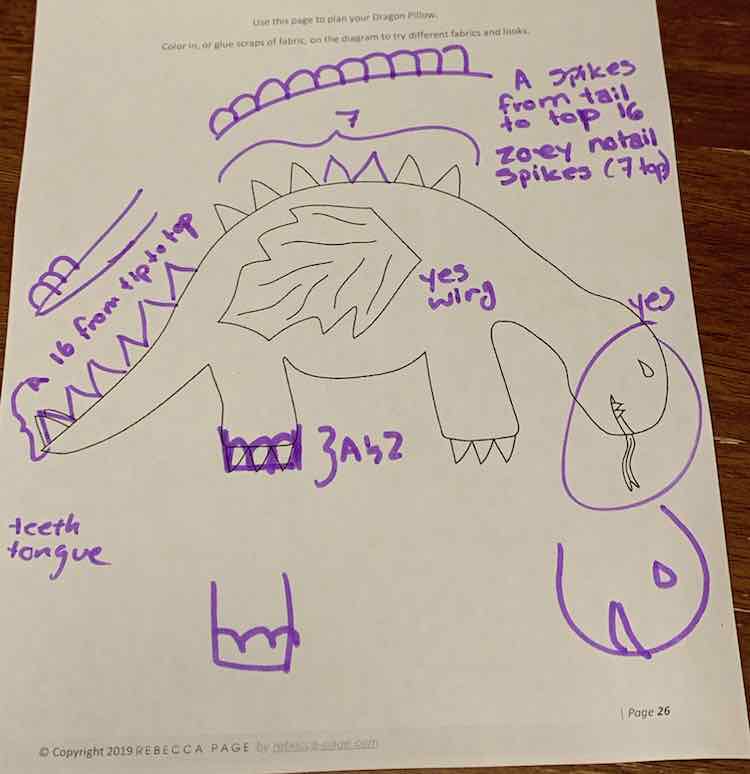
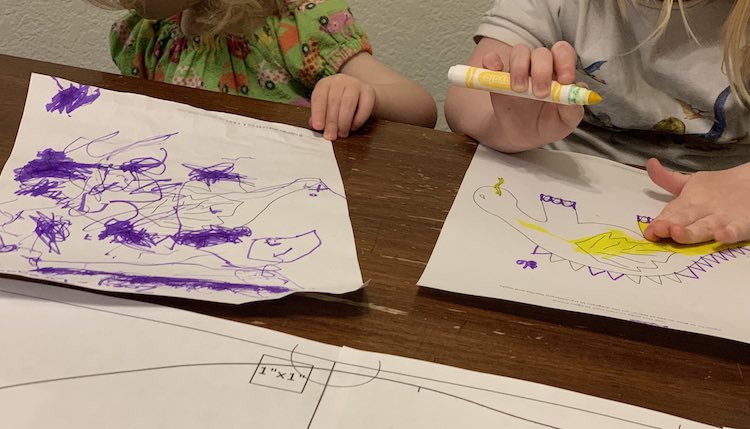
I loved how this sewing pattern also included a dragon and a dinosaur coloring page to plan out your sew ahead of time. Before starting I printed out three copies of the dragon coloring page as I knew the kids would probably want the wings included. I was then able to go over the pattern with the kids so they could tell me what they wanted. I used one of the pages, while referring to the dinosaur page in the instructions, to draw out all the choices in the pattern to make it simpler for the kids to understand. I then grabbed the second sheet and went over with Ada what she wanted for her dinosaur and marked the changes (16 spikes and dinosaur toes). I then grabbed the last sheet and went over what Zoey wanted (spikes on the back and not on the tail; otherwise same as Ada). I then let them color on their sheet to show how they wanted it while I taped the pattern together and cut out the pattern pieces.
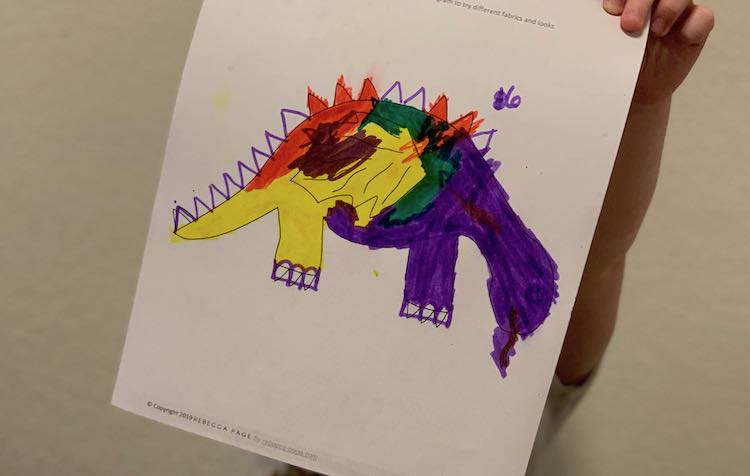
After cutting out the pattern pieces I went to get my white fabric and remembered that I had some sequin fabric I bought to make the girl’s square pillows for their new bedroom as a surprise. I hadn’t gotten around to making it so decided to pull it out and ask the girls if they wanted to use white fabric (and color it themselves) for the body of the dinosaur or use the sequin fabric… it was an easy choice for both of them. This was the first deviation from their original plan. After considering how to add the eyes and mouth to sequin fabric I ended up asking the kids if they wanted to leave out the face so they can create their own faces by changing the direction of the sequins later on. I also found ribbon and the kids chose their favorite color for the tongue instead of cutting and coloring their own; unfortunately, I forgot to add Ada’s ribbon tongue when the time came.
I then took the white fabric and using a fabric marker traced the pattern pieces out onto the fabric. If I was using non-white fabric I would’ve cut each piece directly instead of tracing. Since the pattern pieces were going to be colored I wanted to trace them out so the fabric wouldn’t unravel within the pieces while the kids were coloring them. I normally use a disappearing ink pen and cut out the pieces before pressing (setting the ink) but since the kids were going to color the pieces themselves I used black fabric marker since the lines are going to disappear into the seam allowance anyway and I wanted to make sure they’d still be legible when it came time for me to cut them out later on.
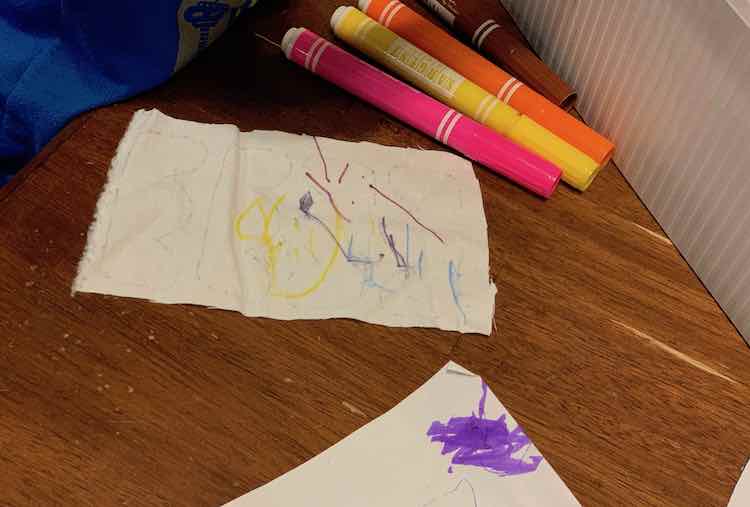
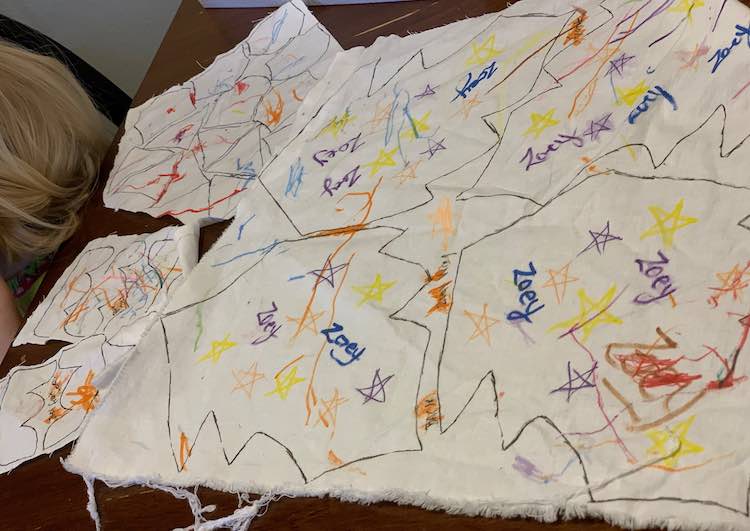
I traced out each piece in a set, labeled it so I’d remember what the pieces were and whose it belonged to, and then cut it out so the kids could color it. This way I had space to continue tracing the other pieces and they didn’t get bored as they could start coloring right away and (for Zoey) had new pieces to change it up. Zoey ended up being more entranced in the joy of choosing which colors she wanted to use and taking the lids on and off more than the act of actually coloring.
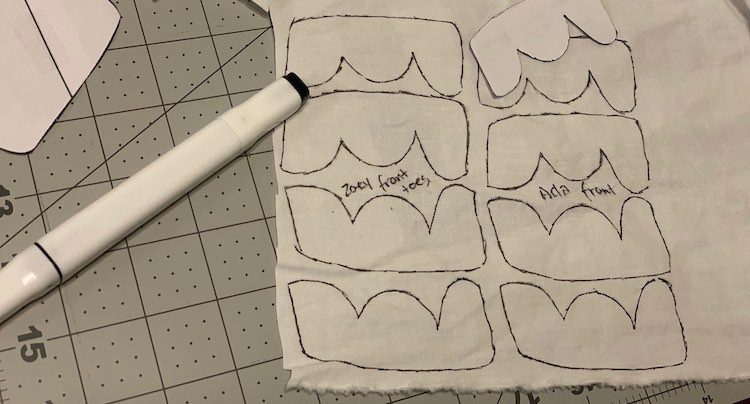
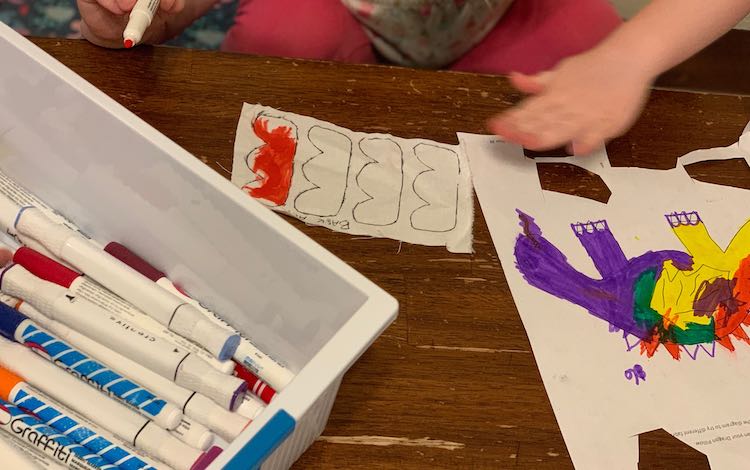
I ended up tracing out each pattern piece, one at a time, making sure not to miss any. Before starting a piece I’d confirm with the kids that they still wanted that piece so they were able to change it as I went. I left the spike pattern piece until the end since that’s was the main difference between the girls. I then showed them both types of spikes (and plates) confirming the number and type they wanted. Ada stuck to her sixteen spikes while Zoey decided she still wanted seven but wanted both spikes and plates so we went with three and four of each.
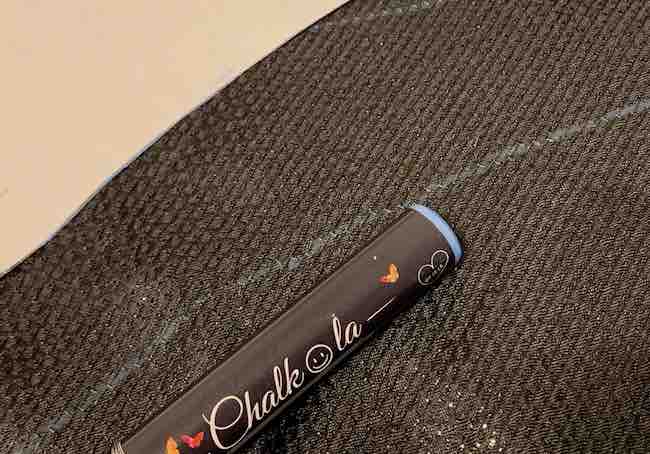
Once I finished tracing out all the accessories I grabbed the sequin fabric and decided to tackle the body of the dinosaur. I debated weighing down the pattern piece and using my rotary cutter but instead traced out the pieces with a chalk marker and then used my fabric scissors to cut the pieces.
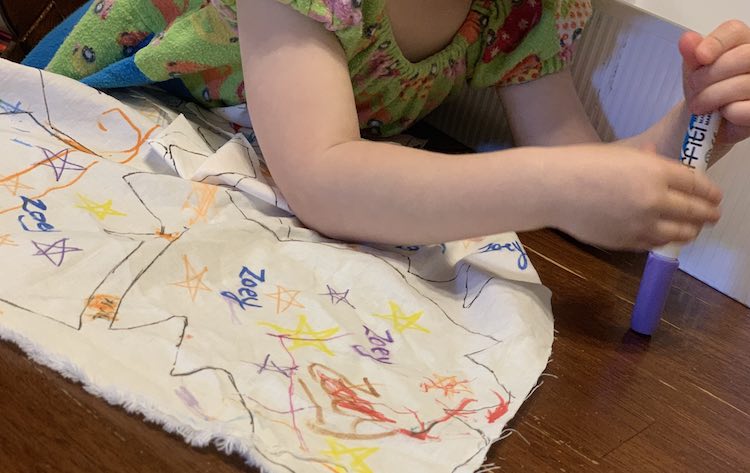
With the wings I noticed Zoey tended to color within the small spaces and labels outside the wing pattern pieces instead of within the wings themselves. I ended up asking her if she wanted me to add her name and let her pick the color and where I should write it. After that I switched it up to stars (simple and she loves stars) while, again, letting her pick the color and location. I hoped she might want to color on or close to the additions. Ada wanted me to help her color when I helped Zoey so I helped her decorate one of the wings which was hilariously later partially hidden when she picked which ones should be more visible later on.
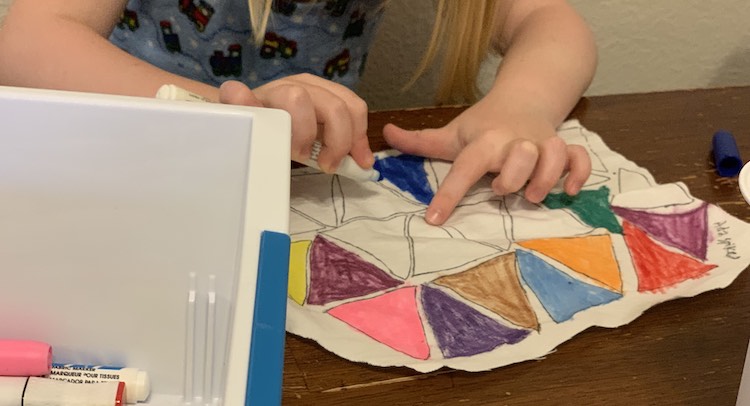
Ada and Zoey ended up coloring the pieces over several days in small amounts of time before getting tired of it. Whenever they were temporarily done I had them put their pieces into their own basket so they would be accessible yet obvious whose pieces were whose. Ada kept pulling them out while Zoey got bored with it sooner… eventually both kids chose to leave it aside until a week or two later I decided we should sew it up before we finish packing so they colored for a bit before giving me the approval that they were done and happy with how the pattern pieces looked. I then used my iron to set the ink and cut out all the pieces.
I tried to keep the kids involved in the process so after cutting out all the pattern pieces I had them pick their favorite sides of each set of pieces while paying attention to which pieces were mirrored. I used their choices to decide which pieces should be clipped and sewn together. For the spikes I created two piles and then had the kids pick one from each pile to be sewn together and then continued until all spikes were chosen. Just be careful because during the coloring, clipping, and sewing phase we ended up losing two of Ada’s spikes so she ended up with fourteen. After sewing the dinosaur parts together I went through, one-on-one, with each kid and had them design their dinosaur by picking where each dinosaur part should go. I started with the simpler parts (front toes, back toes) then had them agree with the wing placement before I pinned them on and then finally got them to place where they wanted the spikes and plates before clipping them folded in.
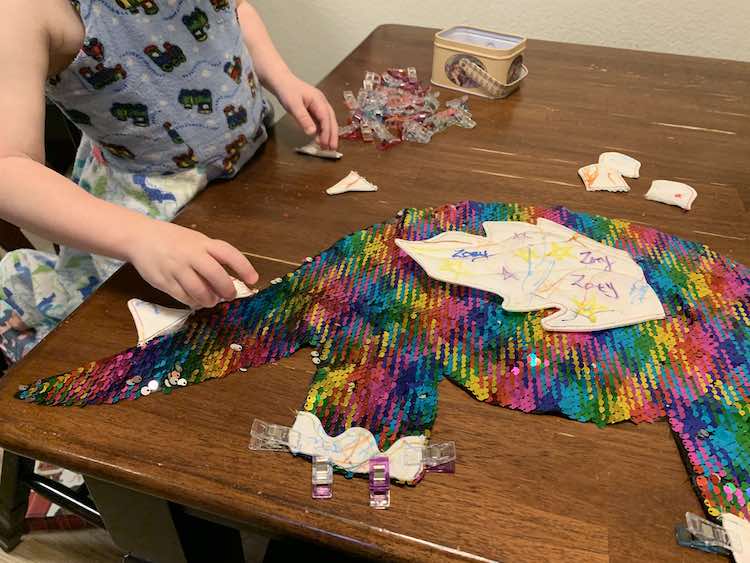
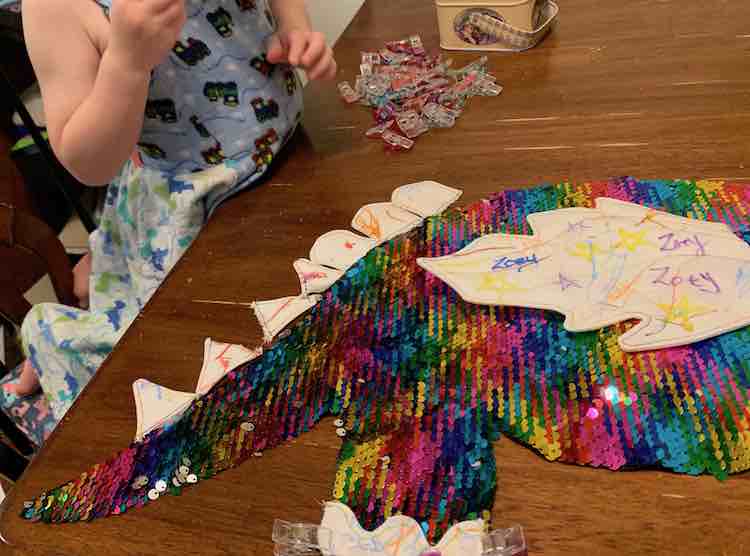
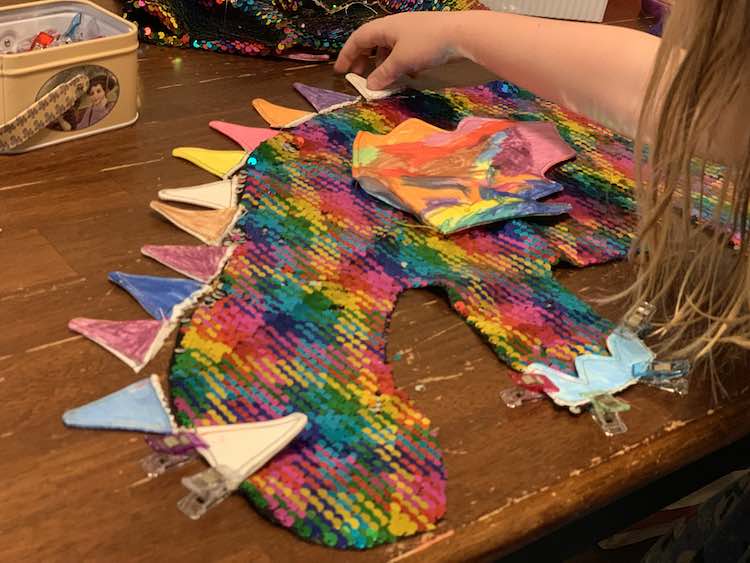
After they were done I sewed the pieces into place and then clipped the two sides together before sewing them. My fabric ended up shifting a bit while I sewed around the outside and I missed the fabric in places in the back. I ended up fortifying the stitching by flipping it over and going around another time with a zigzag stitch. Where the fabric was missed I sewed into the dinosaur a bit to make sure it was fully stitched. This meant I sewed the feet with a larger seam allowance than called for so I ended up losing more toes than I wanted.
I loved how the final dinosaurs look. I especially love how the kids had a say from the very beginning and got to make alterations as the project was made up. I absolutely love the colors of the fabric markers against the rainbow sequins.
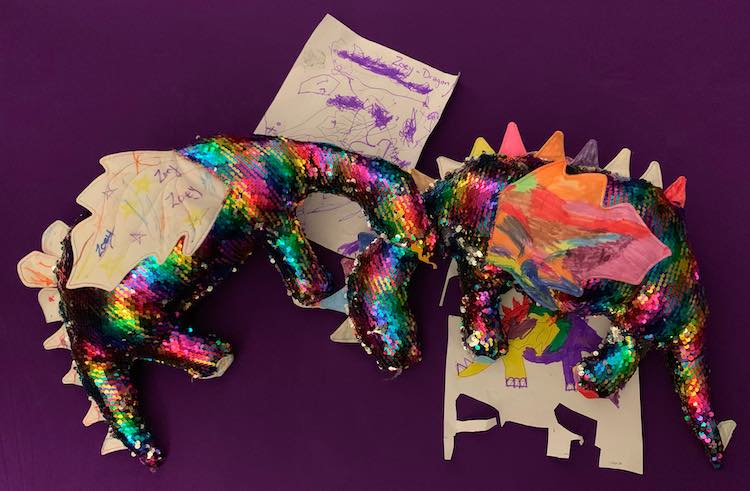
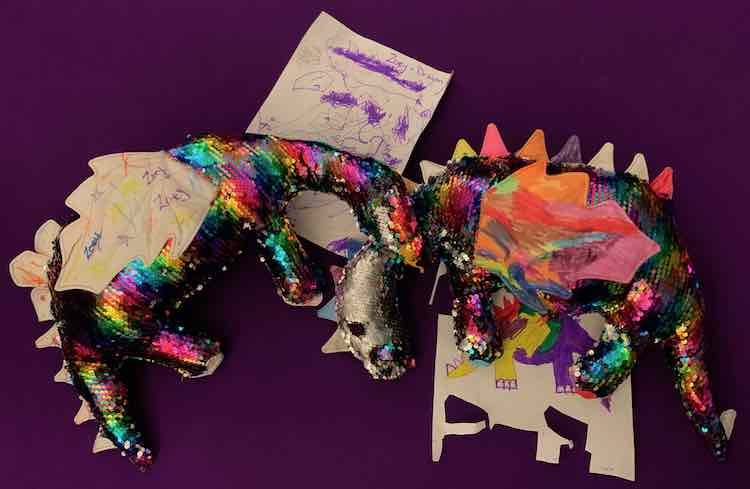
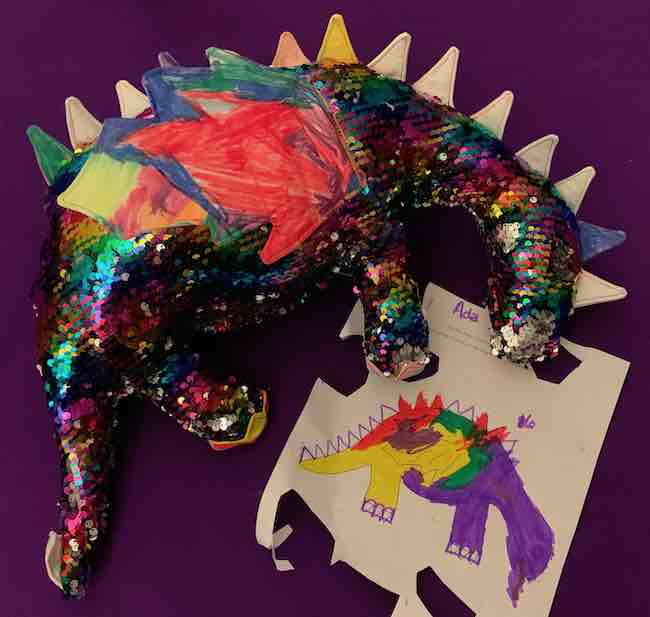
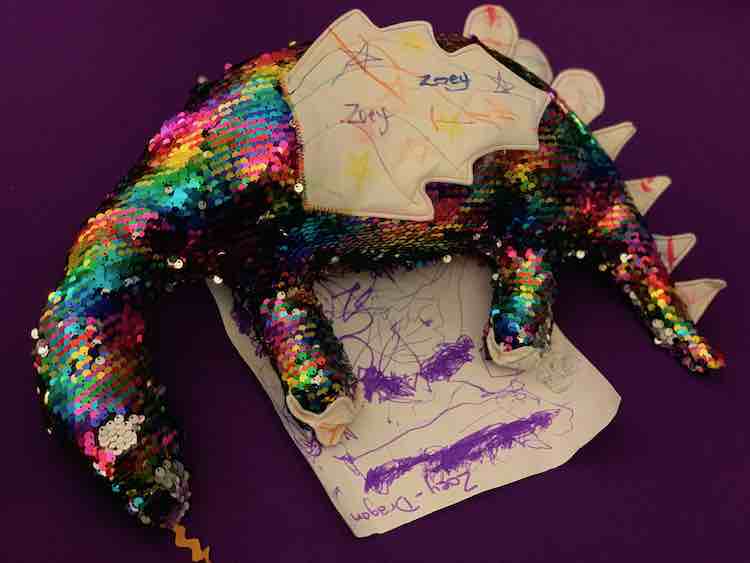
I love how these dinosaurs turned out. I’m wondering what the kids would’ve come up with if I had showed them both the dino/dragon pieces along with the unicorn pieces. I’d love to hear if you made these and how you may have made them truly your own. Feel free to share in the comments below, on my Facebook page, or through Instagram. I hope you have an amazing day!

