
Family Passport Holder
Update: Since posting I’ve since hacked this wallet. The first turned it into a two-person passport wallet and the other hack used different fabric for the inner and outer layer of the pocket.
I recently had the joy to sew up the new family passport holder through Rebecca Page. By default it holds four passports and has two additional pockets to hold your boarding passes, receipts, or whatever you need to hold onto while you travel. The pattern calls for cotton fabric, interfacing, something to close your wallet (snaps, magnetic closure, etc), and of course thread to match (or contrast nicely with) your fabric. This could range from a simple plain fabric with contrasting thread to something more complicated.
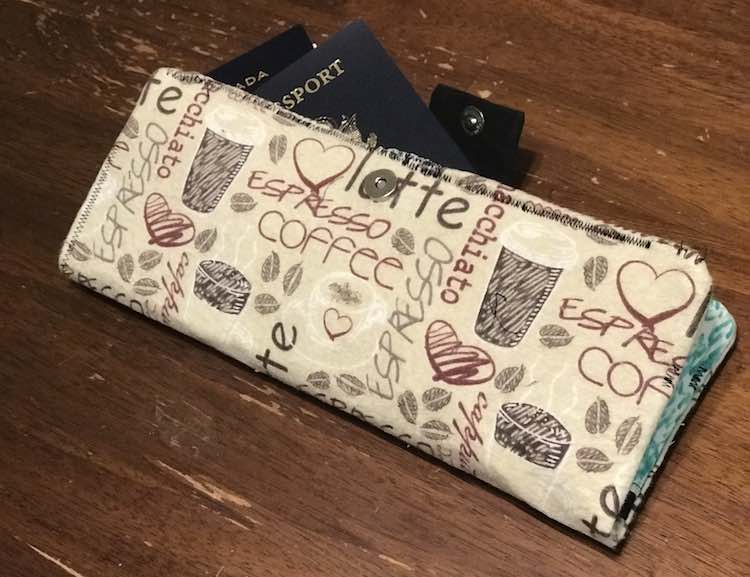
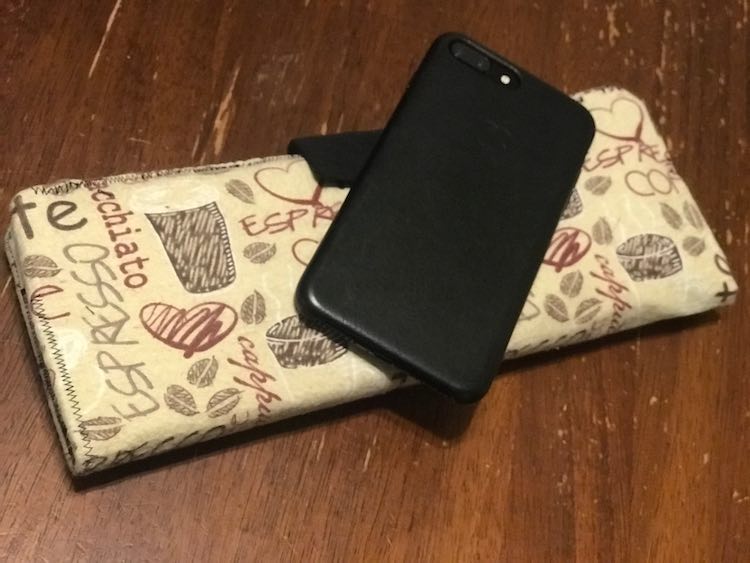
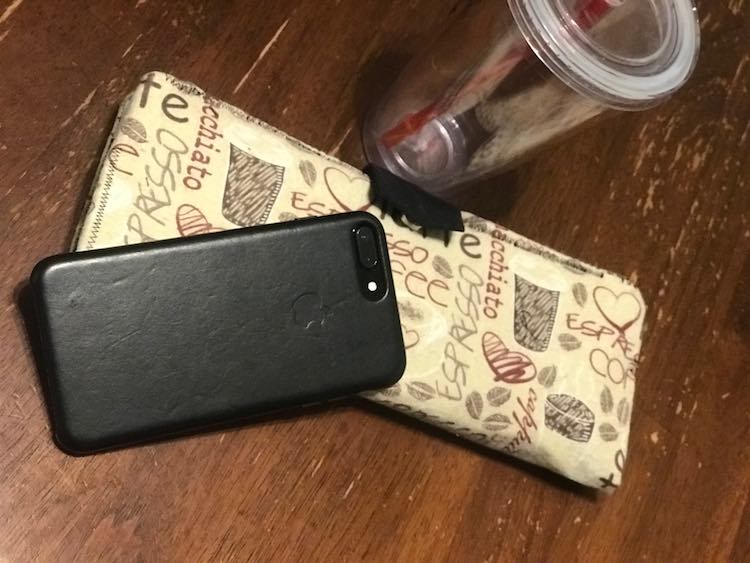
As soon as I saw this pattern I though of the coffee fabric I bought at Joann’s a couple months ago. The passport holder made me think of roadtrips which naturally reminded me of coffee drive-throughs and with kids now I can see coffee being a life-saver on such a trip. If I make another version of this I’d love to use a fabric with a old-style map printed on it… one of those maps with the “here be dragons” added to the unexplored regions.
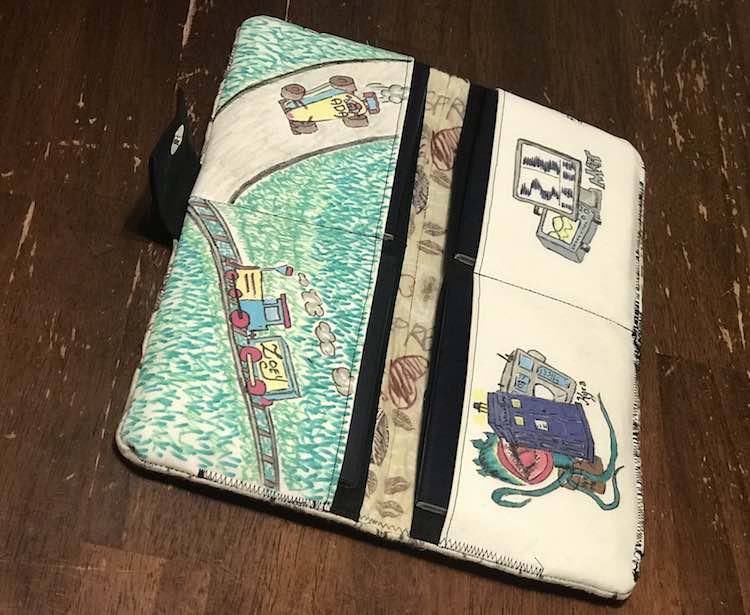
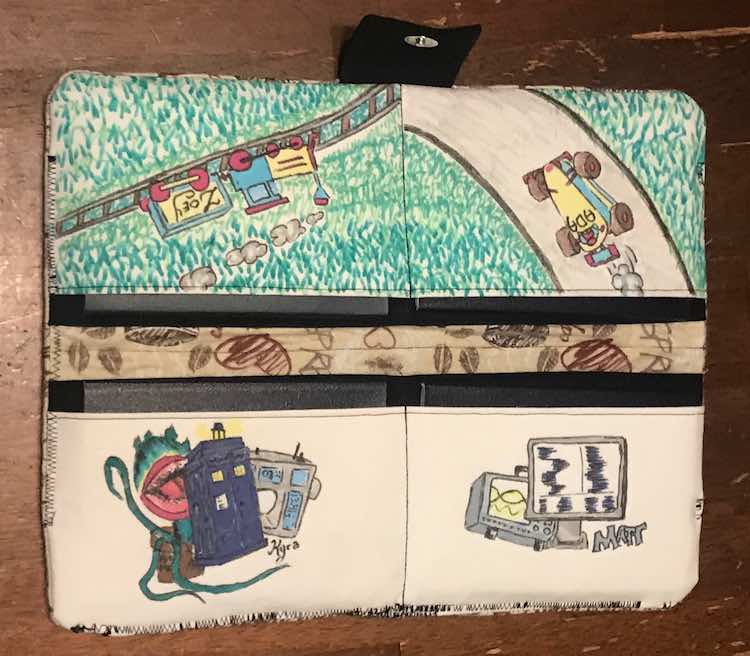
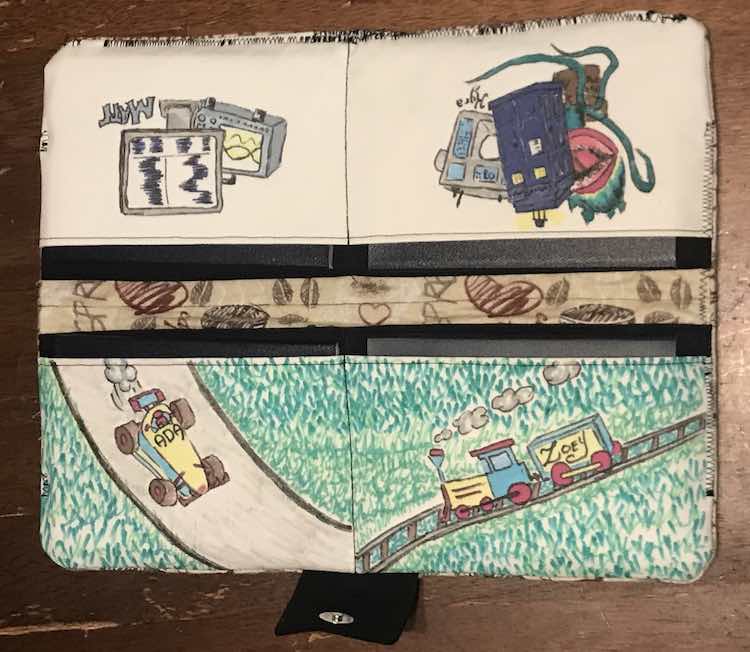
At the same time as thinking of the coffee fabric I realized this was the perfect opportunity to personalize each passport pockets to the individual person so you know where each passport is and you won’t have to pull out each and every one when you’re looking for a single passport. I could have embroidered the fabric and kept it simple, but instead I went with fabric markers on a simple white cotton fabric to personalize it.
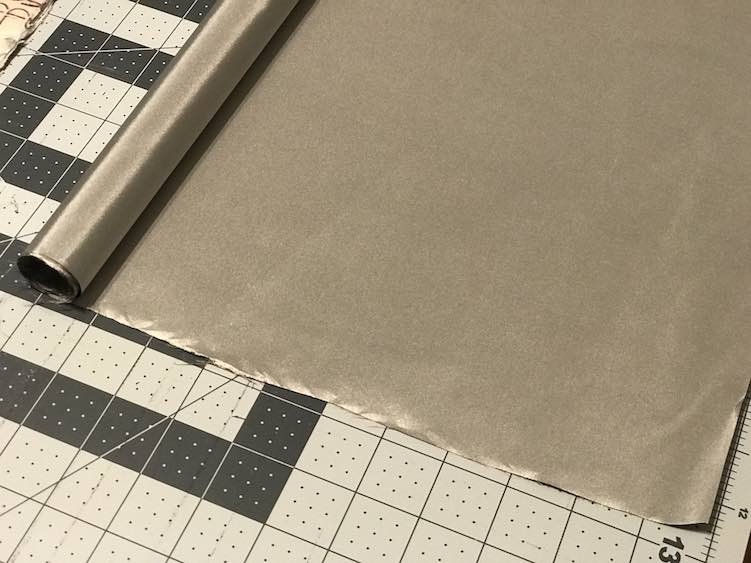
I decided to add RFID shielding fabric so I looked online and ended up buying some “RF RFID EMF Shielding Nickel Copper Fabric” through Amazon by Faraday Defense. For the interfacing I used Pellon (style #808). I’m not sure if the interfacing was too stiff for the project or not, but I did have a bit of difficulty sewing through some of the layers at the thickest parts and this was exasperated by the RFID shielding fabric as it was just sharp enough to wear away at the thread. Overall, I got through all my layers and I love my finished project. If I were to do it again I might use less stiff interfacing or not use interfacing where I use the RFID fabric so there’d be less layers to sew through.
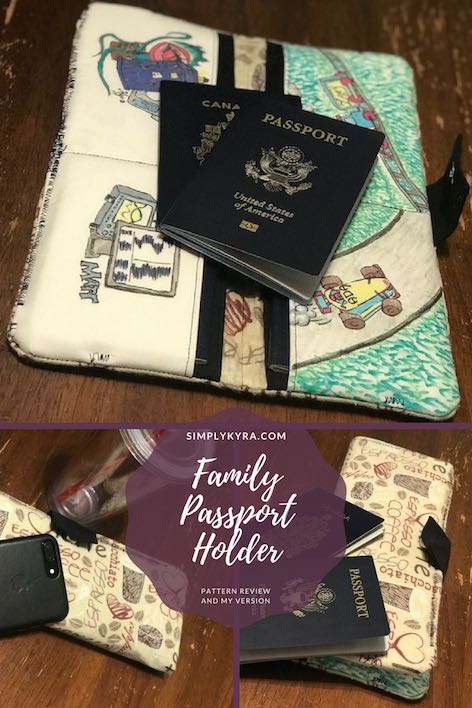
What you need to get started
- Family Passport Holder Pattern through Rebecca Page
- Materials required in pattern
- quilting cotton
- interfacing
- magnetic snap (or alternative closure – snap, hook and eye, button, etc)
- matching thread
- Additional Materials I used
- M&G iErase friction and heat erasable pen to mark my surface and then dissapear when I iron it
- Faraday Defense RF RFID EMF Shielding Nickel Copper Fabric
- Fabric Markers
- Iron to set the ink (also needed in pattern)
Designing my passport pockets
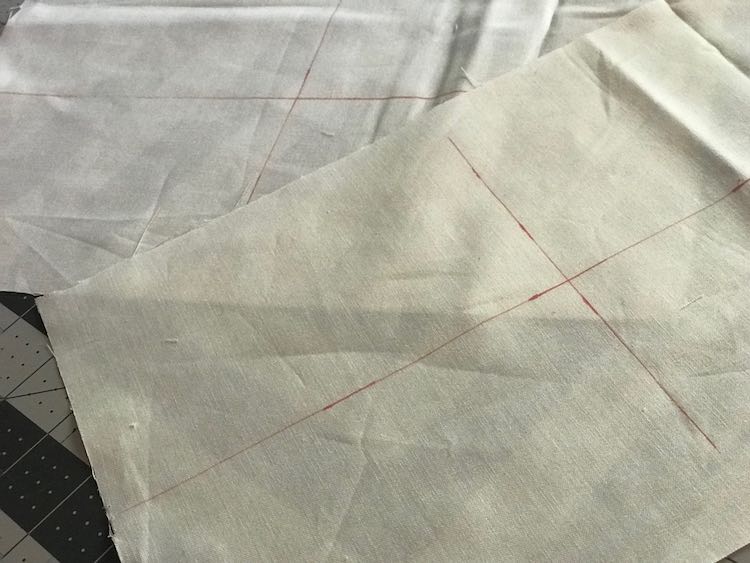
I started out by designing my passport pockets. I did a google image search for what I was interested in using for each person and then used the images as inspiration to sketch the pictures out. Once I had a rough sketch of each person’s main picture I then cut out the fabric for the passport pockets using a 100% white cotton fabric and then used my M&G iErase friction and heat erasable pen to mark the boundary for each design onto my fabric. I wasn’t worried about the ink from the iErase pen as it dissapears with heat which I’ll be applying to set the ink in my fabric markers,
I then attempted to trace each design onto the fabric with a fine-tipped black fabric marker. It was difficult to see the design through the fabric so after getting the general outline and main details of each sketch I then took removed the fabric from on top of the paper and free-hand drew the rest of the details in while using my sketch as a reference.
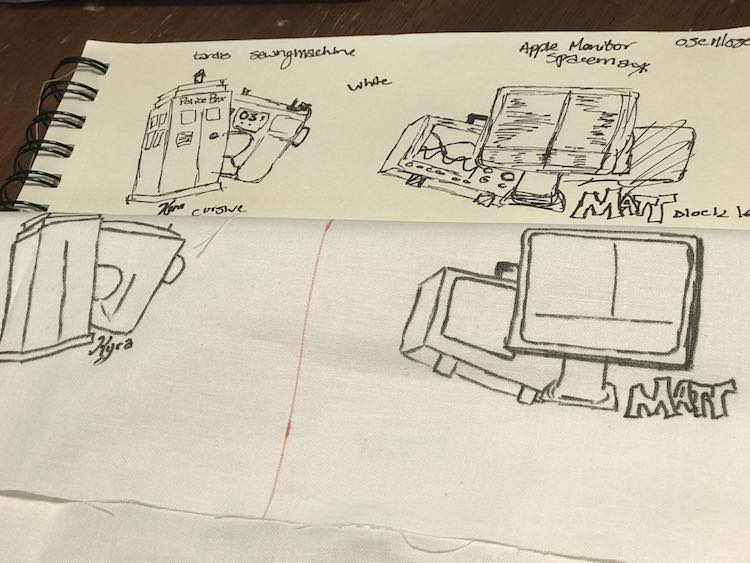
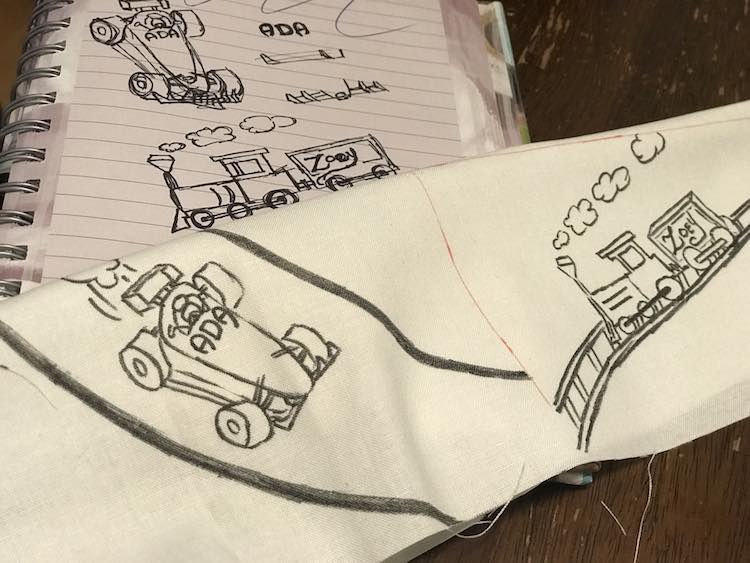
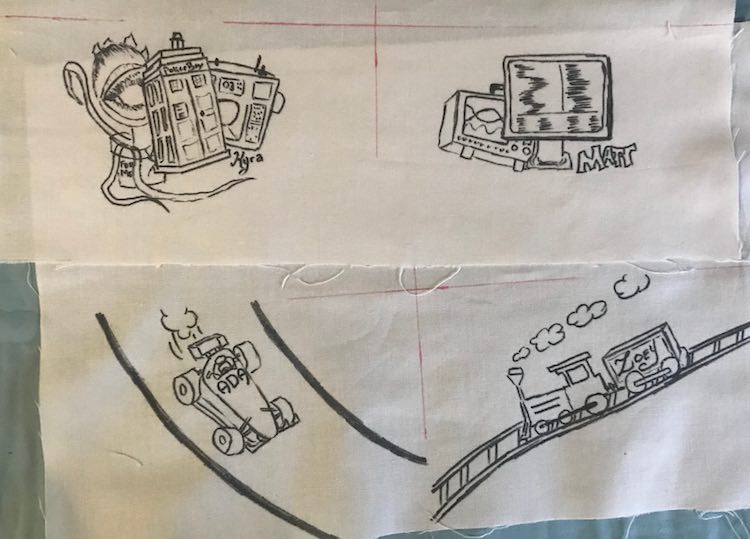
After I was happy with the black-inked sketch I used my iron to set the ink so the colors I used afterwards wouldn’t bleed together with the black. I was careful to not iron the center of the fabric as I still wanted the iErase ink to show me the deign boundaries so I didn’t want it to disapear.
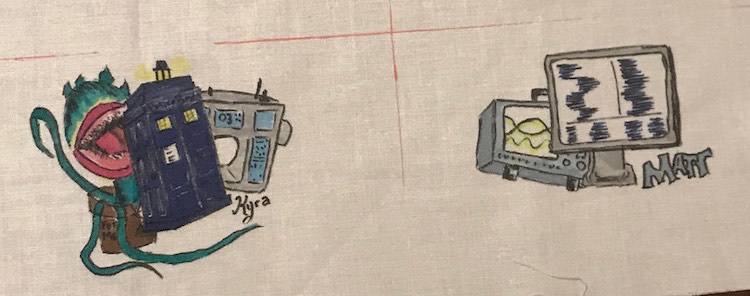
Just remember with the fabric markers that they can bleed together which can work to your advantage (when coloring in the head of Audrey II – the plant), but can also be disapointing. You can color in separate sections of your design and then once they dry a bit you can set the ink to be sure it wouldn’t bleed before coloring the next bit.
Since Matt and my design were more complicated and I wanted them to stand out and not dissapear into the background I left the background uncolored.
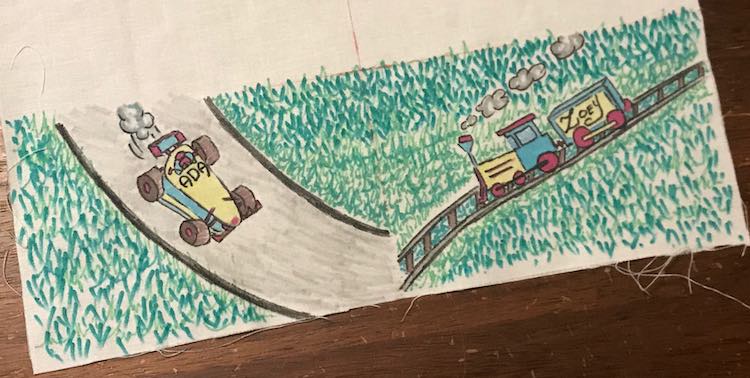
For the kids’ side of the passport holder I decided to fill in the background with grass (using several shades of green) and love how it combined their pockets together while still letting them stand out individually. In addition I tried to use similar colors in both of their designs to also tie them together.
Once I was happy with the final drawing I ironed the entire pattern piece so the fabric marker colors would set on the designs and the iErase ink would disappear. Since I used a white fabric I noticed that if I looked carefully I can still see the iErase ink but it’s only visible if you’re staring at it closely.
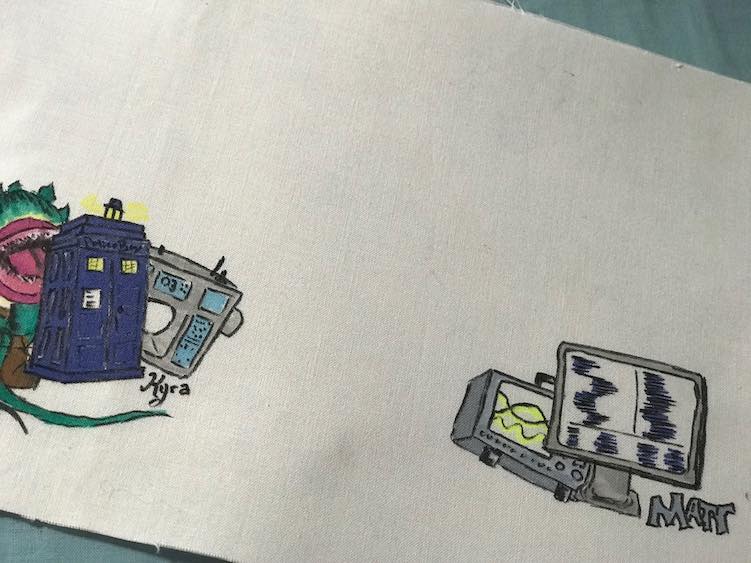
Once I was done coloring in the designs I continued by cutting out the rest of the pattern pieces called for in the pattern and started sewing as per the directions.
Incorporating the RFID shielding fabric
I wanted to use RFID shielding fabric in my passport holder so I decided to add it to the outer layer. I’m sure if you want to be extra secure you could also attach it to your passport pocket pattern piece but I figured the outer layer would be enough. I started by cutting both a piece of shielding fabric and a piece of Heat’N Bond to the same size as the pattern piece I wanted to attach them to. Both were simple to cut.
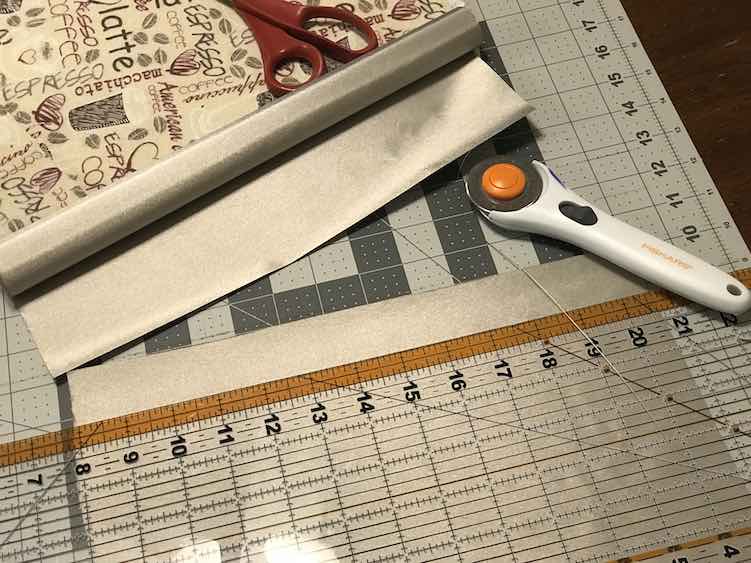
After attaching my interfacing to the outer layer of fabric I then used my iron to attach the cut sheet of Heat’N Bond and then attached the RFID shielding fabric on top of that. Just wait a second to touch the RFID shielding fabric as it’s metal so it got hotter quicker than my fabric.
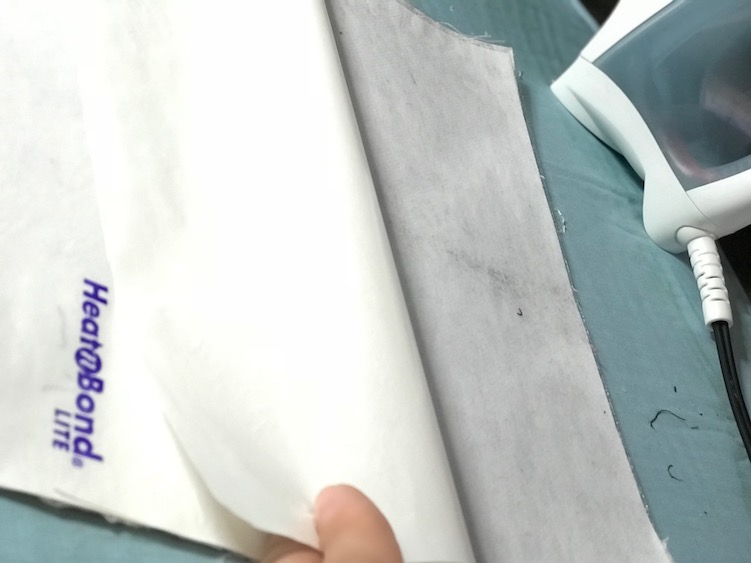
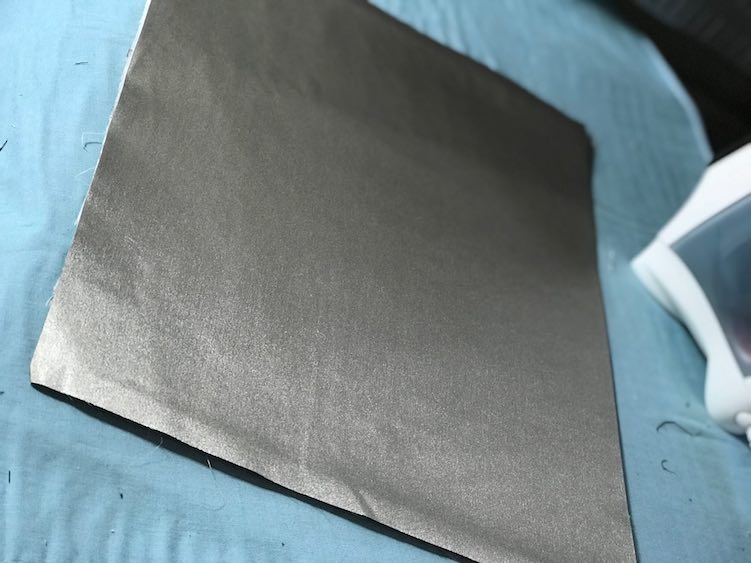
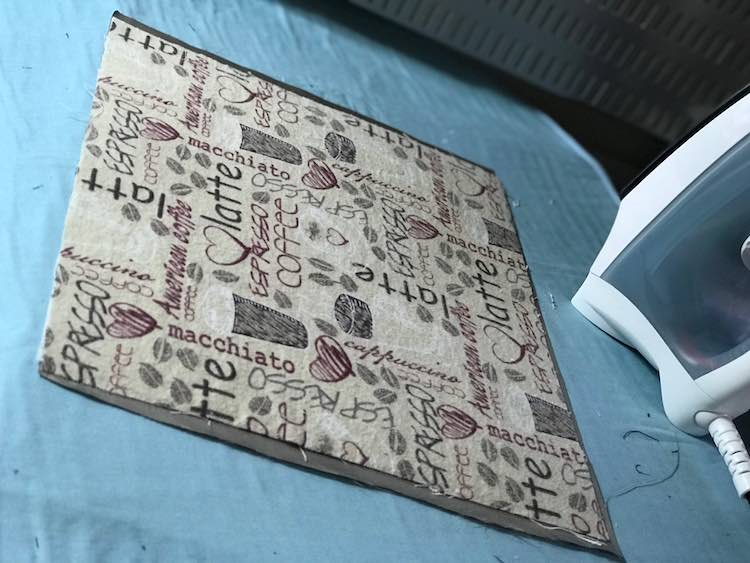
If I were to do this again I might user a different interfacing (the Pellon style #808 I used was rather stiff) or not use interfacing where the RFID shielding fabric was used as it was hard to sew through all the layers at the thickest point. For about a centimeter at one point I ended up hand stitching just to make sure it held together as my sewing machine skipped a bunch of stitches. The layers also made it a bit difficult to turn right side out and topstitch. With the RFID shielding fabric being used I had issue with the thread being worn away and breaking if I stayed in one area for too long (which I did when my stitches skipped with the thickness).
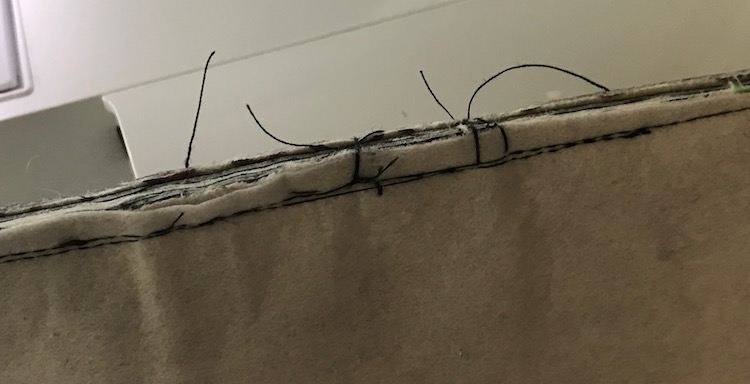
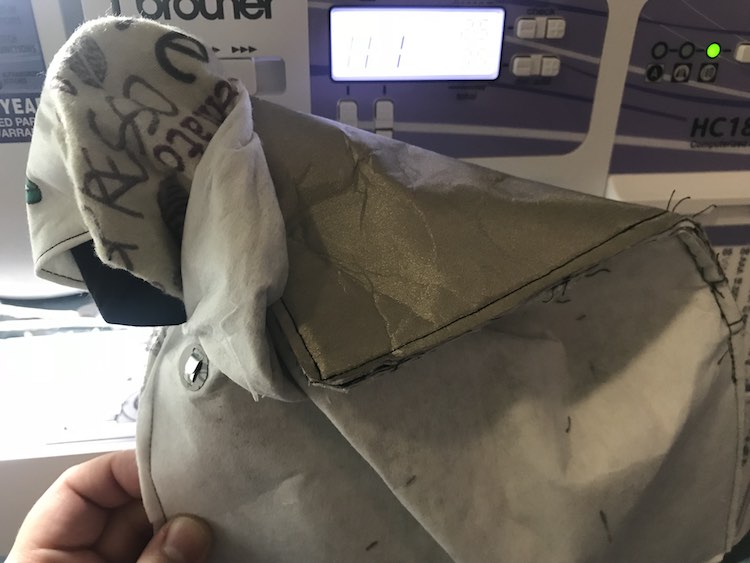
I loved working with this pattern. The directions were so straightforward and simple. My only difficulty came from sewing through the thickest areas, but I only had that problem as I used stiff interfacing and added the RFID shielding fabric. If I were to sew this again I would not add interfacing where I used the RFID shielding fabric so it wouldn’t be as thick to sew through. I love my finished passport holder and can see updating it in a few years once my kids’ interest change.
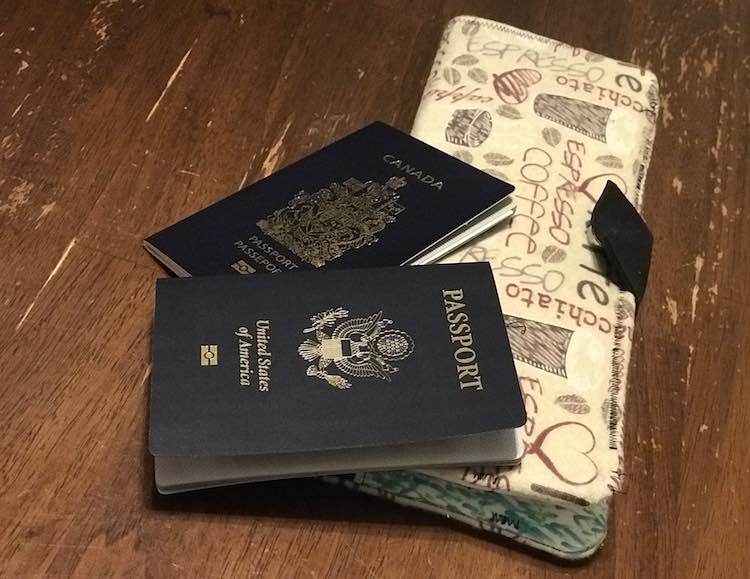
I hope you enjoy this pattern as much as I have. If you want to make this family passport you can get it as a free pattern through Rebecca Page’s website.
I’d love to see how you decided to customize your family passport holder! I love how different each family’s passport holder can be even though they all come from the same pattern. Can’t wait to hear from you through the comments below, on my Facebook page, or through Instagram.

