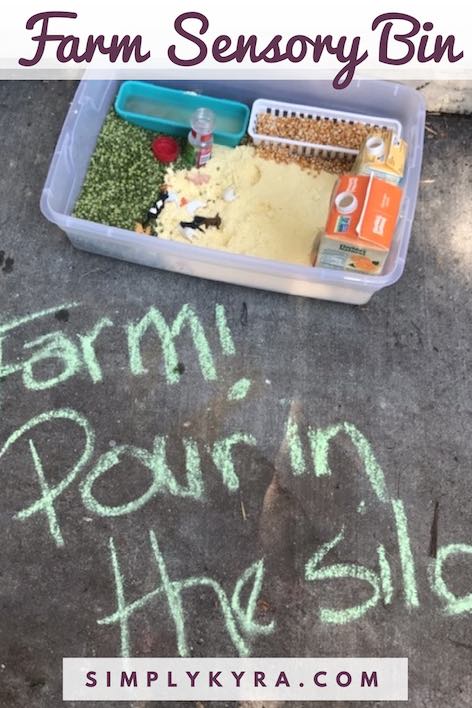
Farm Sensory Bin with Food Trough and Silos
At Ada’s 3rd birthday party last year I may have gone overboard on the sensory bins. With a group of three and under aged kids all the materials in the bins immediately got mixed together. They had a blast, but it made me wonder if they would’ve had more fun with a smaller number of larger bins. Because of this (and life being busy) I ended up simplifying the sensory bins for Zoey’s second birthday party this past weekend and it ended up great. Between the past weekend and Ada’s upcoming birthday I decided to post simple sensory bins I’ve made that would be great for birthday parties, playdates, or just something special for your kids. I’m going to post each sensory bin separately instead of in one enormous post so they’re easier to find if you’re looking for a specific theme. If you’re interested you can go through all my sensory play posts. This post is going to go over what I did for Ada’s farming-related sensory bin last year.

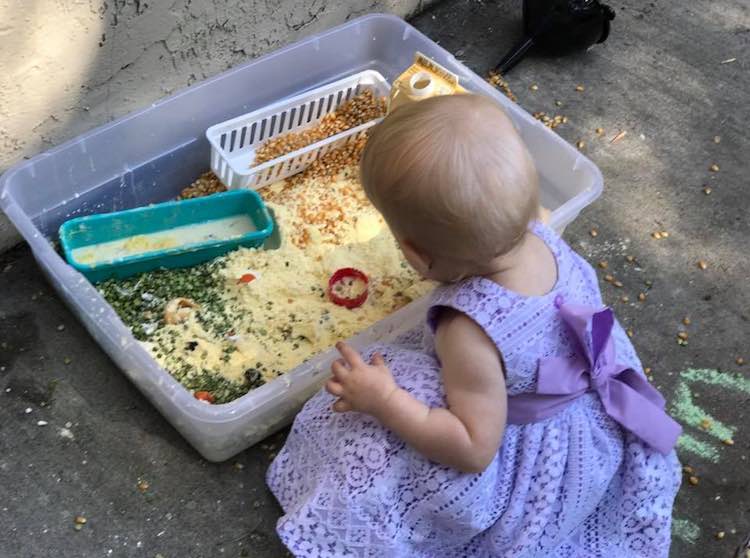
Just a reminder to watch any kids they may potentially put the play materials in their mouths, especially the unpopped popcorn kernels.
Materials Used
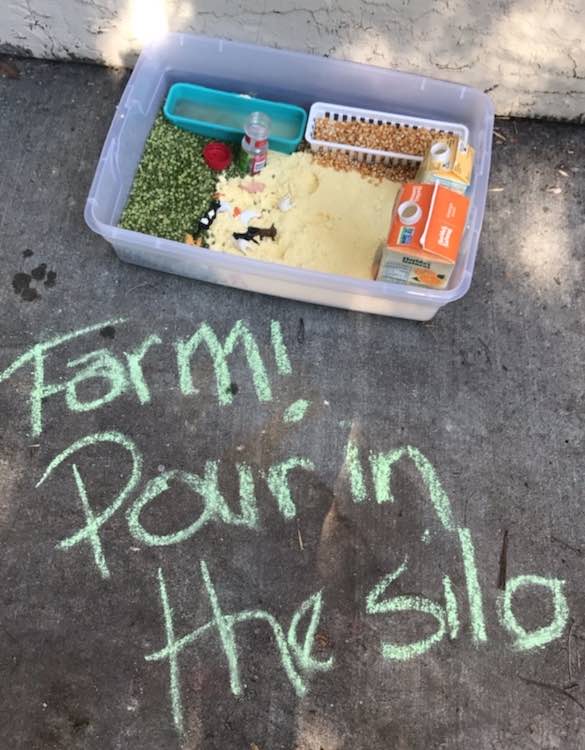
- Empty juice/milk cartons and masking tape to make a silo using the tutorial from Frugal Fun 4 Boys and Girls
- Farm-related animal, people, and/or vehicle toys – I didn’t have any farm animals on hand so I bought the Safari Ltd. Farm TOOB at Michael’s Arts and Crafts for the birthday party
- Feeding and/or water trough – Bought two rectangular containers at my local Dollar Tree. The one became my watering trough by filling it with water and the one with holes became my feeding trough.
- Large bin to hold the animals and material if you want to attempt to contain it
- Material to fill the bin. This could include anything. I used:
- Unpopped popcorn kernels – I put this in the feeding trough
- Water – put in the other container so the animals could drink
- Cornmeal and split peas to fill out the ground of the bin – two different textures and colors
- I didn’t but I could see grass and hay being neat too
- I also included an empty plastic spice jar to allow the kids to pour material through the silo.
- Nice to haves:
- Fence to keep the animals seperated and maybe ‘contain’ a different material
At the time I knew I wanted to do a farm related sensory bin for Ada’s birthday. I had started my planning by going to Michael’s Arts and Crafts as I wanted to start with fun sensory animals that could easily be used again and again. I knew I loved the animals that came in the TOOBs through Safari Ltd. which were cheaper at Michael’s compared to Amazon at that time even without using the Michael’s coupon on them. I also bought a couple smaller rectangular containers from the local Dollar Tree to hold water and ‘food’ for the animals. The main bin I used to contain the sensory bin as a whole I found in the storage section at WalMart.
I wanted a variety of textures and colors in the sensory bin and decided to go with cornmeal, split peas, and popcorn kernels. All three items were cheap enough that I didn’t mind having to throw it out at the end and they offered their own color and texture to the bin. I decided since the spit peas were green they would make great grass so it went in the one side of the main bin. I decided to make the popcorn kernels the animal’s food since they wouldn’t slip out of the sides of the feeding trough as easily as the cornmeal would. I then used the cornmeal to coat the rest of the sensory bin’s ground.
Even though I had the water and feeding troughs I wanted something more to make the farm sensory bin better. In my search to find that elusive element I came across the ‘Farm Sensory Play Activity for Preschoolers’ through Frugal Fun 4 Boys and Girls that showed how to turn an empty carton into a farm silo. I ended up making a large silo out of an orange juice carton and a smaller silo from a whipped cream carton. I was going to spent time prettying it up, but ran out of time… cough cough… decided it looked fine for preschoolers and left it as is. The kids just needed something to help pour the materials into the silos so I included an empty plastic spice jar… and it’s lid since I knew they might enjoy adding and removing the lid.
All that was left was to wait patiently until the morning of the party and set it up! It was simple to lay out all the troughs and silos, cut into the bags of food, fill the containers, add in the water, and then lay out (or toss in) your animals. As this was outside on our deck I then added a quick caption so the parents would know that the cartons were in fact workable silos…. just in case the sensory bin was stalled out.


The bin was a hit even if different elements from it were stolen away to play in other bins during the party. I loved seeing how kids might change up an idea and make it their own.
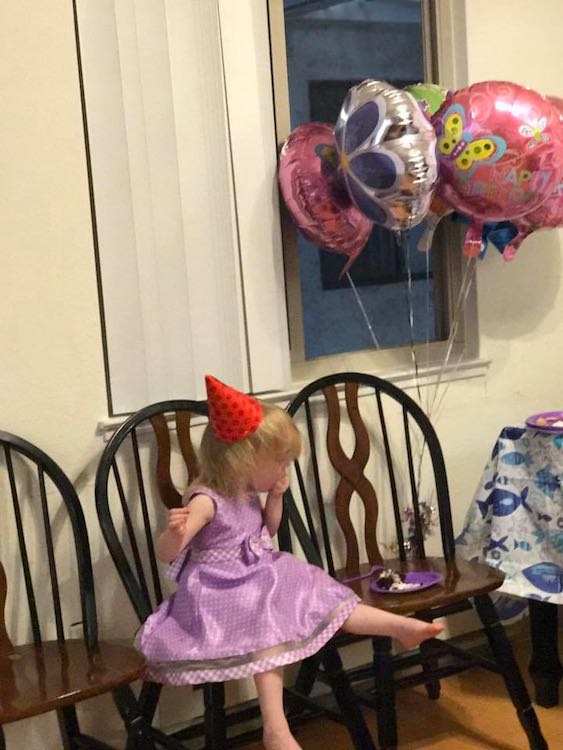
And just because I love this picture and the sensory bin was for Ada’s 3rd birthday party I had to include this final photo. We had so much fun that I forgot to hand out the party hats which Ada saw right after the last guest left…. and of course wanted the leftover brownie cake.

I hope this sensory bin idea helps you in making your own. I love how this can be simple with one material and a couple animals on a table (or small bin) or become a larger and more complicated sensory bin with many elements. I’d love to see your version of the farm sensory bin in the comments below, on my Facebook page, or through Instagram. Hope you enjoyed this and I hope you have a great day!

