
Quiet Book Page - Ribbon Loop Pull
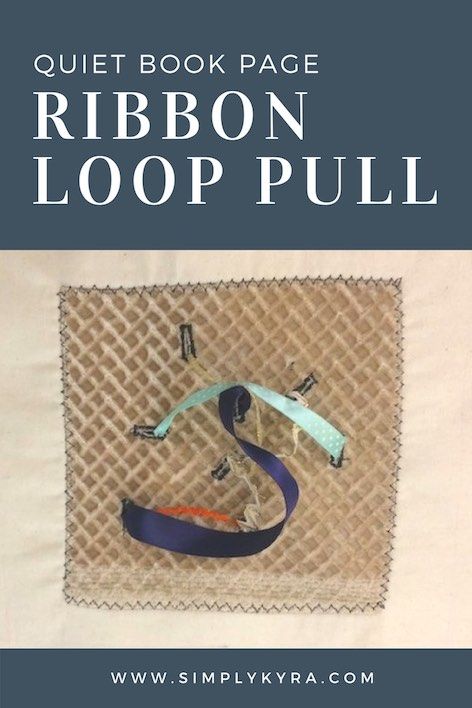
When I was looking into which quiet book pages I should include in Zoey’s quiet book I was intrigued by the idea of a ribbon pull. Ideally, Zoey would pull one end, it would get longer and the other end shorter, and when it doesn’t pull anymore she can come across the other end. This ended up not happening after I made some of my buttonholes as I realized the ribbons would just pull through the hole and be lost unless I made the knots at either end really big. To combat that issue I decided to make ribbons loops. I decided to keep the knots holding the ends of the ribbons together behind the fabric and invisible. If Zoey pulled one end of the loop hard enough to pull out a loop then that worked and if it bugged me I could tug it back inside. If she couldn’t pull the knot out then she could always tug on the other side later to pull the knot to the other hole. Overall, it wasn’t a favorite page so it didn’t get intense use but I figured I would share my resulting page with you in case you’re interested in making your own or you want to see what you do and don’t like before making your own.
Materials
- Fabric swatch to use as the base to add the buttonholes to
- Ribbons to thread through the buttonholes
- 108″ Unbleached Muslin Natural Fabric by the Yard
- Pellon Fusible Thermolam Plus White Fabric by the Yard
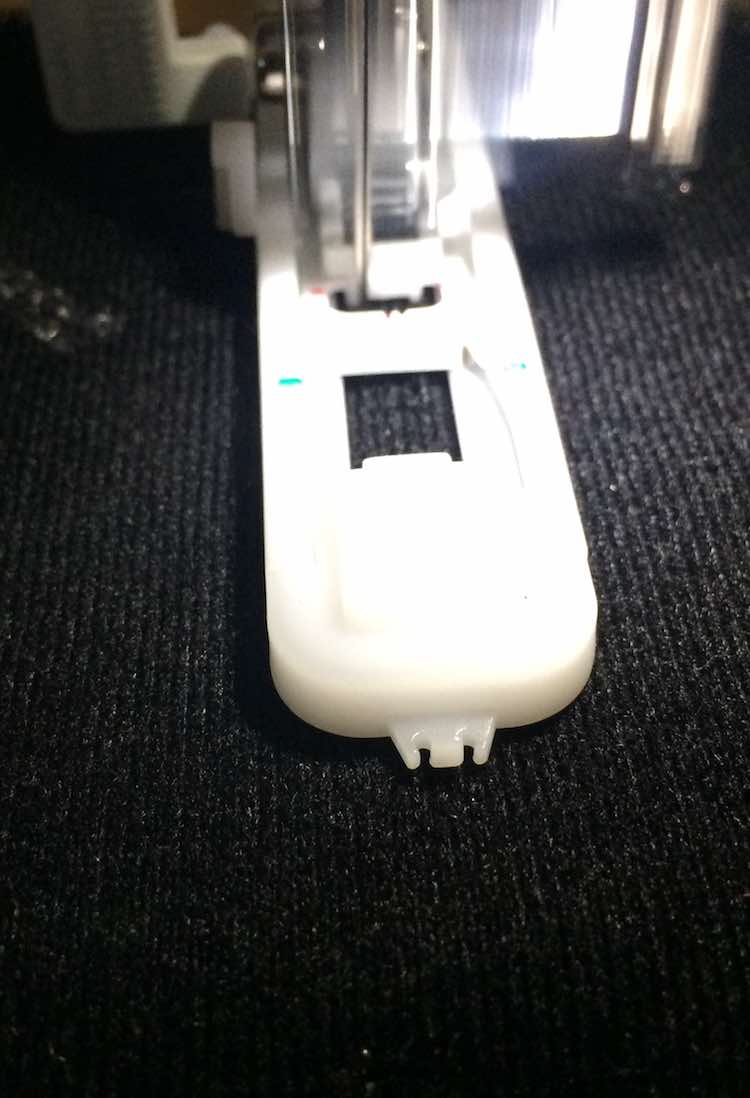
- Buttonhole foot that came with my sewing machine
Even though my original plan was to make a ribbon pull where both ends of the ribbons were sticking out for the baby or toddler to pull, and I ended up with ribbon loops, you still need a firm base to stand up to the ribbon tugging. To stand up to the abuse I decided to choose a thicker fabric to place over top of the quiet book page to hold the ribbons to the page while being pulled. I had several fabric swatches that I bought through a Fabmo sale and I chose to use a thick and fuzzy swatch from my collection. I figured the diamond pattern on the fabric would be a nice sensory addition to the quiet book page. Looking back, however; it probably made it harder to make the buttonholes.
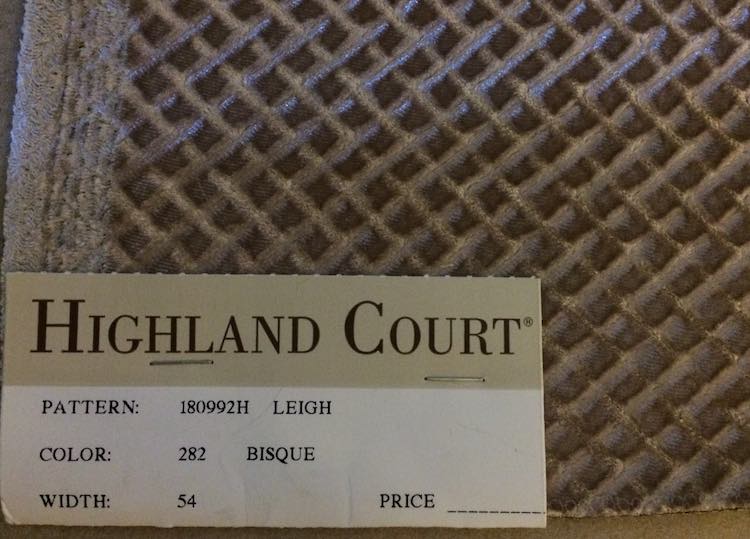
I figured I would start by making as many buttonholes as I could on the fabric swatch and decide on the buttonhole placement and resulting ribbon locations as I went. I decided to sew an even number of buttonholes to the swatch so each hole would be used once (as you need two openings for each ribbon).
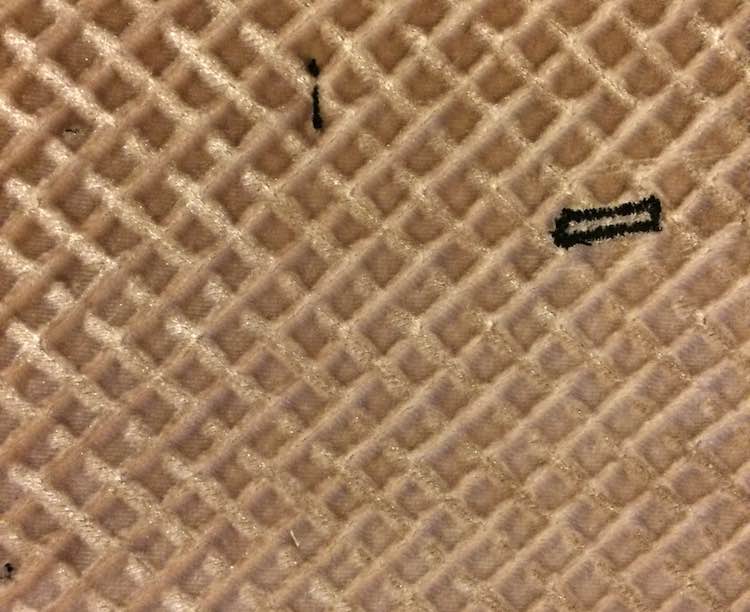
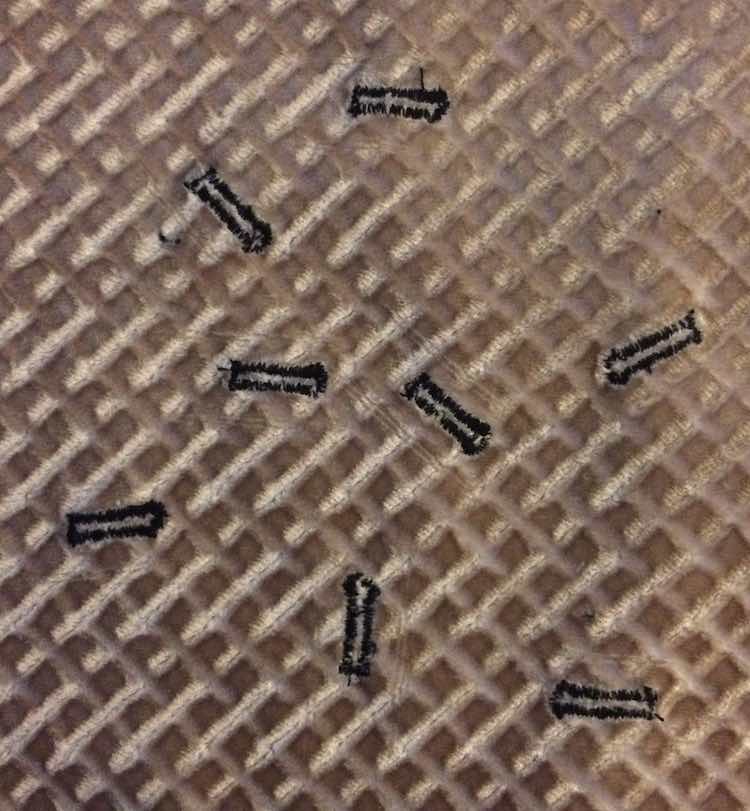
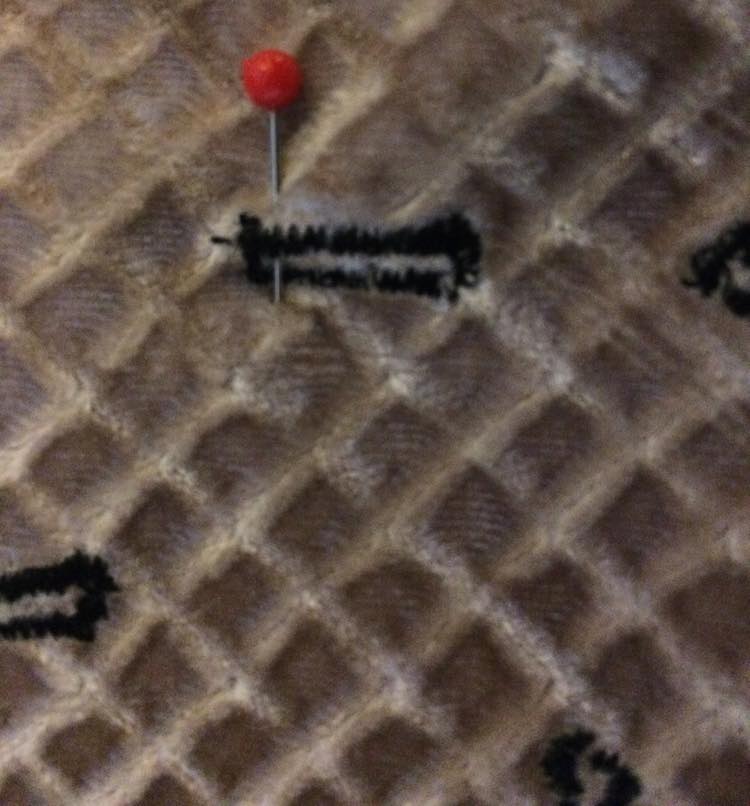
Once I figured out how the buttonholes worked and finished sewing as many as I wanted my next step was actually cutting the holes. I had looked up directions before I started so I knew to be extra safe and added a pin to one end of the buttonhole to stop the hole from becoming too large and cutting through the stitches. I then used a seam ripper starting on the opposite end and cut through until the pin stopped me. I then moved the pin to the next buttonhole, cut it, and repeated this process until all the buttonholes were opened.
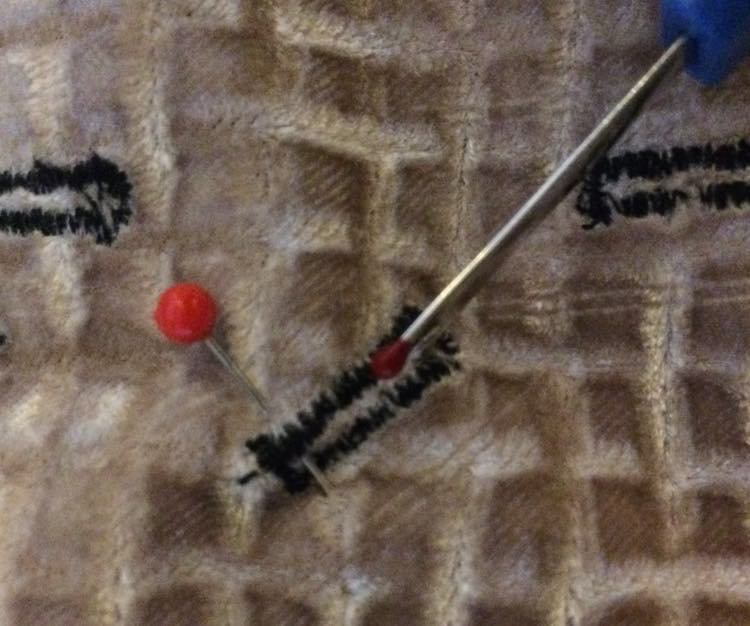
At some point during this process I realized most, if not all, of my ribbons would be too small for this and would pop out of the buttonhole. Like I mentioned above I decided to switch this project from a ribbon pull to a ribbon loop pull. To get the ribbon easily though the buttonholes I ended up using a crochet hook to hook it and pull it through. Each ribbon was inserted through the back of the swatch, moved to another hole, pulled through to the back, given a bit of slack to pull on, knotted off, and trimmed. I then repeated the process using a unique ribbon each time to add to the textures and colors presented on the page.
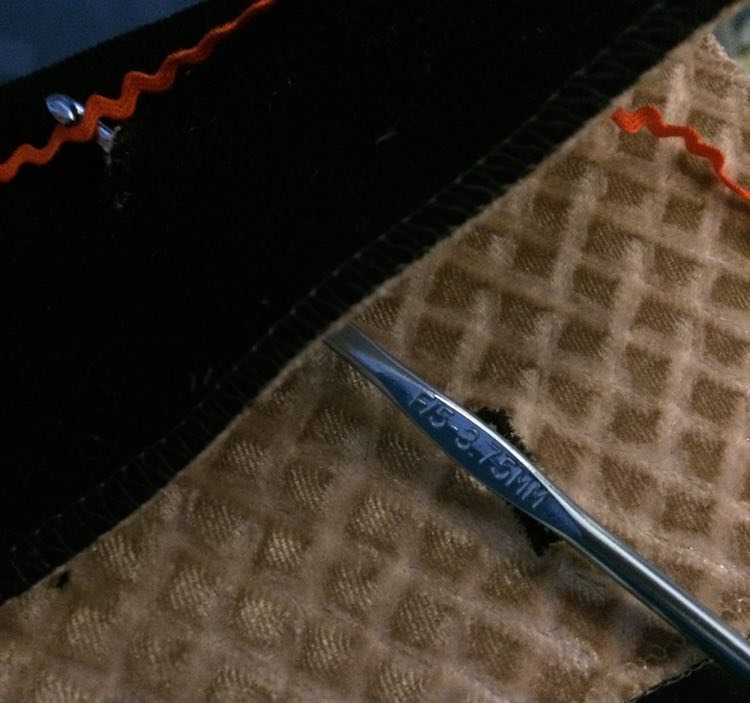
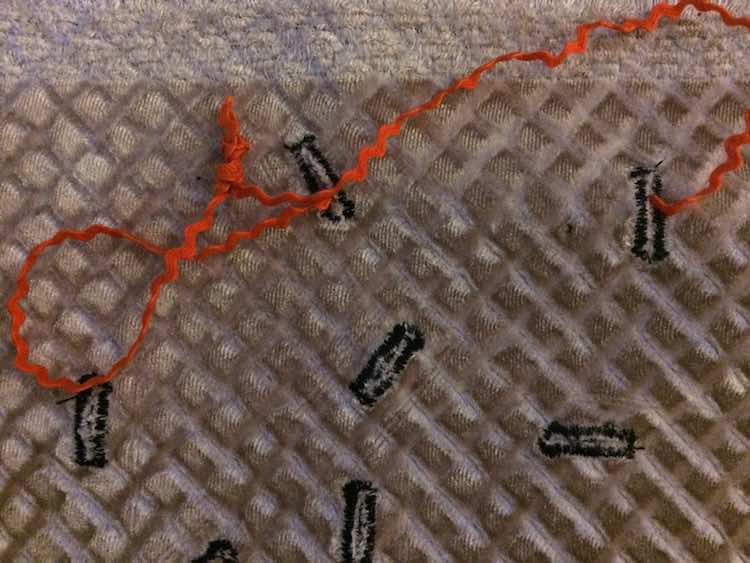
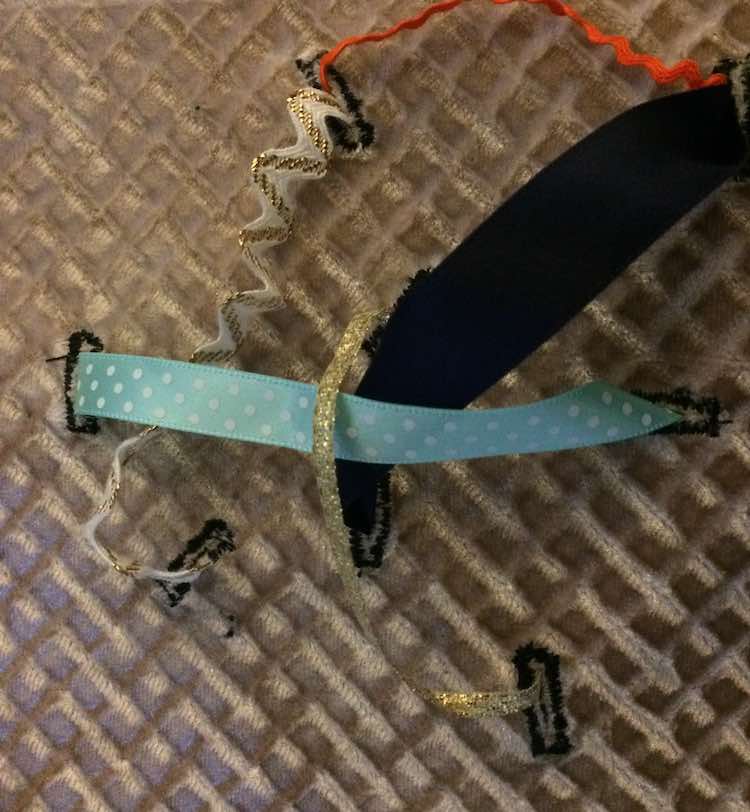
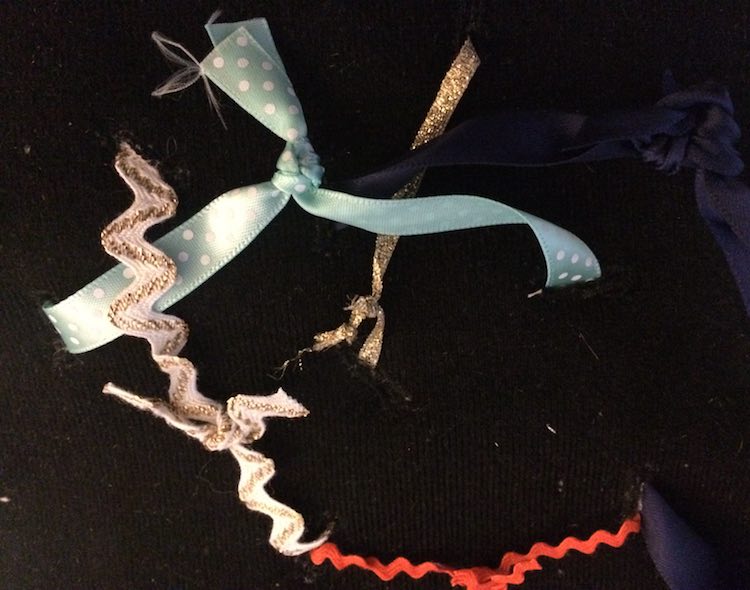
After I was done with the swatch I took the quiet book page base, marked the seam allowance and grommet area, and then found the center of the resulting space.
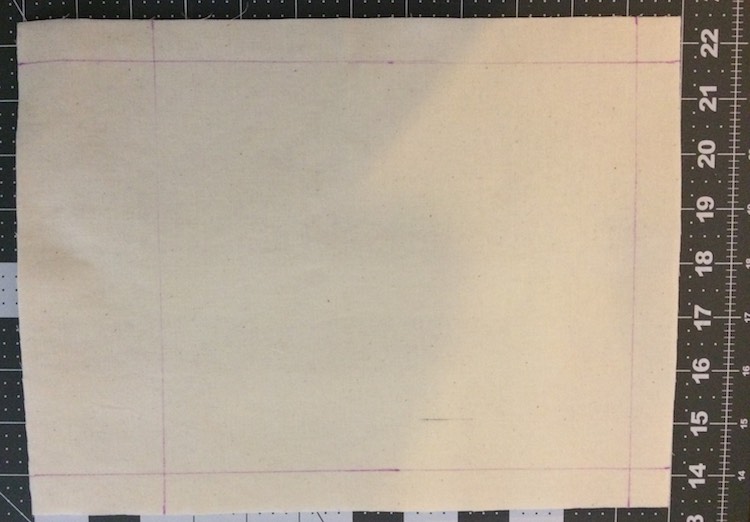
I then pulled the ribbons as far out of the front of the swatch as I could so no ribbons would get in the way of stitching. I then pinned the swatch in place and sewed around all four sides with a zig zag to be more decorative and hopefully more secure. I didn’t use Heat’N Bond like some of my other applique as I wanted the ribbons to be as free-moving as possible.
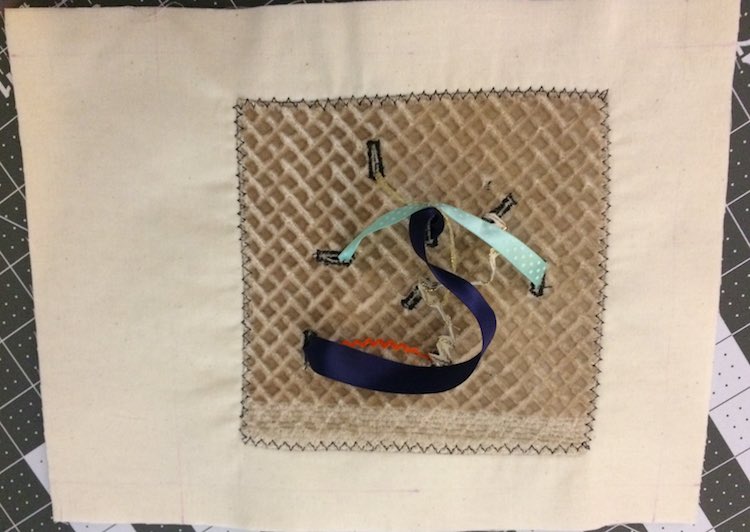
I then decided to add more decorative stitching along the top and bottom of the swatch.
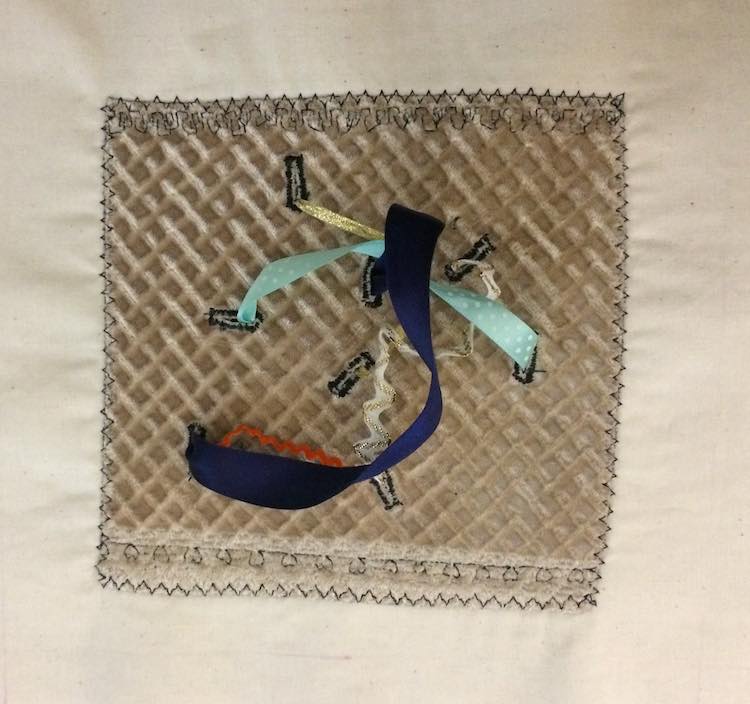
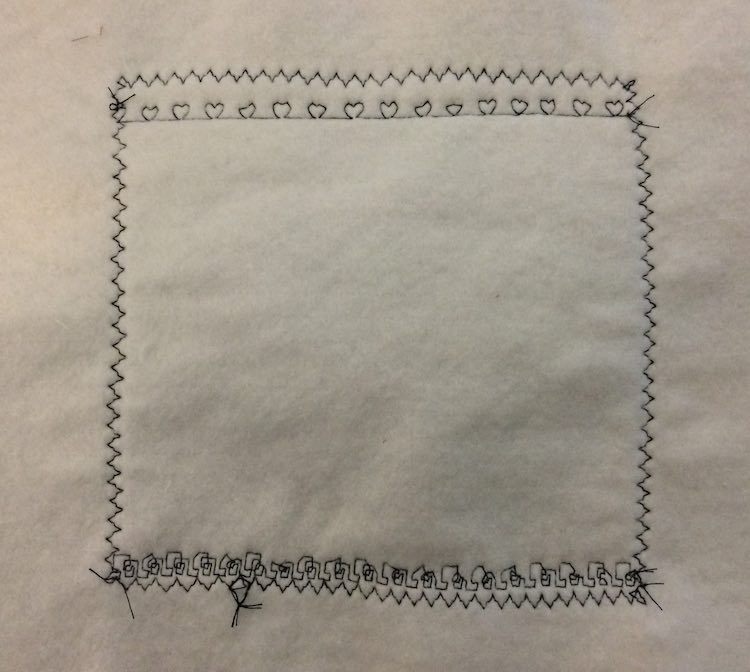
I then sewed it to the reverse of its page, flipped it right side out, sewed the hole closed, added another column of stitching for the grommet space, and added grommets. If you want more information on how I turned my quiet book page base into a fully functioning quiet book page you can check out my previous post: In Depth Guide to Joining Quiet Book Pages; Part One of Three.
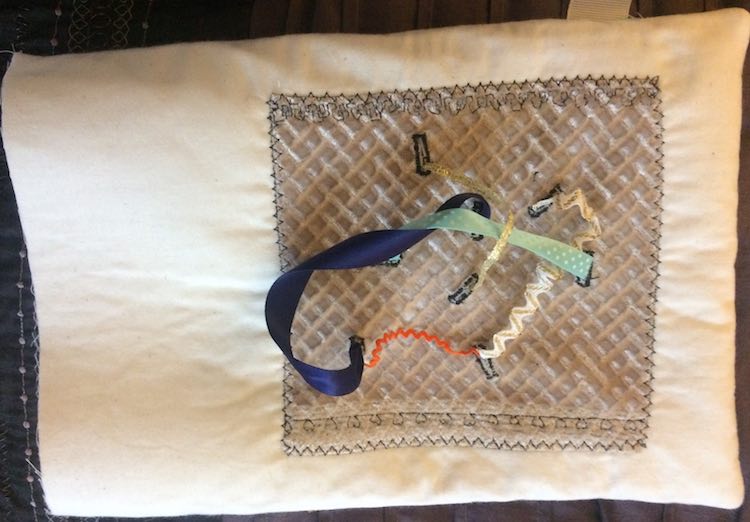
And your ribbon quiet book page is finished!
If I were to do this again I would…
- Use smaller holes or something bigger than ribbons so I don’t have to loop the ribbons. If your recipient was older and knew to not put things in their mouth you could add a large bead or something to either end of the ribbon and knot it in place. I didn’t want to make the page too thick and wanted to be sure nothing bead-shaped would have a chance to fall off.
- I wish I saw there was selvage (or crushed fabric) on one side of the fabric swatch. It’s all I can see now even though I attempted to cover it up with decorative stitching.
You can check out my previous posts if you want more information on how I created my quiet book covers, joined my quiet book pages together, or to see all my quiet book pages. And let me know if you have tips on how to make it easier to make buttonholes. The sewing machine goes so fast that you can’t see the thread and the spool unravels so slowly that you aren’t sure if the thread snapped. Mostly I just watched the edge of the fabric to make sure it was moving and trusted. Anyway… I can’t wait to see what you come up with! I would love to hear from you in the comments below, on my Facebook page, or through Instagram.
Did this save you time?

