
Make Your Own Playdough
We love our playdough recipe! We love it so much that when I tell Ada no to playdough she tells me we should make it. I don’t know which she prefers more.. playing with it or making it together. We love it so much that I stopped buying the small assorted food dyes from McCormick and I bought their large bottles of blue, red, and yellow through Amazon. You can find a variety of McCormick food dyes on Amazon through this link, but any water-based dye should work.
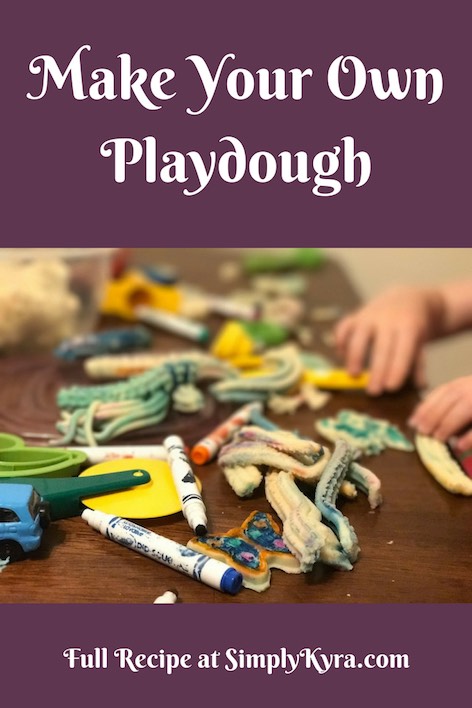
Playdough
This has become our only playdough recipe. We haven't had it go bad on us as my daughter always mixes the colors and we end up throwing it out to make new colors before it has a chance. We hope you enjoy this recipe as much as we have.
I frequently have my toddler add my dry ingredients as I measure and stir it all together. Once the water comes to a boil I get to do the final stir, add the hot water, and then mix it all together (as it's too hot). If I separate the dough into bowl to make separate colors I always break up the dye, mix it until it cools, and then depending on if I have help either knead it on the counter or pass it to Ada to mix while I go onto the next color.
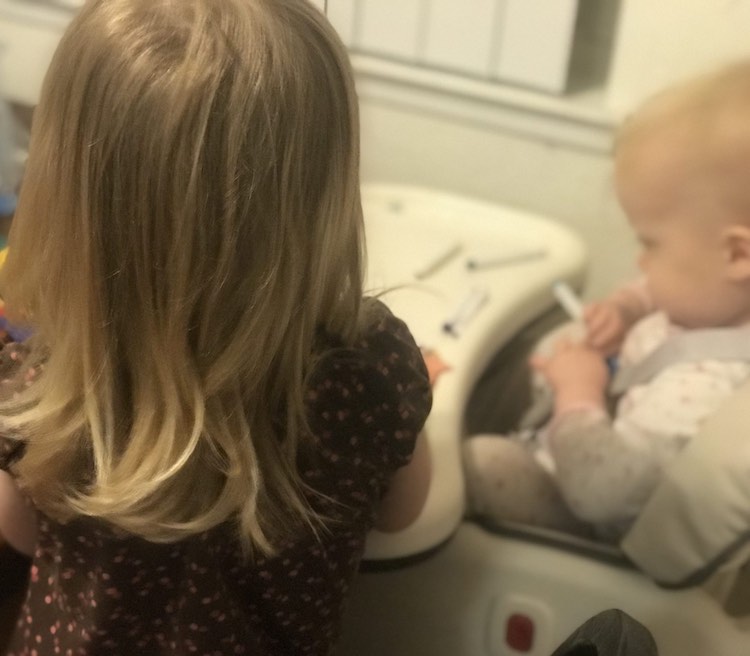
Sensory Activity
Prep Time: 5 Minute
Cook Time: 10 minutes
Total Time: 15 minutes
Servings: 4 Kids (I do 2 kids per batch)
Ingredients
- 2 cup all-purpose flour
- 1/2 cup salt
- 2 tbsp cream of tartar
- 2 tbsp vegetable oil
- 1.5 cups boiling water (up to)
- food dye - water based (not gel colors) (optional)
- flavor extracts (optional)
Instructions
- Mix the first four ingredients in a large bowl (flour, salt, cream of tartar, and vegetable oil).
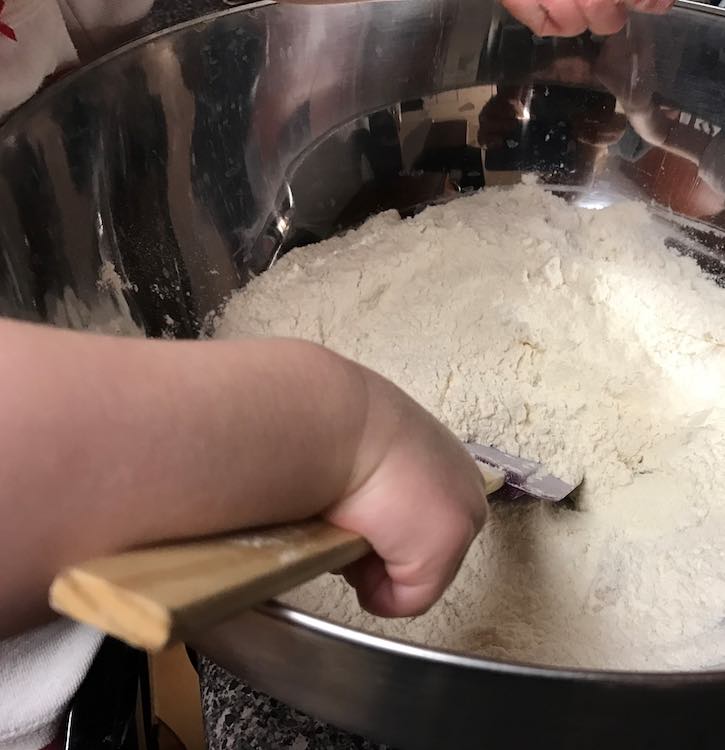
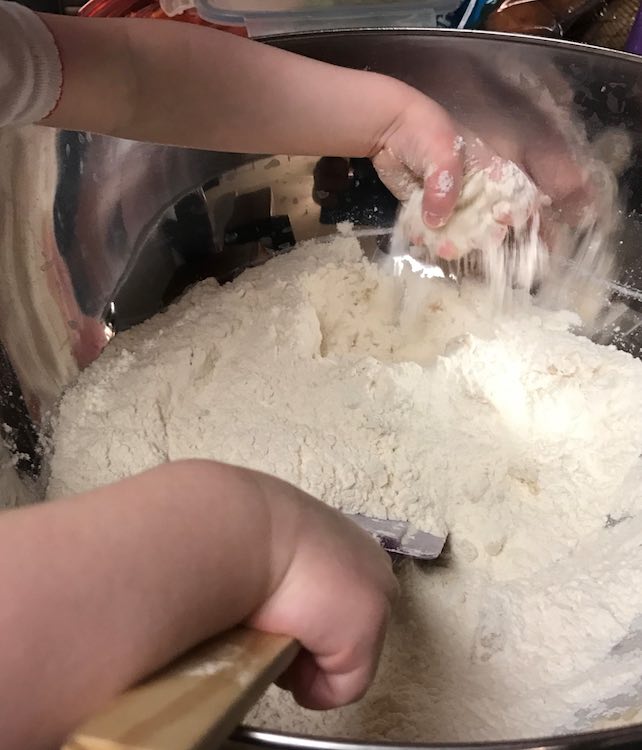
- Add boiling water to the bowl. If you're afraid of it being too wet add a bit less. You can always add more later.
- Once it gets harder to stir I dump it out and once cool enough knead it. If it's really sticky you can always flour the surface first so it doesn't stick too badly.
- If too sticky and wet add more flour.
- If too dry add a bit more water.
- See the notes below for a variety of options on when to add the food dye and/or flavor extracts for scents. If you want to try multiple dyes or extracts you can divide it up now.
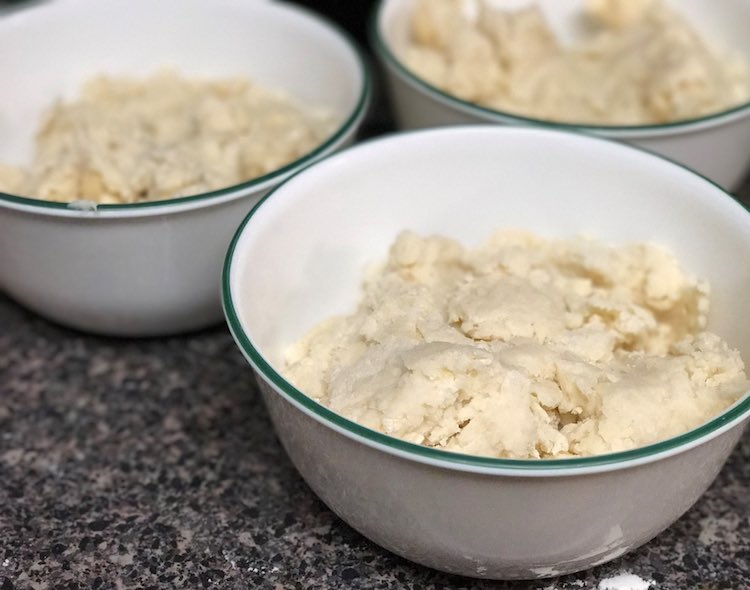
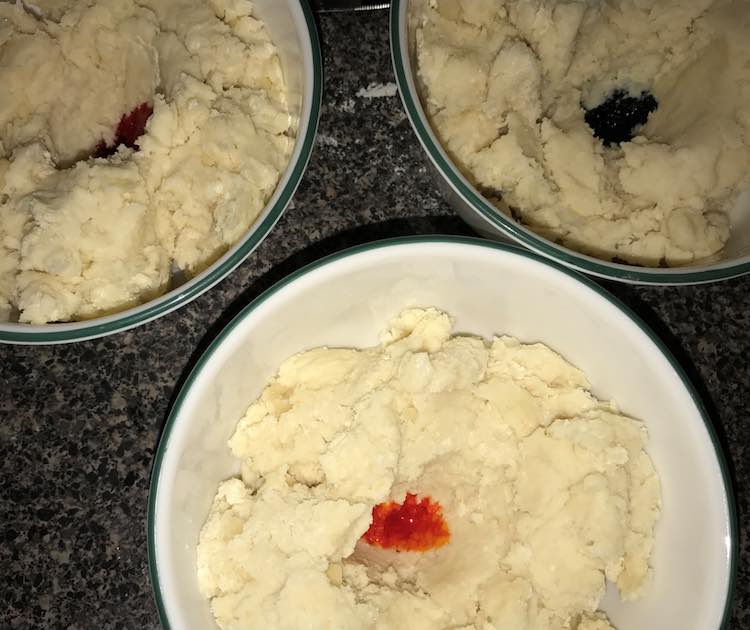
That said you can also keep it plain, color it with markers, add the dyes with the hot water, or do it now.
Recipe Notes
For trouble shooting tips visit my post about playdough troubleshooting.Color Options
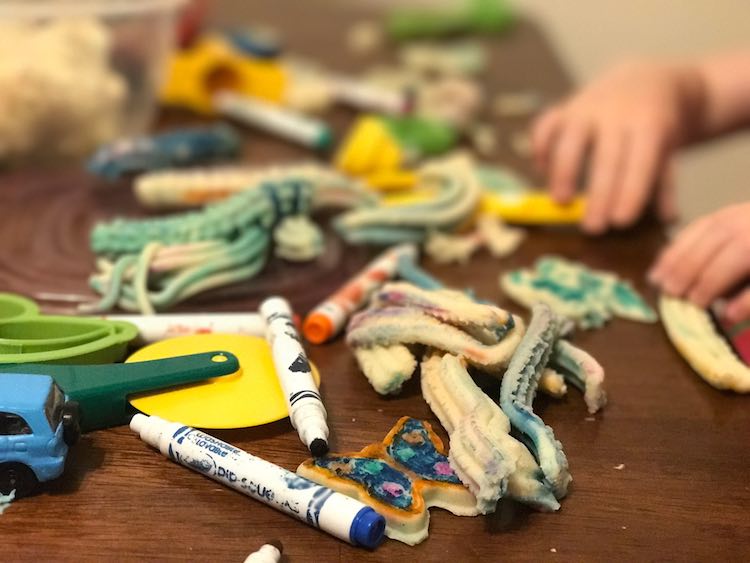
- Keep colorless. I've also kept it white on purpose and had my toddler color it with felt pens. She jabs it mostly but older kids, and parents, can create masterpieces with the playdough and then color them. We've enjoyed coloring butterflies. I can also see making a flat circle and coloring the pizza toppings. When you ball the playdough up when you're done it looks really cool marbled and each time you see different color variations.
- One color. If you only want one color you can add the dye to the boiling water while it's still in the measuring cup or jug before adding. You can also add the water to the dry ingredients and then drip the dye in before mixing.
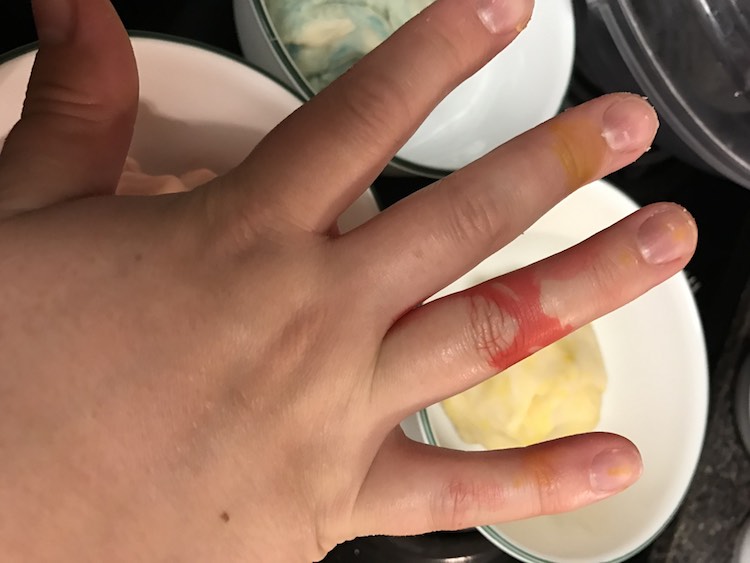
- Multiple colors. If you want multiple colors you can mix and knead the dough and when it's smooth divide it into either bowls (based on how many colors you want) or on the counter if you aren't worried about the dye. I then poke a divot, drop some dye in, and stir it up. I normally use a spoon to break up the dye and then dump it on the counter and knead in the color.
- You can add them at the same point as the dye in step two and three above. If you want multiple colors and one scent you can add the extract with the water (step 2), mix the dough, separate, and add the dye (step 3). If you want multiple colors with each their own scent you can do it at the same time as the dye (step 3).
Flavor Extracts
Here's some more images from making the playdough.
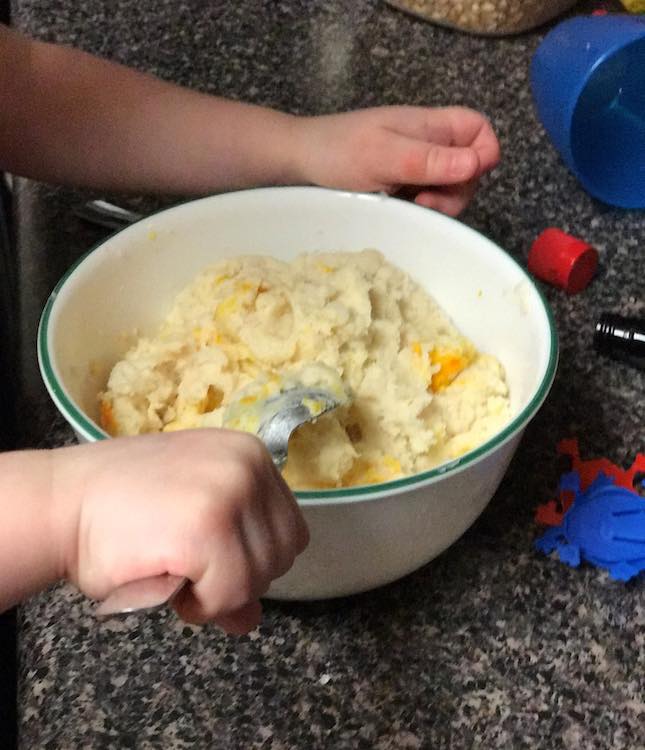
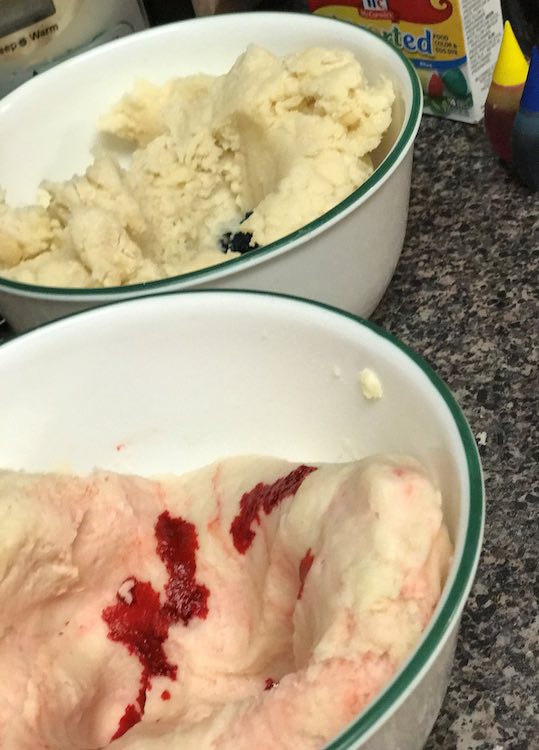

I’d love to hear what you made with your playdough. Feel free to post in the comments below, on my Facebook page, or through Instagram

