
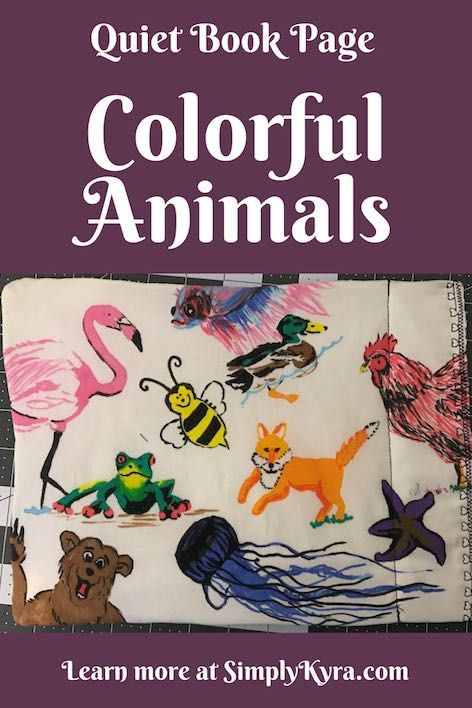
Quiet Book Page - Colorful Animals
Over the last month I posted a four part series on how I created my quiet book pages. I want to go on to show you both sides of one of the quiet book pages I already made before I go into the in-depth guide on how I joined my quiet book pages together.
Materials
You need
- Fabric for the page
- Fabric markers
- (optional) Interfacing to reinforce the page
- Iron – depending on the instructions on the markers
For one of Zoey’s quiet book pages I decided to use the fabric markers I had bought awhile back to draw some brightly colored animals to visually stimulate her. I also decided to add an empty diaper wipe wrapper to the inside of my finished page to add a crinkle element to the overall page.
To start this page off I decided to cut the muslin a bit bigger than needed as it would be better to trim the excess than to have the page be too small. I decided to not reinforce the fabric as I didn’t need to sew anything to it and I was hoping it would crinkle more without the interfacing. If you reinforce it maybe wait until after you draw on the fabric so you can iron the back of it to set the ink. After you finish the page you can set the ink, iron it onto the interfacing, trim it to size, and then join it to the other side of the page. I freehand drew the animals inspired by multiple image searches. The colors I wanted to include in the page inspired the animal choices; for instance if I wanted more pink I added a flamingo or a pig. I wanted the animals to range from realistic, the rooster and betta fish, to more cartoon-like, the bear and bee. While you color you may have the wet colors merge into each other. This could be beneficial but if you want to avoid that you could either wait for the ink to fully dry between color changes or, if you want to be doubly sure nothing will run, you could let it dry and then iron it to set the color before coloring some more.
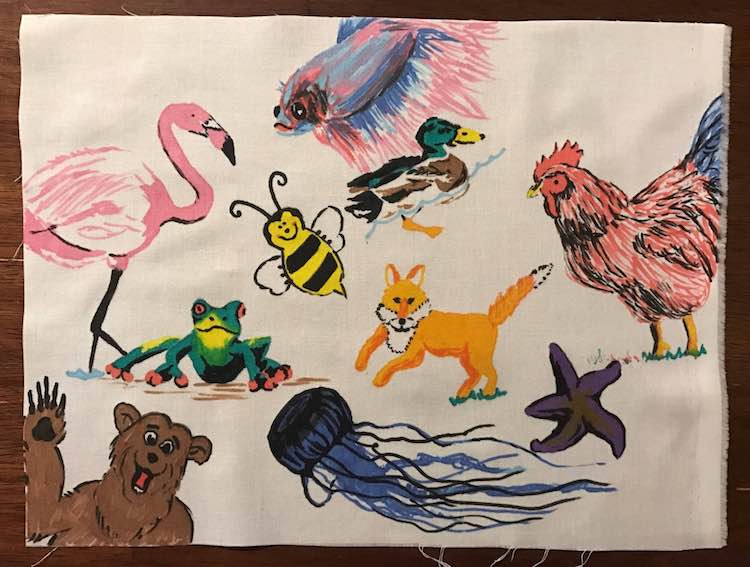
After you finish your design you can set the color according fabric marker’s directions. My marker instructions had me wait fifteen minutes to dry and then set the ink by ironing on the reverse side of the fabric. This side of the page is now done.
Once I finished the reverse side of the page I trimmed this page to be equal in size to the reverse so there wouldn’t be excess fabric. Then I pinned both sides together, wrong sides facing, with the crinkle layer underneath them and then sewed around three of the edges before flipping it right side out.
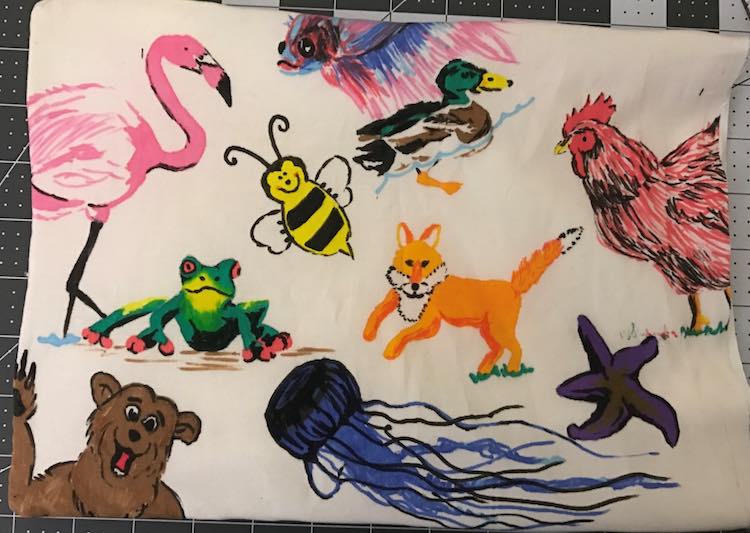
I then closed off the fourth side, being careful to sew through all layers, with a zigzag stitch. I then decided to add a second line of decorative stitching and then added a normal stitching about two inches over so there would be a space for the grommets to go in.
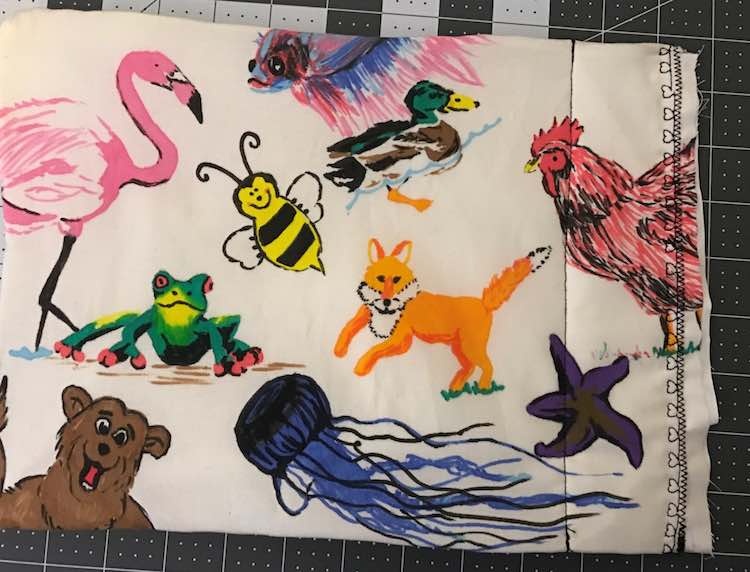
When I was finished I trimmed the excess fabric from the fourth side and then later added the grommets.
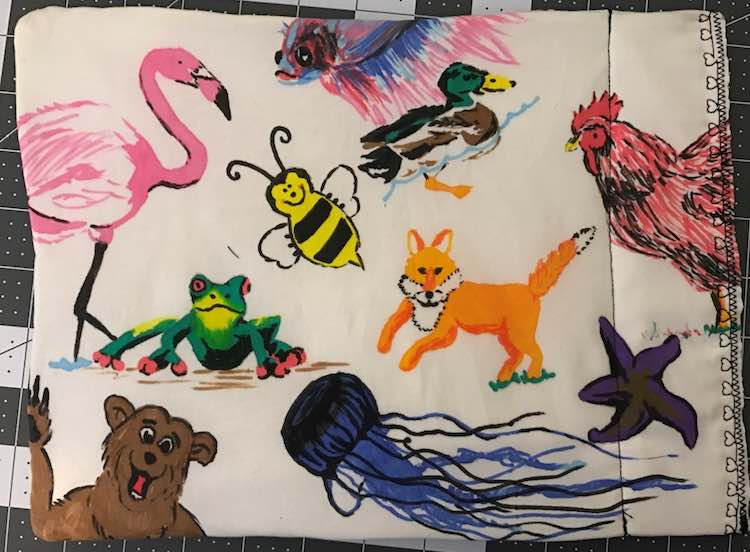
All done!
If I did this again I would change:
If I work on a similar page again I wouldn’t have cut the fabric bigger than needed. I loved the tail on the rooster and the top fin of my beta fish, but I wanted to keep my bear’s waving hand in the finished product even more so they had to be cut off as the reverse side of the page was smaller than this side.
I’d love to hear from you through the comments below, on my Facebook page, or through Instagram.

